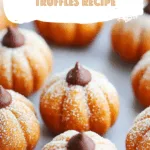
Pumpkin puree, cream cheese, graham cracker crumbs, and white chocolate make this Pumpkin Pie Cheesecake Truffles Recipe a festive fall treat.


These little pumpkin pie cheesecake truffles came out of one of my “lazy but craving something sweet” moods. You know those nights when you want dessert but the idea of rolling out pie crust feels like a cruel joke? Yeah, that was me. I grabbed a can of pumpkin puree, some cream cheese that had been hanging out in the fridge (a little too long if I’m honest), and a few pantry staples, and thought—why not mash it all together? Worst case, I’d eat it with a spoon.
What came out, though, surprised me. These adorable little truffles that look like tiny pumpkins but taste like pumpkin pie and cheesecake had a baby. I tried making the ridges with a toothpick like those perfect Pinterest photos, but some of mine ended up looking more like squashed oranges or lumpy apples. Did my family care? Nope. They disappeared from the tray in about ten minutes flat. And my husband asked if I could make “the pumpkin balls” again, which is about as close to a standing ovation as I get around here.
Why You’ll Love This Pumpkin Pie Cheesecake Truffles Recipe?
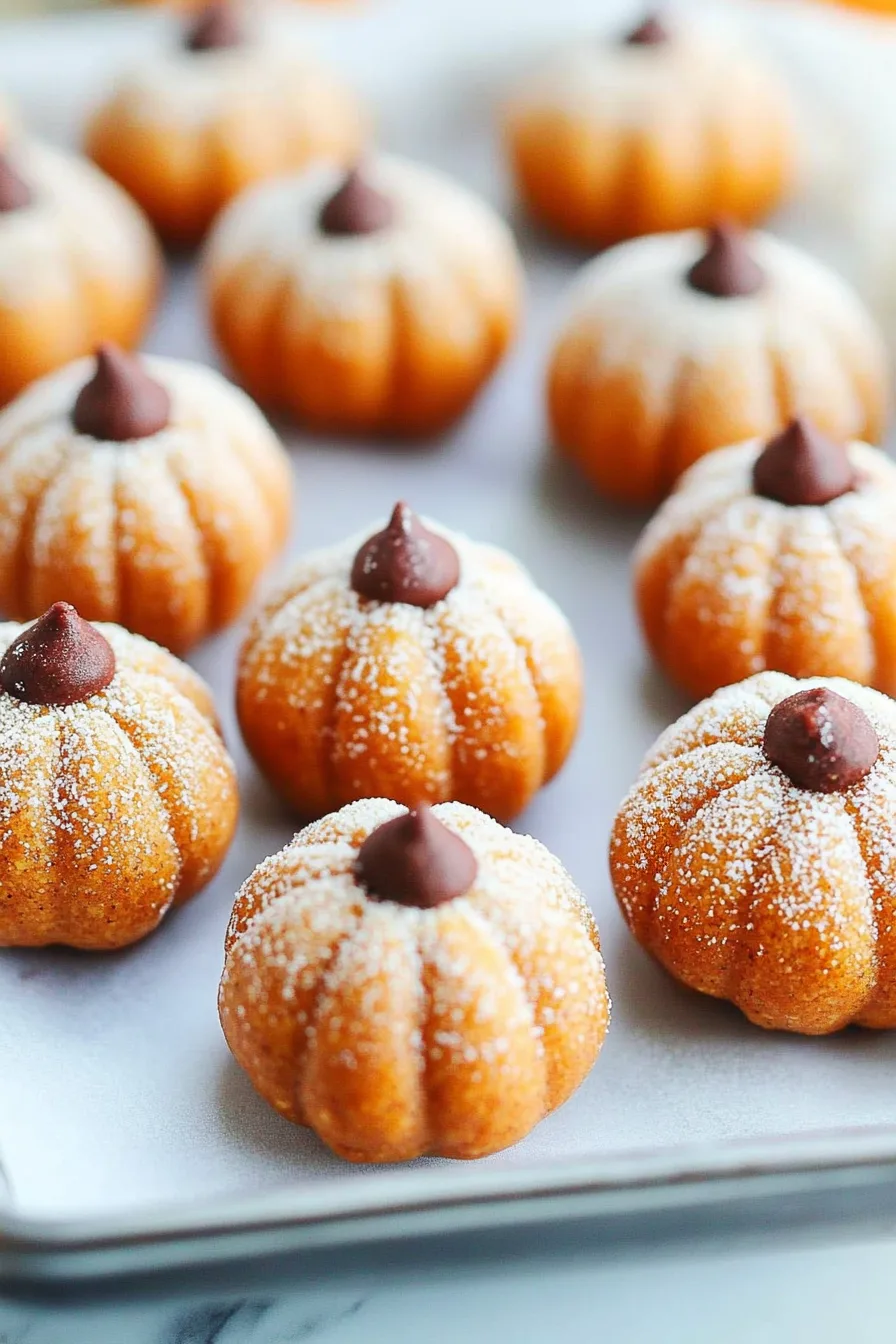
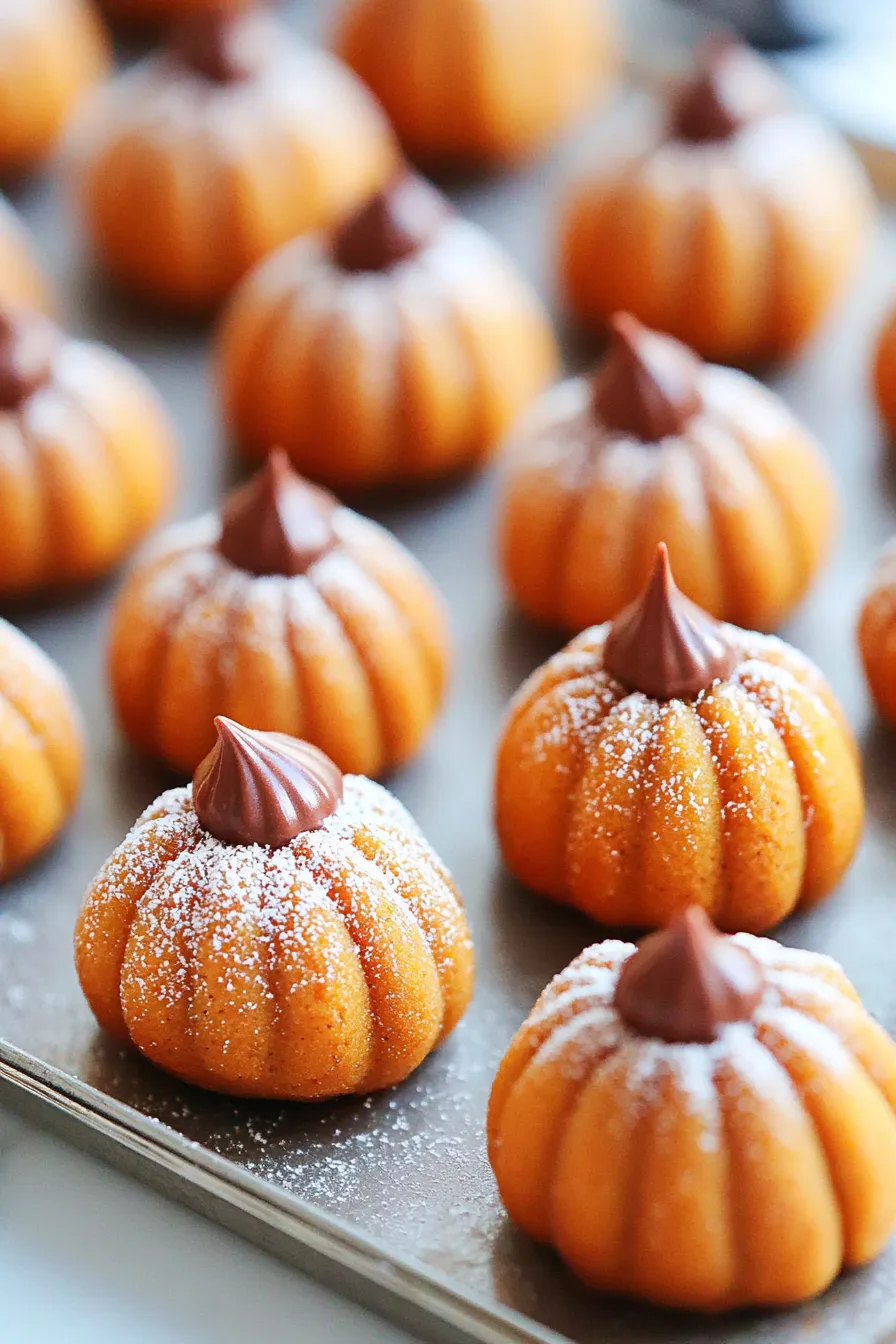
First off, let’s just say it: they’re cute. Like, Instagram-worthy cute. You roll them in sugar, poke little lines with a toothpick, stick a chocolate chip on top, and suddenly you’ve got a pumpkin patch on your dessert table. But more than that—they taste like cozy fall in one bite. Creamy cheesecake texture, pumpkin pie flavor, a little crunch from the sugar coating. It’s everything you want in pumpkin pie without committing to a giant slice.
And the kicker? You don’t even have to turn on the oven for these truffles. Just a bit of stovetop stirring, some chill time in the fridge, and you’re good to go. I love that you can make them ahead for a party (or just for yourself, let’s be real). And honestly, they double as edible décor. Who doesn’t love a snack that looks like it belongs on your fall centerpiece?
Ingredient Notes:
Let’s take a second to appreciate how each piece of this recipe pulls its weight. I’ve swapped things here and there, but here’s the base lineup that makes these truffles work:
-
Butter (just a tablespoon) – Helps everything melt together, kind of the glue of the mixture.
-
Cream Cheese (4 oz) – Gives you that cheesecake tang. Don’t use the spreadable kind, it’s too soft.
-
Pumpkin Puree (½ cup) – Not pumpkin pie filling. Trust me, the filling already has sugar and spices and will throw things off.
-
Sweetened Condensed Milk (1 can) – Thick, sticky, and sweet. Think of it as dessert magic in a can.
-
Pumpkin Pie Spice (2 tsp) – Cinnamon, nutmeg, cloves… basically autumn bottled up.
-
Graham Cracker Crumbs (½ cup) – Adds texture and that cheesecake crust vibe.
-
White Chocolate Chips (½ cup) – Melty sweetness that pulls the whole mixture together.
-
Orange Food Coloring – Optional, but fun. Gives them that pumpkin pop.
-
Granulated Sugar – For rolling, so they sparkle like they’re ready for a party.
-
Chocolate Chips – Your makeshift pumpkin “stems.” Cute and tasty.
How To Make Pumpkin Pie Cheesecake Truffles?
These cheesecake truffles are not complicated, but I’ll talk you through it like I would a friend standing in my kitchen.
Step 1: Melt the base
Throw butter, cream cheese, pumpkin puree, condensed milk, and pumpkin pie spice in a saucepan. Stir over medium heat until smooth and thick. At this point, your kitchen already smells like Thanksgiving morning.
Step 2: Add the structure
Mix in the white chocolate and graham cracker crumbs. Stir until the chocolate melts down and the mixture starts pulling away from the sides of the pan. Add food coloring if you want bright orange pumpkins—it’s optional but fun.
Step 3: Chill out
Spread the mixture on a greased baking sheet. Let it chill in the fridge for at least 2 hours (or overnight if you’ve got the patience… I usually don’t).
Step 4: Roll the truffles
Butter your hands lightly so nothing sticks, then roll the chilled mixture into small balls. Yes, your hands will get messy. That’s part of the fun.
Step 5: Sugar coat
Roll each ball in sugar so they sparkle. I swear, this step makes them feel like they came from a fancy candy shop.
Step 6: Make them pumpkins
Take a toothpick and add little ridges. Don’t stress if they’re lopsided—real pumpkins aren’t perfect either. Stick a chocolate chip on top for the stem.
Want To Save This Recipe?
Step 7: Chill again
Pop them back in the fridge until you’re ready to serve. Then stand back and watch them vanish.
Storage Options:
Here’s the thing about these pumpkin pie cheesecake truffles—they actually get better after a day in the fridge. Keep them in an airtight container and they’ll last up to 5 days. You can also freeze them. Just lay them flat on a tray first, then move them into a container once solid. They’ll keep for a couple of months. Pro tip: they’re surprisingly good straight from the freezer too, like little pumpkin cheesecake ice cream bites.
Variations and Substitutions:
Want to tweak the recipe? Go for it. Here are a few ideas I’ve tried (or thought about while eating them):
-
Extra spice – Add more cinnamon or a pinch of ginger for a stronger kick.
-
Chocolate version – Dip the truffles in dark chocolate instead of rolling in sugar. Rich, messy, and totally worth it.
-
Nutty option – Roll them in crushed pecans or walnuts for crunch.
-
Natural look – Skip the food coloring. They’ll be a little more rustic, which honestly feels very “farm-to-table chic.”

What to Serve with Pumpkin Pie Cheesecake Truffles?
These truffles are great on their own, but they play well with others too:
-
Coffee – The bitterness balances the sweetness perfectly.
-
Hot Apple Cider – I mean, can you get more fall than that?
-
Vanilla Ice Cream – A couple truffles next to a scoop? Chef’s kiss.
-
Holiday Platters – Add them to cookie trays or dessert boards—they’ll steal the show.
Frequently Asked Questions:
Do I need to use food coloring?
Not at all. They’ll taste exactly the same without it.
Can I make these ahead of time?
Yes! In fact, I recommend it. They hold up beautifully in the fridge.
Can I swap pumpkin pie filling for puree?
I wouldn’t. Pie filling already has sugar and spices—it’ll throw off the flavor and texture. Stick with puree.

And there you have it—my Pumpkin Pie Cheesecake Truffles Recipe. Sweet, creamy, a little messy to make, but worth every second. They’re proof that dessert doesn’t have to be complicated to make people smile.
So tell me—would you serve these at a holiday party, or just keep them tucked in the fridge for “taste testing” every time you walk by?
Keep the Flavor Coming – Try These:


Pumpkin Pie Cheesecake Truffles Recipe
Ingredients
- 1 tablespoon unsalted butter
- 4 ounces cream cheese softened
- ½ cup pumpkin puree
- 1 14-ounce can sweetened condensed milk
- 2 teaspoons pumpkin pie spice
- ½ cup graham cracker crumbs
- ½ cup white chocolate chips or melting wafers
- Orange food coloring as desired
- Granulated sugar for coating
- Chocolate chips for garnish
Instructions
Prepare the pumpkin mixture
- In a medium saucepan over medium heat, combine the butter, cream cheese, pumpkin puree, sweetened condensed milk, and pumpkin pie spice. Stir continuously until smooth, well combined, and slightly thickened.
Incorporate the chocolate and crumbs
- Add the white chocolate chips and graham cracker crumbs to the saucepan. Stir until the chocolate is fully melted and the mixture has thickened. Add food coloring, if using, to achieve the desired shade. Continue stirring until the mixture pulls away from the sides of the pan.
Chill the mixture
- Transfer the mixture to a lightly greased baking sheet. Spread evenly with a spatula. Refrigerate for at least 2 hours, or until firm enough to handle.
Form the truffles
- Lightly coat your hands with butter. Roll the chilled mixture into small balls. Place the granulated sugar in a shallow dish and roll each truffle until fully coated.
Shape and decorate
- Using a toothpick, create ridges along the sides of each truffle to resemble pumpkins. Place a chocolate chip on top of each truffle to form a stem.
Chill before serving
- Refrigerate the decorated truffles until ready to serve. Serve chilled for best flavor and texture.
Notes
I’m Bitty, owner of nodashofgluten.com, where I share simple, delicious recipes for all tastes, including gluten-free. Check out my “About Me” page for more info!