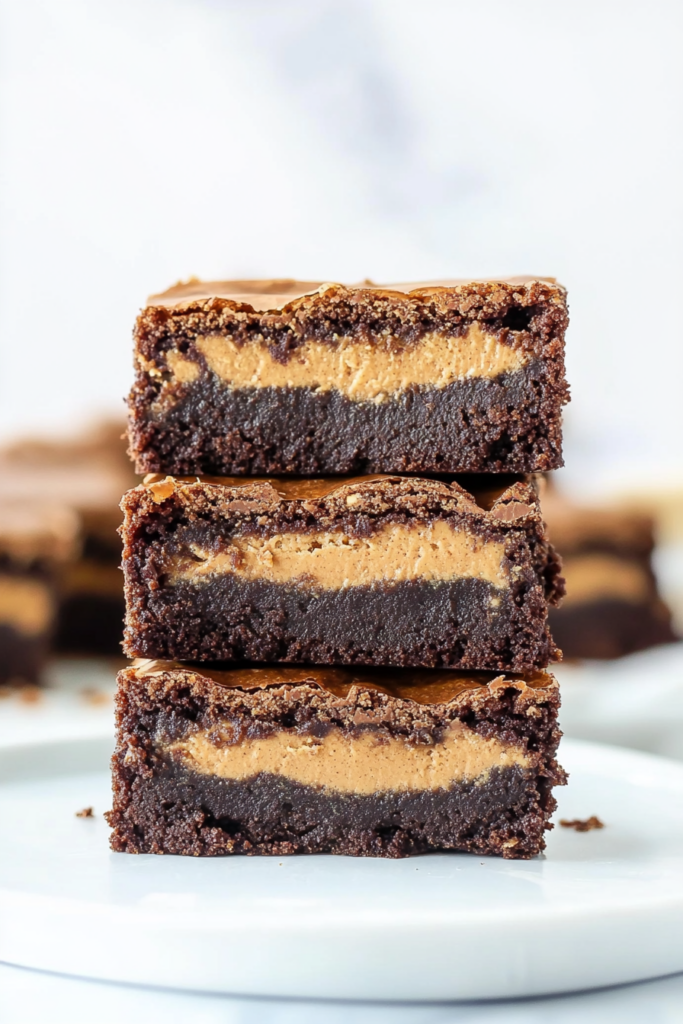
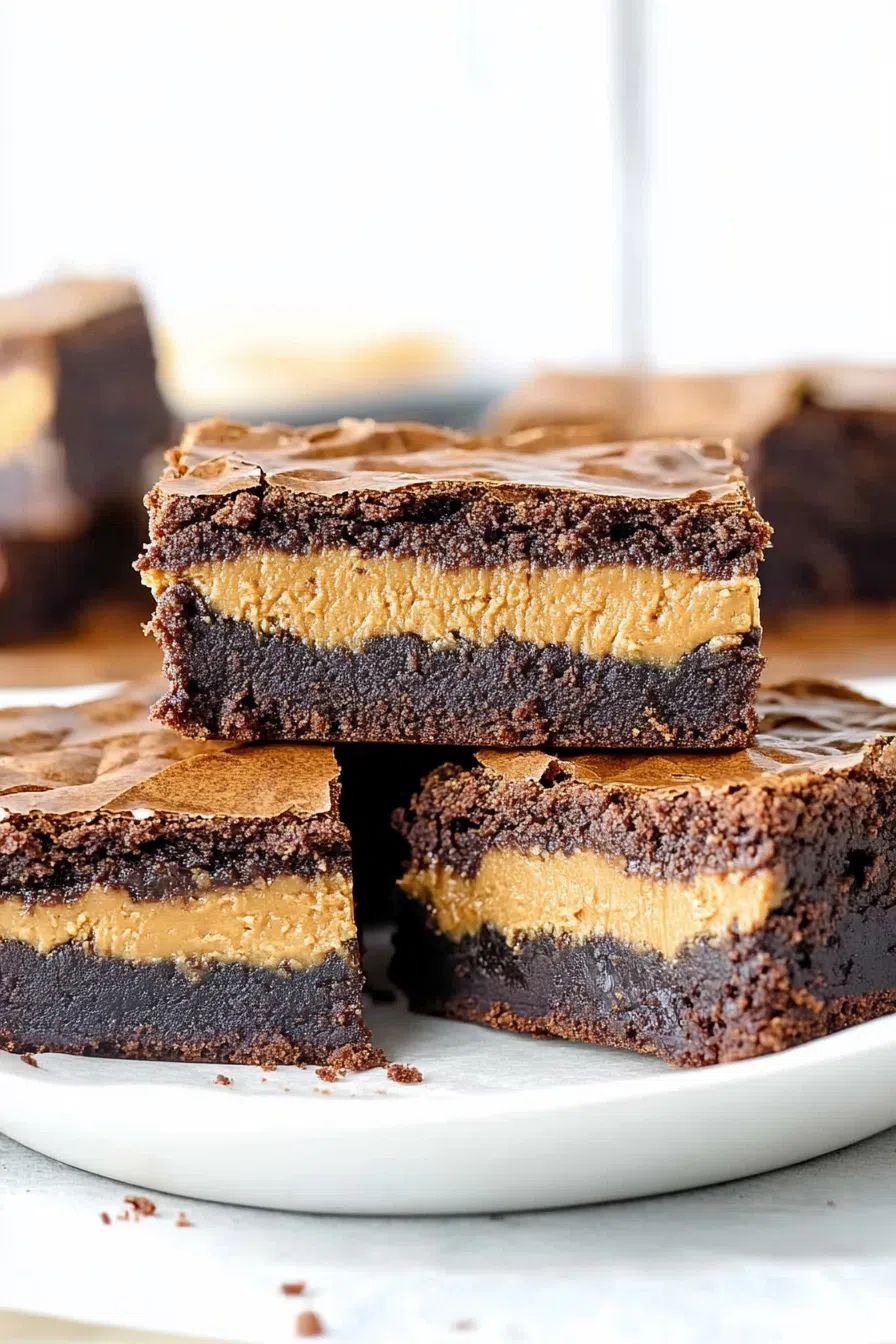
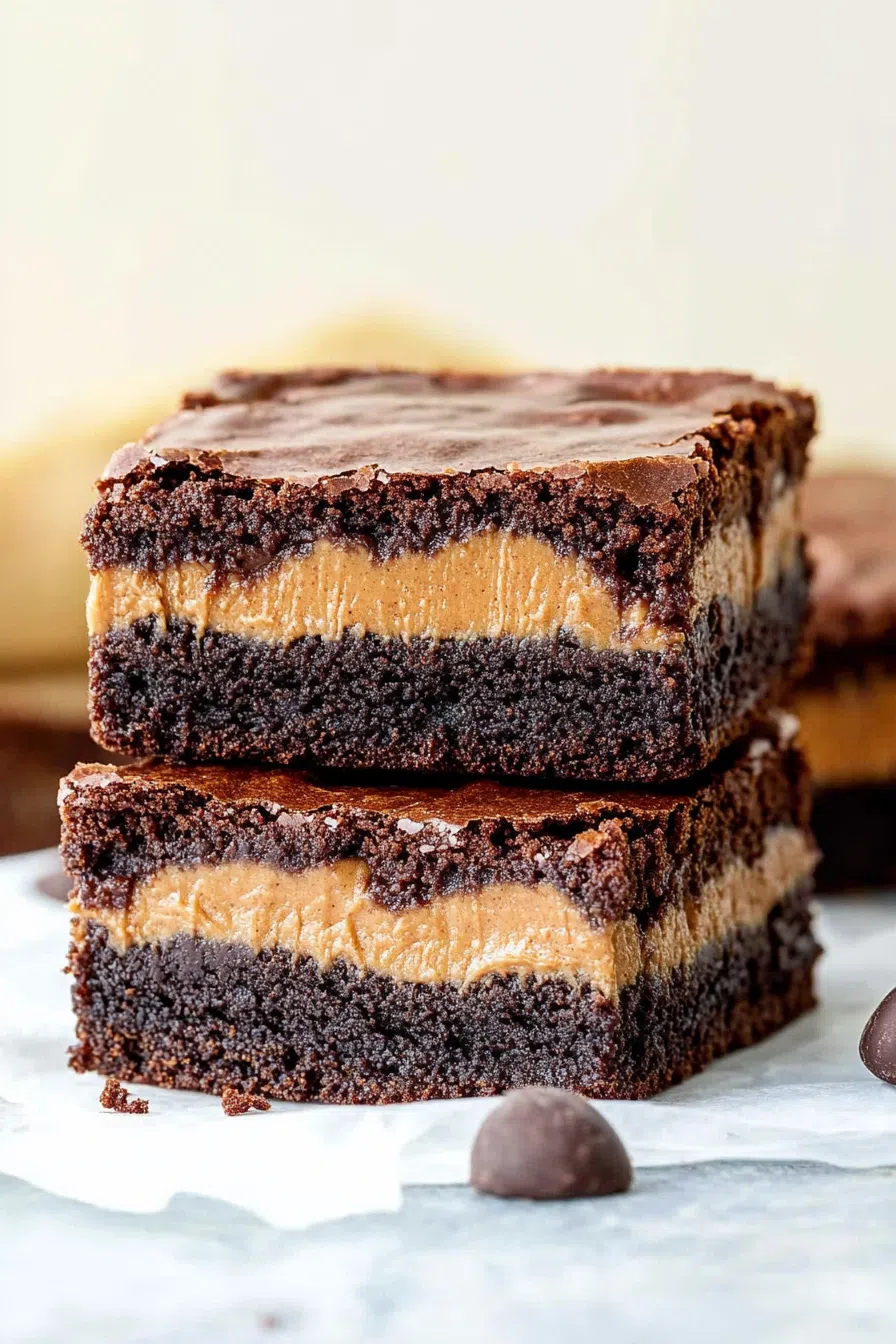
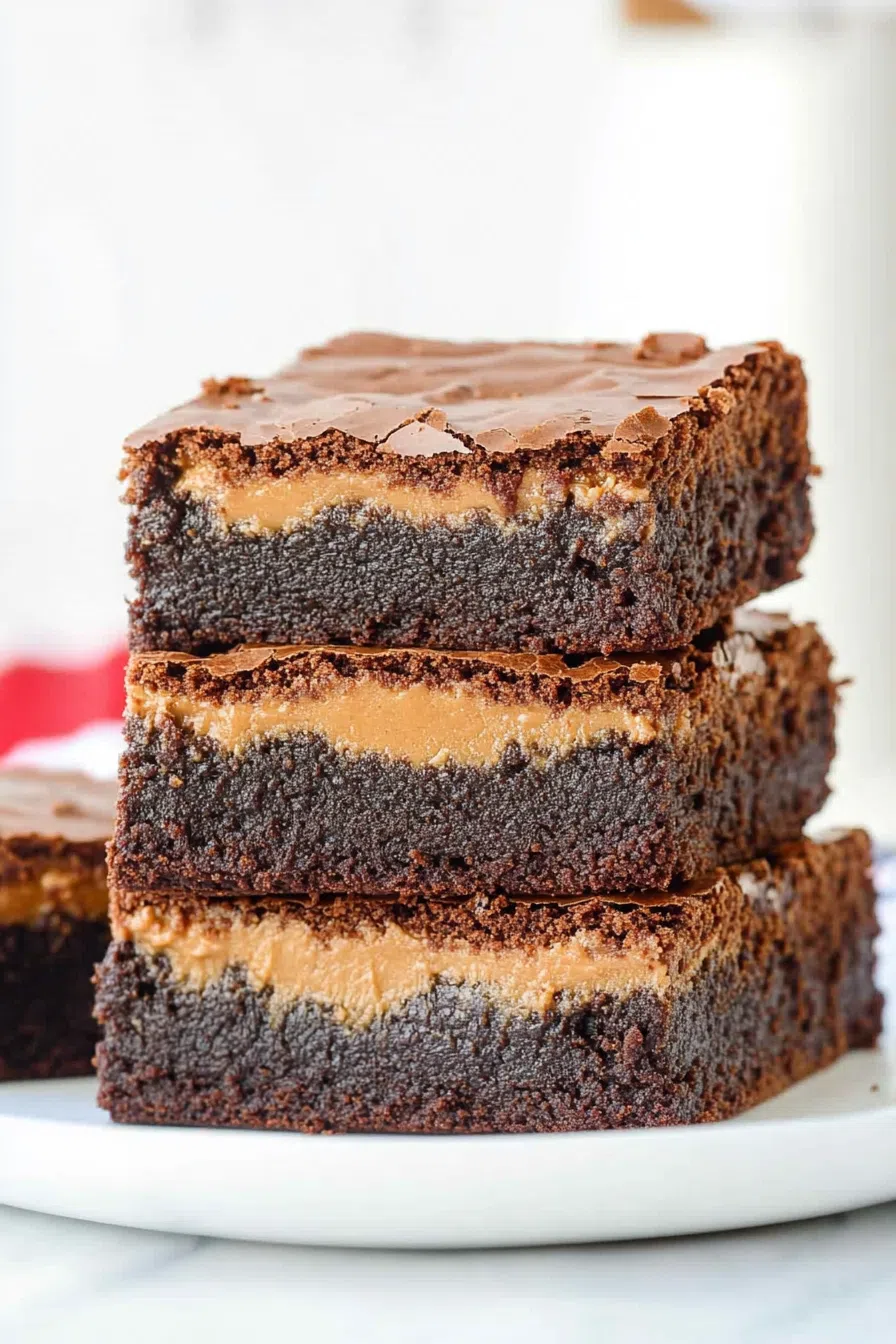
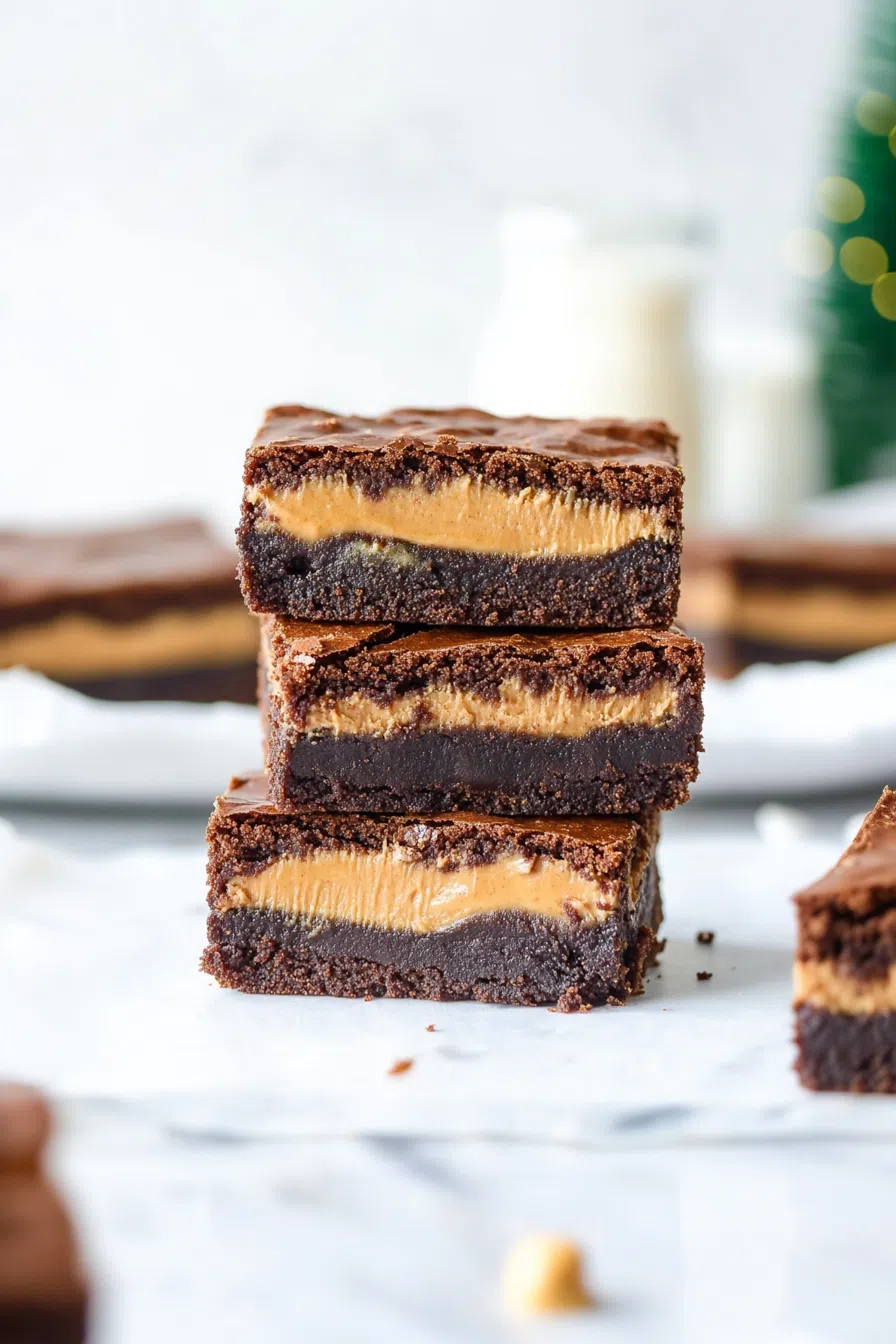
Rich, fudgy brownies with a thick, creamy peanut butter center—these Peanut Butter Stuffed Brownies are the ultimate dessert for chocolate and peanut butter lovers.
Okay, let’s be real—chocolate and peanut butter is the power couple of desserts. I don’t make the rules. It’s just scientifically the best combo.
I actually came up with these Peanut Butter Stuffed Brownies during a very late-night baking session when I should have been sleeping but instead was scrolling through recipes, debating whether I wanted brownies or just a spoonful of peanut butter. (Yes, that’s a normal dilemma.)
Then it hit me—why choose? Why not stuff peanut butter inside a brownie? And just like that, I was melting chocolate at midnight, making what would soon become one of my all-time favorite desserts.


The first time I brought these to a family gathering, they vanished within minutes. My uncle, a self-proclaimed “not really a dessert guy,” had three. That’s when I knew these were special.
So, if you’re the kind of person who can’t resist peanut butter cups, fudgy brownies, or desserts that make people fight over the last piece—you need these in your life.
Why You’ll Love This Peanut Butter Stuffed Brownies Recipe?
- Thick, gooey peanut butter center. It’s like biting into a giant peanut butter cup—only better.
- Super fudgy brownies. None of that dry, cakey nonsense. These are rich and dense.
- Simple ingredients. Everything is probably already in your kitchen.
- Impossible to eat just one. Seriously, I’ve tried. It doesn’t work.
- Perfect for sharing (or not). No judgment if you keep these all to yourself.

Ingredient Notes:
Let’s talk about what makes these Peanut Butter Stuffed Brownies absolute perfection.
- Peanut Butter – Go for creamy peanut butter (like Jif or Skippy). Natural peanut butter can be too runny, and we need that thick, dreamy filling.
- Butter – Makes the brownies rich and fudgy. You can use salted butter, but if you do, skip the added salt.
- Semisweet Chocolate – Melting real chocolate into the batter = next-level flavor. Use a good-quality baking chocolate if possible.
- Granulated Sugar – Helps create that shiny, crackly brownie top we all love.
- Eggs + One Extra Yolk – The yolk adds extra chewiness, which is key for fudgy brownies.
- Vanilla Extract – A little goes a long way in enhancing the flavor.
- All-Purpose Flour – Just enough to hold everything together without making the brownies dense.
- Unsweetened Cocoa Powder – Adds even more chocolate depth. Dutch-process cocoa works great for an even richer taste.
- Salt – Because salt makes chocolate taste even better.
Pro Tip: Want that chef’s kiss sweet-and-salty contrast? Sprinkle a little flaky sea salt on top before baking. Trust me, it’s life-changing.
How To Make Peanut Butter Stuffed Brownies?
Step 1: Make the Peanut Butter Layer
Start by microwaving 1 ¼ cups of peanut butter for 20-30 seconds, just until it’s soft and spreadable.
Line an 8-inch pan with
(Yes, waiting an hour is annoying, but this makes assembly so much easier. Do not skip this!)
Step 2: Make the Brownie Batter
Preheat your oven to 350°F (175°C) and line another 8-inch pan with
In a microwave-safe bowl, melt 10 tbsp butter with 4 oz semisweet chocolate in 30-second bursts, stirring between each, until smooth.
Stir in 1 cup sugar, then let it cool slightly (so you don’t scramble the eggs).
Once cooled, whisk in 2 eggs + 1 yolk and 1 tsp vanilla extract.
Gently fold in ½ cup flour, ¼ cup sifted cocoa powder, and ¼ tsp salt until just combined. (Do not overmix! Overmixing = sad, dense brownies.)
Step 3: Assemble the Brownies
Want To Save This Recipe?
Pour half of the brownie batter into the pan and smooth it out.
Take the frozen peanut butter slab and carefully place it on top. Then, cover it with the remaining brownie batter, making sure to spread it evenly so no peanut butter is peeking out.
Step 4: Bake to Gooey Perfection
Bake for 30 minutes, or until the center is just set but still a little gooey. The toothpick test? Look for a few moist crumbs—not a completely clean toothpick.
Let the brownies cool for 30 minutes in the pan, then remove them and let them cool completely before slicing.
(Or don’t. I won’t judge if you cut into them early. Just be prepared for some serious peanut butter lava action.)
Storage Options:
- Room Temp: Store in an airtight container for up to 3 days.
- Fridge: Keeps for up to a week, but let them sit at room temp before eating so they soften up.
- Freezer: Wrap individual brownies in plastic wrap, then store in an airtight container for up to 3 months. Thaw at room temp, or microwave for instant gooey goodness.
Variations and Substitutions:
Want to mix things up? Here are some ideas:
- Use crunchy peanut butter for extra texture.
- Swirl the peanut butter instead of freezing it for a more marbled effect.
- Add chocolate chips to the batter for extra chocolatey goodness.
- Drizzle caramel over the peanut butter layer for an extra layer of decadence.
- Mix in a little espresso powder to deepen the chocolate flavor.
What to Serve with Peanut Butter Stuffed Brownies?
If you want to really take these to the next level, try pairing them with:
- A cold glass of milk – Because obviously.
- Vanilla ice cream – The contrast of warm brownies and cold ice cream? Unreal.
- Whipped cream & chocolate drizzle – Why stop at just brownies?
- A strong cup of coffee – That bitterness balances the sweetness perfectly.
Frequently Asked Questions:
Can I use a boxed brownie mix?
Yep! Just prepare the mix as directed and follow the same layering process.
Do I have to freeze the peanut butter layer?
Yes! Otherwise, it’ll just melt into the brownie batter instead of staying in that perfect layer.
Can I make these ahead of time?
Absolutely! They actually taste even better the next day once the flavors settle.
These Peanut Butter Stuffed Brownies are the kind of dessert that people lose their minds over. They’re rich, fudgy, and packed with that perfect chocolate-peanut butter combo.
So, what do you think? Are you making these ASAP? Or do you have even more ideas for how to make them even better? Drop your thoughts in the comments—I’d love to hear!
Keep the Flavor Coming – Try These:

Peanut Butter Stuffed Brownies
Ingredients
Peanut Butter Filling:
- 1 1/4 c 336 g creamy conventional peanut butter
Brownies:
- 10 tbsp. 142 g unsalted butter
- 4 oz. 113 g semisweet baking chocolate, chopped
- 1 c 200 g granulated sugar
- 2 large eggs plus 1 egg yolk
- 1 tsp vanilla extract
- 1/2 c 64 g all-purpose flour
- 1/4 c 25 g unsweetened cocoa powder, sifted
- 1/4 tsp fine salt
Instructions
To make the Peanut Butter Filling:
- Heat 1 1/4 cups of peanut butter, in the microwave for around 20 to 30 seconds until it becomes smooth and fluid.
- Take an 8-inch pan. Line it with parchment paper. Pour the peanut butter into the pan. Spread it evenly.
- Place the pan in the freezer for an hour. Until the peanut butter layer becomes firm.
For the Brownies:
- Preheat your oven to 350°F (175°C). Prepare the square pan by lining it with parchment paper.
- In a microwave bowl melt 10 tablespoons of butter along with 4 ounces of chopped chocolate by microwaving them stirring every 30 seconds until they form a smooth mixture.
- Add 1 cup of sugar to the chocolate mixture and mix well then allow it to cool slightly.
- Vigorously whisk in 2 eggs along with an additional egg yolk. Add 1 teaspoon of vanilla extract to enhance flavor.
- Gently fold in half a cup of flour, a quarter cup of sifted cocoa powder and a quarter teaspoon of salt until everything is just combined.
- Pour half of this brownie batter into the pan then place your peanut butter layer on top before covering it with the remaining batter.
- Bake for 30 minutes. Until the center is set but still slightly gooey when tested with a toothpick.
- Allow the brownies to cool in the pan for 30 minutes before removing them from there, let them cool further before slicing into desired portions.
Notes
I’m Bitty, owner of nodashofgluten.com, where I share simple, delicious recipes for all tastes, including gluten-free. Check out my “About Me” page for more info!