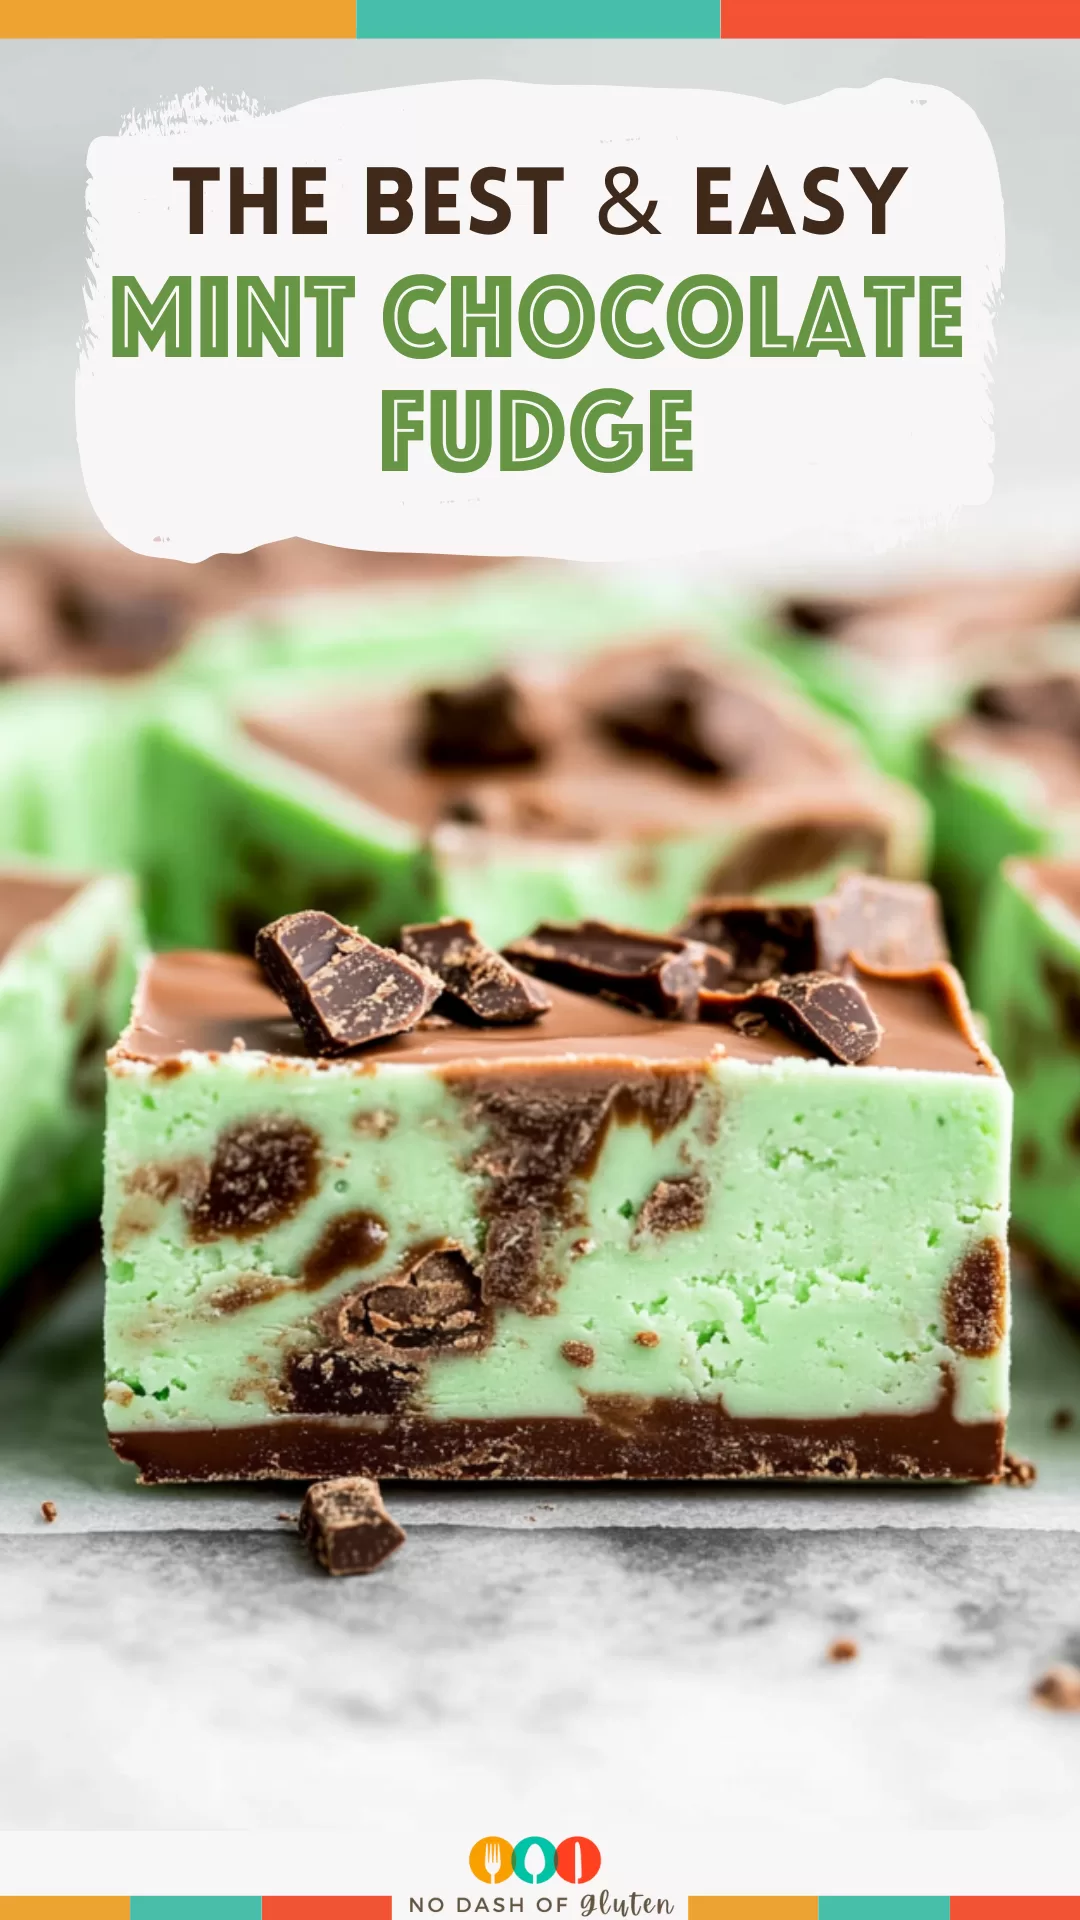
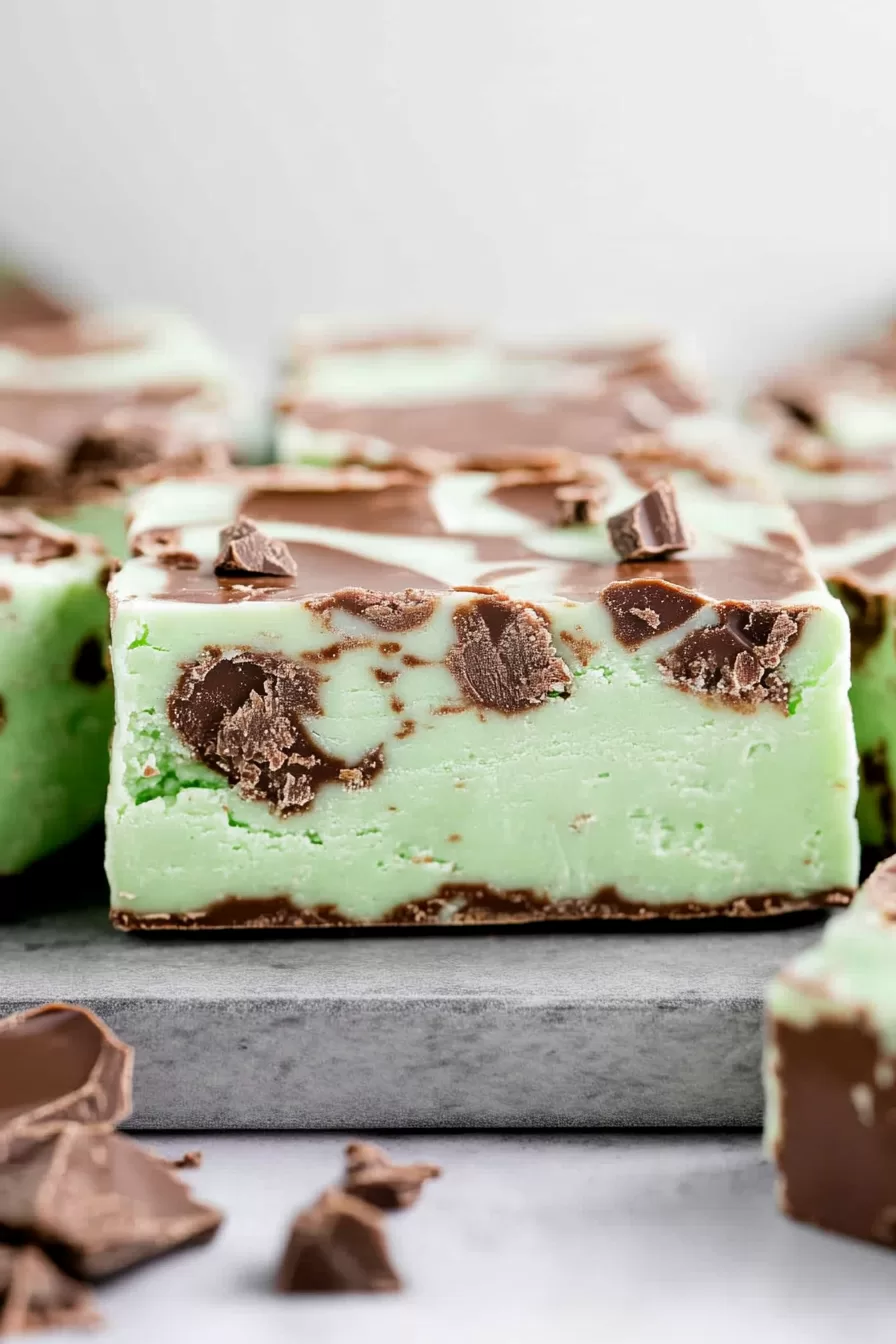
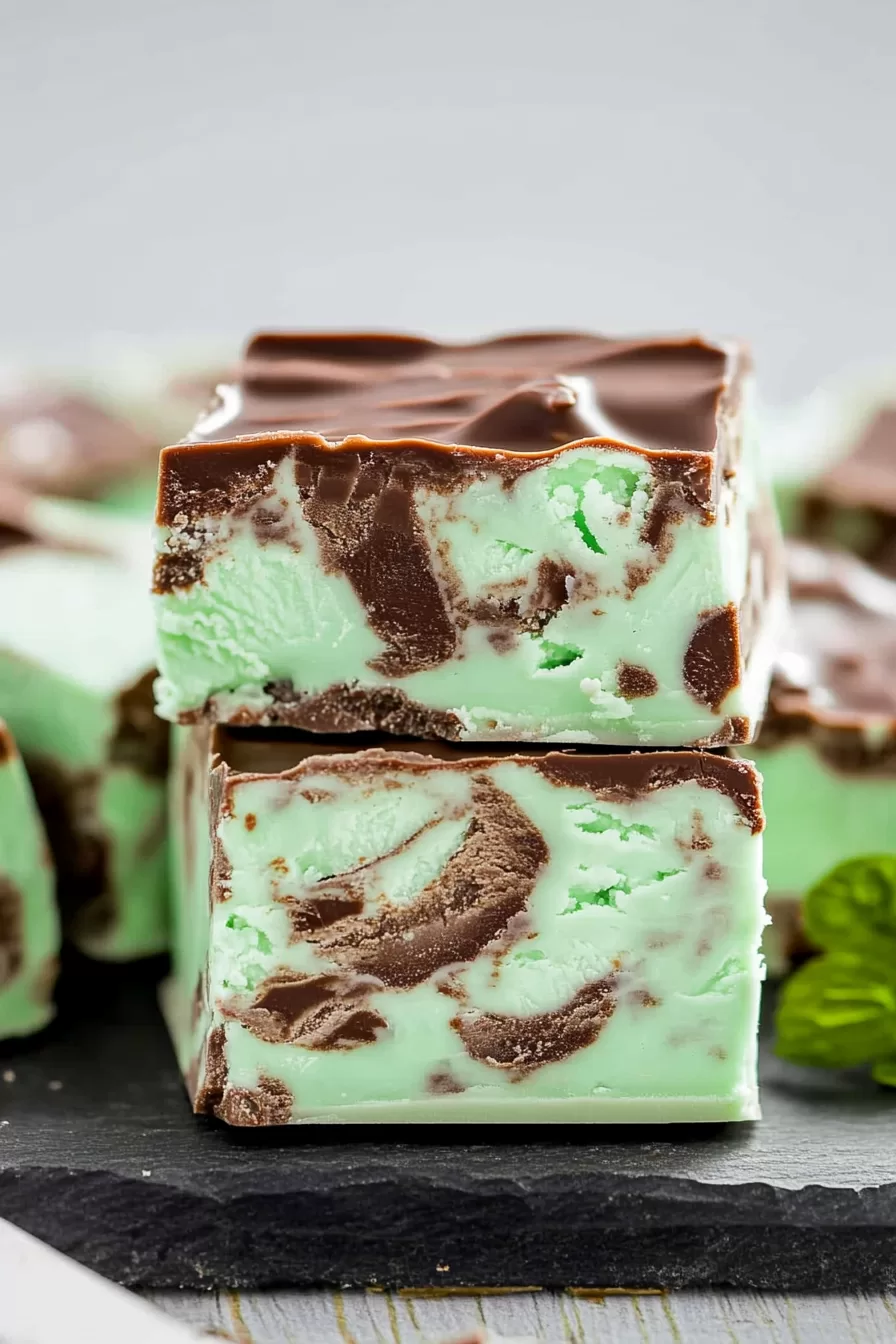
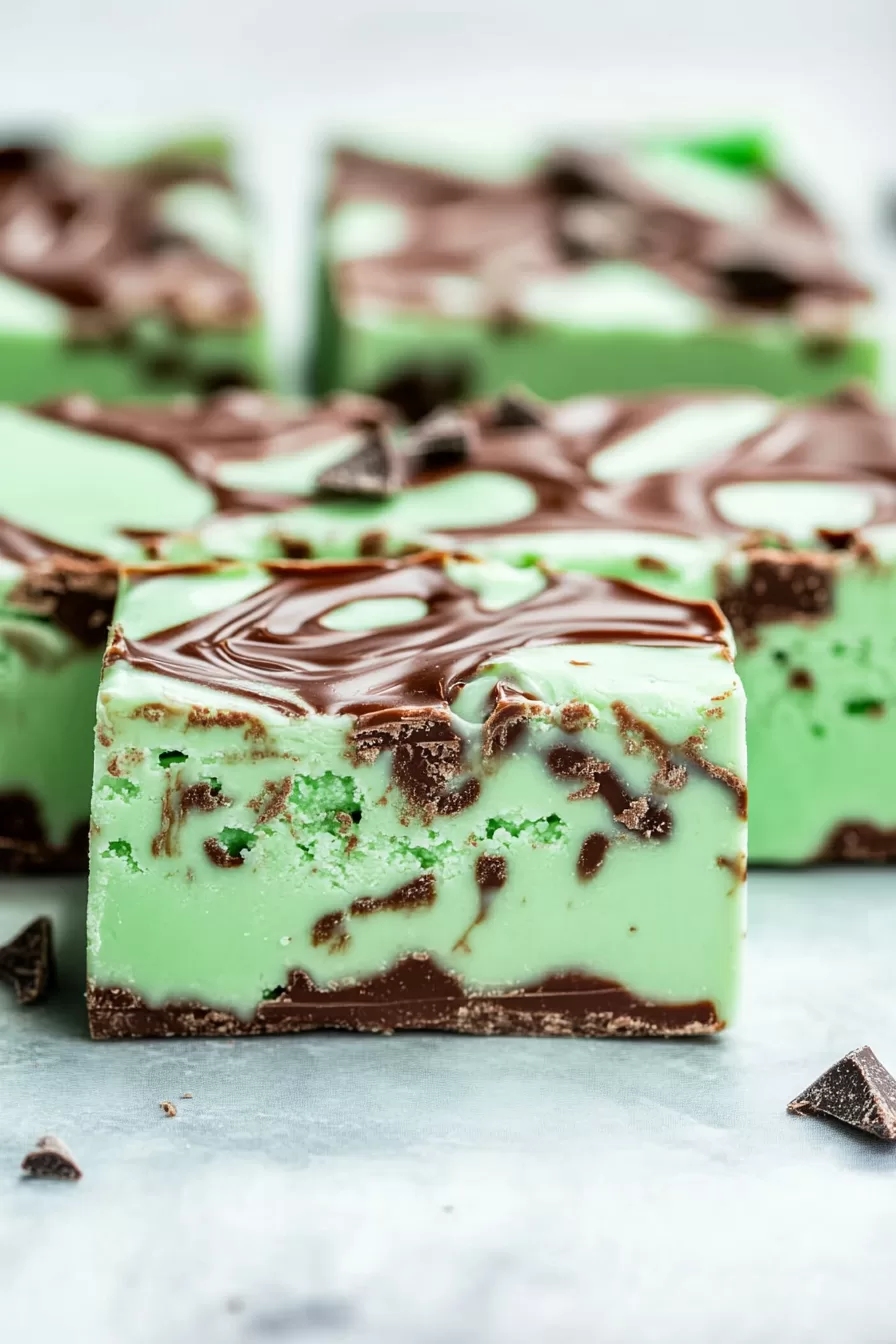
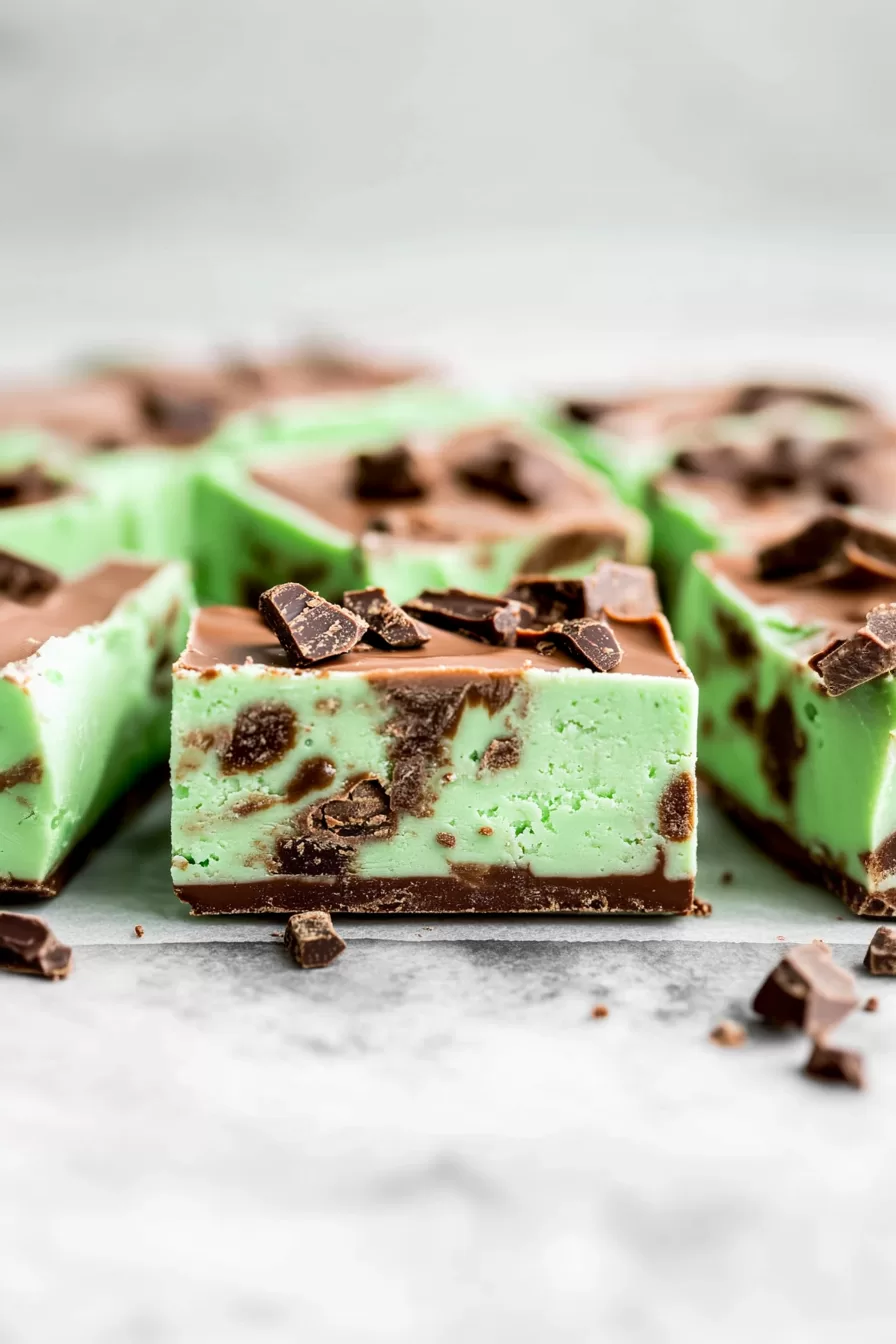
Mint Chocolate Fudge – Let me take you back to a chilly December evening a few years ago. The kids were arguing over who got the last candy cane, and I had a dessert emergency—yes, that’s a thing in my world. I needed something sweet, fast, and festive for a holiday party. Enter: Mint Chocolate Fudge.
I threw it together with whatever I had on hand—chocolate chips, mint extract, and some food coloring that had been sitting in the pantry since Halloween. To my surprise, it turned out amazing. Like, “you could sell this” amazing. My husband couldn’t stop sneaking pieces, and it was the first dessert gone at the party.

Remember it later!
Planning to try this recipe soon? Pin it for a quick find later!
Remember it later!
Planning to try this recipe soon? Pin it for a quick find later!
Now, it’s a staple in my holiday baking lineup, but honestly? I make it year-round. Because let’s be real—chocolate and mint are always in season. And the best part? You don’t need any fancy tools or candy thermometers, just a microwave and a sweet tooth.
Here’s a quick peek at what’s inside:
Table of content
Why You’ll Love This Mint Chocolate Fudge Recipe?
- Quick to make: Prep takes just 10 minutes. The hardest part is waiting for it to set.
- Perfectly minty: The mint flavor is there, but it doesn’t overwhelm the chocolate. Balance is key.
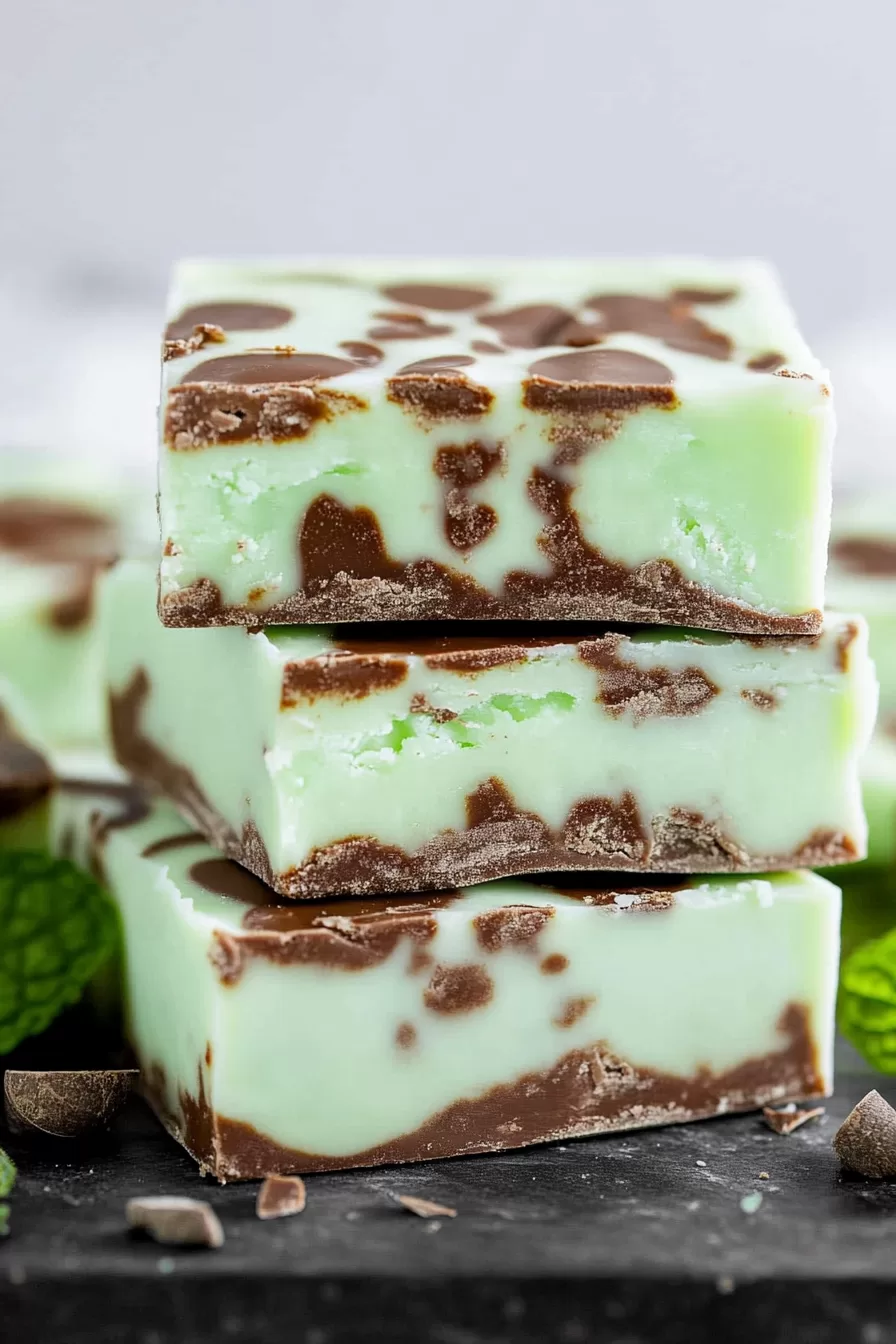
- Festive flair: That green swirl makes it stand out on any dessert table.
- No special tools required: Microwave, a spoon, and a little patience—that’s it.
- Great for sharing: It’s easy to cut into squares and package for gifts or parties.
Ingredient Notes:
Let’s talk ingredients. Each one plays a role in making this fudge so darn good.
- Milk chocolate chips: These create the rich, creamy base.
- White chocolate chips: Sweet and smooth, they balance out the mint perfectly.
- Sweetened condensed milk: This is what gives the fudge its creamy texture. Just don’t confuse it with evaporated milk!
- Mint extract: Brings that refreshing mint flavor—just a teaspoon is enough.
- Green food coloring: Optional, but it makes the fudge look extra festive.
How To Make Mint Chocolate Fudge?
If you’re new to fudge-making, don’t worry. This recipe is foolproof. Here’s how to do it:
Step 1: Line the Pan
Grab an 8×8-inch pan and line it with foil. Let the edges hang over so you can lift the fudge out easily later. You’ll thank me when it’s time to cut.
Step 2: Melt the Chocolate
In two separate microwave-safe bowls, melt the milk chocolate chips and white chocolate chips. Use 30-second intervals, stirring after each. Don’t rush this part—chocolate burns faster than you’d think.
Step 3: Add the Magic
Split the sweetened condensed milk evenly between the two bowls. To the milk chocolate, add mint extract. To the white chocolate, add a few drops of green food coloring. Stir until everything is smooth and combined.
Step 4: Swirl It Up
Here’s the fun part. Spoon dollops of each mixture into the pan, alternating between the two. Once it’s all in, take a butter knife and gently swirl the colors together. Don’t overdo it, or you’ll lose those pretty patterns.
Step 5: Let It Chill
Pop the pan in the fridge and let it chill overnight. Yes, overnight. It’s worth the wait.
Step 6: Slice and Enjoy
Once set, lift the fudge out of the pan using the foil. Trim the edges if you want it to look neat, then cut into squares. And just like that, you’re done.
Want To Save This Recipe?
Enter your email below and we'll send the recipe straight to your inbox.
Storage Options:
- Room temperature: Keep it in an airtight container for up to a week.
- Refrigerator: Store in the fridge for up to two weeks. Let it come to room temperature before serving.
- Freezer: Freeze for up to three months. Thaw in the fridge overnight for the best texture.
Variations and Substitutions:
Want to mix things up? Here are some ideas:
- Peppermint twist: Use peppermint extract instead of mint for a more traditional holiday flavor.
- Dark chocolate: Swap the milk chocolate for dark chocolate chips for a richer taste.
- Add-ins: Crushed candy canes, chopped nuts, or even mini marshmallows would be great.
- Natural coloring: Skip the artificial food coloring for a more subtle, natural look.
What to Serve with Mint Chocolate Fudge?
This fudge is a star on its own, but it pairs beautifully with:
- Hot chocolate: Because more chocolate is always a good idea.
- Coffee: The bitterness balances the sweetness perfectly.
- Vanilla ice cream: Crumble some fudge on top for a next-level sundae.
- Milk: It’s a classic combo for a reason.
Frequently Asked Questions:
Can I make this fudge ahead of time?
Absolutely! It keeps well, so it’s great for making a day or two in advance.
Do I need a candy thermometer?
Nope! This recipe is super simple and doesn’t require any special tools.
Can I double the recipe?
Yes, just use a larger pan to ensure even cooling.
And that’s it—Mint Chocolate Fudge made easy! Whether you’re whipping it up for a holiday party or just because you’re craving something sweet, this recipe is a total winner. Give it a try, and let me know how it turns out. I’d love to hear your thoughts!
Remember it later!
Planning to try this recipe soon? Pin it for a quick find later!
Remember it later!
Planning to try this recipe soon? Pin it for a quick find later!
Keep the Flavor Coming – Try These:
Ingredients
- 1 ½ cups milk chocolate chips
- 1 ½ cups white chocolate chips
- 14 ounces sweetened condensed milk not evaporated milk
- 1 teaspoon mint extract
- Green food coloring optional
Instructions
Prepare the Pan:
- Line an 8×8-inch pan with foil, allowing the edges to overhang for easy removal. Set aside.
Melt the Chocolate:
- In two separate microwave-safe bowls, melt the milk chocolate chips and white chocolate chips. Use 30-second intervals, stirring thoroughly after each interval to avoid overheating. Most of the melting will occur through stirring.
Incorporate Sweetened Condensed Milk:
- Divide the sweetened condensed milk evenly between the two bowls of melted chocolate. Mix thoroughly to combine.
Add Flavor and Color:
- To the bowl with melted milk chocolate, add the mint extract and stir until well blended. In the bowl with melted white chocolate, add a few drops of green food coloring and mix until the color is evenly distributed.
Layer and Swirl:
- Spoon dollops of each mixture into the prepared pan, alternating between the two. Once all the mixture is in the pan, use a butter knife to gently swirl the colors together for a marbled effect.
Set the Fudge:
- Place the pan in the refrigerator and allow the fudge to chill overnight or for at least 8 hours until fully set.
Cut and Serve:
- Once set, remove the fudge from the pan by lifting the foil edges. Trim any uneven edges if desired, then cut the fudge into 36 even pieces. Serve and enjoy.
Notes

I’m Bitty, owner of nodashofgluten.com, where I share simple, delicious recipes for all tastes, including gluten-free. Check out my “About Me” page for more info!


