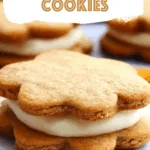
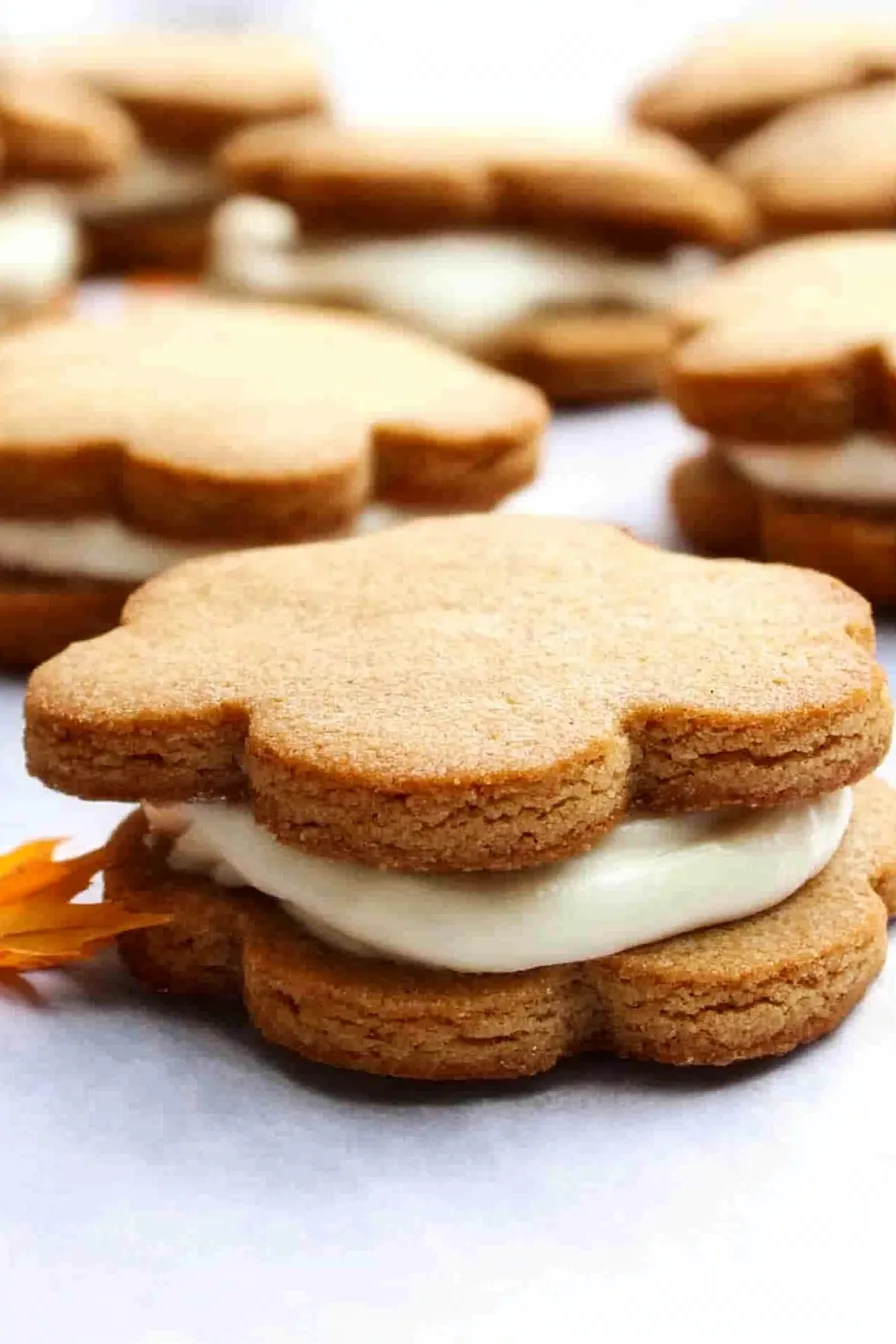
These buttery maple cream cookies are filled with a dreamy maple frosting. Made with flour, butter, brown sugar, and real maple syrup.
So this recipe—these Maple Cream Cookies—they happened sort of by accident. I was actually trying to recreate a store-bought version I remembered from my childhood. You know those maple leaf sandwich cookies? The ones you find in random gas stations or tucked on the bottom shelf at the grocery store, usually crushed in the package but still somehow magical? Yep, those.


Anyway, I tried one a few weeks ago for nostalgia’s sake and it was… not it. Dry. Too sweet. No real maple flavor. I felt kind of betrayed, if I’m being honest.
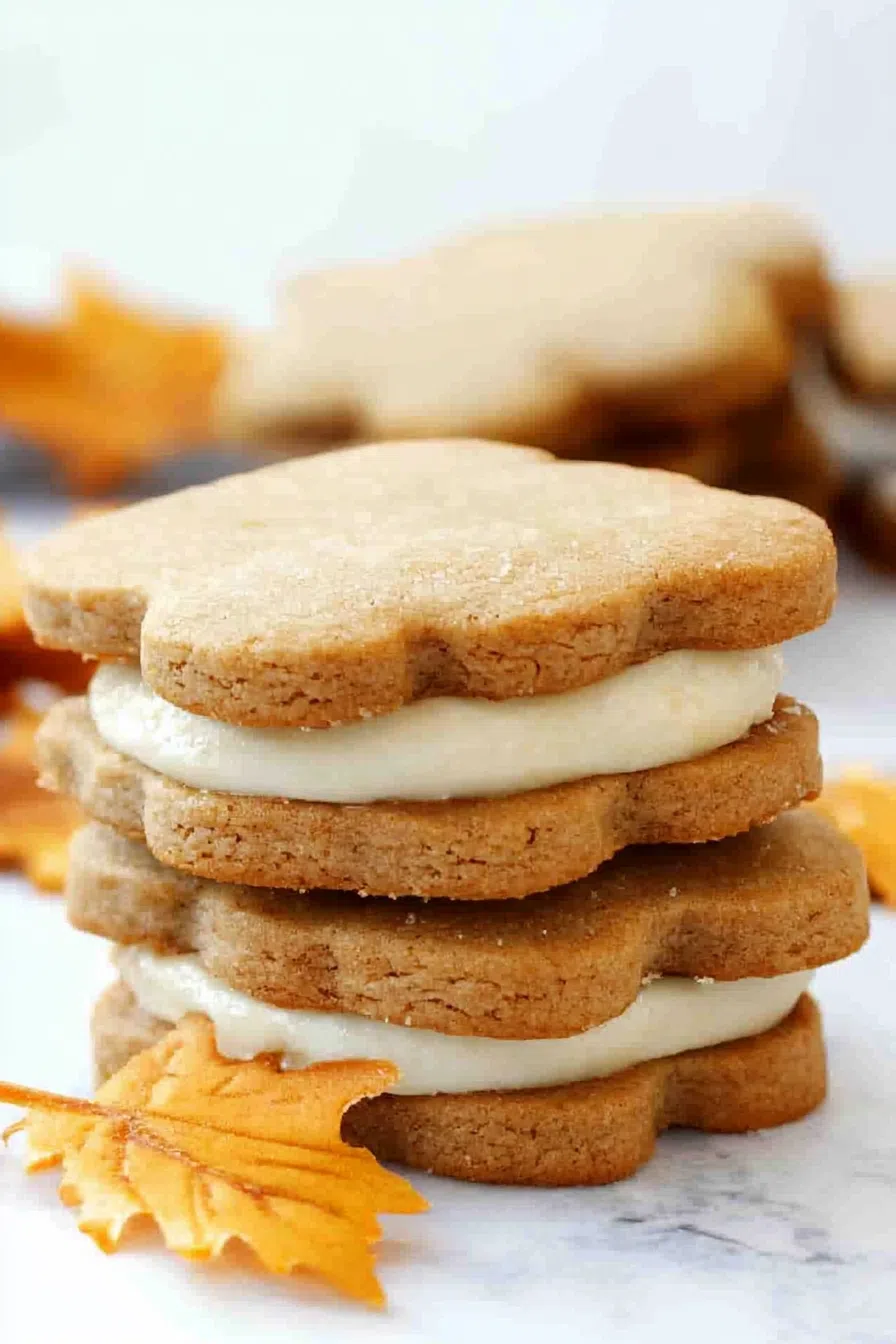
So, I pulled out my mixer, turned on some Maggie Rogers, and decided to make the cookie I thought I was getting. And oh my goodness, these? These are it. Soft, buttery, lightly crisp edges. And the filling? Maple-y but not overwhelming. It hits this balance that’s just right—like wearing the perfect sweater on a crisp day without overheating.
Why You’ll Love This Maple Cream Cookies Recipe?
Okay, so real talk—these cookies are the kind that make people pause mid-bite. Not to be dramatic, but I’ve witnessed it firsthand. There’s this moment of “Wait… what is this?” and then their eyes get wide, and you know you’ve won the cookie game.
They’re rich, sure, but not in a knock-you-over way. The maple flavor is present and proud, and that buttery cookie melts in your mouth in the best possible way. And unlike a lot of sandwich cookies, these don’t fall apart or leave your fingers sticky (unless you’re like me and try to eat three at once).
They’re basically the love child of fall and comfort food. Also—they’re adorable when you cut them into maple leaves. 10/10 would bake again.
Ingredient Notes:
You know I’m not one to gatekeep, so here’s what goes into the magic:
-
Flour: Plain ol’ all-purpose does the job. Nothing fancy here.
-
Butter: Unsalted, room temp, and yes—the good kind if you’ve got it. It makes a difference.
-
Brown sugar + white sugar: The combo gives you that perfect caramel-y chew without going full toffee.
-
Maple extract: This is the secret weapon. It brings that maple punch without making things too runny.
-
Egg: For binding and that tender texture.
-
For the filling: More butter (obviously), powdered sugar for fluffiness, and real maple syrup for flavor that whispers “Vermont” in your ear.
Optional: a warm beverage and a sweater while baking.

How To Make Maple Cream Cookies?
I’ll walk you through it like we’re side-by-side in the kitchen, and the dog keeps trying to eat flour off the floor.
Step 1: Dry stuff first.
Grab a bowl and whisk together your flour, baking powder, and a pinch of salt. Nothing fancy, but it’s the base of the whole thing.
Step 2: Cream dream.
In your stand mixer (or with a hand mixer if you’re old school), beat the butter and both sugars together until it’s pale and fluffy—about 3 minutes. Don’t rush this step; it’s where the magic starts.
Step 3: Add the cozy.
Crack in that egg, pour in the maple extract, and mix just until it’s combined. It should smell amazing right about now.
Step 4: Dry meets wet.
Slowly mix in the flour mixture. Go low and slow—this isn’t the time for overachieving or overmixing.
Step 5: Chill it out.
Divide the dough into two balls, flatten them into disks, wrap in plastic wrap, and chill for at least an hour. Trust me—cold dough makes everything easier.
Step 6: Cut it out.
Roll out one disk at a time on a floured surface to about ¼-inch thick. Cut with a maple leaf cutter or, honestly, whatever shape makes you happy.
Step 7: Bake ‘em.
Pop those babies into a 375°F oven for about 8-10 minutes. The edges should just barely start to turn golden. Don’t wait too long or they’ll crisp up too much.
Step 8: Cool your cookies.
Let them sit on the baking sheet for a few minutes, then transfer to a wire rack to cool completely. This is when you resist the urge to sneak a bite.
Want To Save This Recipe?
Step 9: Make that maple filling.
Beat room-temp butter until smooth, then add powdered sugar and maple syrup. Beat it until fluffy and smooth and irresistible. (Spoiler: it will be irresistible.)
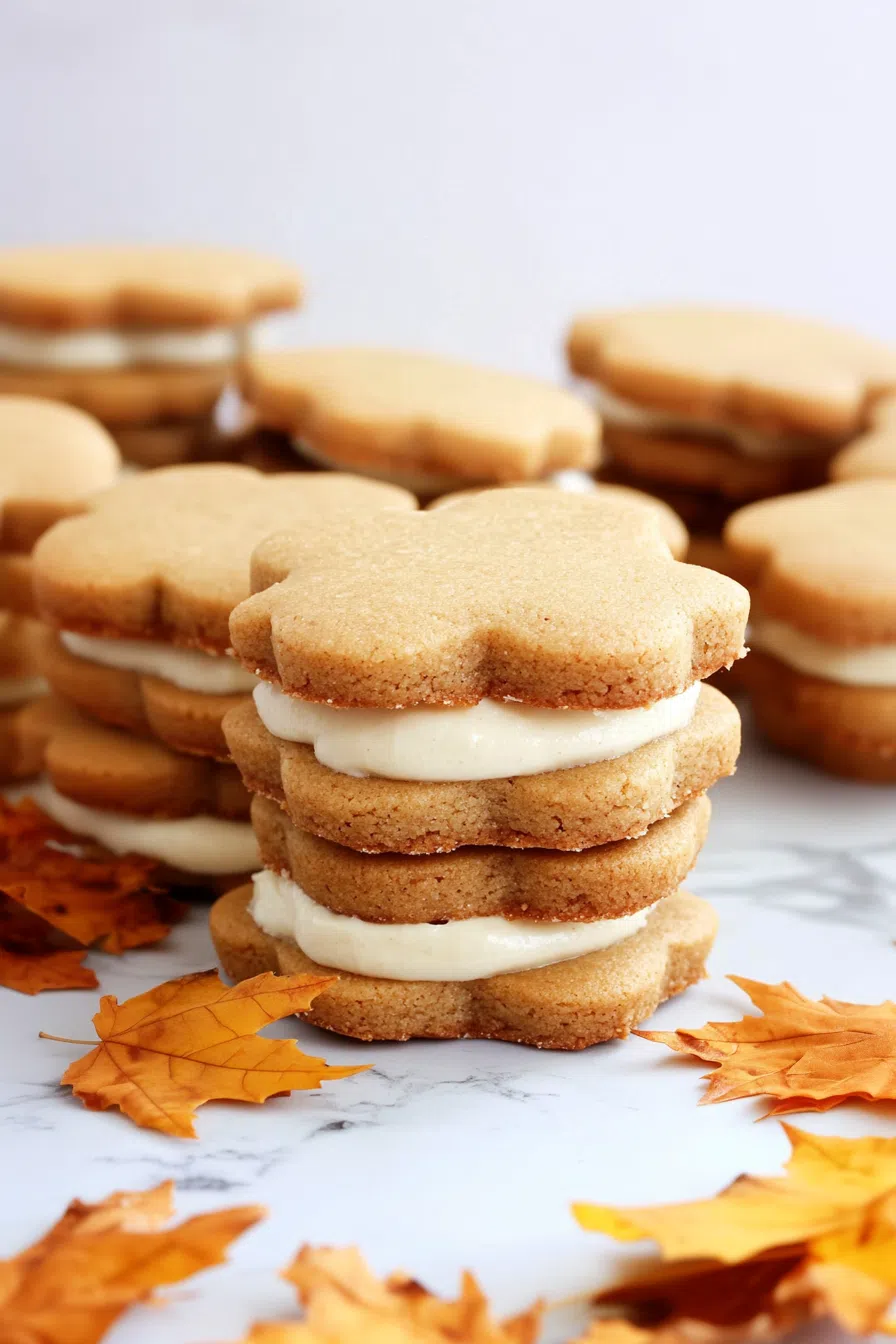
Step 10: Sandwich time!
Spread some filling on the back of a cookie, top it with another, and press gently. Repeat until you’re left with a tray of cozy perfection.
Storage Options:
You can store these in an airtight container on the counter for up to 5 days. They’ll stay soft, but if your house is dry, toss in a slice of bread (game-changer!). Want to make a batch ahead of time? Freeze the unfilled cookies, and just sandwich ‘em fresh later.
Variations and Substitutions:
Because sometimes you like to freestyle:
-
Add cinnamon or nutmeg to the dough for a spiced twist.
-
Use vanilla instead of maple extract if you’re not big on maple (but I mean… why are you here?).
-
Try a cream cheese maple filling for a tangy upgrade.
-
Make ‘em mini for a bite-sized treat tray. Warning: they’re dangerous in small form.
What to Serve with Maple Cream Cookies?
-
With a cup of hot apple cider. Fall in a cup + fall in a cookie? Perfection.
-
Crumbled over vanilla bean ice cream. Just trust me.
-
Alongside a chai latte, preferably while wearing socks with pumpkins on them.
-
As a “thank you” cookie gift. For friends. Or yourself.
Frequently Asked Questions:
Can I skip the chilling step?
Please don’t. It makes the dough easier to roll and helps the cookies hold their shape. I tried skipping once and everything turned into weird blobs.
Can I make the dough ahead of time?
Yes! Wrap it well and refrigerate up to 3 days or freeze for 2 months. Thaw overnight in the fridge before using.
What if I don’t have a cookie cutter?
Use a glass rim. Or a knife. Or freestyle them into abstract art. There are no cookie police here.
So that’s my love letter to Maple Cream Cookies. They’ve got heart, flavor, and just the right balance of soft and sweet. I hope they make your kitchen smell like happiness and your taste buds do a little happy dance.
Bake them. Share them. Keep them all to yourself. No judgment either way.
And hey—if you try them, drop a comment. Did you go full maple or add your own twist? Either way, I wanna hear all about it.
Keep the Flavor Coming – Try These:
Maple Cream Cookies
Ingredients
For the Cookies:
- 2 ½ cups all-purpose flour
- 2 teaspoons baking powder
- ¼ teaspoon salt
- 1 cup unsalted butter softened to room temperature
- 1 cup granulated sugar
- ½ cup packed brown sugar
- 1 large egg
- 2 teaspoons maple extract
For the Maple Cream Filling:
- 4 tablespoons unsalted butter softened
- 1 cup confectioners’ sugar
- 2 tablespoons pure maple syrup
Instructions
Prepare the Dry Ingredients:
- In a medium mixing bowl, whisk together the all-purpose flour, baking powder, and salt until well combined. Set aside.
Cream the Butter and Sugars:
- In the bowl of a stand mixer fitted with the paddle attachment, cream the softened butter, granulated sugar, and brown sugar on medium speed for approximately 3 minutes, until the mixture becomes light and fluffy.
Incorporate the Wet Ingredients:
- Add the egg and maple extract to the butter-sugar mixture. Beat on medium speed until well incorporated, about 30 seconds.
Combine with Dry Ingredients:
- Gradually add the dry ingredient mixture to the wet ingredients, mixing on low speed until just combined. Scrape down the bowl as needed to ensure all components are evenly incorporated.
Chill the Dough:
- Divide the dough into two equal portions, form each into a disk, wrap in plastic wrap, and refrigerate for at least 1 hour to firm the dough.
Preheat the Oven:
- Preheat the oven to 375°F (190°C). Line baking sheets with parchment paper.
Roll and Cut the Cookies:
- Remove one dough disk from the refrigerator. On a lightly floured surface, roll the dough to approximately ¼-inch thickness. Using a maple leaf cookie cutter, cut out cookies and transfer them to the prepared baking sheets.
Bake the Cookies:
- Bake in the preheated oven for 8–10 minutes, or until the edges are lightly golden. Do not overbake. Allow cookies to cool on the baking sheets for 3 minutes before transferring to a wire rack to cool completely.
Prepare the Filling:
- In a clean bowl, beat the softened butter until smooth. Add the confectioners’ sugar and maple syrup, then continue beating until the filling is light, smooth, and creamy.
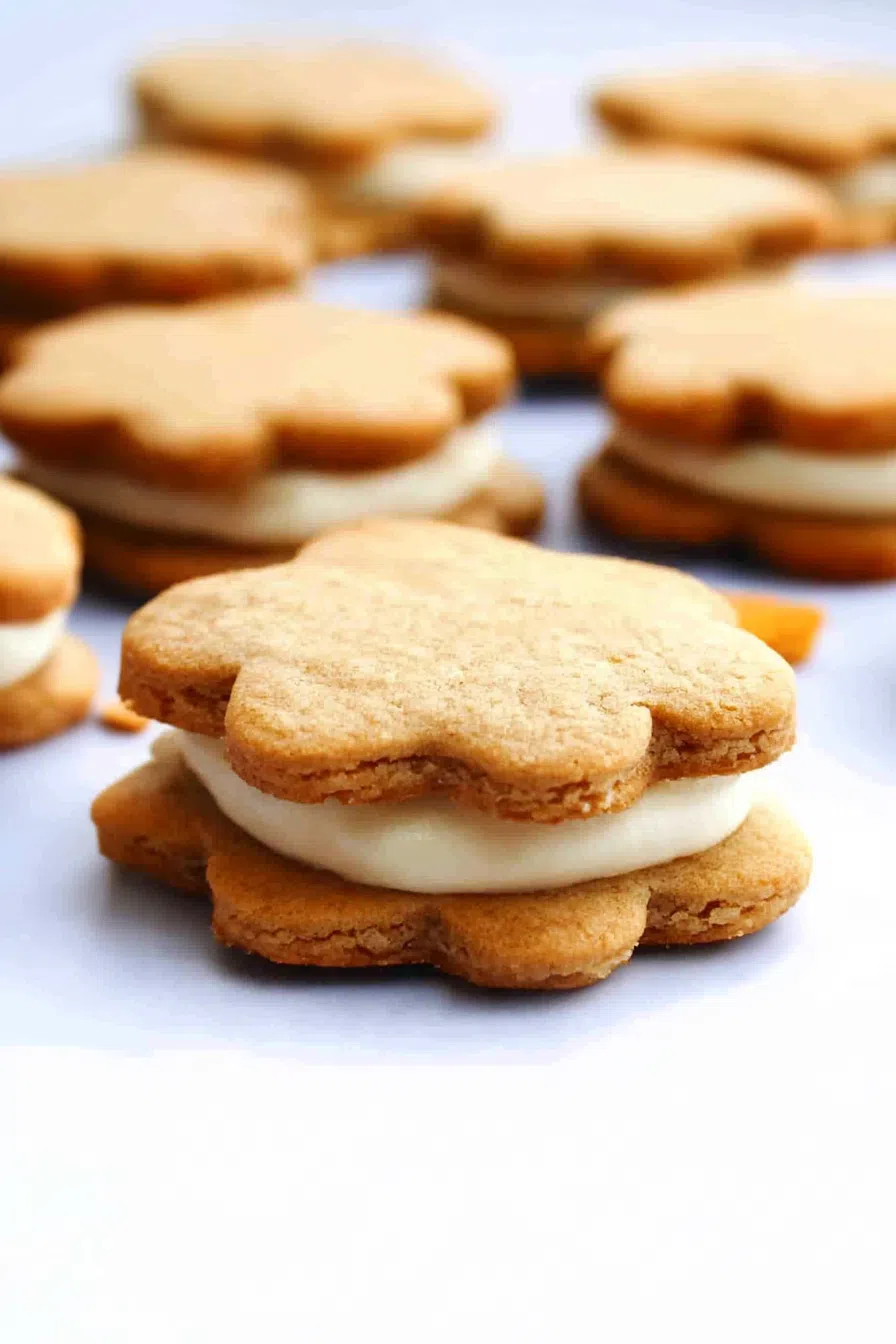
Assemble the Sandwich Cookies:
- Spread a layer of the maple cream filling onto the bottom (flat side) of one cookie. Place a second cookie, flat side down, on top to create a sandwich. Repeat with the remaining cookies and filling.
Notes
I’m Bitty, owner of nodashofgluten.com, where I share simple, delicious recipes for all tastes, including gluten-free. Check out my “About Me” page for more info!