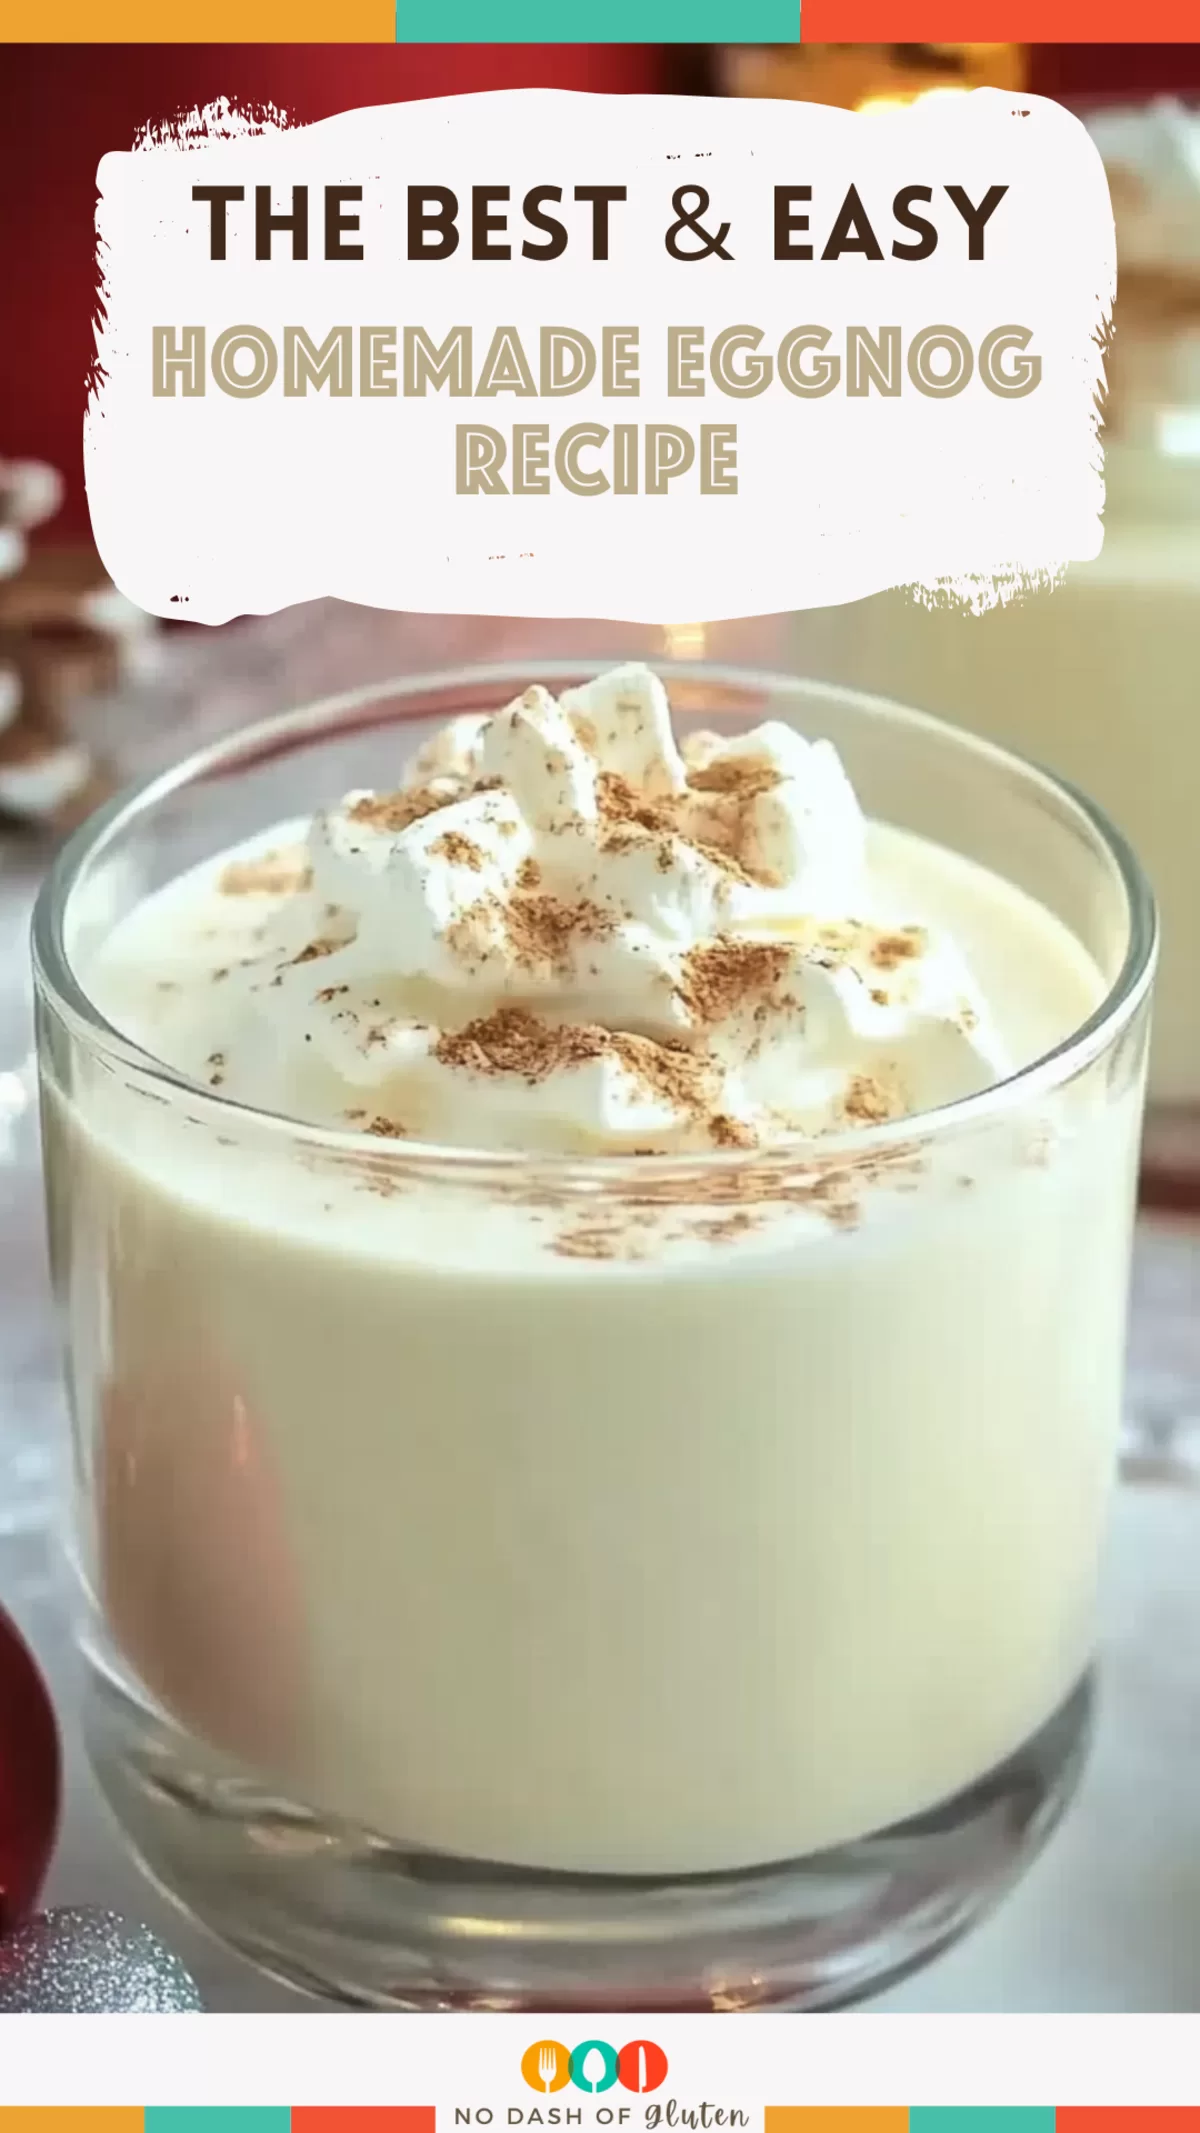
Homemade Eggnog – Do you ever have a recipe that feels more like a memory? For me, that’s this Homemade Eggnog Recipe. I still remember the first time I tried to make eggnog from scratch—it was a mess. Picture spilled milk, sugar on the counter, and me whisking frantically, hoping I wouldn’t scramble the eggs. But, somehow, it worked, and the result? Pure magic.
Growing up, my mom was all about the store-bought stuff, but when I visited a friend’s house one Christmas, her dad handed me a cup of homemade eggnog. I had no idea it could taste like that—thick, creamy, perfectly spiced, and with just enough sweetness to make you go back for seconds. Ever since then, I’ve been hooked.

Now, it’s a tradition in my house. My kids get to “help” (which usually means eating more whipped cream than decorating the drinks), and we crank up the holiday playlist while the eggnog chills in the fridge. It’s not always perfect, but honestly, that’s what makes it fun.
Why You’ll Love This Homemade Eggnog Recipe?
Here’s why this Homemade Eggnog Recipe is worth every minute:
- Totally customizable: Want a boozy holiday treat? Add rum. Serving it to kids? Skip the alcohol. It’s flexible.
- Rich and creamy: Thanks to tempered egg yolks, this eggnog is silky smooth without feeling heavy.
- Perfectly spiced: The cinnamon, cloves, and nutmeg give it that cozy, holiday warmth we all love.
- Better than store-bought: Once you’ve had this, the stuff in a carton will feel like a distant, boring memory.

Ingredient Notes:
Let’s chat about what makes this eggnog shine because every ingredient has its moment:
- Milk: Whole milk is best for that creamy base, but 2% works if you’re cutting back a bit. Don’t go skim—you’ll miss out on the richness.
- Cinnamon: Adds warmth and depth. Love it? Add an extra pinch, or swap for a cinnamon stick if you’re feeling fancy.
- Cloves: They’re tiny but mighty. Just don’t forget to strain them out—trust me, biting into one is not the holiday vibe.
- Vanilla Extract: You’ll add it twice—once for depth at the start and then for a fragrant boost at the end. It’s worth it.
- Egg Yolks: These are the MVPs for a thick and luxurious texture. Whisk them like your life depends on it to avoid lumps.
- Sugar: Balances the spices and creaminess. Adjust to taste if you prefer it less sweet.
- Cream: This takes it to the next level. You could use heavy cream for a thicker result, but light cream keeps it balanced.
- Rum (Optional): A classic addition for adults, but you can easily swap it for bourbon or skip it entirely.
- Nutmeg: Freshly grated, if possible. It’s like the cherry on top but better.
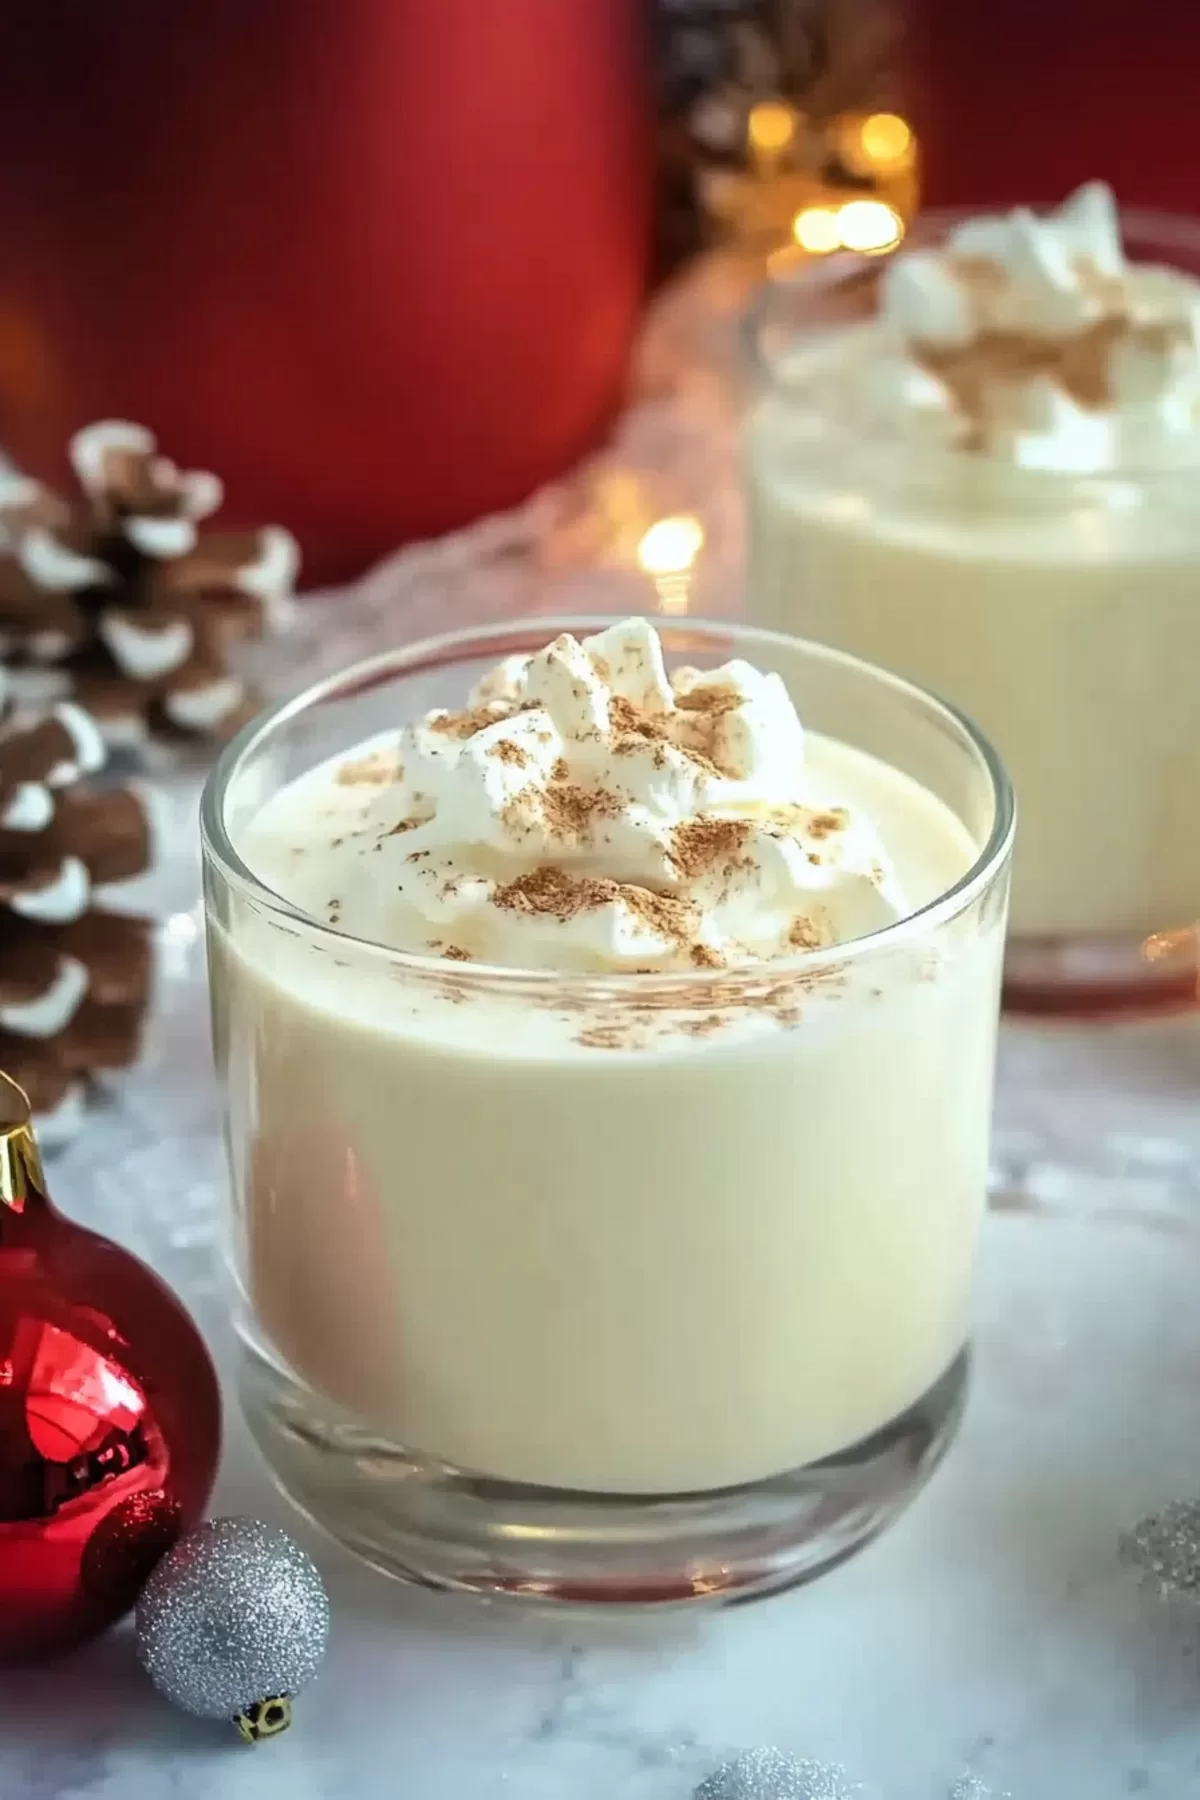
How To Make Homemade Eggnog?
Step 1. Heat the Milk and Spices
Combine milk, cinnamon, cloves, and ½ teaspoon of vanilla in a saucepan. Heat it gently over low heat for about 5 minutes to let the spices infuse the milk. Then crank it up to medium-low and bring it to a gentle boil. (And if it starts bubbling over? Don’t panic. Just clean it up and call it rustic charm.)
Step 2. Whisk the Egg Yolks and Sugar
In a large mixing bowl, whisk the egg yolks until they’re pale and creamy. Add the sugar and whisk until it’s light and fluffy. It’s basically an arm workout, but the payoff is worth it.
Step 3. Temper the Eggs
Here’s the tricky part, but you’ve got this. Slowly pour a ladleful of the warm milk into the egg yolk mixture while whisking constantly. This warms the eggs up gently so they don’t scramble. Keep going, little by little, until all the milk is mixed in.
Step 4. Cook the Eggnog Base
Pour the mixture back into the saucepan and cook over medium heat, stirring non-stop. After about 3 minutes, it’ll thicken slightly—like a custard that’s almost there. Don’t let it boil, or you’ll have scrambled eggs. (Been there, done that.)
Step 5. Strain and Cool
Strain the mixture through a fine mesh sieve to catch the cloves and any tiny bits of cooked egg. Let it cool at room temperature for about an hour. This step makes sure your eggnog is silky smooth.
Step 6. Add the Final Touches
Stir in the cream, remaining vanilla, rum (if you’re using it), and nutmeg. Taste it—need more spice or sweetness? Adjust now before it goes into the fridge.
Want To Save This Recipe?
Enter your email below and we'll send the recipe straight to your inbox.
Step 7. Chill and Serve
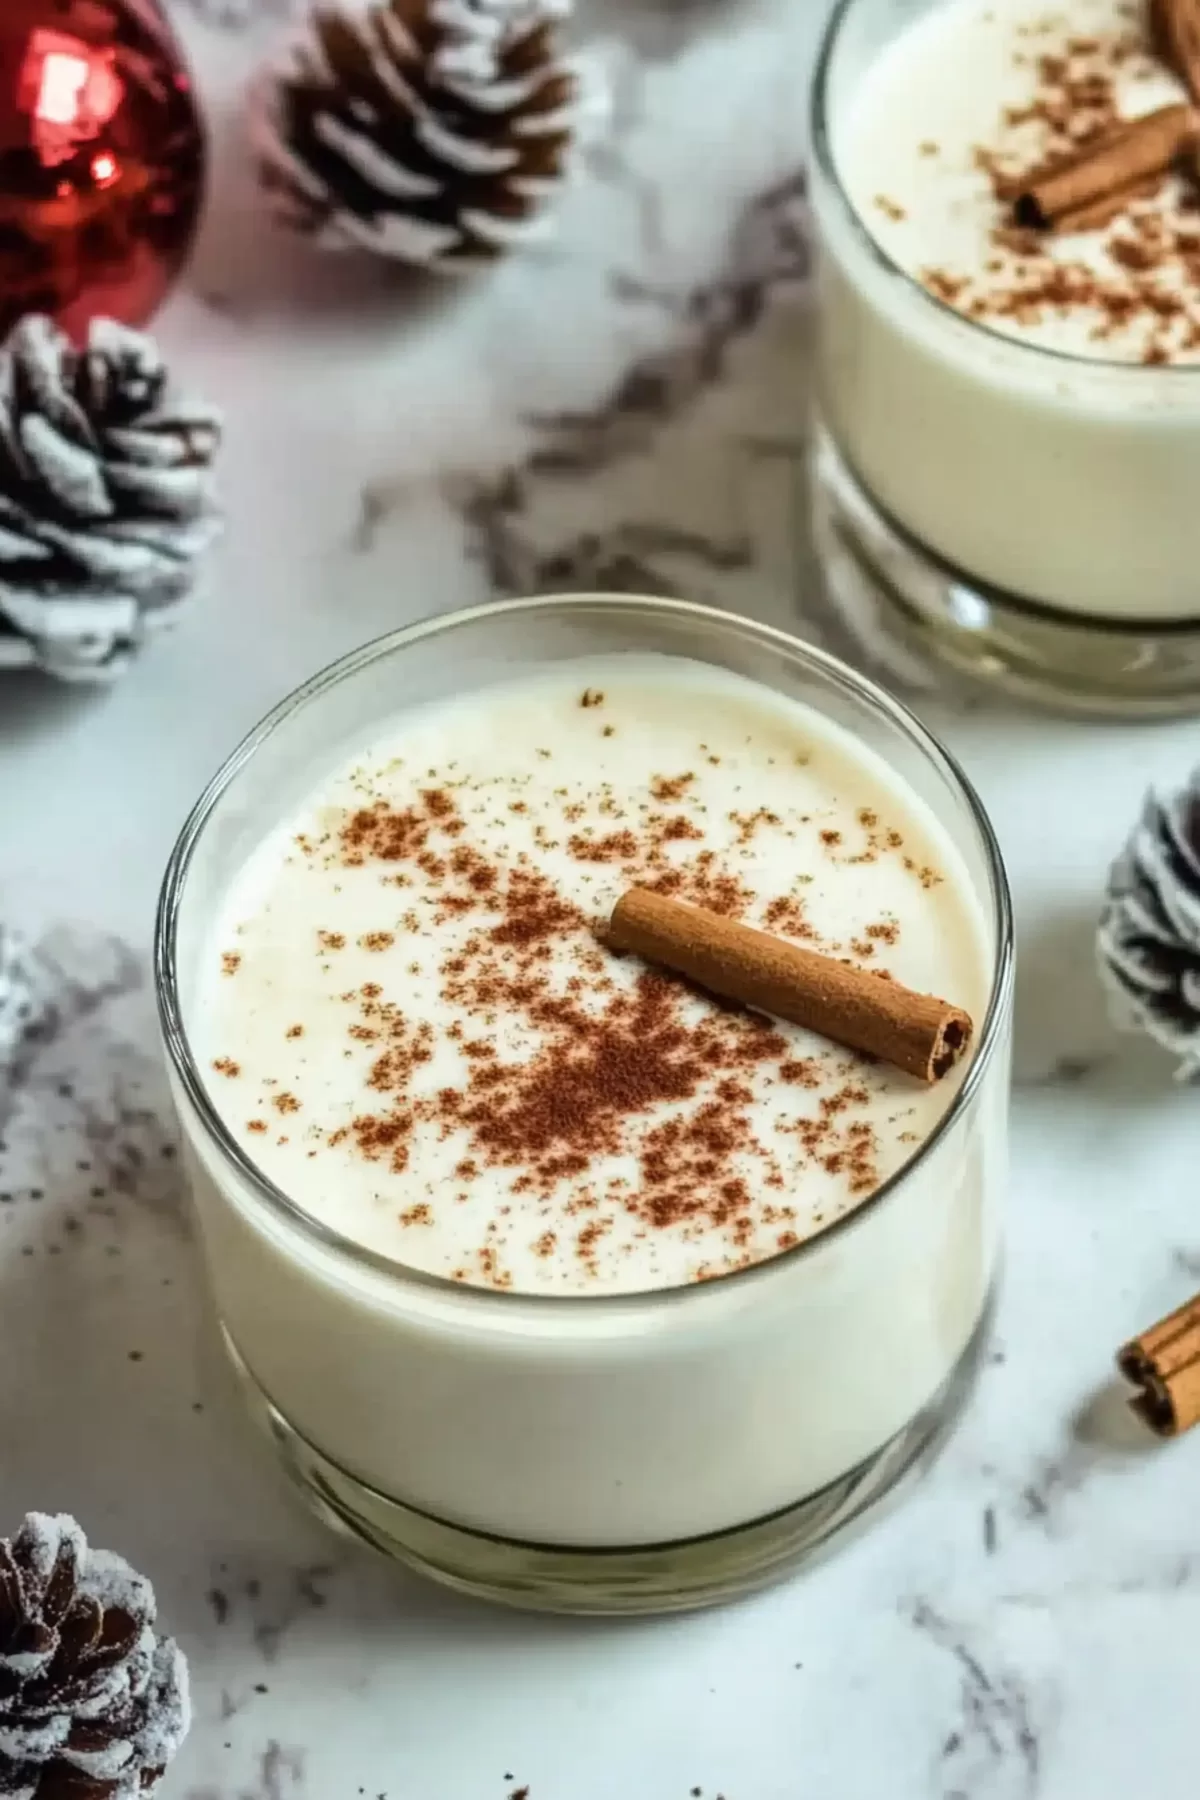
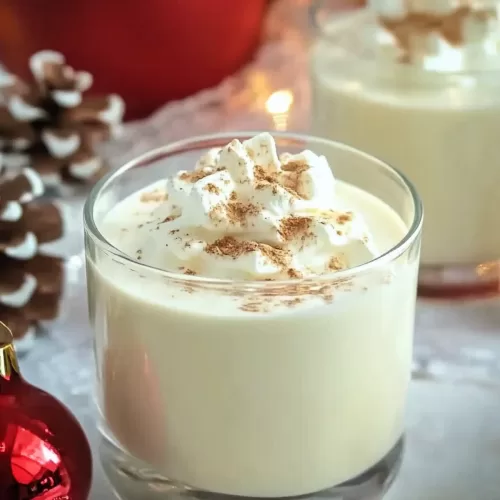
Refrigerate the eggnog for at least 8 hours or, if you’re patient, overnight. Serve it cold with a sprinkle of nutmeg on top. Add a cinnamon stick if you’re feeling extra festive.
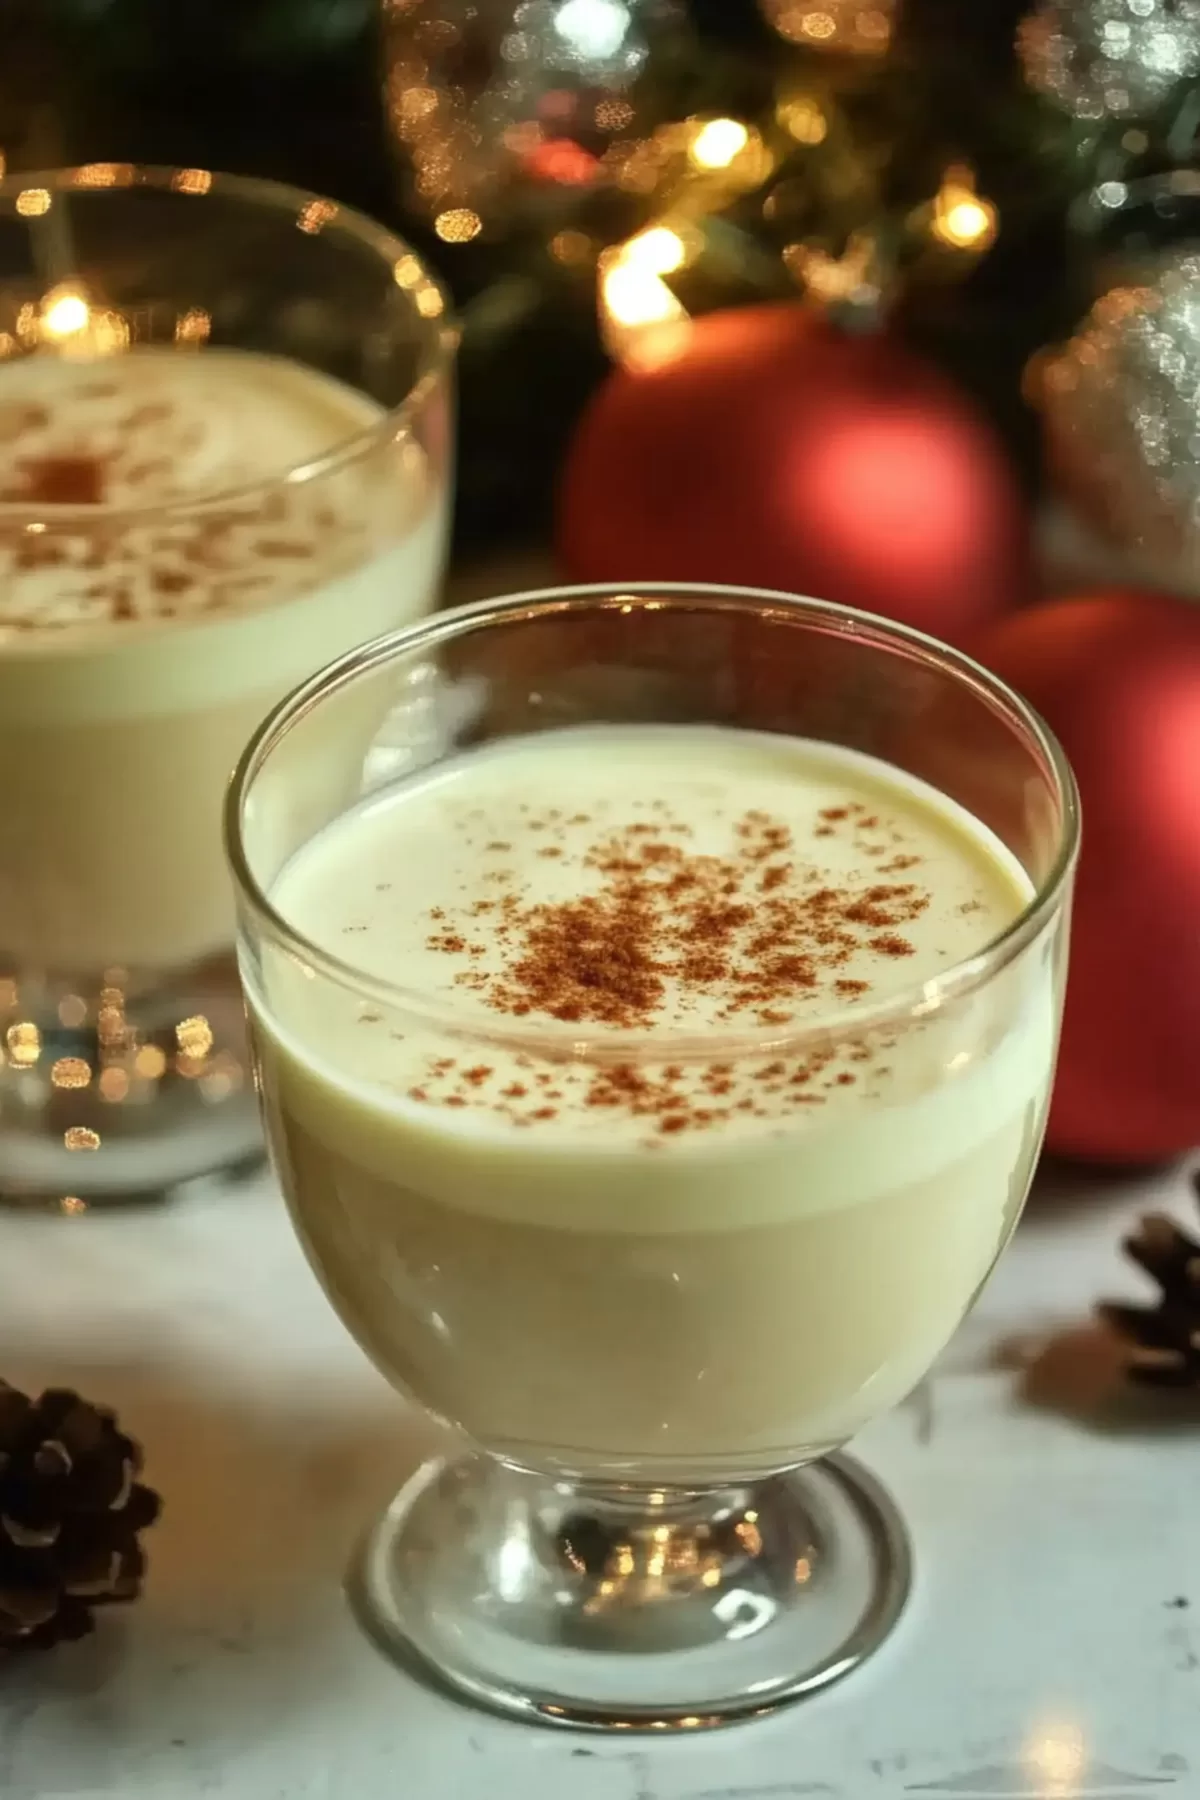
Storage Options:
Homemade eggnog will keep in the fridge for about 3 days if stored in an airtight container. If you left out the alcohol, aim to drink it within 2 days for the freshest flavor. And don’t forget to stir before serving—spices tend to settle at the bottom.
Variations and Substitutions:
Want to mix it up? Here are some ideas:
- Dairy-Free: Use almond, oat, or coconut milk. For the cream, go with a thick coconut cream.
- Different Booze: Swap the rum for bourbon, brandy, or even a splash of Amaretto for something different.
- Less Sweet: Cut the sugar to 1 cup if you like your eggnog on the less-sweet side.
- Spice it Up: Add a pinch of allspice or fresh ginger for a bolder flavor.
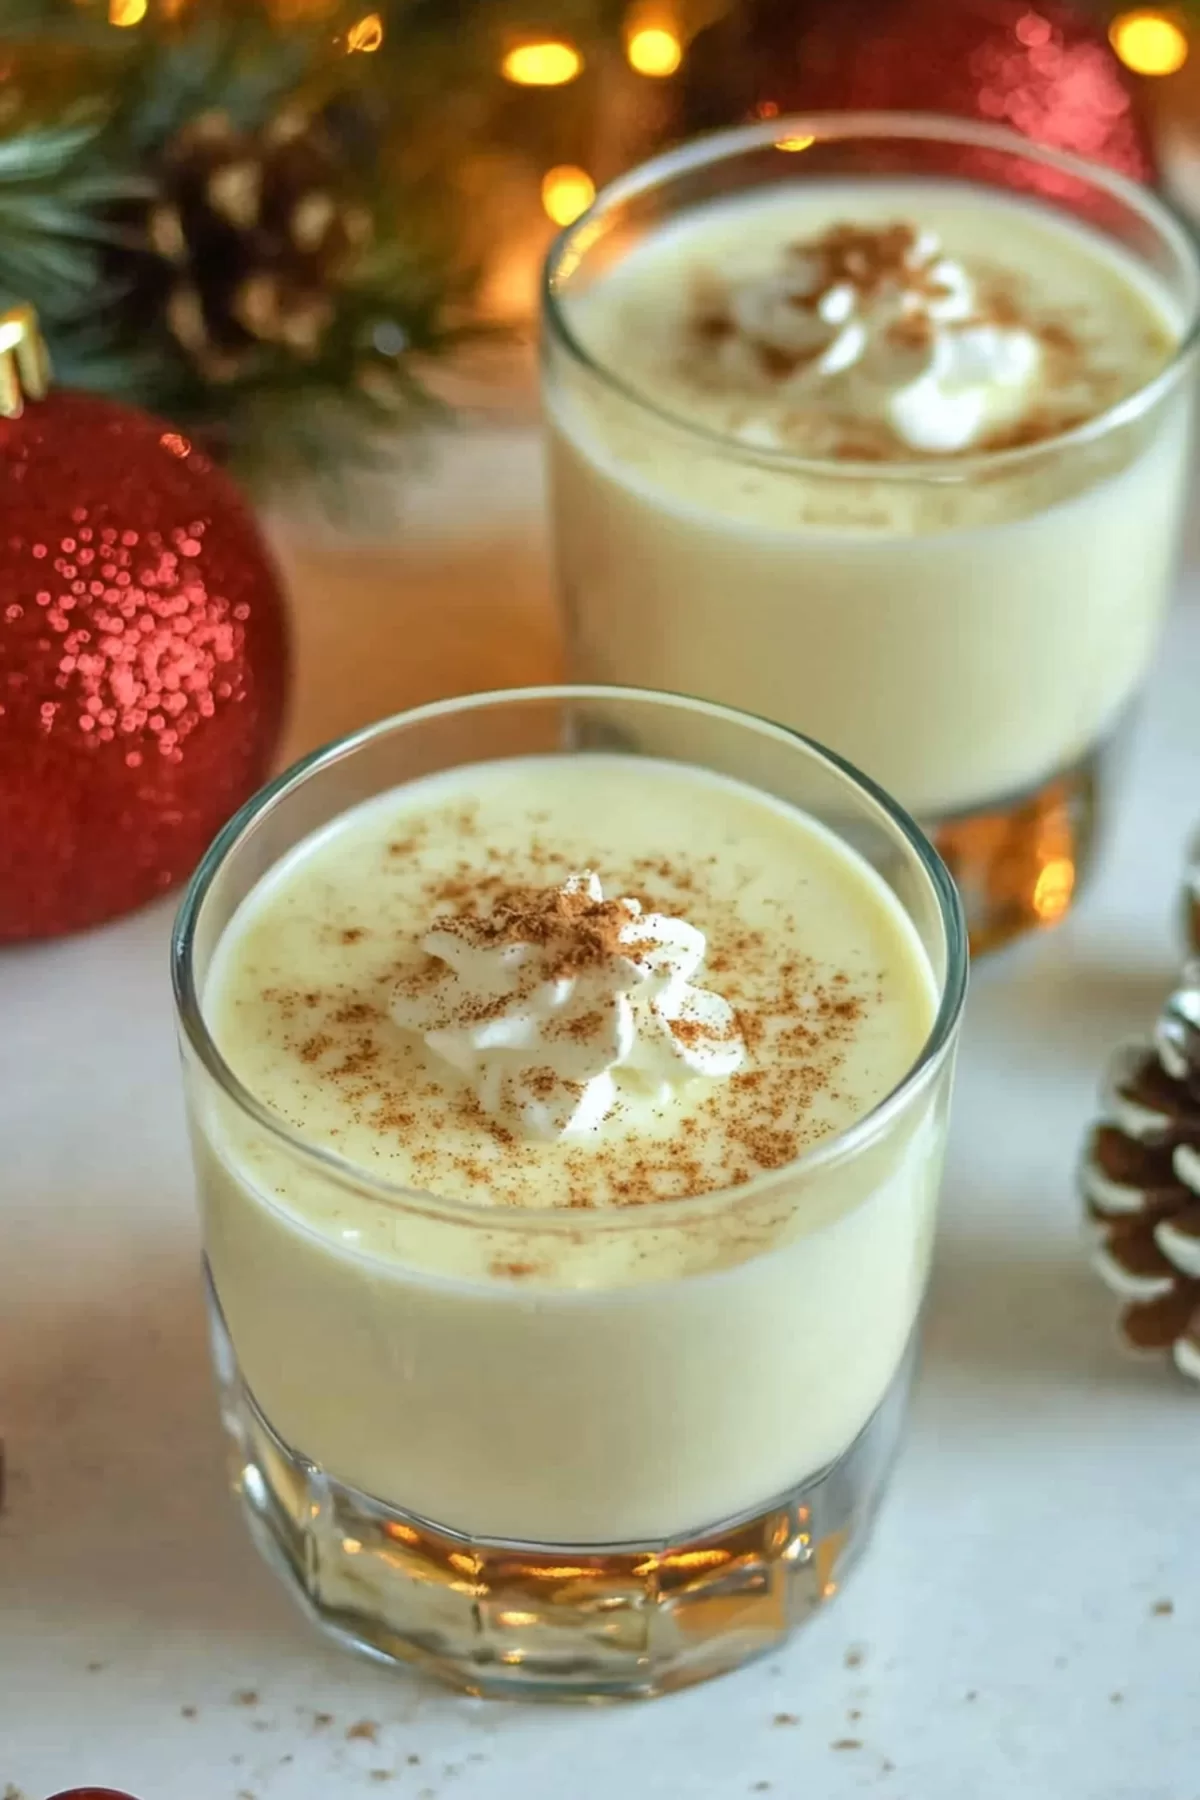
What to Serve with Homemade Eggnog?
Eggnog is a star on its own, but it plays nicely with others. Here’s what I’d pair it with:
- Cookies: Gingerbread, shortbread, or chocolate chip cookies are all winners.
- Pastries: Cinnamon rolls or flaky croissants make an indulgent breakfast pairing.
- Savory Snacks: Spiced nuts or a cheese platter balance the richness perfectly.
- Desserts: Serve alongside a slice of pumpkin pie or a warm apple crisp.
Frequently Asked Questions:
Is it safe to drink homemade eggnog?
Yep! The eggs are tempered during the process, which means they’re gently cooked and safe to consume.
Can I make it ahead of time?
Totally. In fact, the flavors only get better after a day in the fridge. Make it the night before your party for maximum deliciousness.
What if my eggnog is too thick?
Just stir in a splash of milk or cream until it’s the consistency you like. Problem solved!
There’s nothing like a creamy, spiced glass of Homemade Eggnog to kick off the holidays. Whether you’re sipping it by the fire, serving it at a party, or sneaking a glass after everyone’s gone to bed (no judgment), it’s guaranteed to bring a little joy. Let me know—are you team rum or no rum? I can’t wait to hear how yours turns out! Cheers!
<Remember it later>
Planning to try this recipe soon? Pin it for a quick find later!
<Remember it later>
Planning to try this recipe soon? Pin it for a quick find later!
Keep the Flavor Coming – Try These:
Homemade Eggnog Recipe
Ingredients
- 4 cups whole milk
- 1 teaspoon ground cinnamon
- 5 whole cloves
- 2 ½ teaspoons vanilla extract divided
- 12 large egg yolks
- 1 ½ cups granulated sugar
- 4 cups light cream
- 2 ½ cups light rum optional
- ½ teaspoon ground nutmeg
Instructions
Heat the Milk and Spices
- In a medium saucepan, combine the milk, cinnamon, cloves, and ½ teaspoon of vanilla extract. Warm over low heat for 5 minutes, stirring occasionally. Gradually increase the heat to medium-low and bring the mixture to a gentle boil. Remove from heat and let it cool slightly.
Whisk the Egg Yolks and Sugar
- In a large mixing bowl, whisk the egg yolks until they are pale and creamy. Gradually add the sugar and continue whisking until the mixture becomes light and fluffy. This step ensures a smooth texture for your eggnog.
Temper the Eggs
- Slowly pour a small amount of the warm milk mixture into the egg yolk mixture while whisking constantly. Gradually add the remaining milk mixture in a steady stream, continuing to whisk. This process gently heats the eggs without curdling them.
Cook the Eggnog Base
- Pour the tempered mixture back into the saucepan. Cook over medium heat, stirring constantly, until the mixture thickens slightly and coats the back of a spoon, about 3 minutes. Do not let it boil, as this can cause the mixture to curdle.
Strain and Cool
- Strain the mixture through a fine-mesh sieve to remove the cloves and any cooked egg particles. Allow the mixture to cool at room temperature for 1 hour.
Add the Final Ingredients
- Once cooled, stir in the cream, remaining 2 teaspoons of vanilla extract, rum (if using), and nutmeg. Mix thoroughly to combine.
Chill and Serve
- Transfer the eggnog to a pitcher or airtight container and refrigerate for at least 8 hours, or overnight. Serve chilled, garnished with an extra sprinkle of nutmeg or a cinnamon stick for decoration.
Notes

I’m Bitty, owner of nodashofgluten.com, where I share simple, delicious recipes for all tastes, including gluten-free. Check out my “About Me” page for more info!


