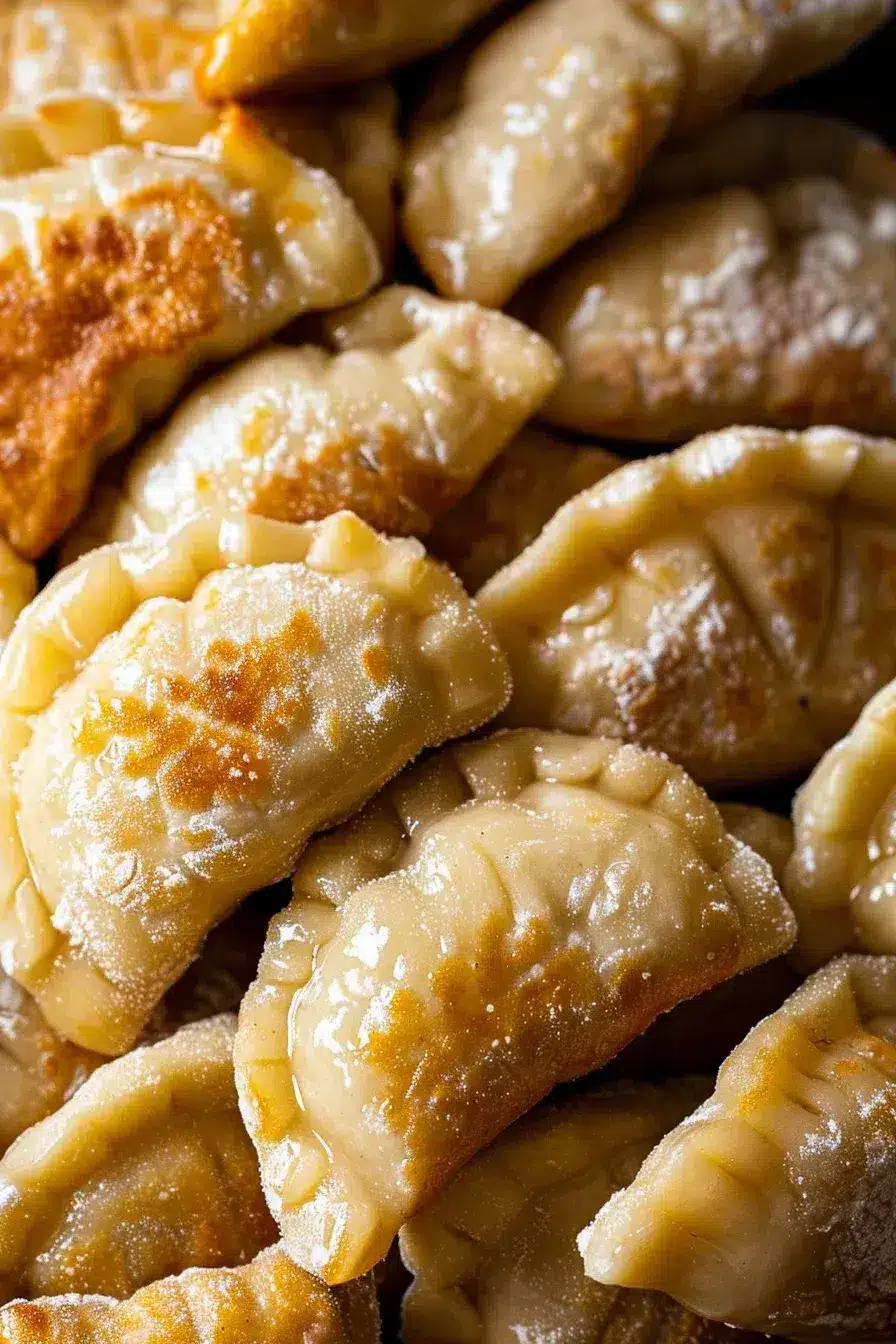
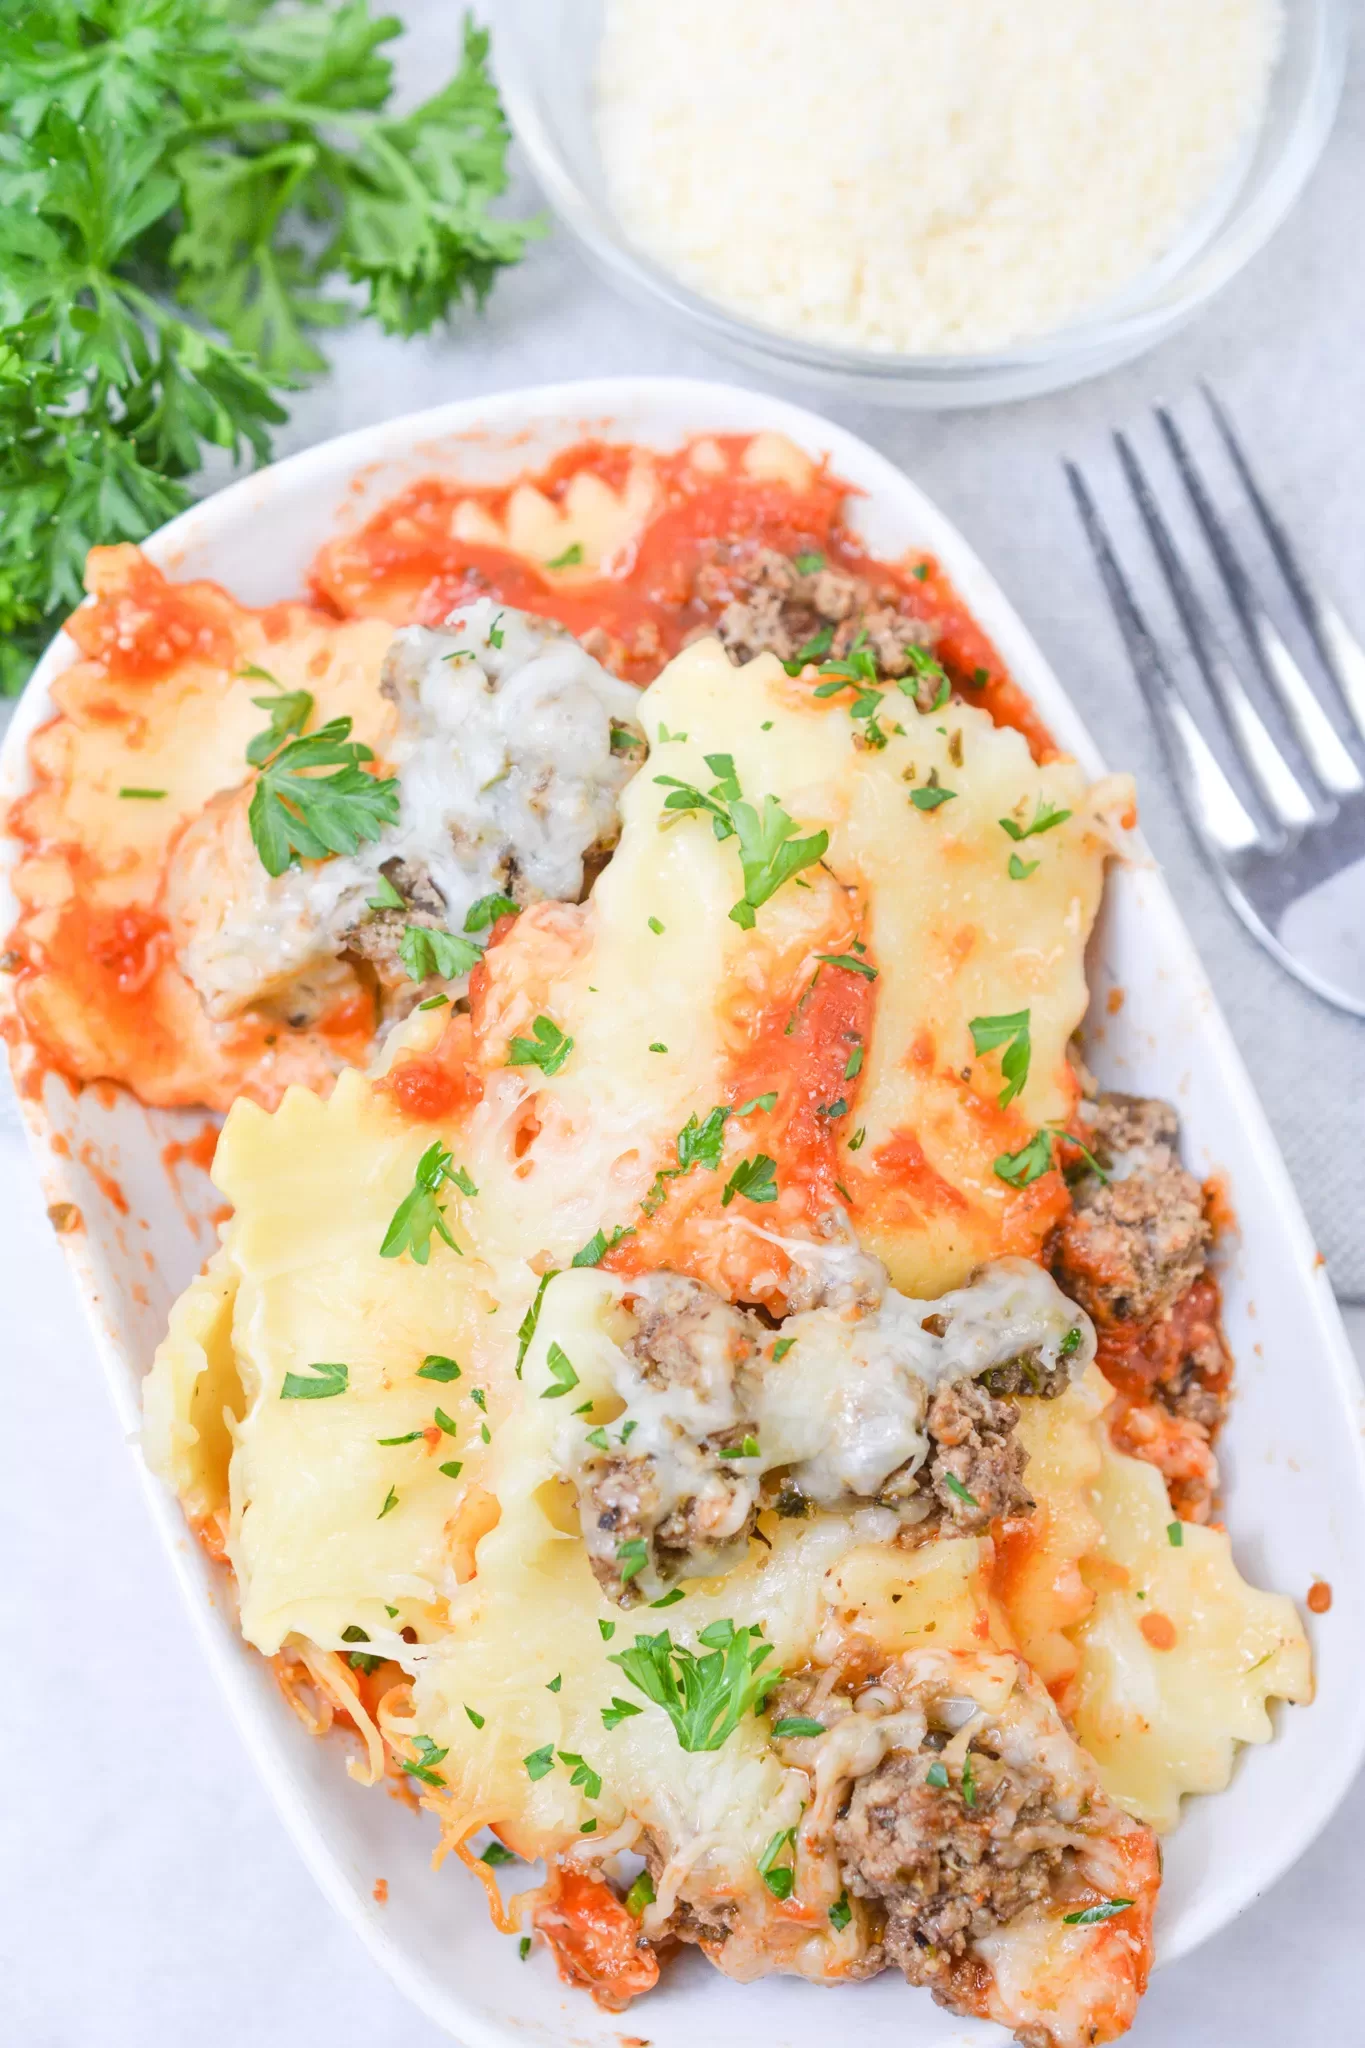
Pierogi dough filled with cheesy mashed potatoes, sautéed onions, and fried to golden perfection. Comfort food at its finest.
Pierogi always make me think of my grandma’s kitchen. You know how certain foods can just take you back? Her kitchen was a chaos of flour, mismatched rolling pins, and loud conversations (usually in a mix of English and Polish). I’d watch her roll out the dough, effortlessly cutting out perfect circles while scolding me for eating the filling straight from the bowl. Spoiler: I did it anyway.

Remember it later!
Planning to try this recipe soon? Pin it for a quick find later!
Remember it later!
Planning to try this recipe soon? Pin it for a quick find later!
The thing about pierogi is they’re more than just food—they’re little bundles of tradition. The first time I tried making them on my own, I was convinced I’d mess up. And guess what? I totally did. My dough was too thick, half of them burst open, and my kitchen looked like a flour bomb went off. But even my “failures” tasted incredible, because pierogi have this magical way of always being delicious.
Now, whenever I make a batch, I feel this connection—not just to my grandma, but to generations of pierogi makers before her. If you’ve never made them, don’t worry. I’ll walk you through it. And if your kitchen ends up looking like mine did? Well, that’s part of the fun, isn’t it?
Here’s a quick peek at what’s inside:
Table of content
Why You’ll Love This Polish Pierogi Recipe?
Let’s get real—pierogi are life-changing. Here’s why:
- Rich, Cheesy Filling: Creamy mashed potatoes, sharp cheddar, and buttery onions. Need I say more?
- Crispy + Soft: Boil them for softness, then fry for that golden, buttery crust. It’s the best of both worlds.
- Tradition in Every Bite: Making these isn’t just about the food; it’s about creating memories (and maybe a bit of a mess).
- Versatile Dish: They’re perfect as a main meal, a side dish, or even a snack.
Ingredient Notes:
Each ingredient in this Polish Pierogi Recipe has its moment to shine. Let’s break it down:
- Russet Potatoes: These are the MVPs for that fluffy, creamy filling.
- Sharp Cheddar Cheese: Freshly shredded is the way to go—it melts better and tastes bolder.
- Sautéed Onions: Butter and onions add a sweet, savory touch that balances the richness of the cheese.
- All-Purpose Flour: The foundation of the dough, giving it the right amount of stretch and structure.
- Egg and Olive Oil: These bind the dough, making it easy to roll and shape.
- Butter for Frying: Because everything tastes better with butter, especially pierogi.
How To Make Polish Pierogi?
Making pierogi from scratch might seem daunting, but trust me—it’s totally worth it. Let’s dive in:
- Start with the Filling:
Boil your potatoes until they’re soft enough to mash. Mix them with cheddar cheese, sautéed onions, and butter. The result? A creamy, cheesy filling you’ll have to resist eating straight from the bowl. (It’s harder than it sounds.) Let the filling cool. - Make the Dough:
Combine flour, salt, and baking powder in a bowl. Whisk together an egg and olive oil, then mix it into the dry ingredients. Add warm water gradually and knead until the dough is smooth. It starts sticky but gets easier to handle after a few minutes of kneading. - Roll and Cut:
Roll out the dough on a floured surface to about ¼ inch thick. Use a round cutter or a glass to cut out circles. Don’t worry if they’re not perfect—rustic is charming! - Assemble the Pierogi:
Spoon a bit of filling into the center of each dough circle. Fold it in half like a little taco and pinch the edges to seal. Use a fork to crimp the edges if you’re nervous about leaks. - Boil:
Drop the pierogi into boiling salted water. They’re done when they float to the surface, which takes about 5 minutes. - Fry for Extra Flavor:
Heat butter in a skillet and fry the boiled pierogi until golden and crispy on each side. This step is where the magic happens—don’t skip it. - Serve:
Plate your pierogi, drizzle them with melted butter, and add a dollop of sour cream or sprinkle of fresh chives. Then, enjoy every bite like the masterpiece it is.
Storage Options:
Here’s how to keep your pierogi fresh and delicious:
- Refrigerate: Store cooked pierogi in an airtight container for up to 3 days. Reheat them in a skillet with butter to bring back that crispy goodness.
- Freeze: Freeze uncooked pierogi on a baking sheet, then transfer them to a freezer bag. Boil straight from frozen when you’re ready to enjoy.
Variations and Substitutions:
Pierogi are a blank canvas for your culinary creativity. Here are some ideas:
- Fillings: Swap the potato-cheddar mix for sauerkraut, mushrooms, or even sweet fillings like cherries.
- Dough Additions: Add garlic powder or herbs to the dough for extra flavor.
- Cheese Swaps: Gouda, mozzarella, or even feta can give a fun twist to the filling.
- Gluten-Free Dough: Use a gluten-free flour blend—it might be a little stickier to work with, but it’s worth it.
Want To Save This Recipe?
Enter your email below and we'll send the recipe straight to your inbox.
What to Serve with Polish Pierogi?
Pierogi are amazing on their own, but these pairings take them to the next level:
- Sour Cream: A tangy, creamy classic.
- Caramelized Onions: Sweet and savory, they pair perfectly with the cheesy filling.
- Bacon Bits: Because, honestly, bacon makes everything better.
- Roasted Veggies: Serve alongside roasted Brussels sprouts or green beans for a balanced meal.
Frequently Asked Questions:
Can I make the dough ahead of time?
Definitely! Wrap it tightly in plastic wrap and store it in the fridge for up to 24 hours.
How do I keep pierogi from bursting while boiling?
Make sure the edges are sealed tight, and don’t overfill them. Pinch like your life depends on it!
Can I freeze cooked pierogi?
Yes, but they’re best frozen uncooked. If you do freeze cooked ones, reheat them in a skillet for the best texture.
There you have it—Polish Pierogi Recipe in all its cheesy, buttery glory. Making pierogi is more than just cooking—it’s creating something special, something that connects you to tradition and family. So roll up your sleeves, make a little mess, and enjoy the process. Let me know how yours turn out, and if you’ve got any filling ideas, I’d love to hear them!
Remember it later!
Planning to try this recipe soon? Pin it for a quick find later!
Remember it later!
Planning to try this recipe soon? Pin it for a quick find later!
Keep the Flavor Coming – Try These:

Grandma's Polish Pierogi Recipe
Ingredients
- 2.5 pounds russet potatoes peeled and diced into large chunks
- 8 ounces shredded sharp cheddar cheese preferably freshly grated
- 1 small minced onion
- ½ cup butter plus more for frying
- 4 ½ cups all-purpose flour
- 1 teaspoon salt
- ½ teaspoon baking powder
- 1 egg
- 2 teaspoons olive oil
- 2 cups warm water
Instructions
- To start cook the potatoes until they are easily pierced with a fork. Once done drain them. Transfer to a bowl.
- While the potatoes are cooking, melt the butter in a skillet. Sauté the minced onion until it becomes soft which should take 5 to 6 minutes. Pour this buttery onion mixture into the bowl with the potatoes. Add the cheese. Use a potato masher to blend everything until the cheese is completely melted. Season, with salt and pepper according to your taste preferences. Allow the potato mixture to cool down.
- While waiting for the potato mixture to cool prepare the dough. In a bowl combine flour, salt and baking powder. In a bowl whisk together an egg and olive oil before adding it to the ingredients. Gradually pour in water one cup, at a time while using your hands to knead the dough. Initially, it may be sticky. After about 2 to 3 minutes of kneading, it will become less so.
- Prepare a surface. Use a silpat mat and place one ball of dough onto it. Roll out the dough until it reaches a thickness of ¼ inch. Use a 3-inch circle cookie cutter to cut out rounds of dough and place them on a dish towel.
- Take the ball of dough. Repeat the process described earlier to create approximately 24 circles.
- To assemble the pierogies gently stretch one dough circle. Place a spoonful of cheesy potato filling in the center. Fold the circle in half creating a taco shape and pinch the edges securely to seal it completely. For security use the back of a spoon to create scalloped edges. Repeat this process for all the dough circles.
- Fill a pot, with salted water. Bring it to a boil. Add 6 pierogies at a time into the boiling water. Cook them until they float to the surface, which usually takes 5 minutes. Use a spoon to remove them from the water and place them on a kitchen towel. Cover them with another towel to keep them moist.
- The final step is frying the pierogies for added flavor and texture. In a skillet over medium heat melt 2 tablespoons of butter. Place the pierogies in the skillet and cook them for 2 to 3 minutes on one side until they turn brown then flip them over and cook for another 1 to 2 minutes on the other side. If needed add butter while cooking each batch for browning.
- Serve your pierogies by drizzling melted butter, over them and accompanying with sour cream or chopped chives as desired.
Notes

I’m Bitty, owner of nodashofgluten.com, where I share simple, delicious recipes for all tastes, including gluten-free. Check out my “About Me” page for more info!


