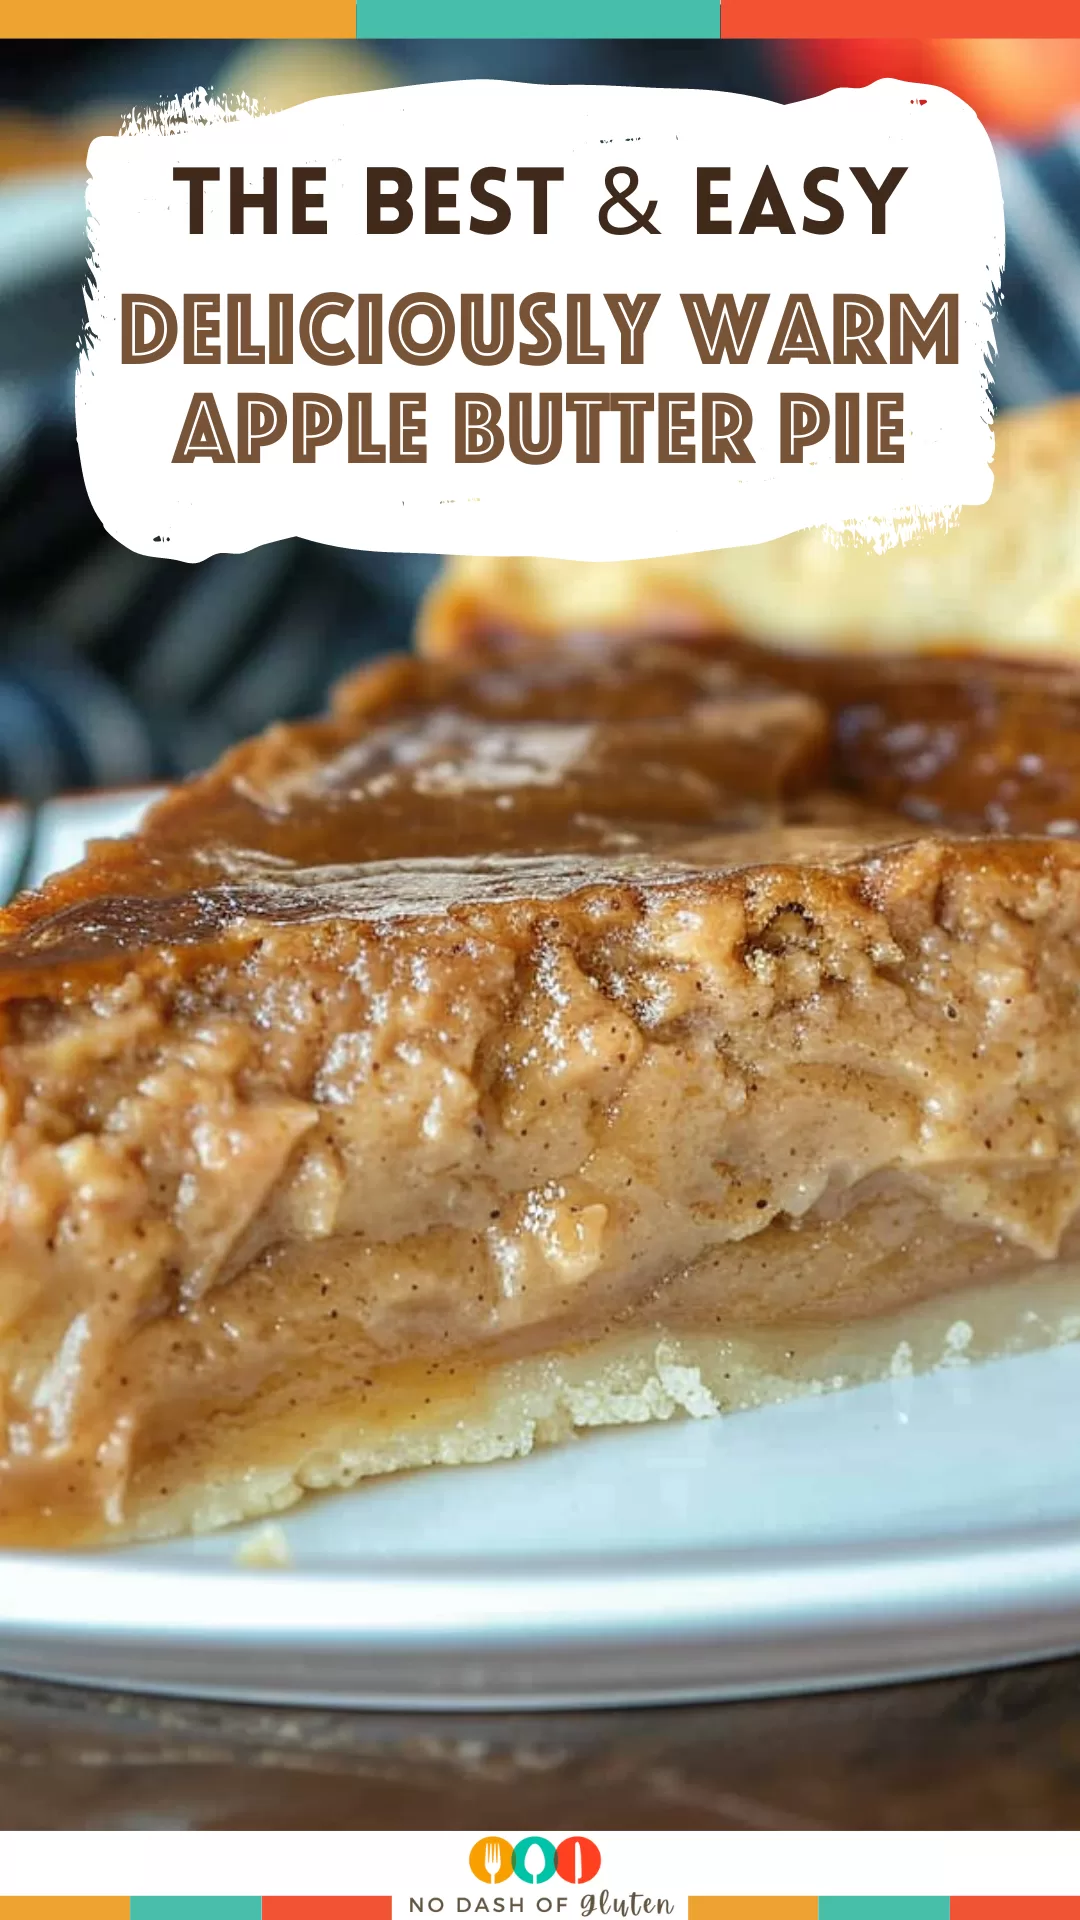
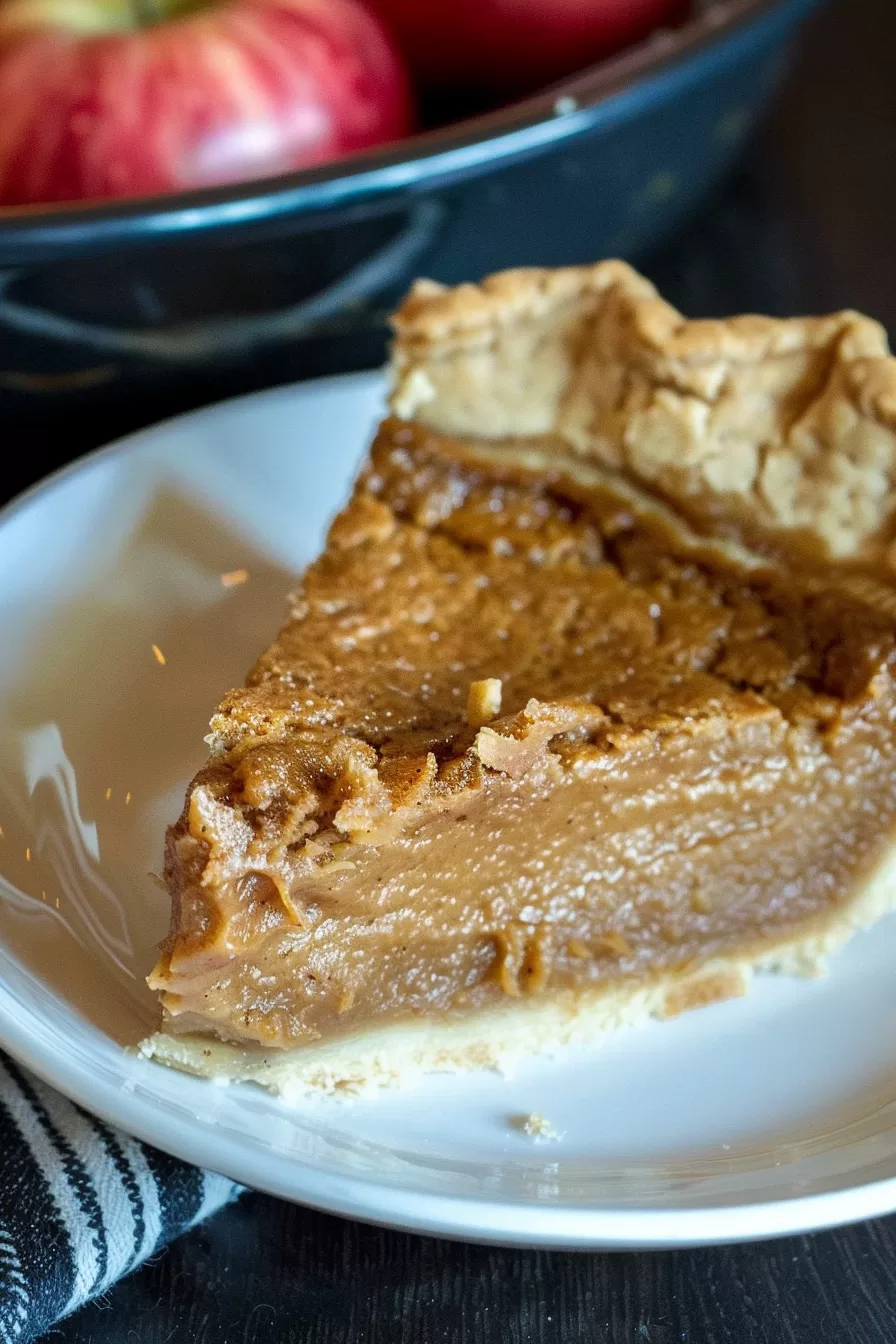
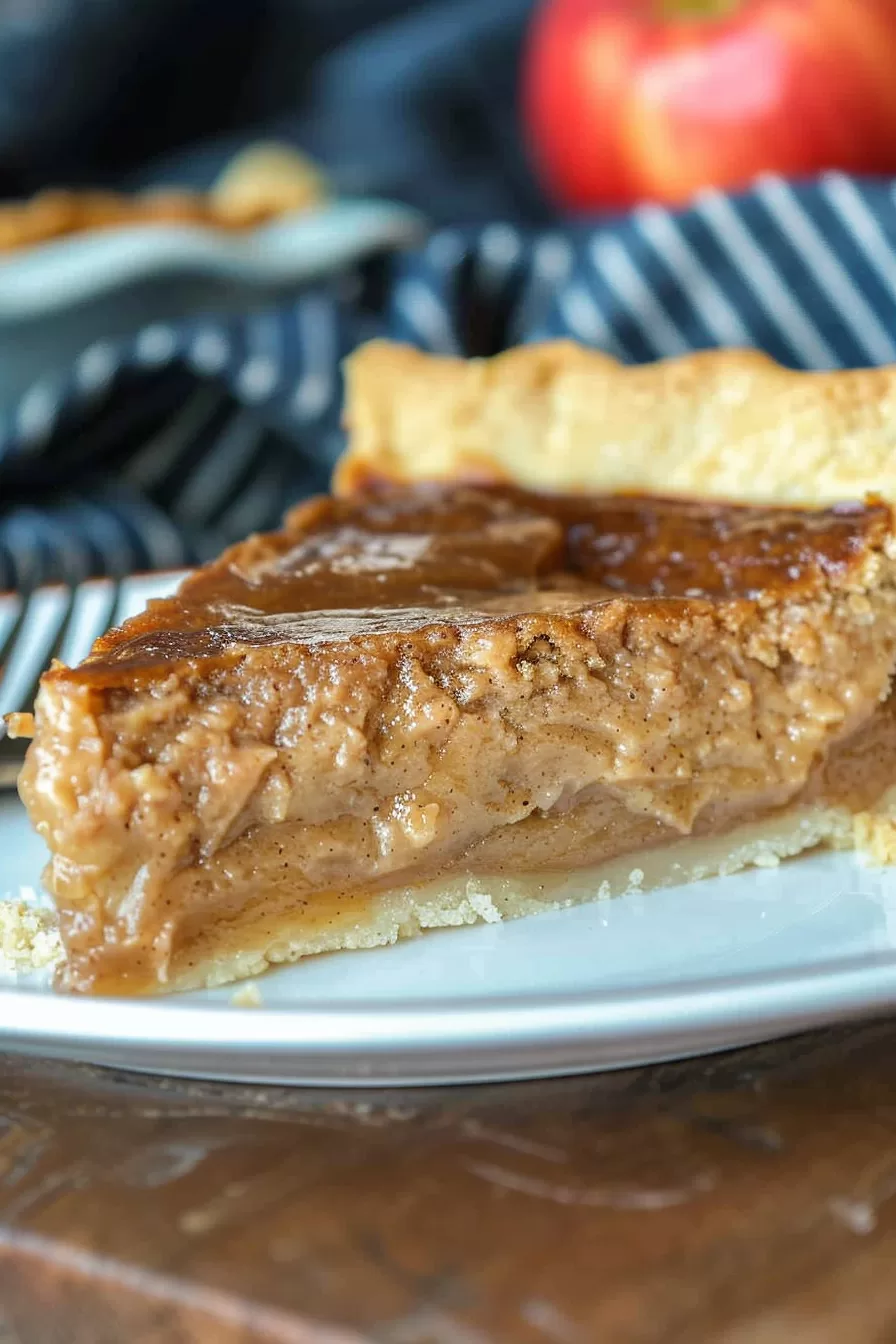
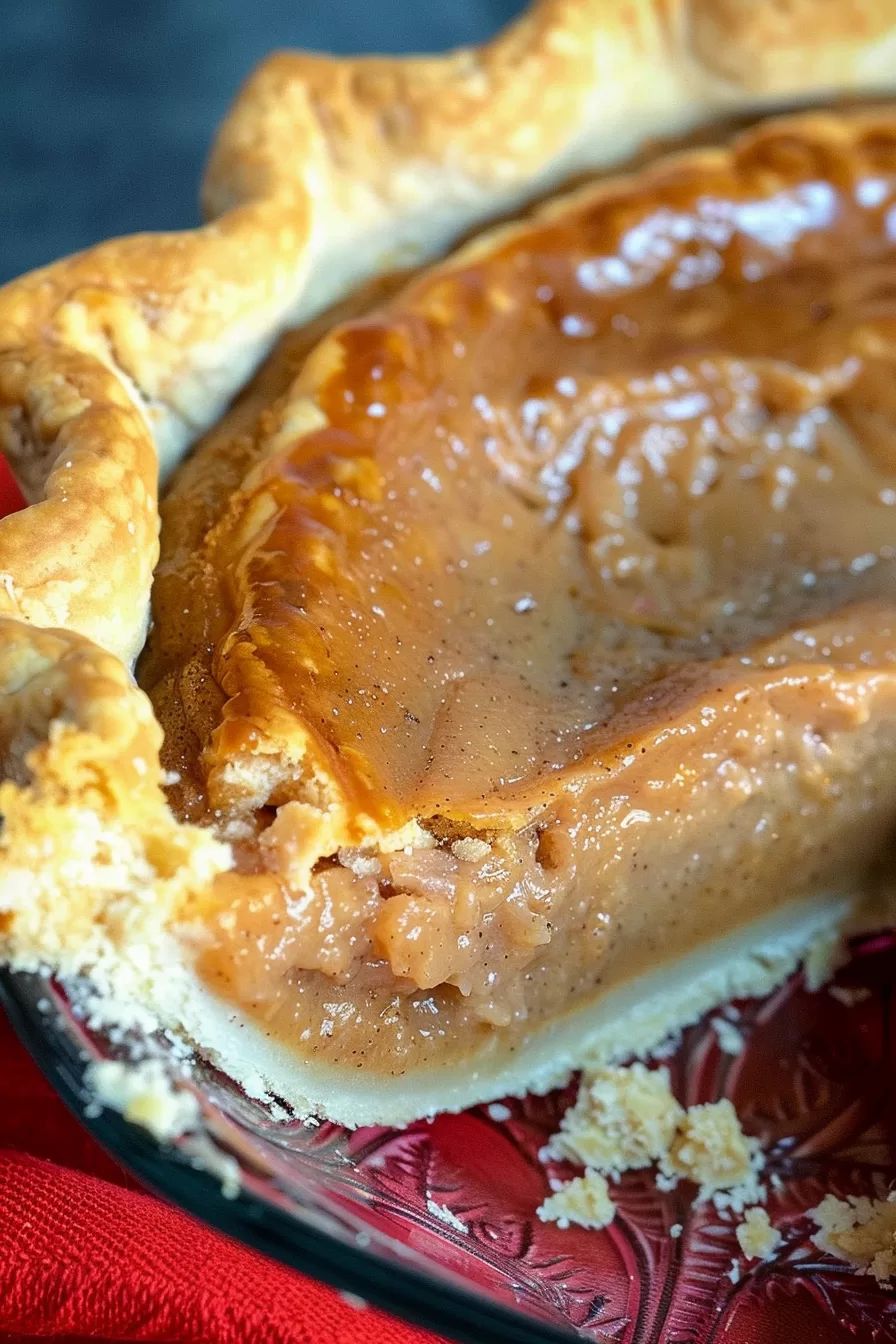
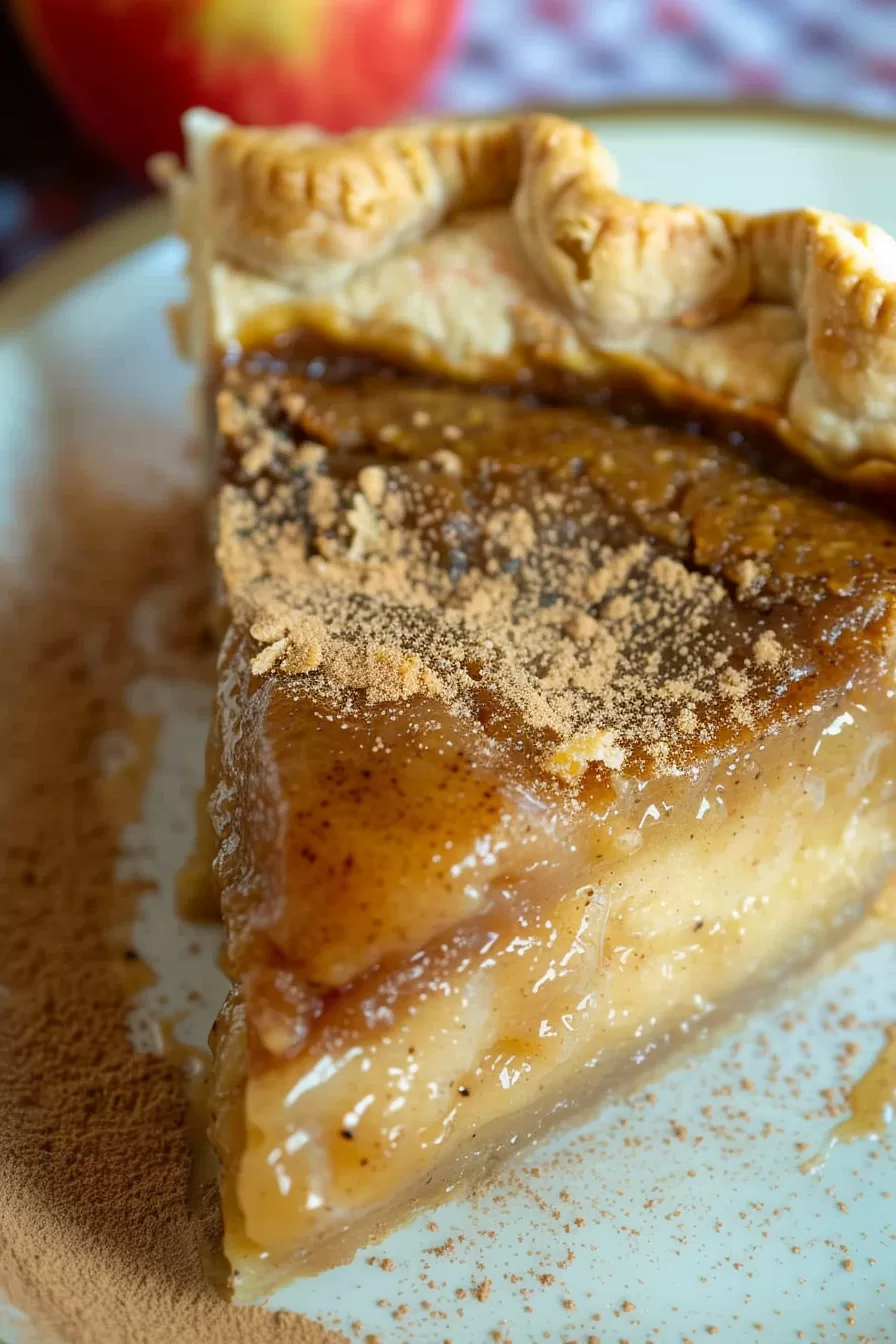
Deliciously Warm Apple Butter Pie – Let me tell you about this Deliciously Warm Apple Butter Pie—it’s like wrapping yourself in a cozy blanket of fall flavors. Apple butter, cinnamon, and sugar all come together in this easy, no-fuss pie. And the best part? You use a store-bought crust, so it’s super quick to whip up. Perfect for when you want something delicious without spending hours in the kitchen. Plus, can we talk about how amazing your house is going to smell while this bakes?

Remember it later!
Planning to try this recipe soon? Pin it for a quick find later!
Remember it later!
Planning to try this recipe soon? Pin it for a quick find later!
I whipped this up for the first time on a whim one chilly evening. You know those nights when you’re craving something sweet but don’t want to spend all night baking? I had some apple butter sitting in the fridge and figured, why not? Threw it together with a few pantry staples, and oh man, the smell while it was baking—I could barely wait to dig in. When I finally sliced into it, the filling was smooth, rich, and full of warm apple flavor. My husband loved it (he’s a pie guy, so that was a win), and my little one even asked for a second slice. When does that ever happen?
Here’s a quick peek at what’s inside:
Table of content
What makes this Deliciously Warm Apple Butter Pie truly special?
Here’s why you need this pie in your life: it’s ridiculously easy, yet it tastes like you spent hours in the kitchen. The apple butter gives it that deep, spiced flavor that makes you feel all warm and cozy inside. And with cinnamon, sugar, and a flaky crust, it basically falls in pie form. Plus, it holds up beautifully, so you can slice it cleanly—no messy pie puddles here! Serve it up with a dab of whipped cream, and frankly, who could resist?
What You Need To Make This Deliciously Warm Apple Butter Pie Recipe?
Refrigerated Pie Crust: Let’s be real, sometimes you just need to save time. This store-bought crust is a total lifesaver. It’s flaky, buttery, and no one will ever guess you didn’t make it from scratch. Plus, it’s easy to work with—just roll it out, pop it in your pie dish, and you’re good to go.
Apple Butter: This is where all the magic happens. Apple butter is basically apples cooked down into a rich, thick, spiced spread. It gives the pie that deep apple flavor without being overly sweet. It’s like concentrated fall in a jar, and it really makes this pie stand out.
Eggs: These are the glue that holds everything together. They give the filling that perfect custard-like texture while making sure it sets nicely. No runny pie here!
Sugar: Just a half cup is enough to sweeten things up without overpowering the apple butter. It adds a little extra sweetness and helps balance the spices in the filling.
Cornstarch: This is your secret weapon for making sure the filling thickens up just right. It prevents the pie from getting too watery and gives you those nice, clean slices.
Cinnamon: Because, honestly, what’s a fall dessert without cinnamon? It brings warmth and coziness to the whole pie, enhancing the apple butter flavor in the best way possible.
Steps To Make Deliciously Warm Apple Butter Pie:
Alright, let’s get started! First, preheat your oven to 375°F and grab a 9-inch pie pan. Give it a quick spray with cooking spray to make sure nothing sticks later on.
Next, roll out your refrigerated pie crust. Gently press it into the pie pan, and if you have any extra hanging over the edges, just trim it off. Here’s the fun part—you can get creative with the edges! Use a fork to press lines or pinch the crust for a wavy design. Whatever makes you happy! Once you’ve done that, set the pie pan aside for now.
Now, in a medium-sized bowl, beat together the eggs, sugar, cornstarch, cinnamon, and apple butter. Mix it up until it’s smooth and well combined. Then, pour in the milk and give it a good whisk until everything is nice and creamy.
Pour the filling into your pie crust. Use a spoon to make sure it’s spread out evenly—no one likes uneven filling, right? Then pop that pie into the oven and let it bake for 60-65 minutes. You’ll know it’s done when the center is mostly set. It might still have a little jiggle, but that’s okay! Just do the knife test—stick a knife in the middle, and if it comes out mostly clean, you’re good to go.
Want To Save This Recipe?
Enter your email below and we'll send the recipe straight to your inbox.
Once it’s out of the oven, let the pie cool on a rack before slicing. This part is tough because it smells so good, but trust me, letting it cool makes the slices hold their shape better. When you’re ready to serve, top it with whipped cream and a sprinkle of cinnamon. Enjoy! And if you have leftovers (not likely!), pop them in the fridge for later.
Tip:
Here’s a little trick to make this pie even better: let it cool completely before slicing into it. I know, I know—it’s hard to resist digging in when the house smells like a warm, cinnamon-spiced dream. But trust me, if you cut it while it’s still warm, the filling might be a little too soft and you won’t get those beautiful clean slices. Give it some time to firm up. And if you’re in a rush, just pop it in the fridge for a bit to speed things up! Also, feel free to go wild with the crust—add a sprinkle of cinnamon sugar on the edges before baking for a little extra flavor and texture.
Frequently Asked Questions:
Can I use a homemade pie crust instead of the store-bought one?
Totally! If you’ve got the time and want to make your own crust, go for it. Homemade pie crust gives you that extra buttery, flaky texture. The store-bought one just makes life a bit easier when you’re in a hurry, but either option works beautifully.
What if I don’t have apple butter—can I use something else?
No apple butter? No problem! You can swap it out with applesauce, though the flavor won’t be as deep, and the texture might be a little different. If you go with applesauce, I recommend adding some extra spices, like cinnamon or nutmeg, to boost the flavor.
Can I make this pie ahead of time?
Yes, absolutely! This pie actually tastes even better the next day. Just bake it, let it cool completely, and pop it in the fridge. When you’re ready to serve, you can enjoy it cold or gently warm it up in the oven. It’s super convenient for when you need to prep ahead.
Remember it later!
Planning to try this recipe soon? Pin it for a quick find later!
Remember it later!
Planning to try this recipe soon? Pin it for a quick find later!
Keep the Flavor Coming – Try These:
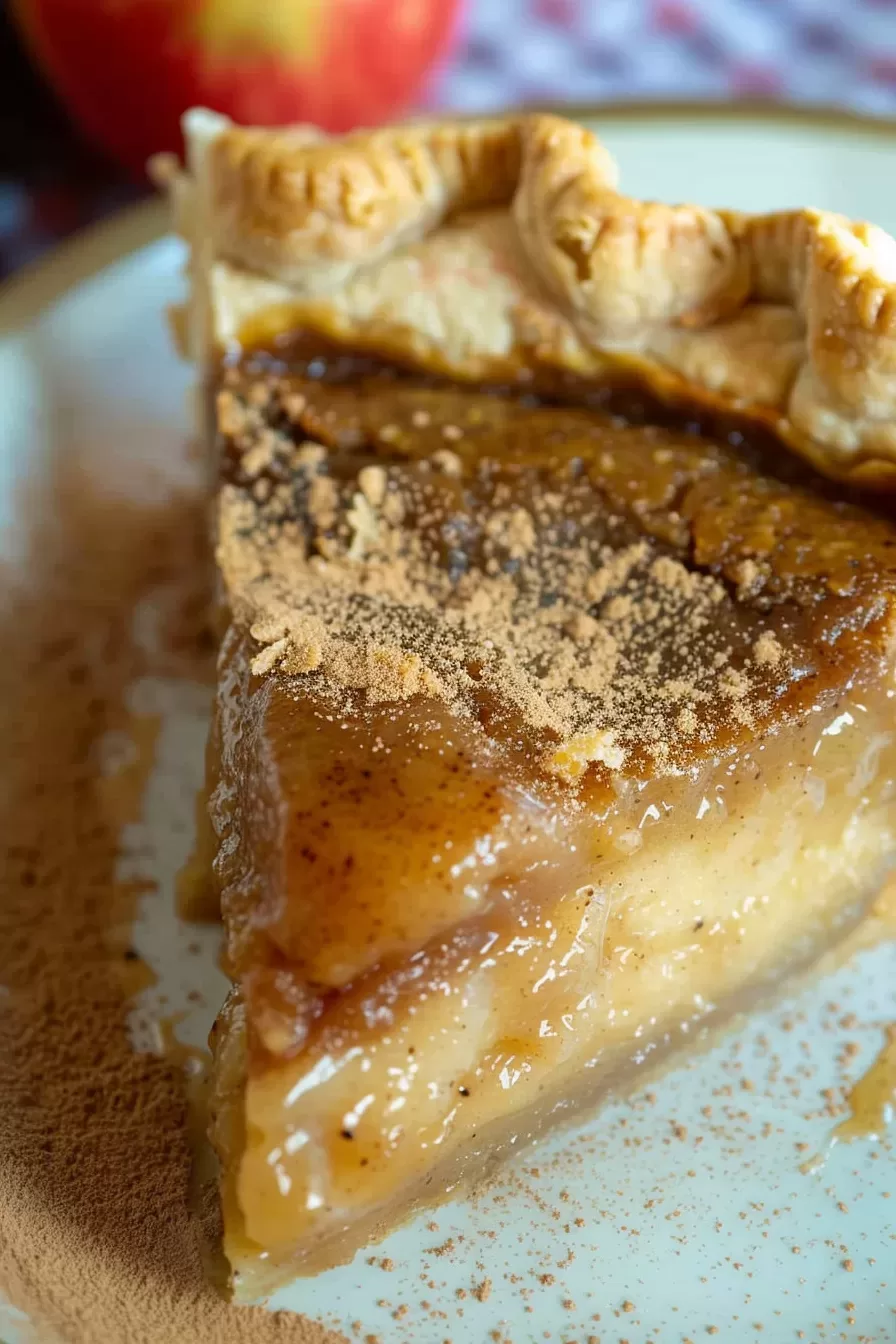
Deliciously Warm Apple Butter Pie
Ingredients
- 1 refrigerated pie crust
- 1/2 c apple butter
- 2 eggs
- 1/2 c sugar
- 2 tbsp cornstarch
- 2 tsp cinnamon
Instructions
- Preheat your oven to 375°F and lightly grease a 9-inch pie pan with some cooking spray.
- Roll out the refrigerated pie crust and gently press it into your pie pan. If you have extra crust hanging over the edges, feel free to trim it off. Want to get fancy? Use your fingers or a fork to make a fun design along the edges. Set the pan aside.
- In a medium-sized bowl, beat together the eggs, sugar, cornstarch, cinnamon, and apple butter until everything is smooth and well combined. Add the milk and whisk it all together until it’s nice and creamy.
- Pour the filling into the prepared pie crust, using a spoon to spread it out evenly.
- Pop the pie into the oven and bake for 60-65 minutes, or until the center is mostly set. It’s okay if it jiggles a bit in the middle—the knife test is your friend here. Insert a knife into the center; if it comes out almost clean, you’re good to go.
- Let the pie cool on a rack before slicing. Top each slice with a swirl of whipped cream and a sprinkle of cinnamon, and enjoy! Any leftovers? Store them in the fridge for a sweet treat later.
Notes

I’m Bitty, owner of nodashofgluten.com, where I share simple, delicious recipes for all tastes, including gluten-free. Check out my “About Me” page for more info!


