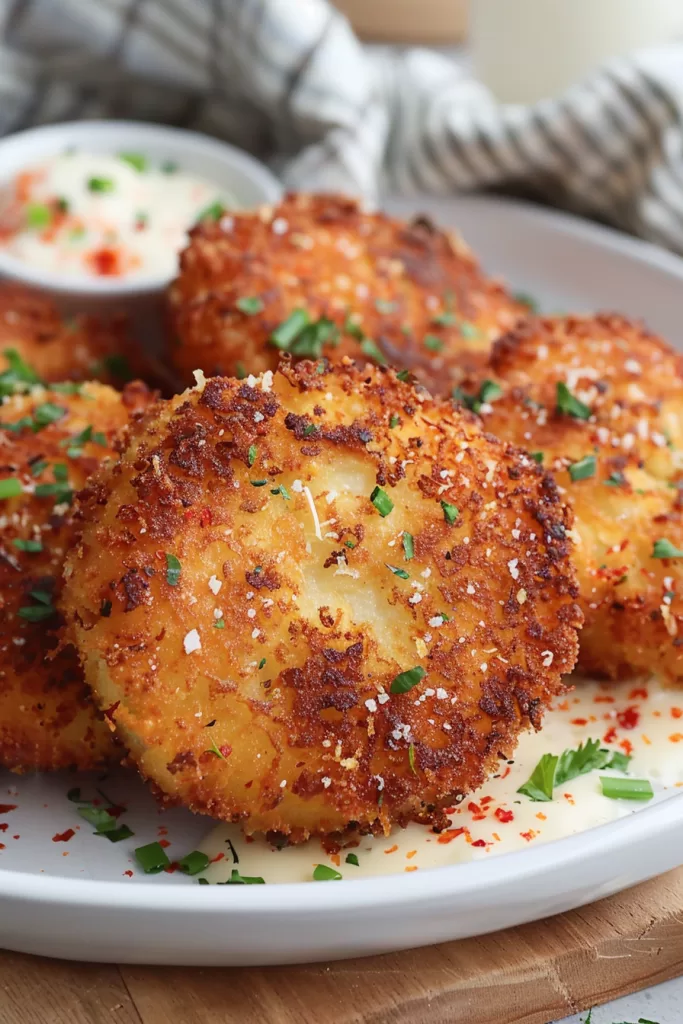
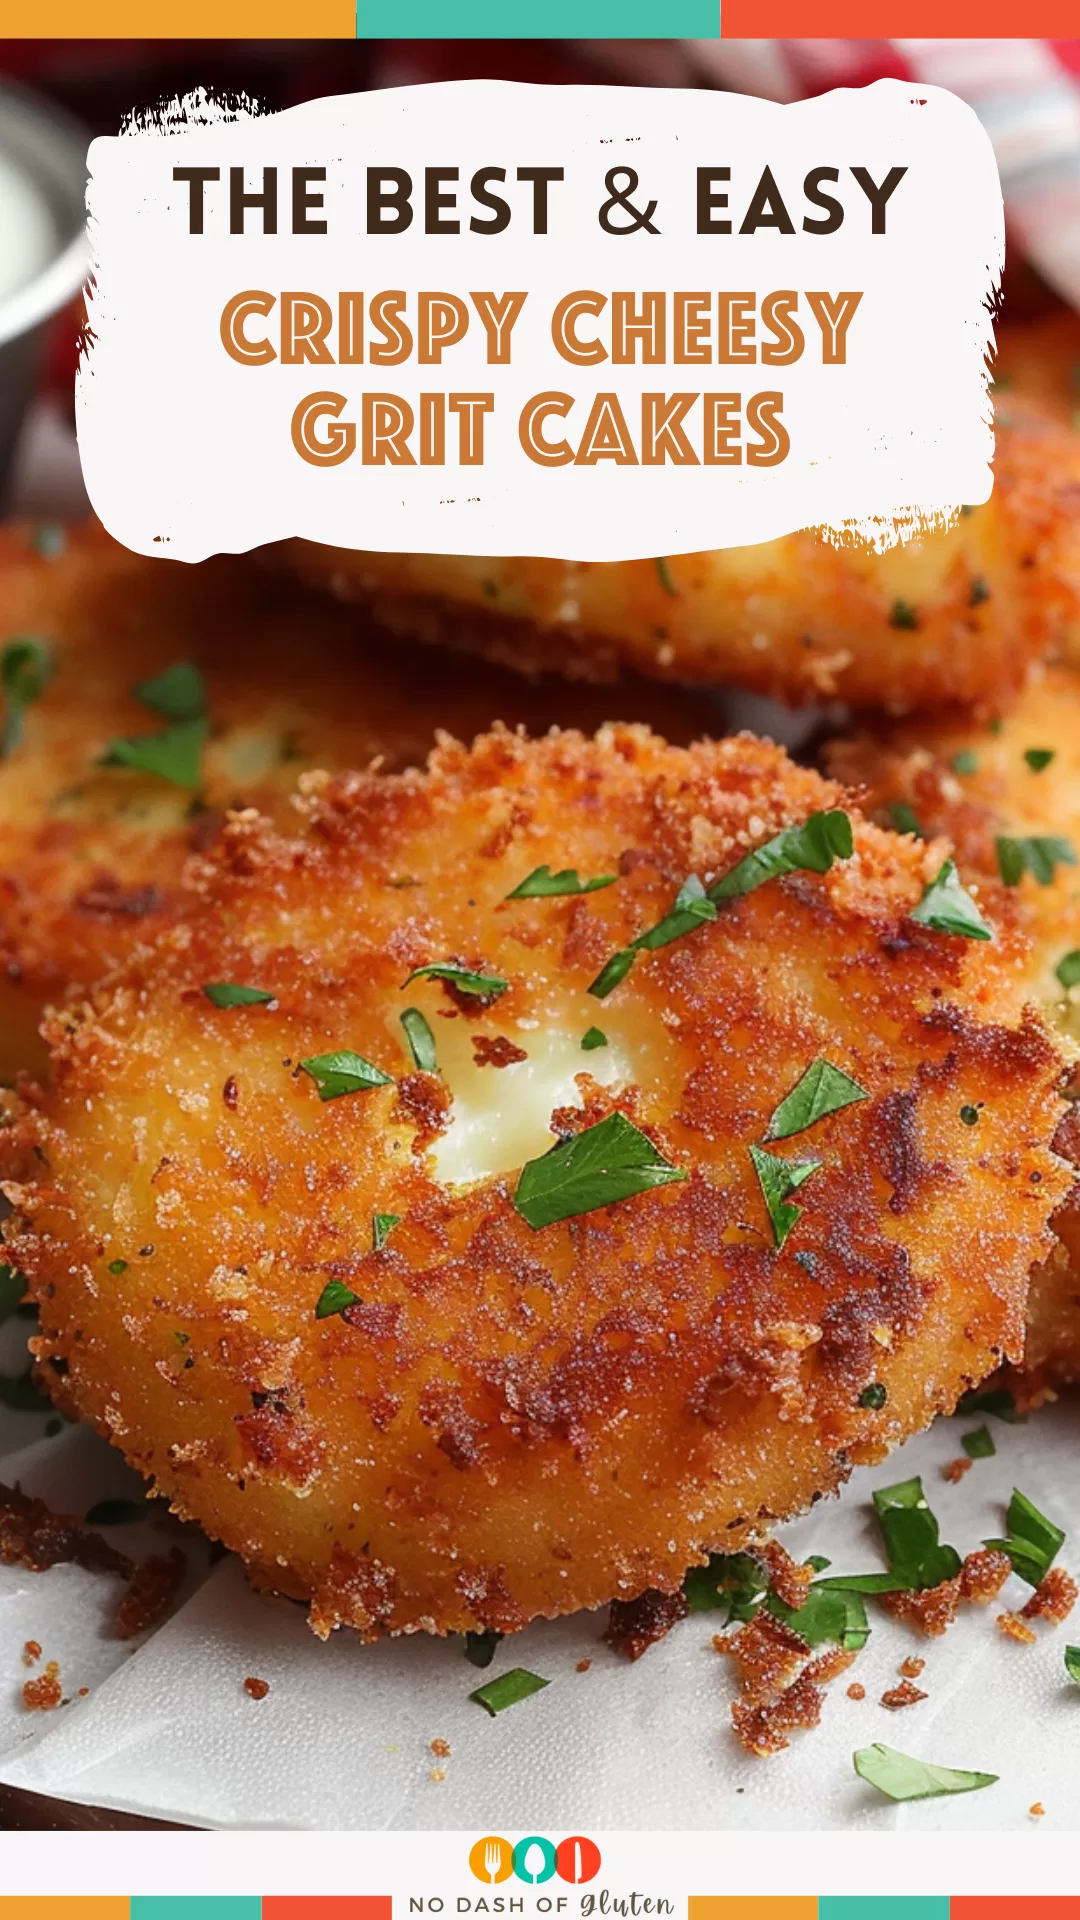
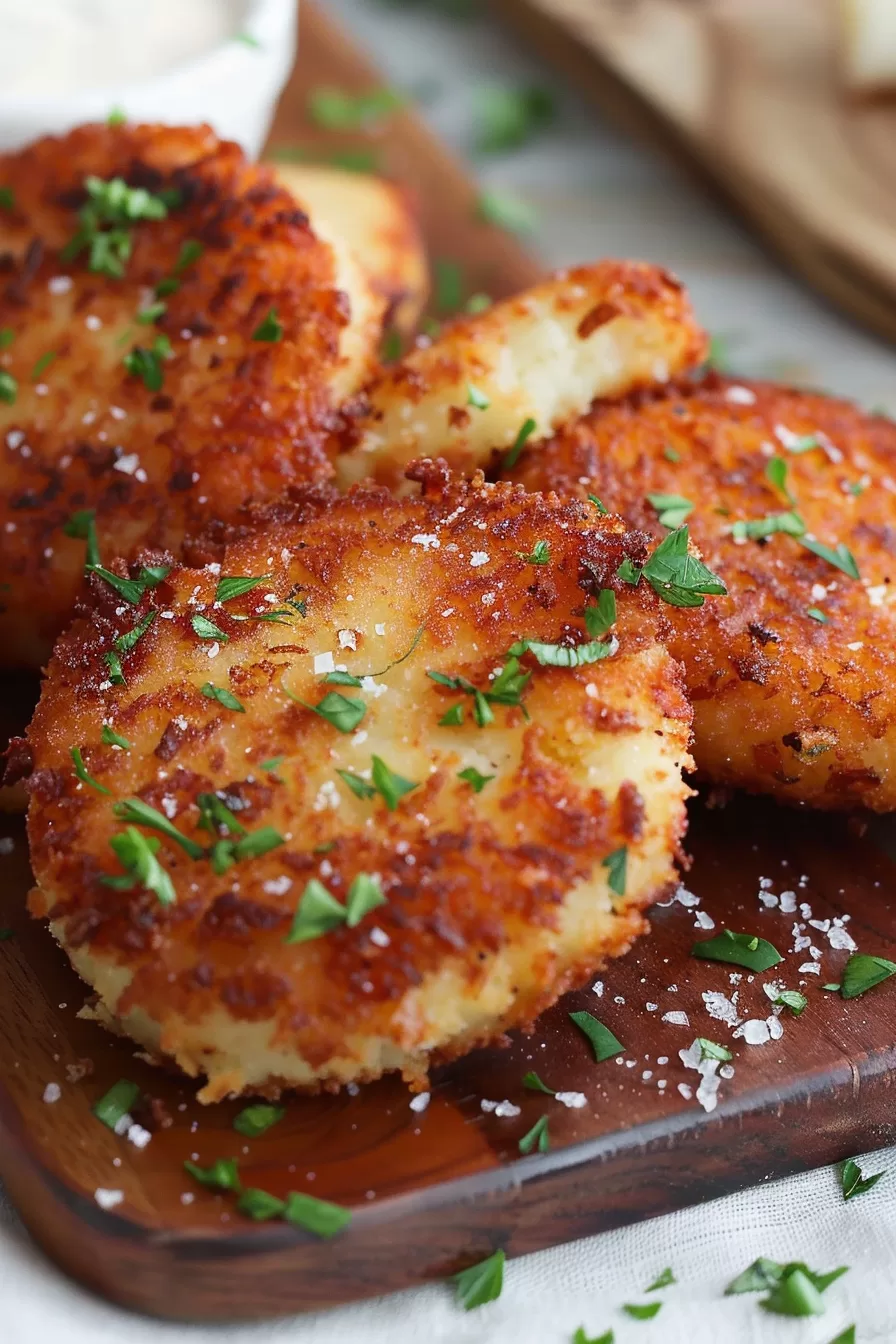
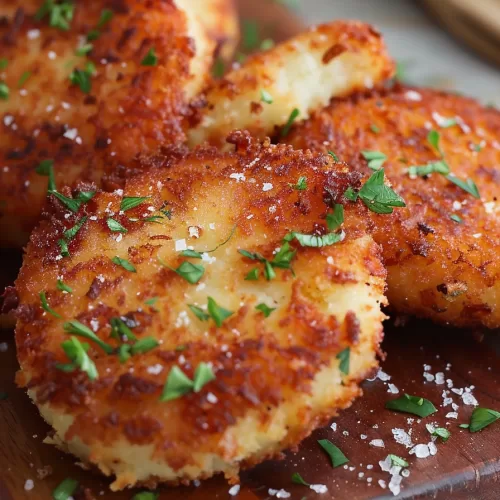
Crispy Cheesy Grit Cakes – These Crispy Cheesy Grit Cakes are comfort food with a twist. Imagine creamy, cheesy grits wrapped in a crispy, golden crust with a little kick of Creole seasoning—delicious, right? They’re perfect as a hearty breakfast, a fun appetizer, or even a side dish that steals the show. It’s that classic Southern flavor with a little crunch that makes you want to go back for seconds (or thirds).

The first time I made these, I was looking for something different to shake up our weekend brunch. My husband loves anything with a bit of spice, and my kid’s all about anything with cheese, so this felt like a win-win. I remember the smell of them frying up, golden and crispy, filling the kitchen. We barely got them on the plate before everyone started grabbing one—my husband claimed three before I even sat down! Now, they’re a family choice, excellent for those cushy mornings or when we have friends over. Honestly, it’s hard to make enough!
What makes this Crispy Cheesy Grit Cakes truly special?
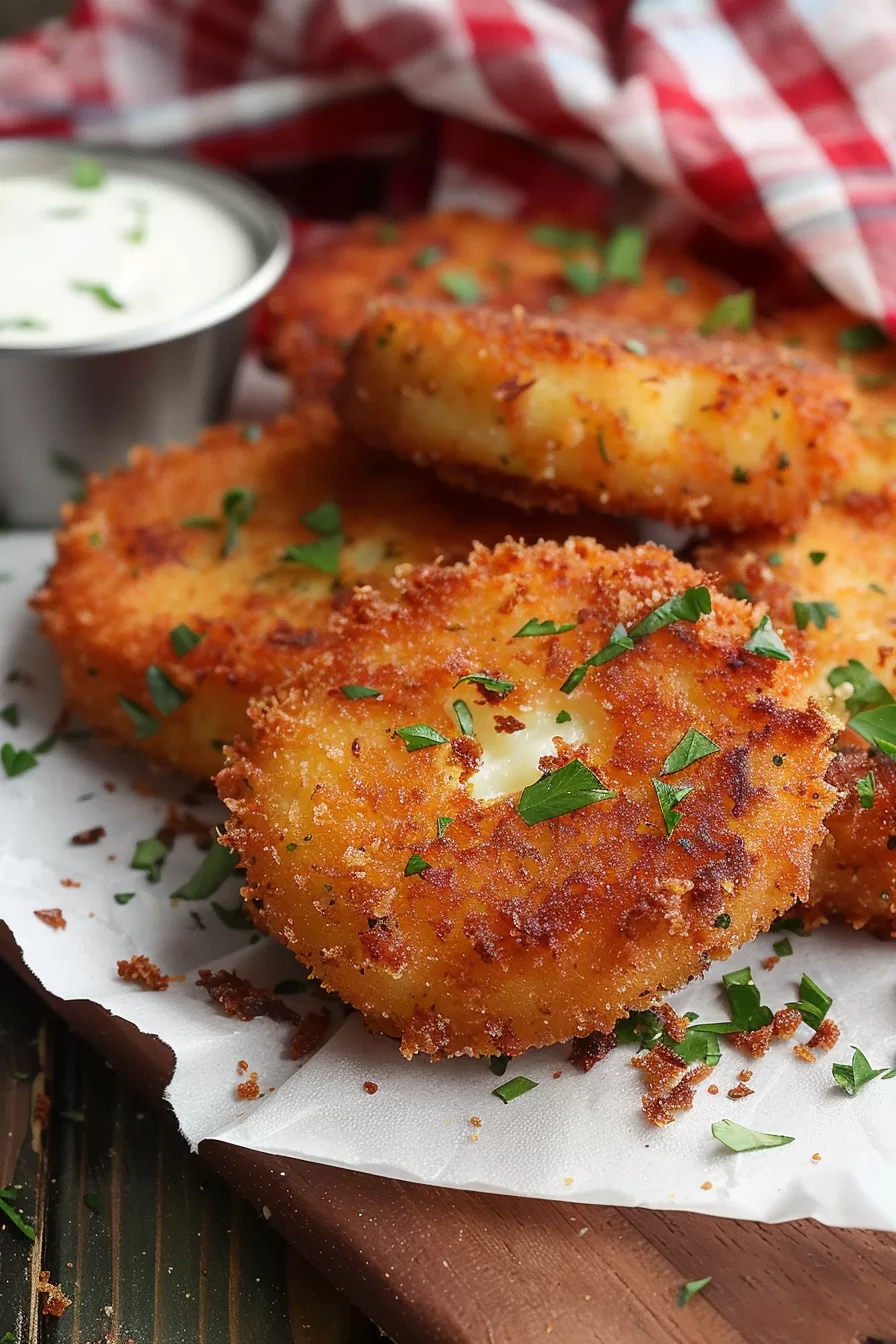
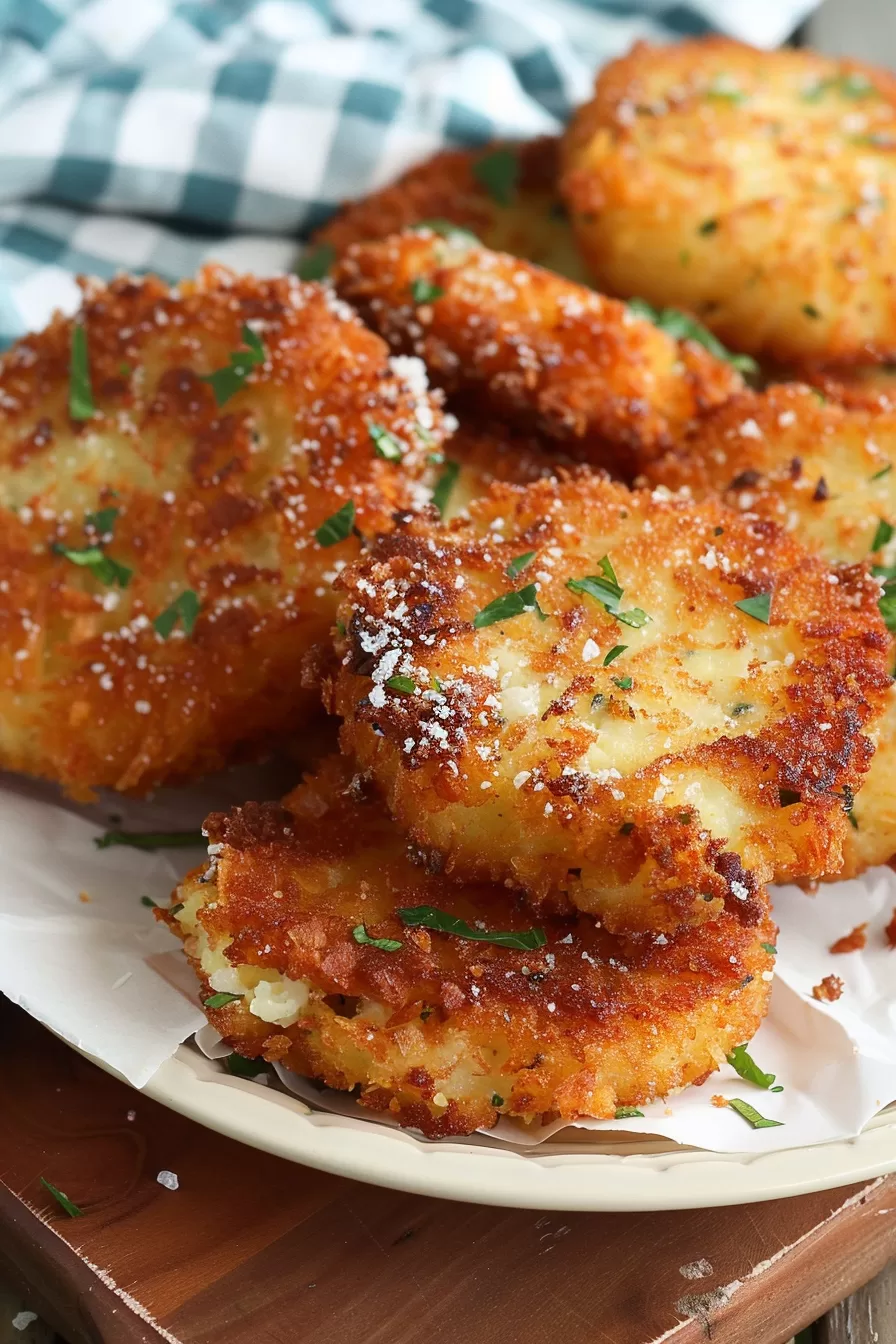
These grit cakes have all the best things in one bite. They’re creamy on the inside, thanks to sharp cheddar melted into the grits, and super crispy on the outside with that Panko coating. The Creole seasoning adds just a whiff of spice to keep things gripping. And they’re so versatile—awesome for breakfast, a noteworthy appetizer, or even a side with dinner. Plus, you can make them ahead and just fry them up when you’re ready. It’s the kind of recipe that feels like a treat but doesn’t take all day to make. What’s not to adore?
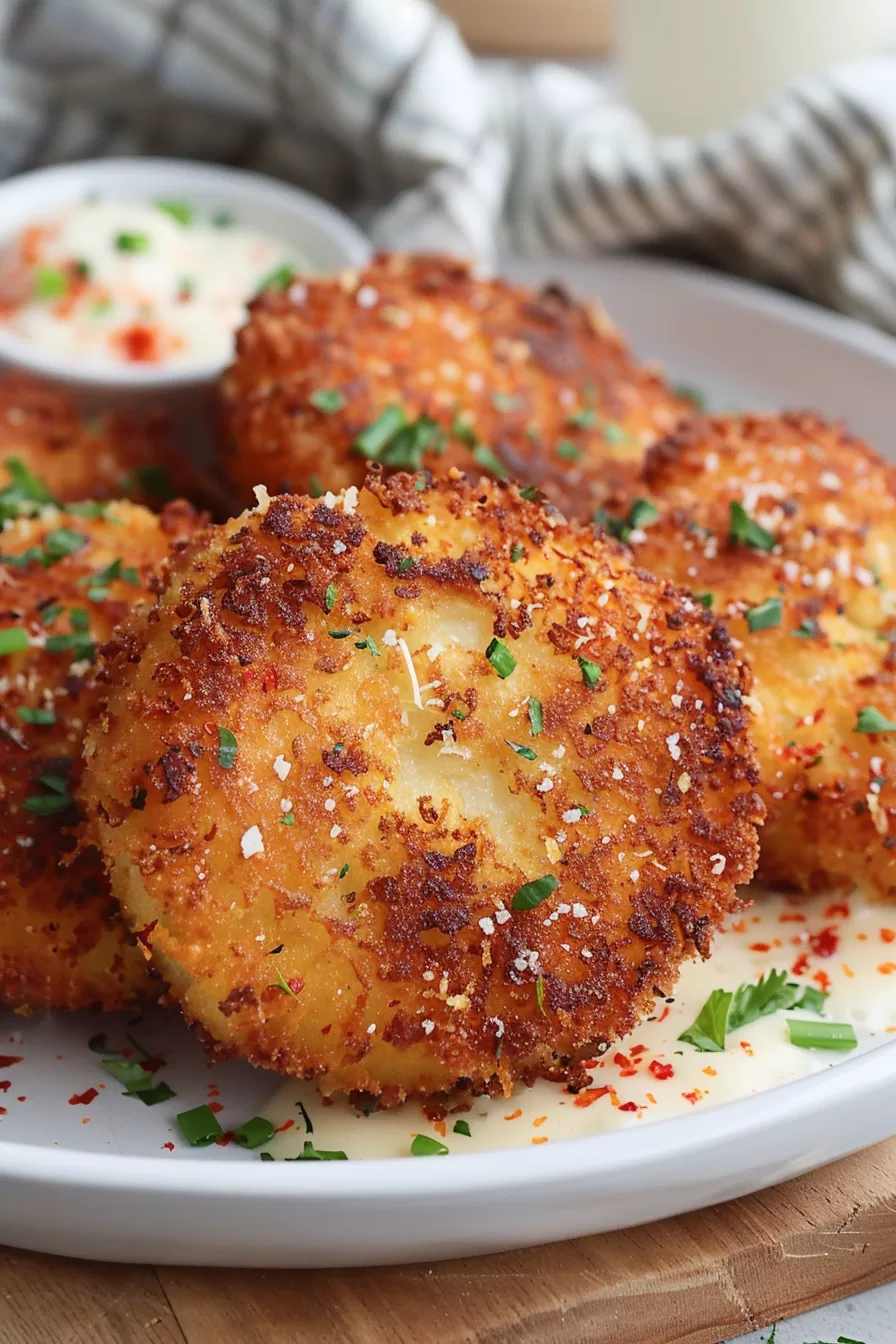
What You Need To Make This Crispy Cheesy Grit Cakes Recipe?
Milk and Water: The mix of milk and water gives the grits a creamy texture without being too heavy. Milk adds that little extra richness that makes these grit cakes feel indulgent.
Instant Grits: We’re going for quick and easy here! Instant grits cook up fast but still have that cozy Southern flavor. Just make sure to get plain instant grits so you can control the seasoning.
Sharp Cheddar Cheese: This is where the big, bold flavor comes in. Sharp cheddar gives a savory, tangy kick that balances out the creamy grits perfectly. The sharper, the better, in my opinion!
Panko Breadcrumbs: Panko is a game-changer for a super-crispy coating. It’s lighter than regular breadcrumbs, so you get that perfect golden crunch without feeling heavy.
Creole Seasoning: This adds just a bit of spice and flavor to the coating. You get a hint of peppery warmth without overwhelming the cheese and grits. It’s what takes these from good to “wow, what’s in that?!”
Eggs: Eggs work as the binder to hold the coating together. Plus, they help that Panko stick for the perfect crust.
Oil: Go for a neutral oil like vegetable or canola here. You’ll need enough to fry the cakes to a beautiful golden brown. Just make sure it’s nice and hot before you start frying for the best crunch!
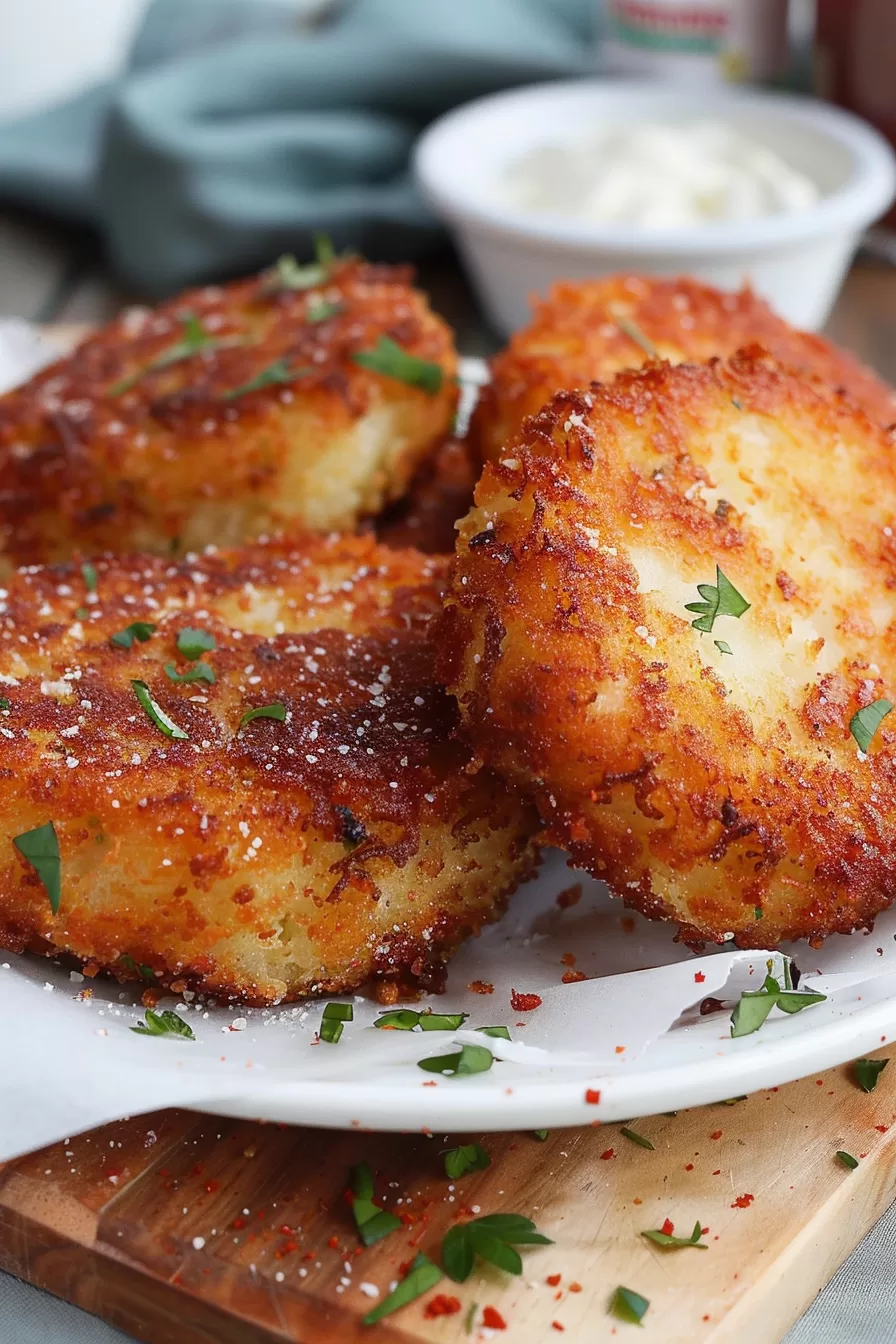
Steps To Make Crispy Cheesy Grit Cakes:
Cook the Grits: Start by warming up the milk, water, and a pinch of salt in a big saucepan over medium-high heat. When it just starts to simmer, turn the heat down and stir in the grits. Cover it up and let it cook, stirring every so often, for about 5 minutes until it’s thick and creamy. It’ll smell so good already!
Add the Cheese: Now, take the pan off the heat and toss in the shredded cheddar along with a sprinkle of pepper. Stir until the cheese melts into the grits, making it extra creamy and cheesy. This is where it really starts to come together.
Want To Save This Recipe?
Enter your email below and we'll send the recipe straight to your inbox.
Set the Grits: Spread the cheesy grits into an even layer in a baking dish. Pop it in the fridge for at least 3 hours, or until it’s nice and firm. Trust me, this chilling step is worth it—it makes shaping the cakes so much easier!
Prep Your Coating Station: When you’re ready to fry, heat up about 1/2 inch of oil in a skillet over medium heat. While that’s heating, whisk together the eggs and a splash of milk in one shallow dish. In another dish, mix the Panko with the Creole seasoning for that flavorful, crispy coating.
Shape and Coat the Cakes: Grab the dish of chilled grits and use a round cookie cutter to cut out your grit cakes. Dip each cake in the egg mixture first, then roll it around in the Panko until it’s fully coated. For an extra-crispy finish, dip each one in the egg and Panko one more time—trust me, it’s worth the extra step!
Fry to Perfection: Gently place the grit cakes in the hot oil. Fry them for about 2-3 minutes per side, or until they’re golden and crunchy. Don’t crowd the pan, so work in batches if needed. When each batch is done, transfer the cakes to a paper towel-lined plate to soak up any extra oil.
Serve Them Up: Serve these warm, and just watch them disappear! They’re perfect on their own, but feel free to add a little dipping sauce if you want. These cheesy, crispy bites are seriously addictive—don’t be surprised if there are no leftovers!
Tip:
For the best crunch and flavor, chill the grit mixture thoroughly before frying. I know it can be tempting to skip this part, but letting it set in the fridge really helps each grit cake hold its shape. When you’re ready to fry, don’t skimp on the double-dip coating! Dipping each cake in the egg and Panko mixture twice makes all the difference for that perfect golden crust. And here’s a little trick: once you’ve breaded them, let the cakes sit for about 5 minutes before frying. This helps the coating set, so it doesn’t slide off when it hits the hot oil. Also, be sure to heat the oil to 375°F—hot enough for a quick fry without soaking up extra oil. You’ll end up with grit cakes that are crispy on the outside and perfectly creamy on the inside!
Frequently Asked Questions:
Can I use regular breadcrumbs instead of Panko?
Absolutely, though I’d recommend sticking with Panko if you can! Panko gives a lighter, crispier crust, while regular breadcrumbs will still be tasty but won’t have quite the same crunch.
What can I serve these grit cakes with?
They’re fantastic on their own, but a little dipping sauce can make them even better! Try a spicy aioli, ranch, or even a classic marinara if you want to switch things up.
Can I make these ahead of time?
Yes! You can make and chill the grit mixture up to a day in advance. Just coat and fry them fresh when you’re ready to serve. You can also freeze the unfried cakes after chilling—just coat and fry them straight from the freezer!
<Remember it later>
Planning to try this recipe soon? Pin it for a quick find later!
<Remember it later>
Planning to try this recipe soon? Pin it for a quick find later!
Crispy Cheesy Grit Cakes
Ingredients
- 2 c milk to simmer with water
- 2 c water
- 1/4 tsp salt
- 1 c instant grits
- 1/2 tsp pepper
- 1/2 c sharp cheddar cheese shredded
- 3 eggs
- 2 tbsp milk for the egg mixture and breadcrumb coating
- 2 c Panko breadcrumbs
- 1 tbsp Creole seasoning
- Oil enough to fill about 1/2 inch in your frying pan
Instructions
- In a large saucepan over medium-high heat, warm up the 2 cups of milk, water, and a pinch of salt. Once it starts to simmer, turn the heat down a bit and stir in the grits. Cover the pan and let them cook, stirring now and then, until they thicken up—about 5 minutes.
- Take the pan off the heat and stir in the shredded cheddar and a dash of pepper until it’s all melted and combined. Spread this cheesy grit mixture into a baking dish, smoothing it out in an even layer, then pop it in the fridge for about 3 hours to chill and set.
- When you’re ready to fry, heat about 1/2 inch of oil in a large skillet over medium heat. While it’s warming up, whisk together the eggs and a splash of milk in one shallow dish, then mix the Panko and Creole seasoning in another.
- Take the set grits from the fridge and use a round cookie cutter to cut out your grit cakes. Dip each cake first in the egg mixture, then coat it in the seasoned breadcrumbs. For a super-crispy coating, dip it once more in both the egg and the breadcrumbs.
- Carefully place each coated grit cake in the hot oil and cook for 2-3 minutes per side, until golden and crispy. Transfer to a paper towel-lined plate to cool just a bit before serving. Enjoy!
Notes

I’m Bitty, owner of nodashofgluten.com, where I share simple, delicious recipes for all tastes, including gluten-free. Check out my “About Me” page for more info!


