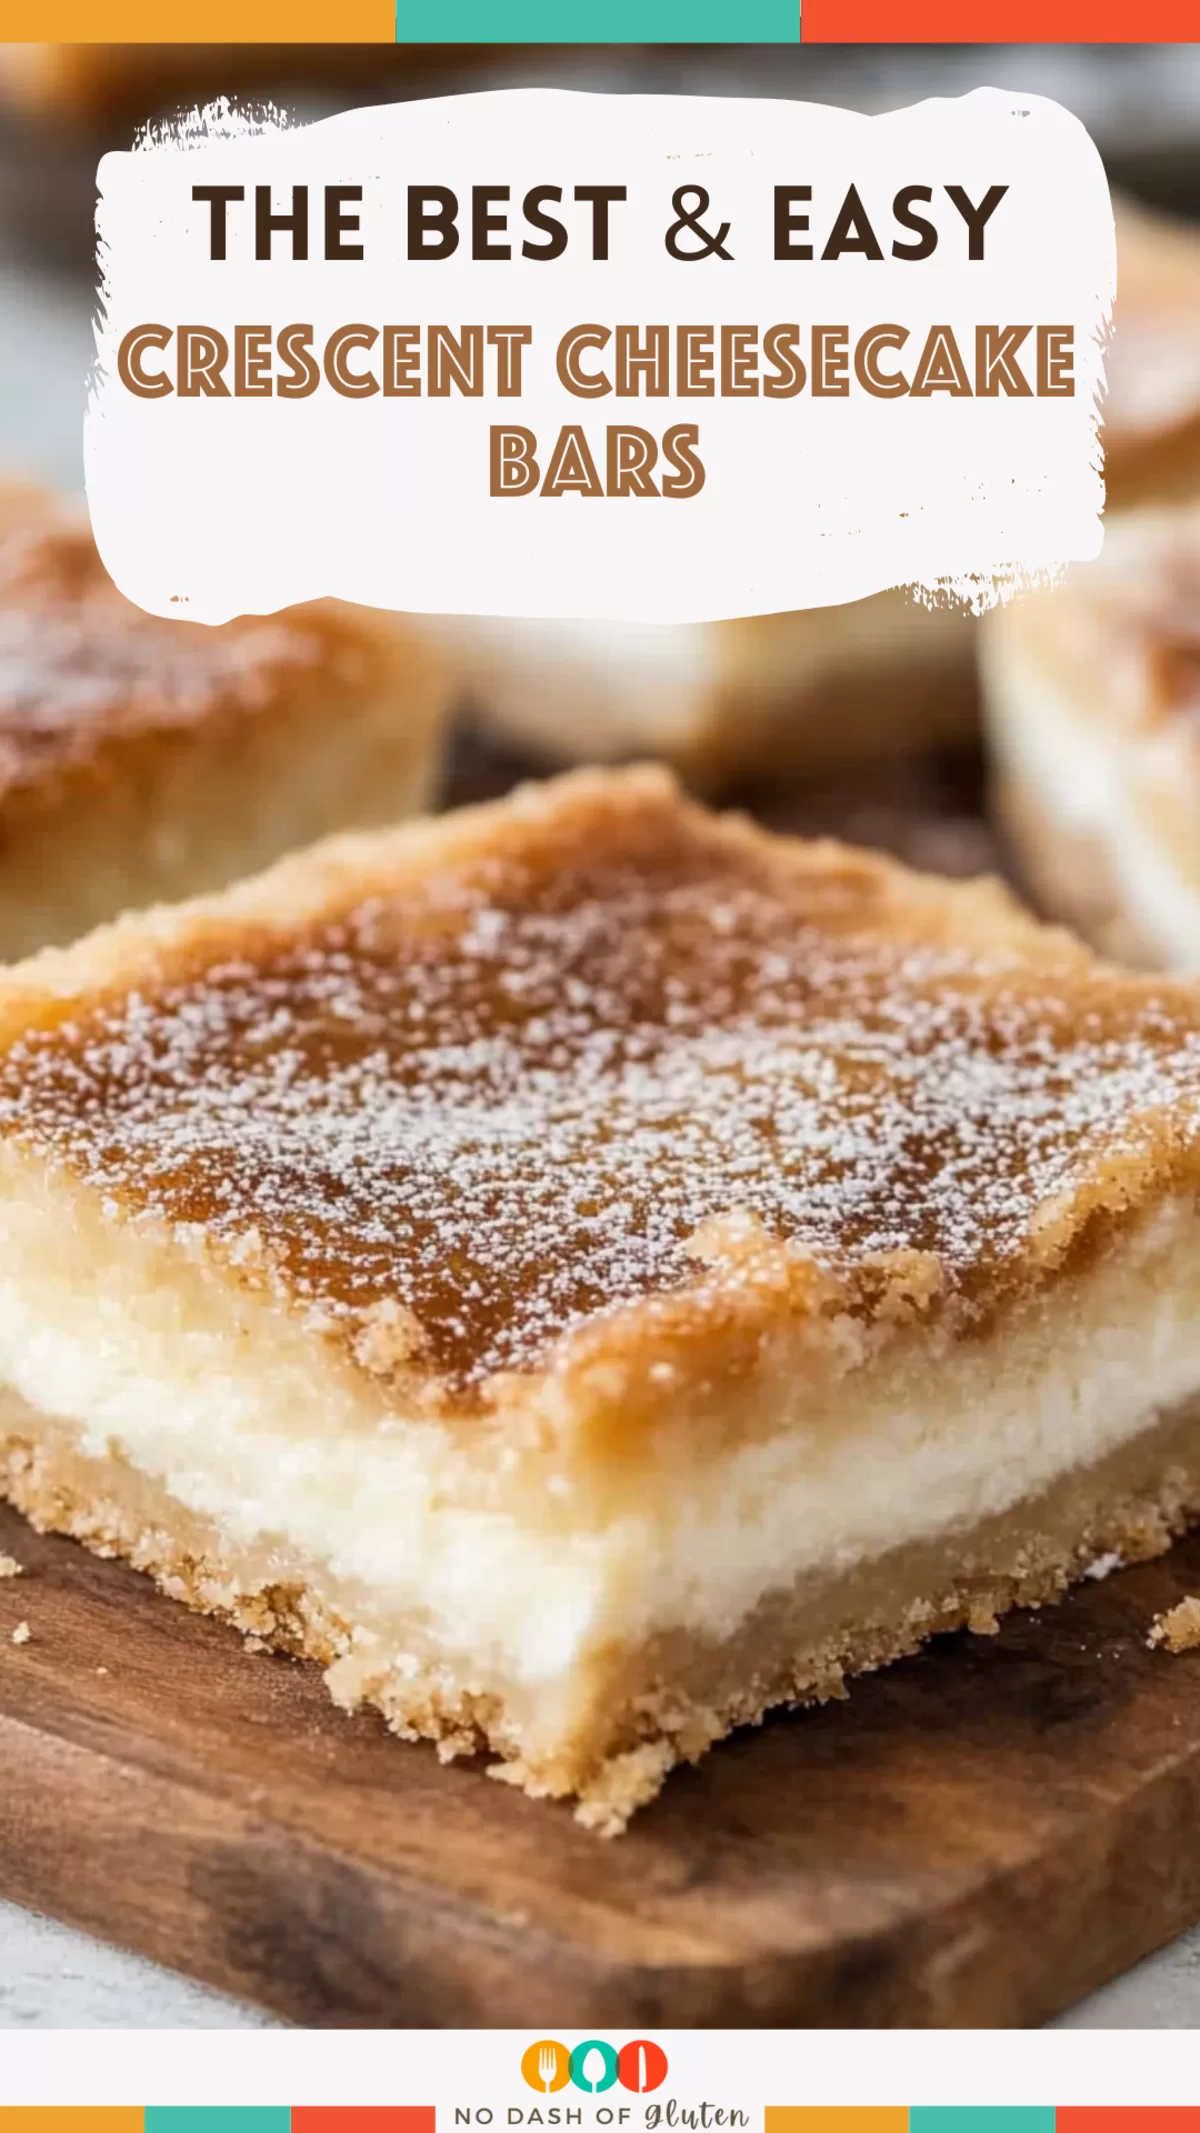
These Crescent Cheesecake Bars are a revelation—think flaky crescent roll layers hugging a rich, creamy cheesecake filling, all crowned with a cinnamon-sugar topping that’s just chef’s kiss. The best part? They’re so easy, it’s almost unfair. Whether it’s a last-minute dessert or a sweet snack for yourself (no judgment here), this recipe is a guaranteed hit.

Let me tell you about the first time I made these. It was one of those “everything’s chaotic, but dessert can’t fail” situations. You’ve been there, right? I was hosting a casual game night with friends, and as usual, time got away from me. Dinner was handled, but dessert? Not so much.
I rummaged through my fridge and found a couple of crescent roll cans and some cream cheese. With a little creativity (and maybe a tiny prayer), these Crescent Cheesecake Bars were born. I’ll admit—I was nervous when I pulled them out of the oven, but the oohs and ahhs from my friends said it all. One bite in, and someone declared, “This is dangerously good!”
Now, these bars are my secret weapon for every occasion. They remind me of that chaotic yet perfect night—a little messy, a lot delicious.
Why You’ll Love This Crescent Cheesecake Bars Recipe?
- Effortless to Make: Minimal ingredients, simple steps. You can whip these up in no time.
- Irresistible Layers: The flakiness of crescent rolls combined with the creamy filling and crunchy topping? Perfection.
- Versatile Treat: Breakfast, dessert, snack—these bars fit any role.
- Crowd-Pleaser: They’re loved by kids, adults, and everyone in between.
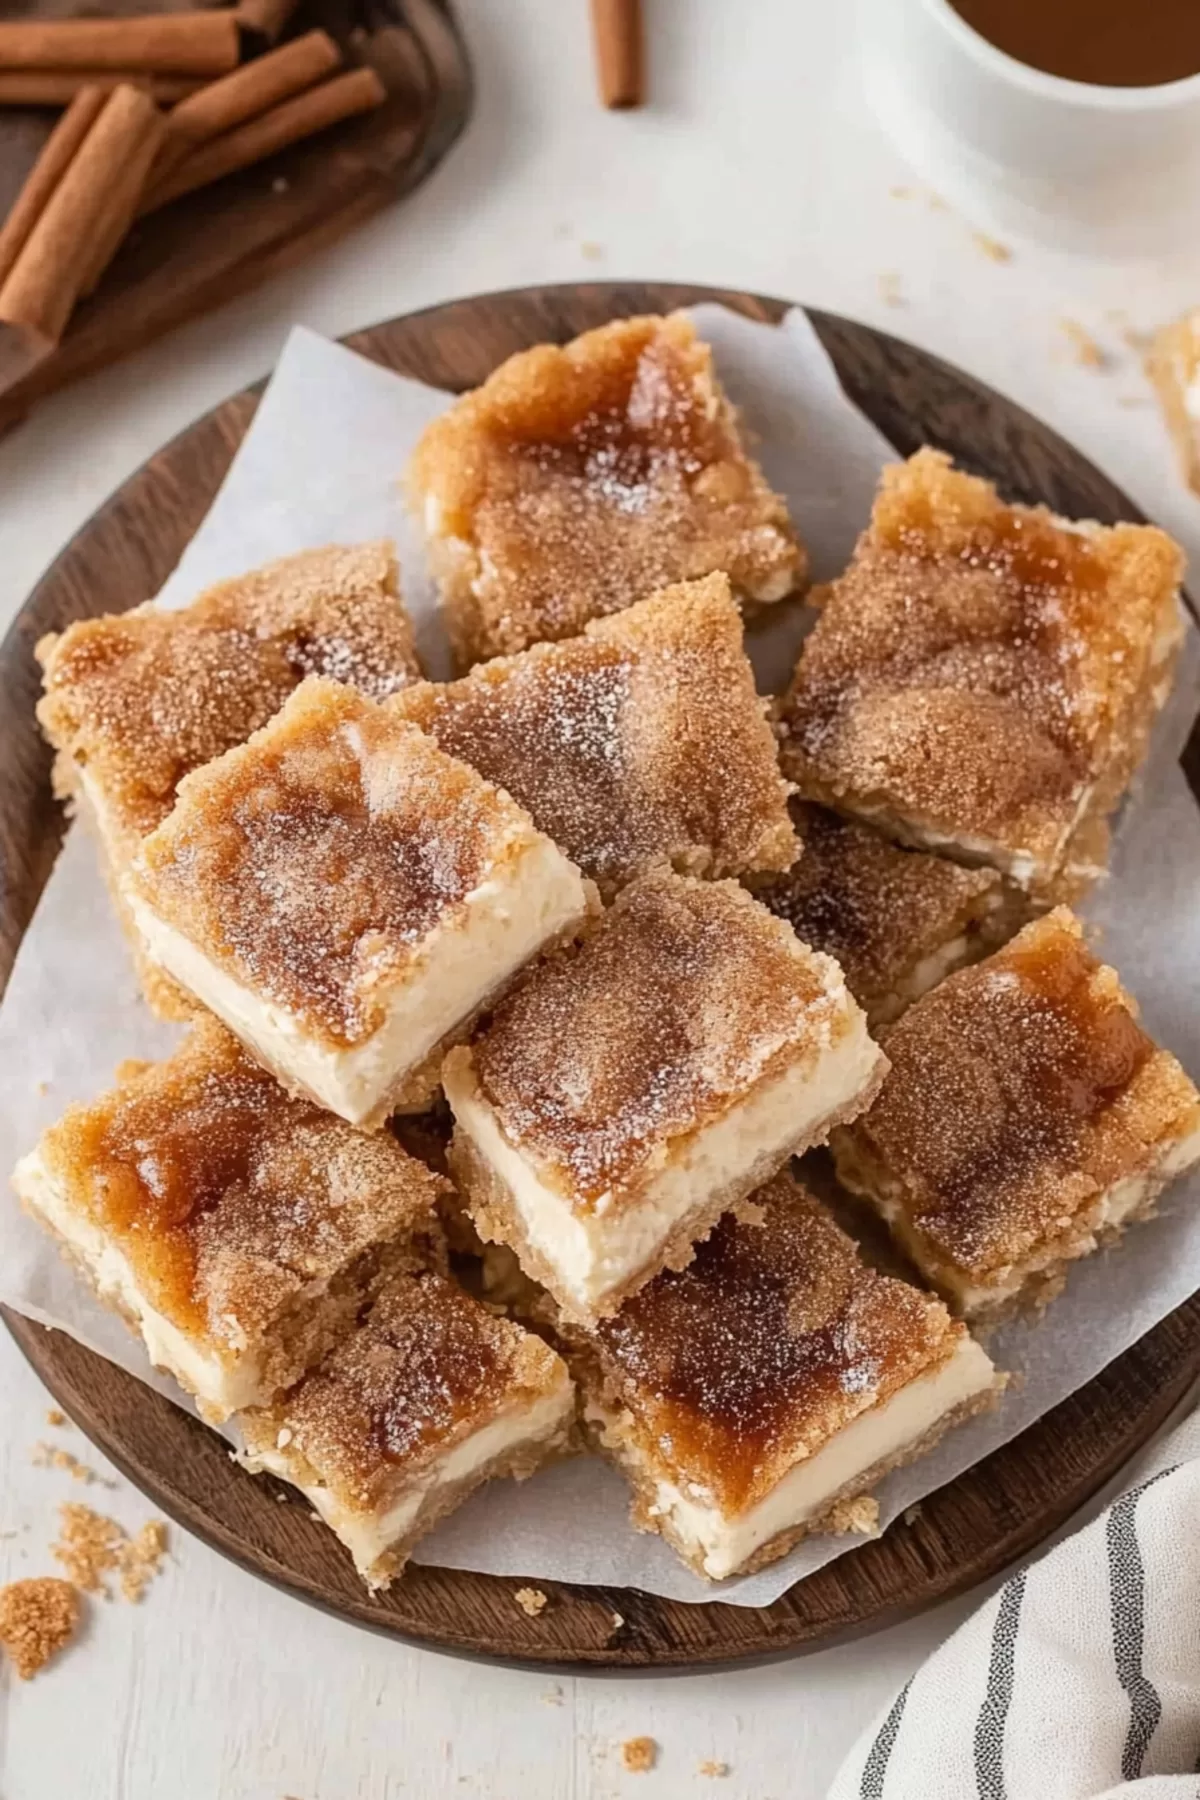
Ingredient Notes:
Before you jump in, let’s talk about what makes these Crescent Cheesecake Bars shine:
- Crescent Rolls: These create the buttery, flaky base and top layer. They’re easy to work with and bake up beautifully.
- Cream Cheese: The heart of the filling. Softened cream cheese ensures a smooth, rich texture.
- Vanilla Extract: Adds a warm, sweet note that ties everything together.
- Cinnamon-Sugar Topping: A sprinkle of cinnamon and sugar transforms the crust into something magical.
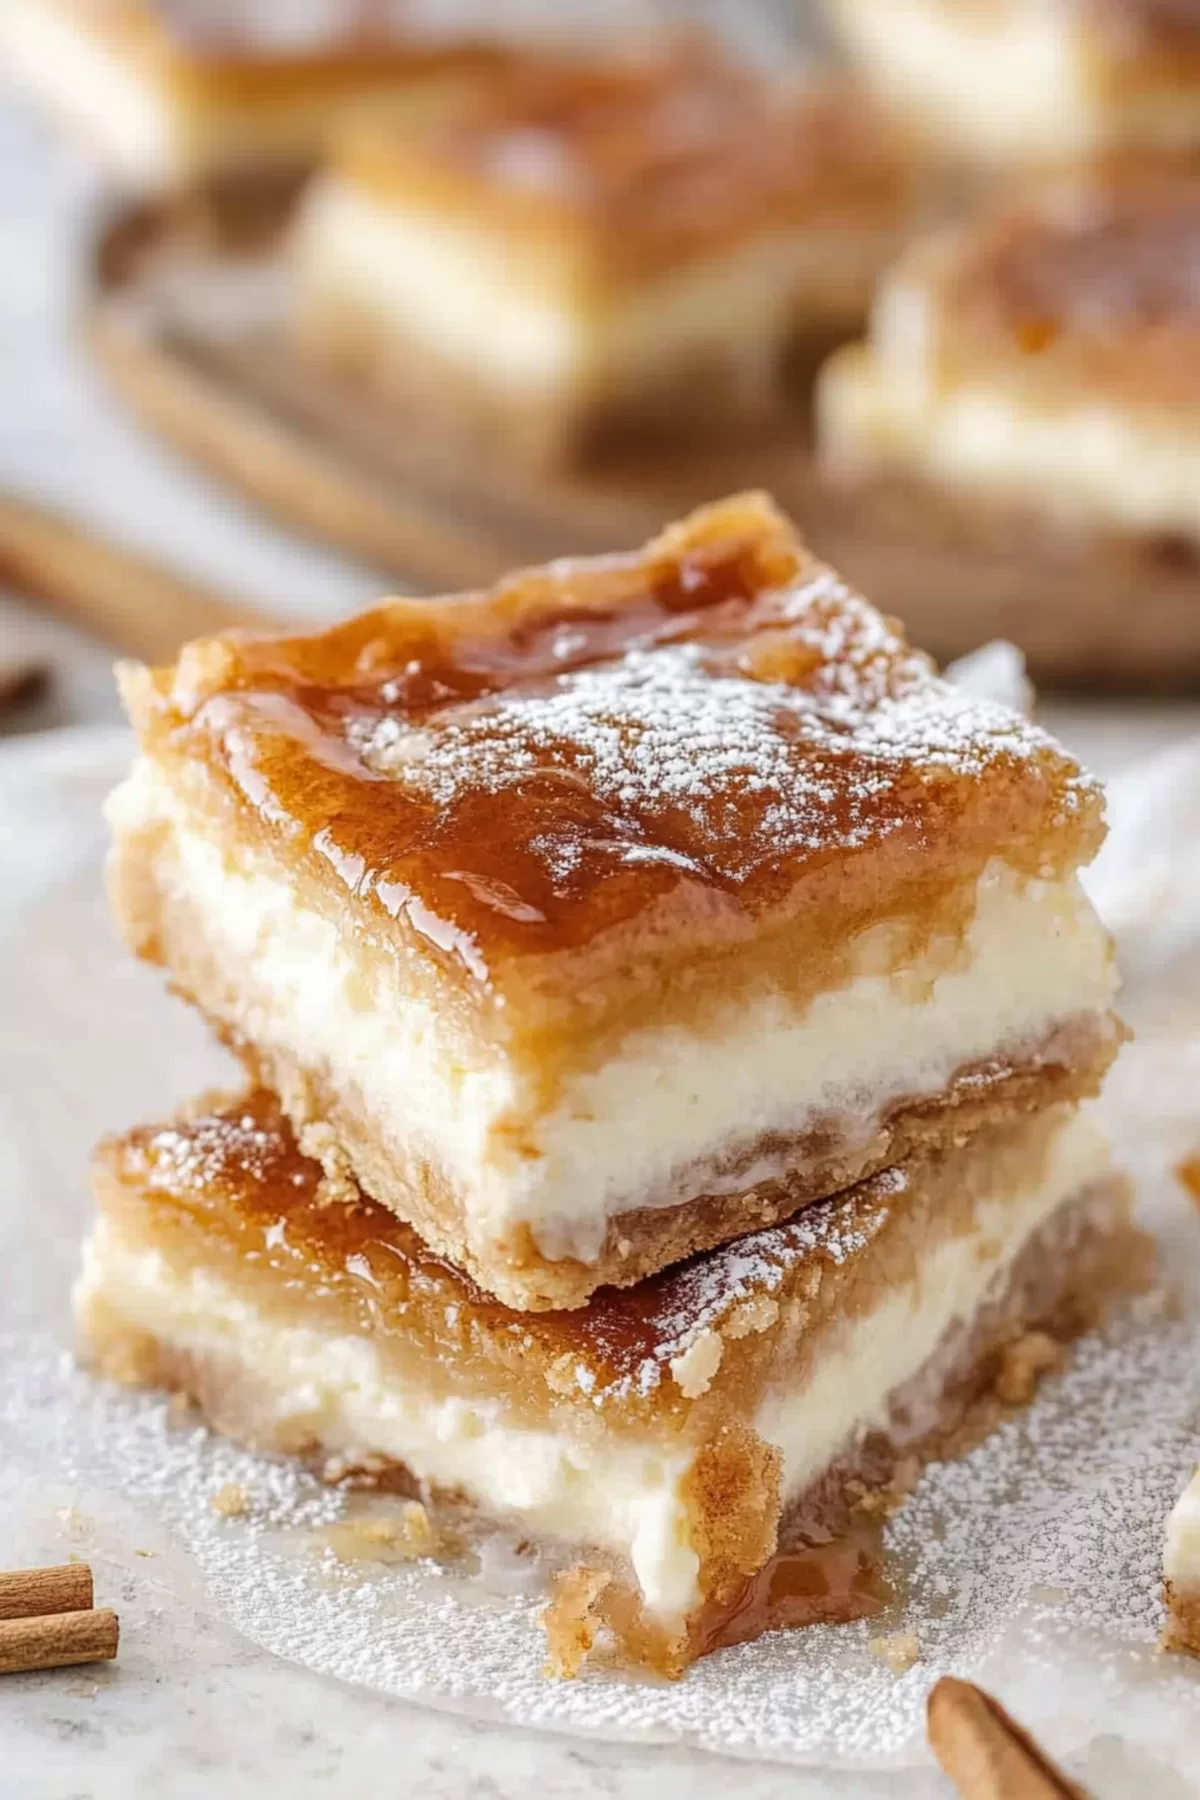
How To Make Crescent Cheesecake Bars?
Step 1: Preheat and Prep
Start by preheating your oven to 350°F. Grease a 9×13-inch baking dish to keep everything from sticking—because no one likes a dessert that won’t cooperate.
Step 2: Lay the Base
Unroll one can of crescent rolls and press it into the bottom of your baking dish. Make sure to seal any seams—this is your foundation, so make it solid.
Step 3: Make the Filling
In a mixing bowl, beat the softened cream cheese, sugar, and vanilla until smooth. Pro tip: Don’t skimp on the mixing—it’s what makes the filling so creamy.
Step 4: Spread the Filling
Spread the cream cheese mixture evenly over the crescent roll base. Take your time here; you want every bite to be rich and delicious.
Want To Save This Recipe?
Enter your email below and we'll send the recipe straight to your inbox.
Step 5: Add the Top Layer
Unroll the second can of crescent rolls and gently place it over the filling. Pinch the seams to keep everything secure.
Step 6: Cinnamon-Sugar Magic
Melt some butter and pour it over the top layer. Mix cinnamon and sugar in a small bowl, then sprinkle it generously over the butter. This topping is what dreams are made of.
Step 7: Bake
Bake for 25-30 minutes, or until the top is golden brown and the butter is mostly absorbed. Your kitchen will smell amazing by now—trust me.
Step 8: Cool and Slice
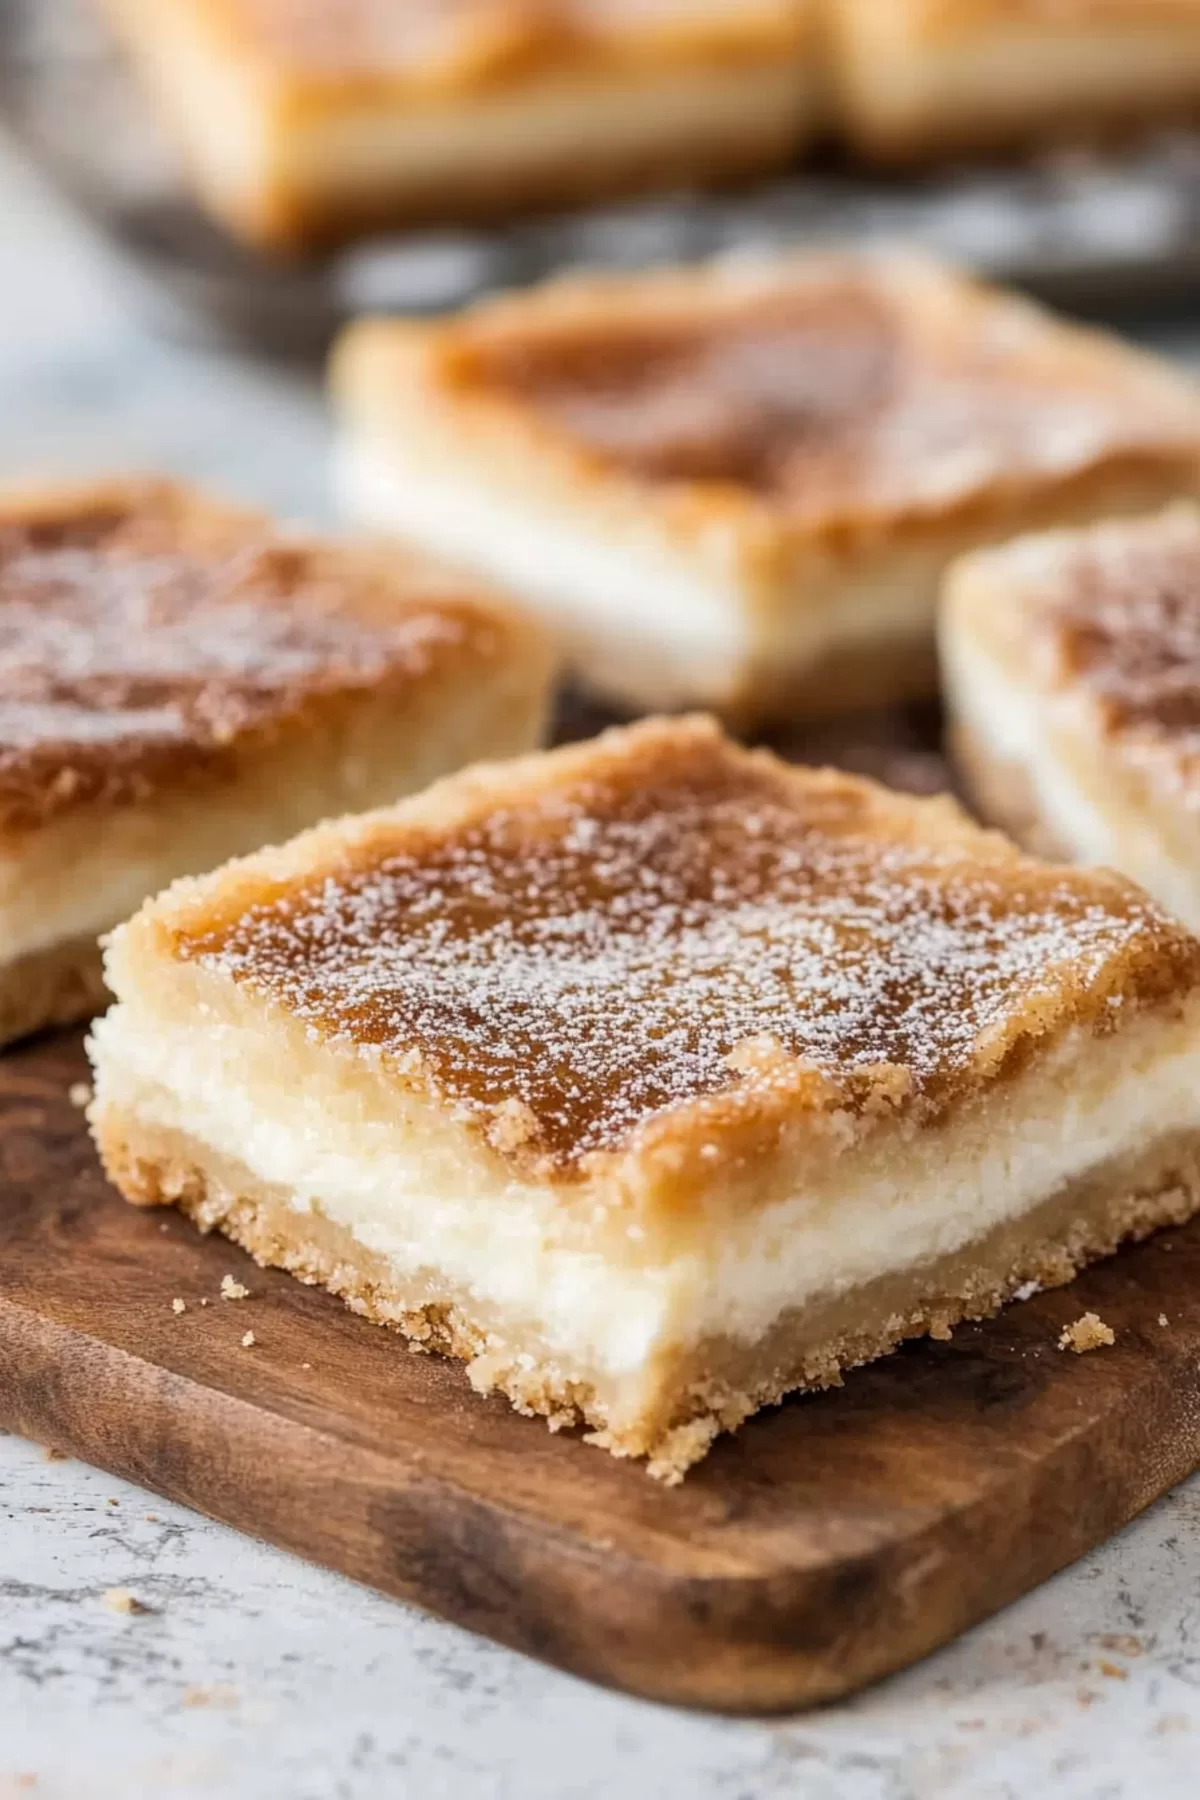
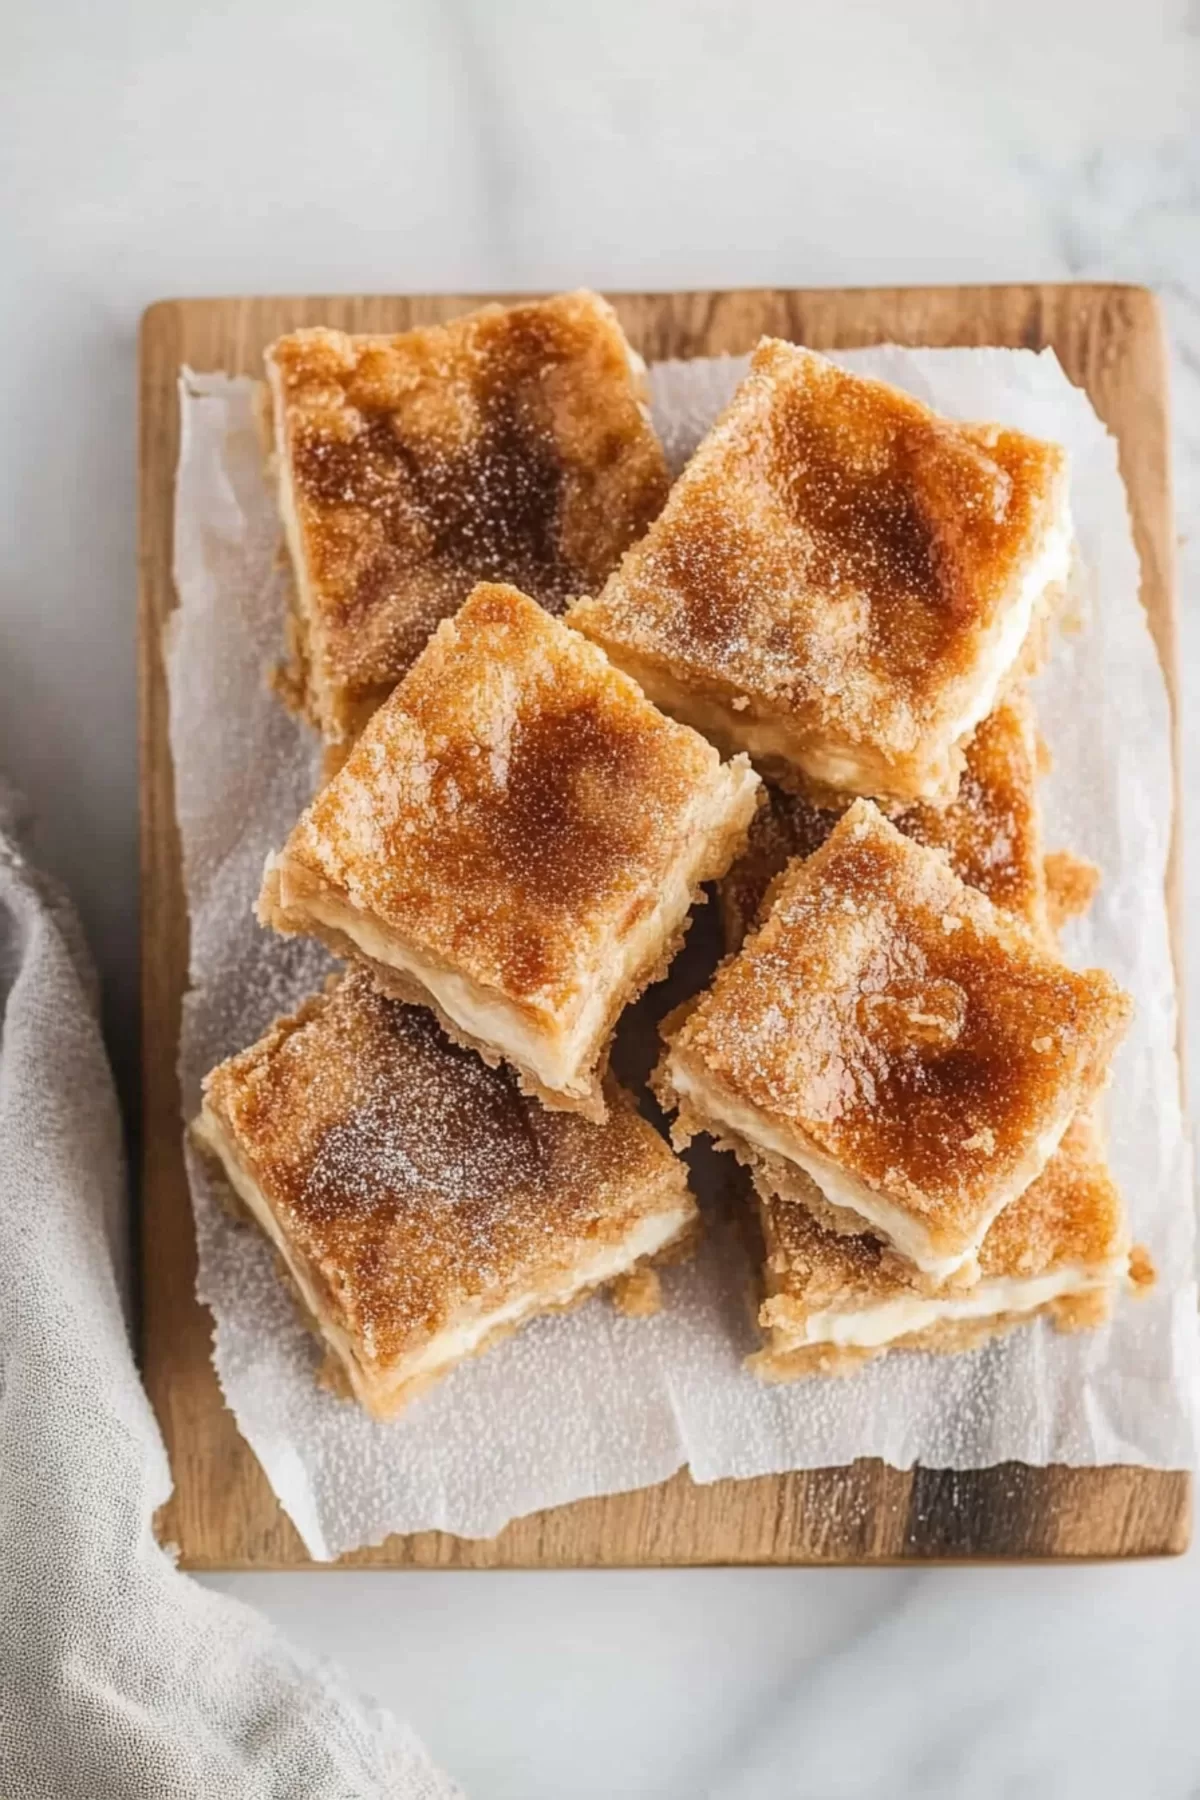
Let the bars cool completely before slicing into squares. This step requires patience, but it’s worth it.
Storage Options:
- Room Temperature: Store in an airtight container for up to 2 days.
- Refrigerator: These bars stay fresh for up to a week when chilled. Bonus: They’re even better cold.
- Freezer: Wrap individual bars in plastic wrap and freeze for up to 3 months. Thaw overnight before serving.
Variations and Substitutions:
- Gluten-Free: Swap the crescent rolls for a gluten-free version.
- Flavor Twist: Add a splash of almond extract to the filling for a nutty note.
- Fruit Addition: Top the filling with a layer of fresh berries before adding the top crescent roll.
- Nutty Crunch: Sprinkle chopped pecans or walnuts over the cinnamon-sugar topping.
What to Serve with Crescent Cheesecake Bars?
- Coffee or Tea: The perfect companion for these sweet treats.
- Fresh Fruit: A side of berries adds a refreshing contrast.
- Whipped Cream: Because why not?
Frequently Asked Questions:
Can I make these ahead of time?
Absolutely! They’re even better the next day when the flavors meld together.
Can I use low-fat cream cheese?
Yes, but the filling might be slightly less rich.
What if I don’t have cinnamon?
No problem—try a sprinkle of nutmeg or leave it out entirely.
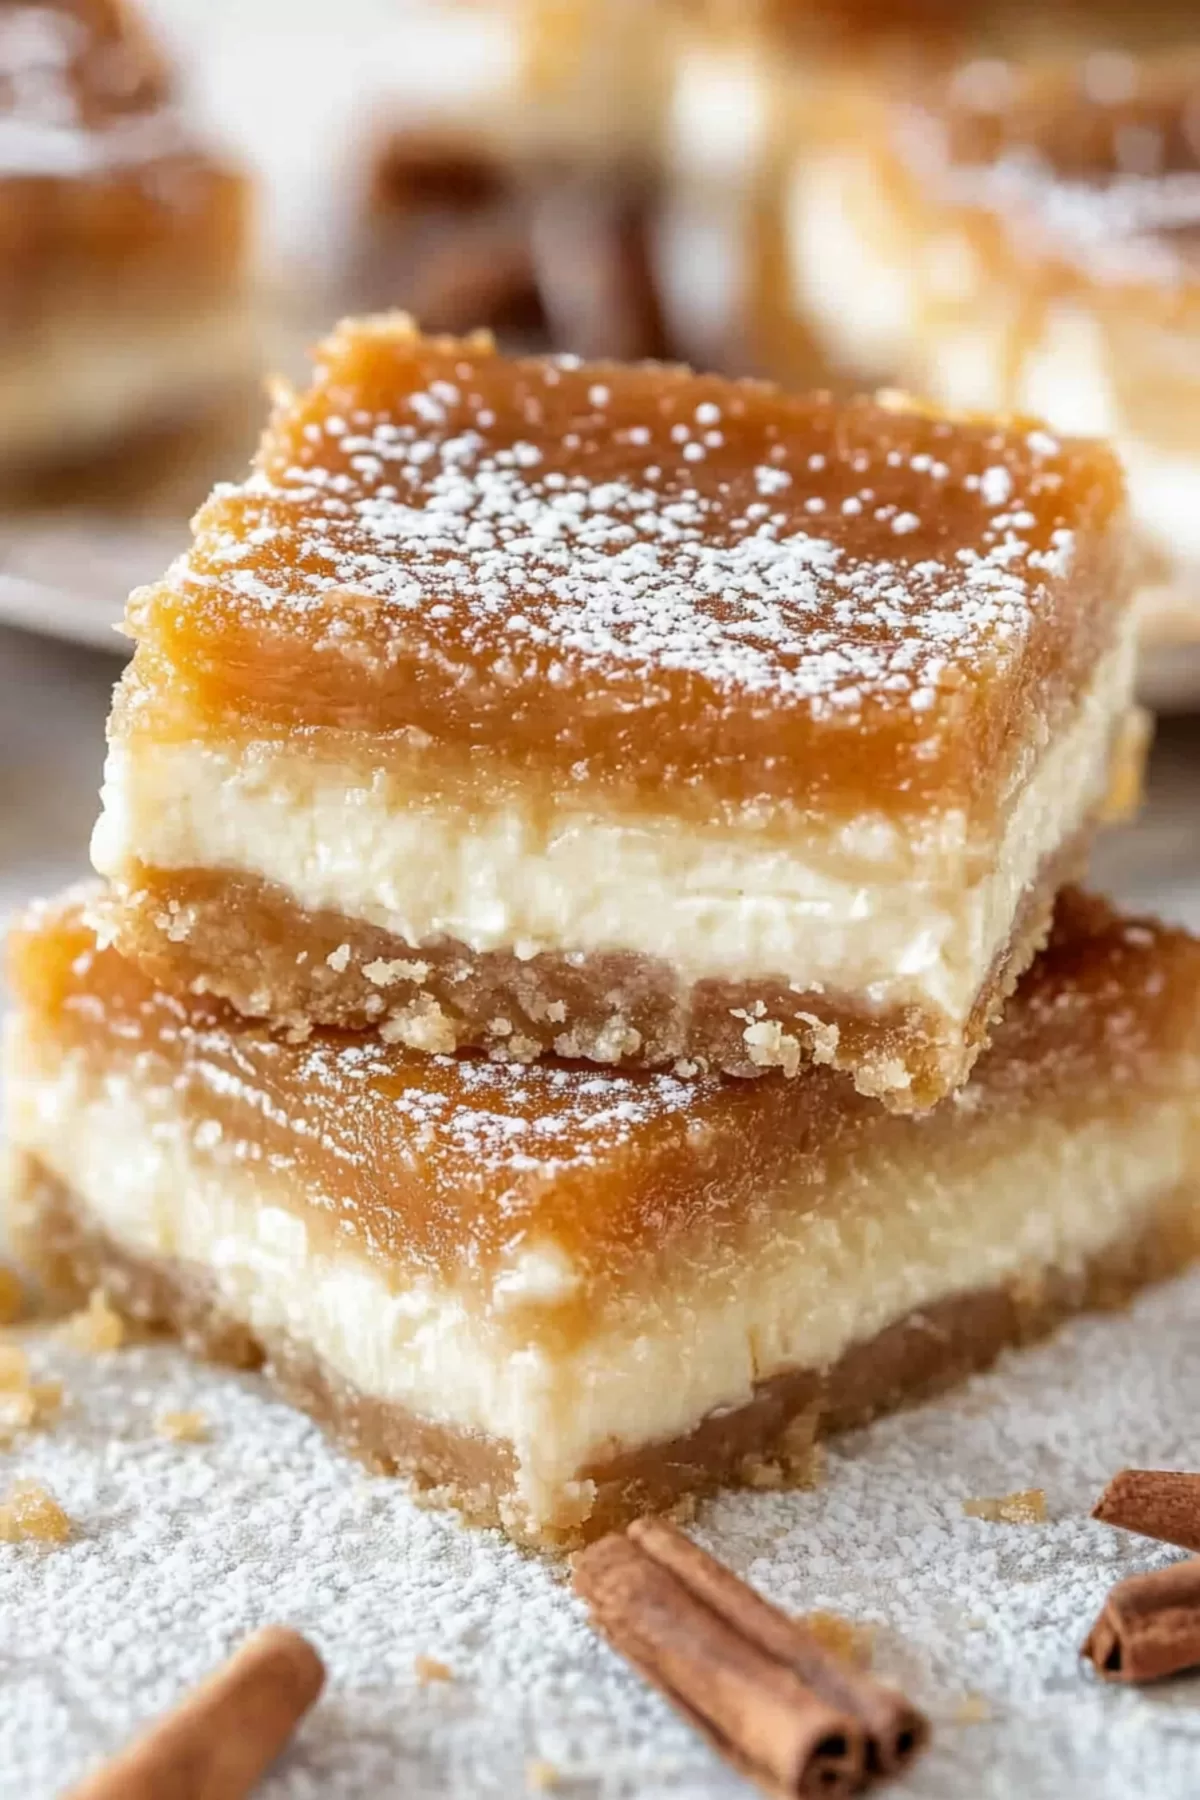
There you have it—Crescent Cheesecake Bars that are as easy as they are delicious. Whether you’re hosting a party or just craving something sweet, these bars are sure to hit the spot. So, what do you say? Ready to give them a try?
<Remember it later>
Planning to try this recipe soon? Pin it for a quick find later!
<Remember it later>
Planning to try this recipe soon? Pin it for a quick find later!
Crescent Cheesecake Bars
Ingredients
- 2 cans of Pillsbury crescent rolls
- 2 packages of cream cheese 8 ounces each, softened
- 1 cup of granulated sugar
- 1 teaspoon of vanilla extract
- 1/4 cup of unsalted butter melted
- 3 – 4 tablespoons of granulated sugar
- 2 tablespoons of cinnamon
Instructions
- Let's get started by preheating the oven to 350 degrees F. Make sure to grease your 9 x 13 inch baking dish so that nothing sticks.
- Now it's time to lay the foundation. Take out your can of crescent rolls. Press them into the baking dish. Press the seams together firmly to create a base.
- Moving on to mixing the filling, take a bowl. Combine softened cream cheese, sugar and vanilla extract. Use a mixer to blend everything until it becomes smooth and creamy.
- Next layer it up! Spread the cream cheese mixture evenly over the crescent roll base. Make sure you cover every inch of it, with that creamy goodness.
- Unroll your can of crescent rolls. Gently place them over the cream cheese layer. Crimp together any seams to seal in all that filling.
- To add a crunch, mix cinnamon and sugar in a bowl. Melt some butter. Pour it over the top of your crescent roll layer. Sprinkle generously with your cinnamon sugar mixture.
- It's time to bake our creation! Place your dish into the oven. Let it bake for around 25 to 30 minutes. Keep an eye on it until you see that golden top and notice most of the butter has been absorbed.
- There you have it—baked to perfection! Enjoy this treat once it's ready.
- After creating your masterpiece it's best to allow it to cool on a wire rack before proceeding to cut it into squares. This will ensure that the flavors and textures have set properly resulting in a chef-d'oeuvre.
Notes

I’m Bitty, owner of nodashofgluten.com, where I share simple, delicious recipes for all tastes, including gluten-free. Check out my “About Me” page for more info!


