
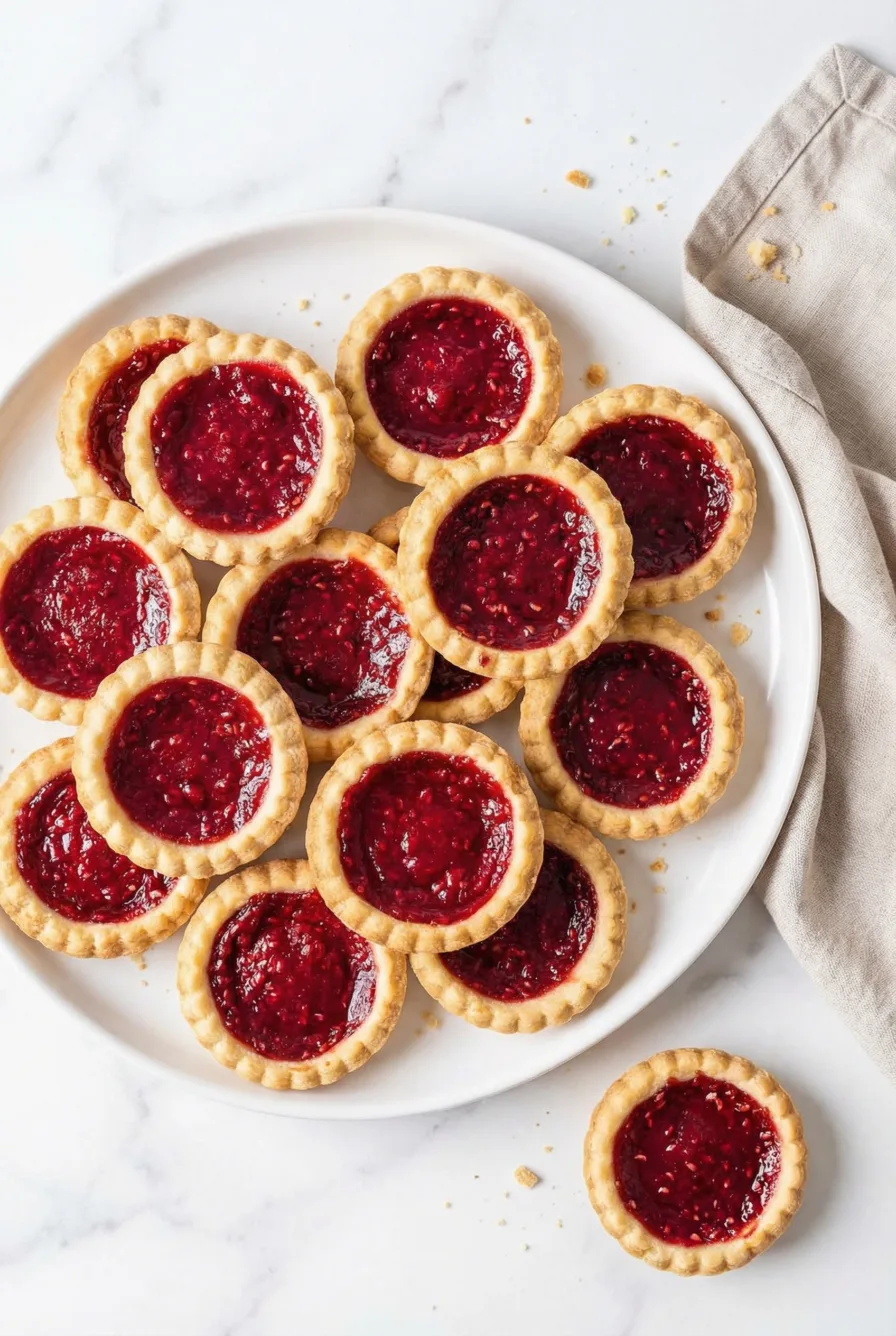
Classic Jam-Filled Tarts made with flour, dairy-free margarine, water, and jam for a simple, nostalgic vegan treat.
It’s funny how certain recipes just sneak up on you emotionally, you know? These Classic Jam-Filled Tarts did that to me the other day in the most unexpected way. I’d planned to spend my afternoon catching up on laundry — which, let’s be honest, I was already two weeks behind on — but instead, I found myself staring into my pantry like it was going to reveal the meaning of life. Or at least where all my missing Tupperware lids keep disappearing to.
Right there, pushed behind a bag of flour and some spices I bought during the “I’m-going-to-learn-Indian-cooking” phase of my life (that ended way too quickly), were three half-used jars of jam. It reminded me of my grandmother instantly. She used to hoard jam jars the way some people hoard candles — all different flavors, all half-full, all waiting for their moment. When I was little, she’d make jam tarts with whatever flavors she had on hand, and I still remember how she’d scoop the jam with this… seriousness. Like she was placing precious gems into pastry crowns.
And standing there in my kitchen, I felt this little tug in my chest. You know those moments when a memory just hits, like it’s been sitting there quietly waiting for the right smell or texture or sound to wake it back up? That was it: this weird cocktail of nostalgia, comfort, and “I actually really need something sweet right now.” I wasn’t thinking about perfection or presentation or anything Instagram-worthy. I just wanted something warm and familiar.


So I made these Classic Jam-Filled Tarts, and somehow they tasted exactly like hers — even though I’m sure she’d say mine are missing “a grandmother’s touch,” whatever that means. It felt like she was sort of standing beside me, laughing at my messy attempt to crimp the edges. It’s wild how food does that — pulls the past into the present without asking permission. Sound familiar?

Why You’ll Love This Classic Jam-Filled Tarts Recipe?
I think what makes these Classic Jam-Filled Tarts so wonderful is how uncomplicated they are. No stress, no specialized tools, no “fold this twelve times” instructions that make you question your life choices. They feel almost defiantly simple in a world where every recipe seems to scream “upgrade!” or “elevate!” Like… no. Not today. Today I want the baking equivalent of a cozy blanket and a warm cup of tea.
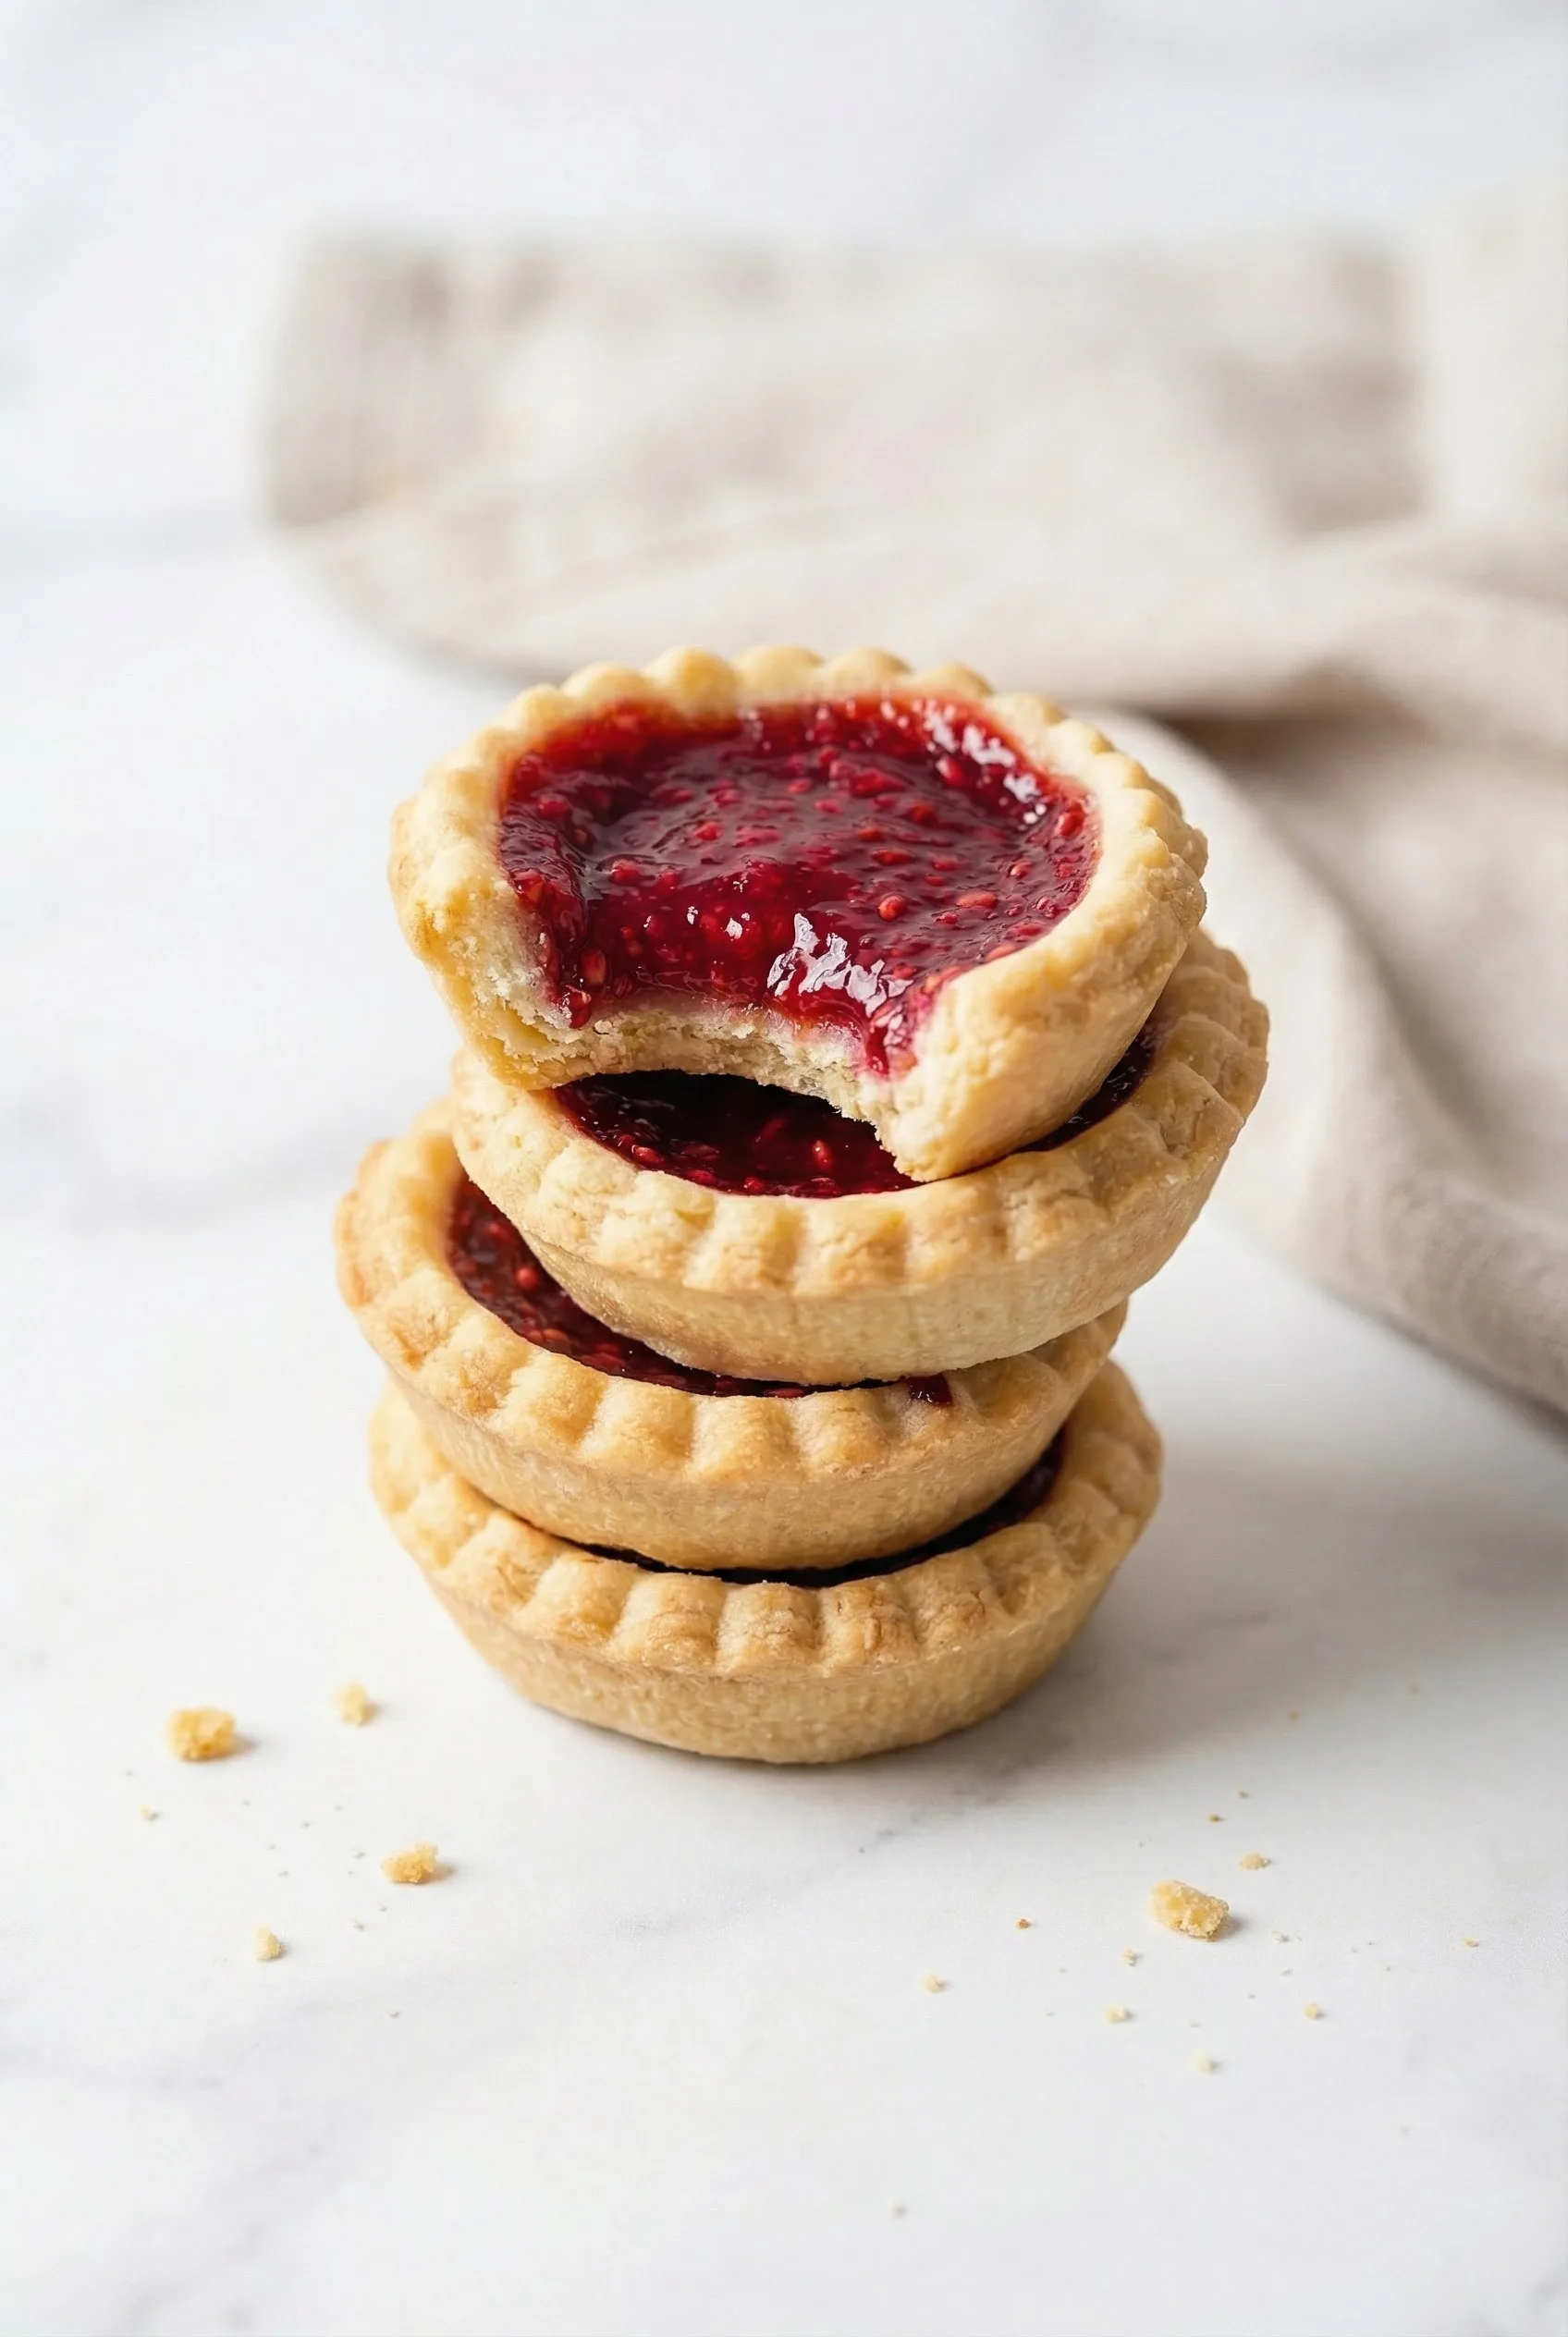
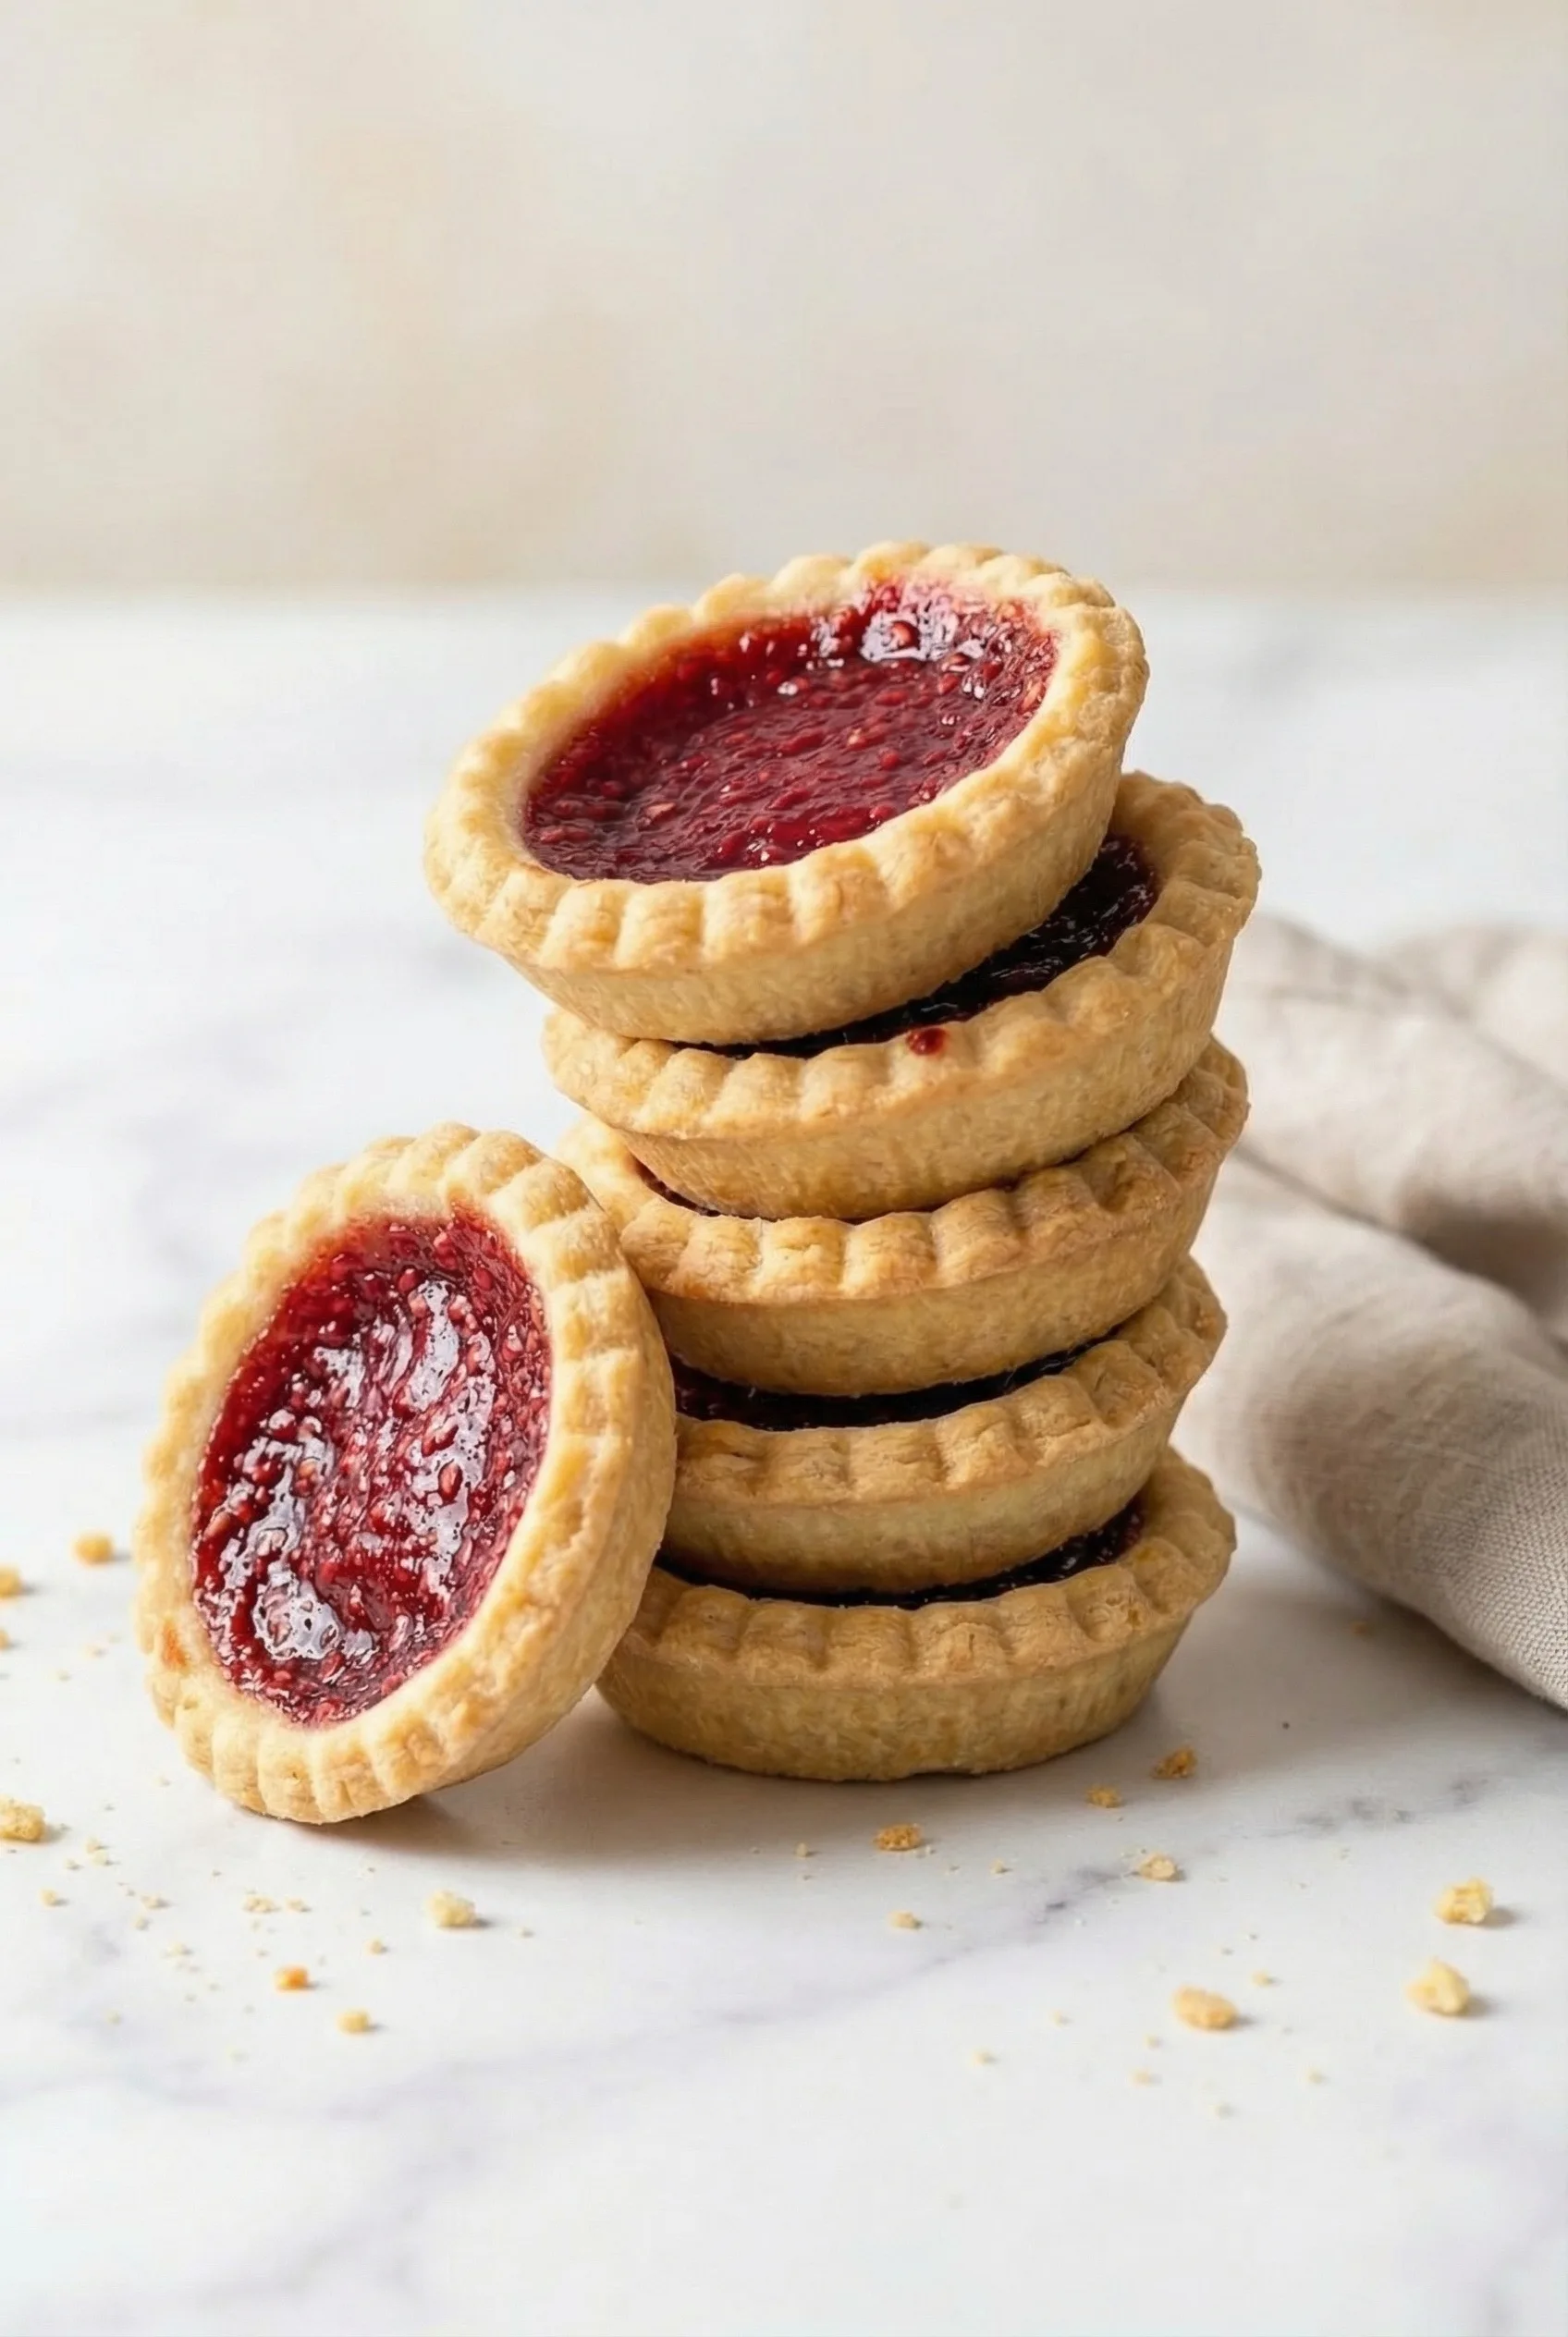
And honestly? These tarts just hit differently. They’re comforting without trying too hard. The pastry gets this delicate, crumbly texture — almost like shortbread’s friendlier cousin — and the jam melts into a shiny, jewel-like center that looks way fancier than the effort you actually put in. That might be my favorite thing about this recipe… it pretends to be impressive, but beneath the sparkly jam surface, it’s basically as low-key as baking gets.
And maybe you agree with me here — sometimes the best treats aren’t the complicated ones. They’re the little things. The “oh, I can whip this up in twenty minutes” things. The recipes that can turn a dull afternoon into something softer and sweeter without turning your kitchen upside down.

Ingredient Notes:
Before we begin, let’s just take a second to appreciate how delightfully unfussy the ingredients for Classic Jam-Filled Tarts are. This is the kind of recipe that whispers, “You already have everything you need,” which is always a relief because grocery store lines lately have been… chaotic.
Ingredient Notes
-
Plain Flour: The foundation. Simple, practical, the reliable friend of the baking world.
-
Dairy-Free Margarine: I like margarine here because it gives the tarts that tender, crumbly pastry without needing cold butter or special techniques. And honestly, it’s what my grandmother always used — the old-school tub kind.
-
Cold Water: Not much to say, except add it slowly. I’m always tempted to pour too much at once and instantly regret it.
-
Jam: Ah yes, the star of the show. Strawberry, raspberry, apricot, blueberry… or, if you’re like me, that one flavor you bought during a “let’s try something new” phase and forgot about. They all work.
How To Make Classic Jam-Filled Tarts?
Let’s make these Classic Jam-Filled Tarts together — nothing rigid, nothing stressful.
Step 1: Preheat
Heat your oven to 200°C (Fan 180°C) / 400°F / Gas 6. I always forget this step until halfway through mixing, so if you remembered before starting… you’re already doing better than me.
Step 2: Make the Pastry
Combine your flour and margarine with your fingertips until the mixture looks like breadcrumbs. It’s oddly soothing — like playing in sand but without the risk of finding sand in your shoes six hours later. Slowly add cold water and mix with a table knife instead of kneading. It feels strange at first, like you’re cutting through the dough instead of mixing it, but trust the process. Once the dough comes together, pop it in the fridge for about 10 minutes so it can rest. Honestly, I think the dough rests better than I do.
Step 3: Roll It Out
Roll the pastry out to about ½ cm thick. Cut 12 circles using a round cutter or a glass if you don’t have one. I love a recipe that embraces improvisation.
Step 4: Fill Each Tart
Press the circles into a muffin tin and spoon in the jam. Don’t overfill — hot jam can turn into a tiny, fruity lava explosion. Looks incredible, burns immediately. Learned that one so you don’t have to.
Step 5: Bake
Bake for around 15 minutes until the edges are golden and the jam has melted. The tarts come out bubbling and glossy — kind of like they dressed up for a party you didn’t even know was happening. Let them cool completely so the jam sets and you don’t scorch your tongue (again… experience speaking).

Want To Save This Recipe?
Storage Options:
These Classic Jam-Filled Tarts store beautifully. You can keep them at room temperature for a few days — honestly, they never last that long in my house. If you like your pastry crispier, pop them in the fridge; the jam gets this chewy, nostalgic texture that reminds me of school bake sales. And yes, you can freeze them for up to a month, though I rarely manage to keep any around long enough to test the limits.
Variations and Substitutions:
One of my favorite things about Classic Jam-Filled Tarts is how fun they are to experiment with. You can change practically anything and still end up with something delightful.
Ideas to Try
-
Mix two jams for a quirky swirl — strawberry-apricot is shockingly good.
-
Use lemon curd instead of jam when you want something bright.
-
Add chopped nuts on top before baking for crunch.
-
Swap regular flour for a gluten-free blend; the texture changes a little but still tastes amazing.
-
Try apple butter or peach preserves in the fall — trust me.
Ever tried experimenting with old-fashioned recipes like this? It’s weirdly addictive.
What to Serve with Classic Jam-Filled Tarts?
These tarts are tiny and cute enough to eat as-is, but if you want to make an occasion out of them, here are some ideas:
Serving Suggestions
-
A warm cup of tea — peppermint, Earl Grey, chamomile, whatever you love.
-
A scoop of vanilla ice cream because warm pastry + cold ice cream = bliss.
-
A handful of fresh berries.
-
Whipped coconut cream for something airy and light.
Frequently Asked Questions:
Can I use store-bought pastry instead of making my own?
Of course — store-bought pastry has saved me more times than I’m willing to admit.
Why did my pastry shrink?
Probably stretched it a little too much or didn’t chill it long enough. Happens to everyone.
Best jam to use?
Honestly? The one you already have. No need to overthink it.

If you make these Classic Jam-Filled Tarts, please tell me which jam you used — I’m always curious which flavor people reach for first. Did they remind you of something from childhood too? Or did they just make your kitchen smell like the cozy version of heaven?
Can’t wait to hear what you think!
Keep the Flavor Coming – Try These:
Classic Jam-Filled Tarts
Ingredients
- 250 g plain all-purpose flour
- 125 g dairy-free margarine
- 75 g cold water approximately
- 400 g jam any flavour
Instructions
Preheat the Oven
- Preheat the oven to 200°C (Fan 180°C) / 400°F / Gas Mark 6.
Prepare the Pastry
- In a large mixing bowl, combine the flour and dairy-free margarine. Using your fingertips, rub the ingredients together until the mixture resembles fine breadcrumbs. Gradually add the cold water, a small amount at a time, mixing with a table knife after each addition. Cut through the mixture rather than kneading it to avoid toughening the pastry. Once the dough forms a soft, smooth ball, place it in the refrigerator to rest for 10 minutes.
Roll and Cut the Pastry
- After resting, roll the pastry out on a lightly floured surface to a thickness of approximately ½ cm. Using a 9 cm round pastry cutter (or similar-sized glass), cut out 12 pastry circles. Gather the trimmings, re-roll as needed, and continue cutting until 12 circles have been formed.
Fill the Tart Shells
- Place each pastry circle into a muffin tin, pressing gently to form a shallow tart shell. Divide the jam evenly among the 12 shells, taking care not to overfill, as the jam will expand during baking.
Bake
- Bake for 15 minutes, or until the pastry is lightly golden and the jam has melted. Remove the tray from the oven and allow the tarts to cool completely before serving, as the jam will be extremely hot immediately after baking.
Notes
I’m Bitty, owner of nodashofgluten.com, where I share simple, delicious recipes for all tastes, including gluten-free. Check out my “About Me” page for more info!

