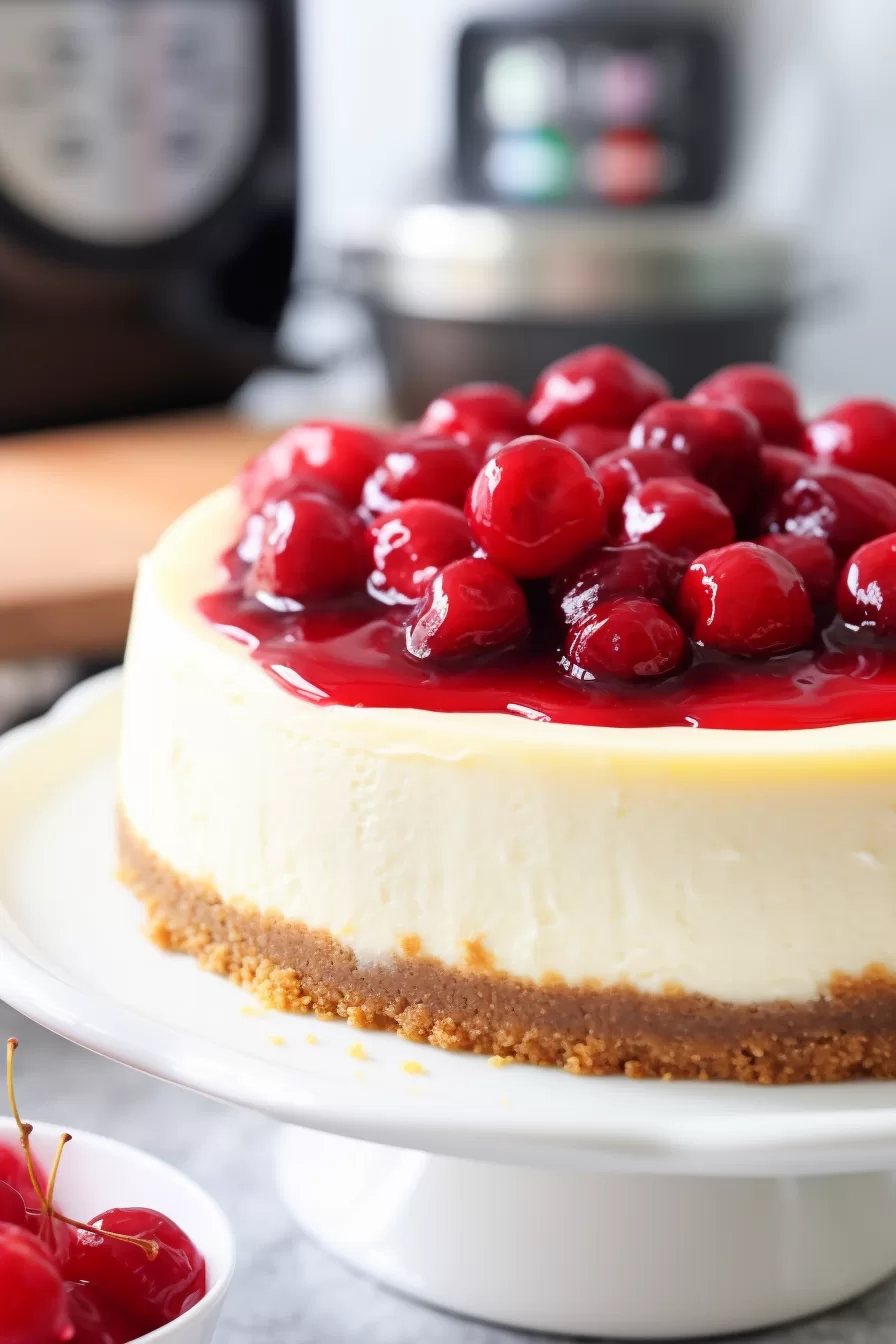
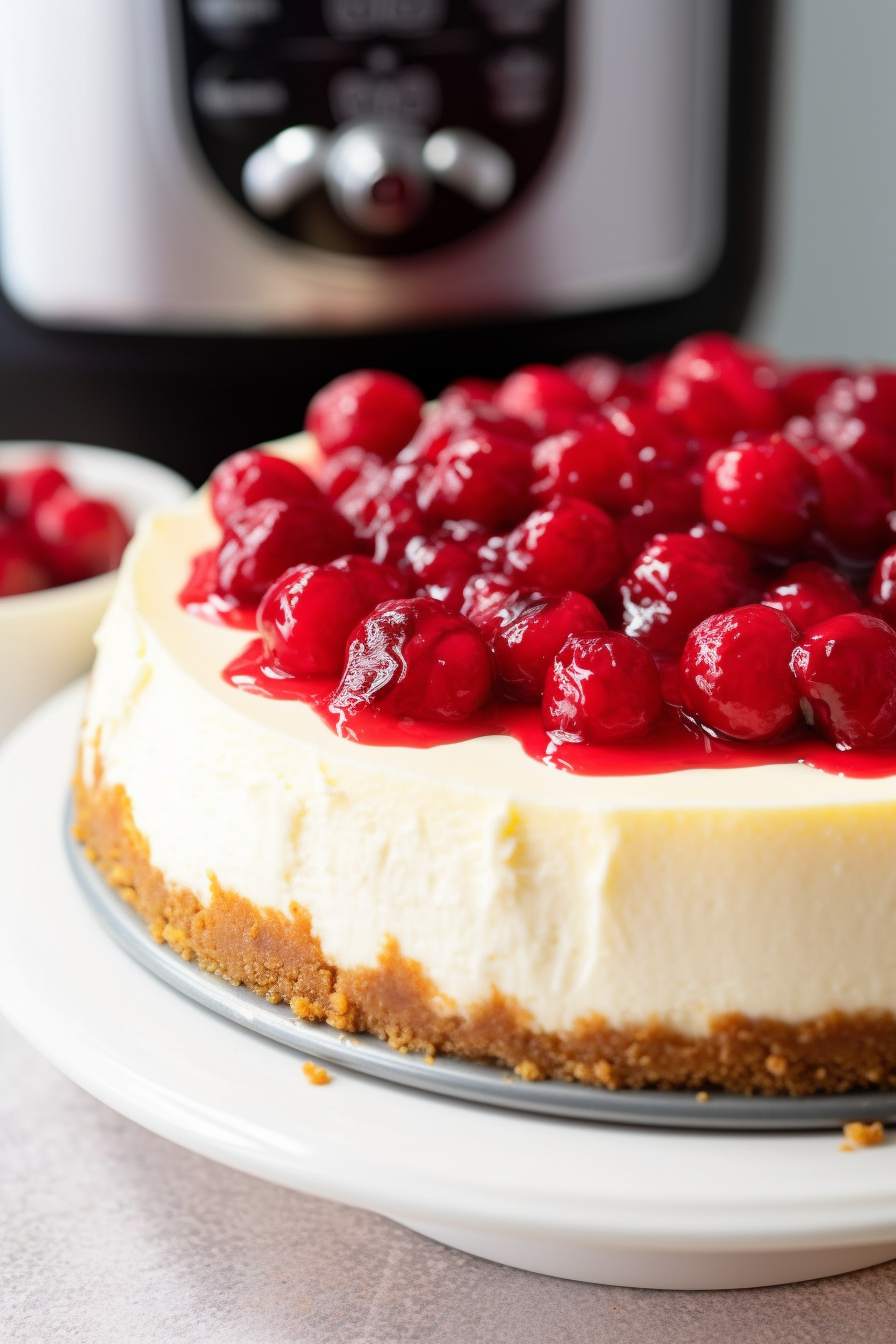
Classic Instant Pot Cheesecake – Experience the indulgence of a velvety Classic Instant Pot Cheesecake, a dessert that has become a part of our family’s culinary repertoire. This recipe perfectly combines simplicity and sophistication featuring ingredients such, as cream cheese graham crackers and a hint of vanilla. It’s a way to create a dessert that rivals those found in upscale restaurants.

I can still vividly recall the first moment I decided to embark on making this mouthwatering cheesecake. It was a rainy Sunday afternoon when I sought to surprise my loved ones with something. The sheer delight on my husband’s and child’s faces after their bite was absolutely priceless. Since then this cheesecake has become our go-to treat for celebrations. Whenever we crave a little pick-me-up.
What makes this Classic Instant Pot Cheesecake truly special?
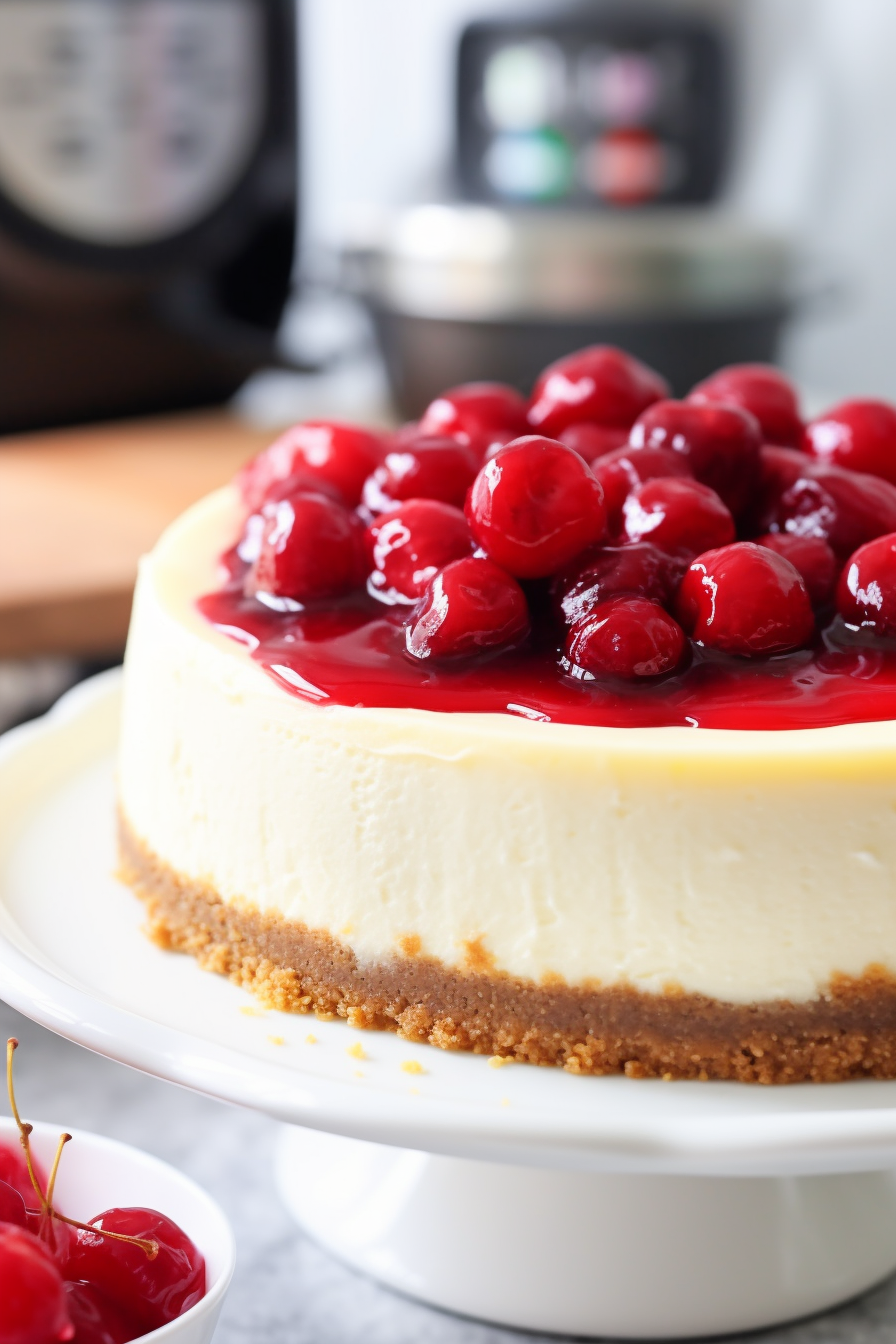
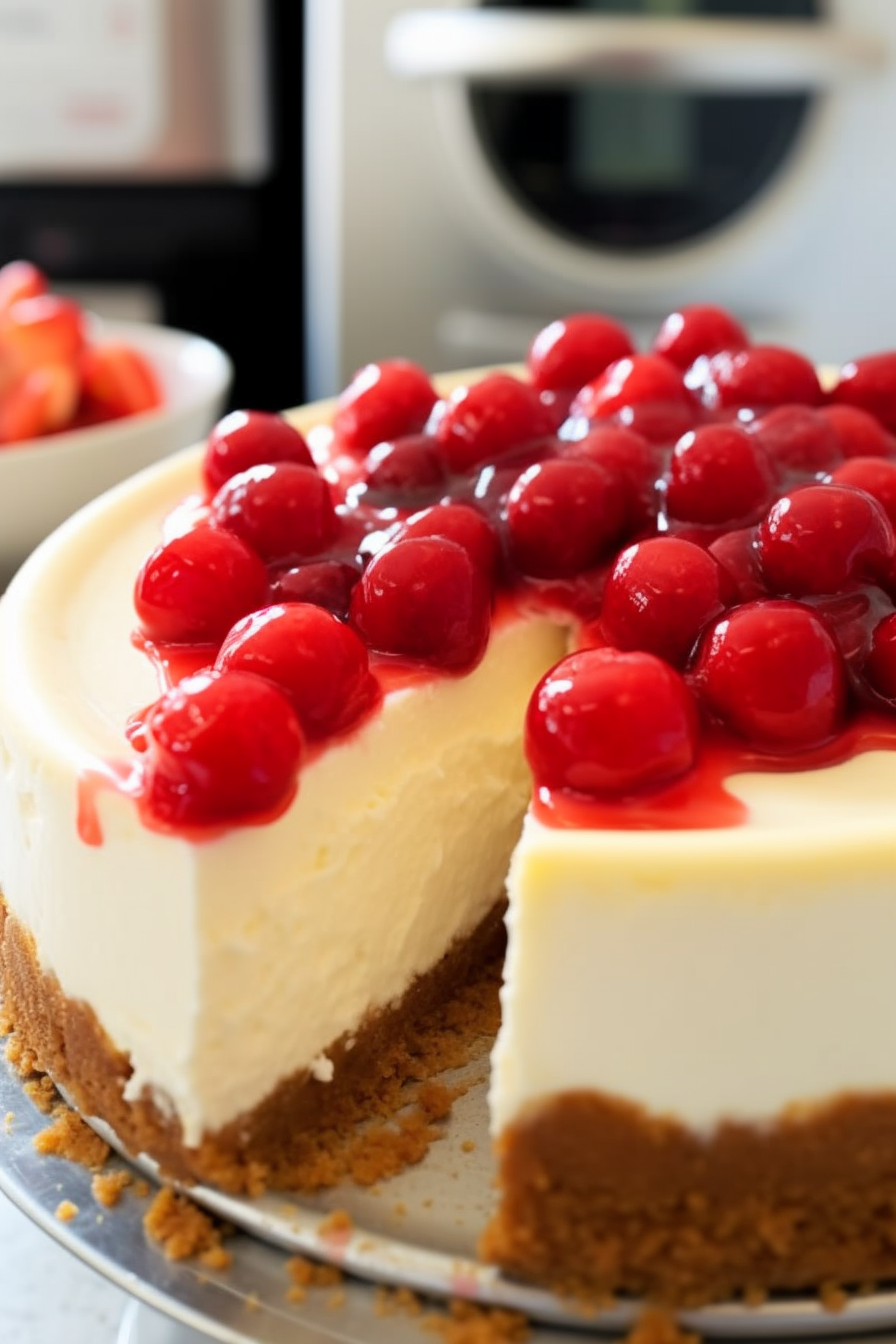
What sets this Classic Instant Pot Cheesecake? Firstly it boasts simplicity in its preparation thanks, to the convenience of using an Instant Pot. Secondly its texture is flawlessly smooth and creamy – reminiscent of what you would expect from a pastry chef at a bakery. Lastly it offers versatility; whether adorned with luscious cherry pie filling or adorned with fruits it never fails to impress!
What You Need To Make This Classic Instant Pot Cheesecake Recipe?
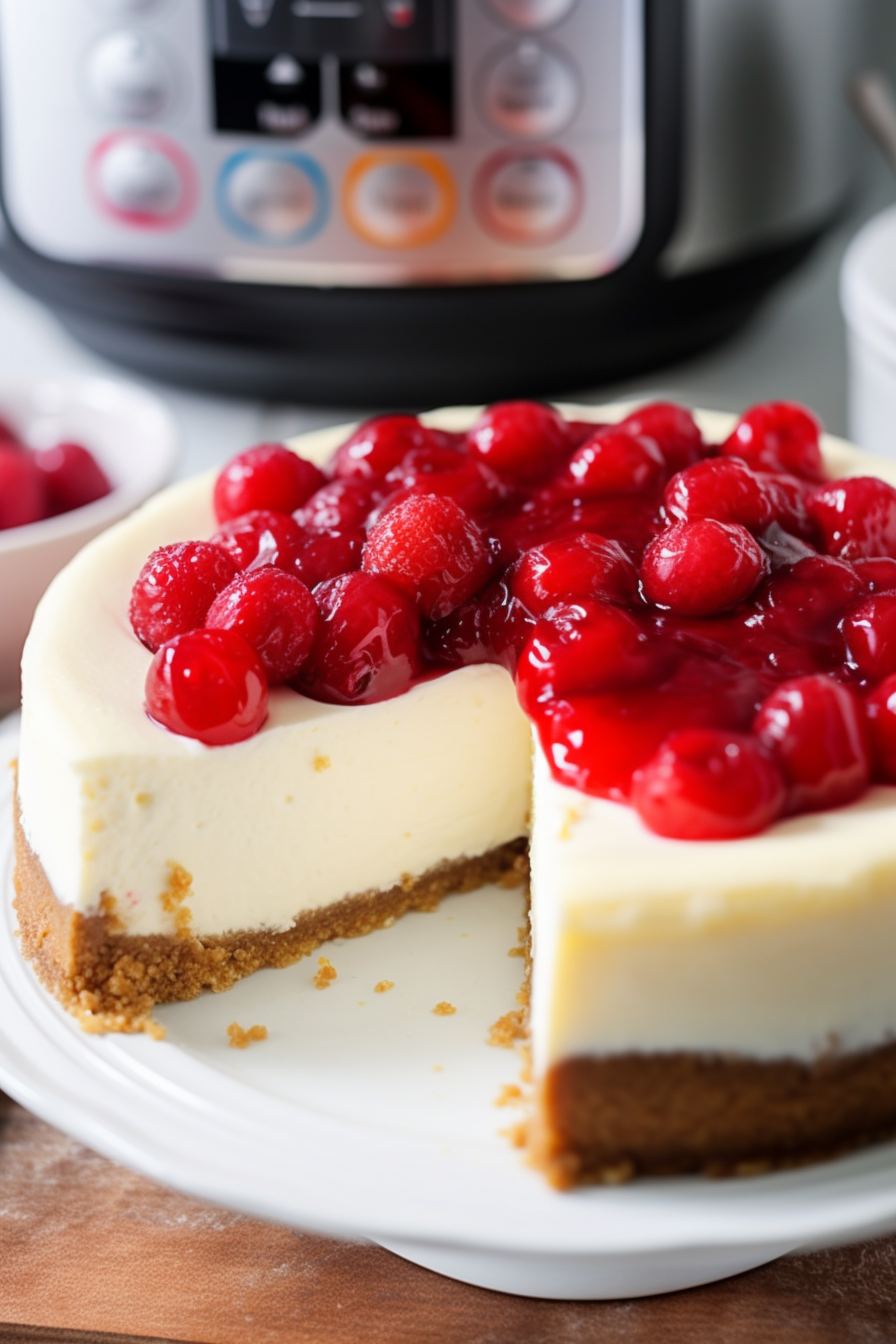
Graham Cracker Crumbs: They’re not the foundation of our crust; they mark the beginning of a tale. Each crumb comes together to form a base that’s both sweet and subtly spicy evoking feelings of evenings and heartwarming conversations.
Butter (Melted): Consider this as the adhesive that unifies our graham cracker world. It adds a comforting depth transforming the crumbs into a crust that’s simultaneously tender and crispy.
White and Brown Sugar: Imagine these as the contrasting forces, in our crust. White sugar brings sweetness while brown sugar introduces a touch of molasses magic, imparting warmth and comfort.
Cream Cheese (Room Temperature): The true star of the show! Cream cheese at room temperature is akin to an inviting embrace ensuring our cheesecake filling is velvety smooth without any lumps. It’s the dream that makes this cheesecake utterly irresistible.
Sugar: This isn’t just about sweetness; it’s, about achieving balance. The right amount of sugar doesn’t. Enhances the tangy personality of the cream cheese.
Eggs (Room Temperature): These unsung heroes are what bind our story together. At room temperature they seamlessly blend in giving our cheesecake its custard texture.
Cornstarch: A small amount of salt works like magic to achieve the texture. It plays a role, in helping the cheesecake set properly striking a balance between firmness and velvety smoothness.
Pinch of Salt: Just a pinch of salt can make all the difference! It’s like a whisper that enhances all the flavors making the sweetness more pronounced and giving the cheesecake an unforgettable creaminess.
Vanilla Extract: The vanilla extract acts as a background melody harmonizing with the flavors and adding a touch of sweetness that elevates the cheesecake to new heights.
Heavy Whipping Cream: When it comes to richness nothing beats whipping cream. It adds that luxurious element that brings everything together into an indulgent mixture ensuring every bite of this heavenly dessert is as delightful, as the last.
Steps To Make Classic Instant Pot Cheesecake:
Want To Save This Recipe?
Enter your email below and we'll send the recipe straight to your inbox.
Step 1: Start by allowing the cream cheese and eggs to come to room temperature.
Step 2: Take a piece of parchment paper, slightly larger than your springform pan and place it inside ensuring a snug fit.
Step 3: To make the crust finely blend graham crackers into crumbs. Mix them with melted butter and sugars. Press this mixture firmly onto the bottom of the pan.
Step 4: Create a smooth filling by combining cream cheese, eggs, sugar, cornstarch, salt, vanilla and whipping cream. Pour this mixture over the crust.
Step 5: Gently tap the pan to release any trapped air bubbles.
Step 6: Place the cheesecake on a trivet inside an Instant Pot with water added. Cook it under pressure for 26 minutes. Allow the pressure to naturally release.
Step 7: Once cooked let the cheesecake cool, before refrigerating it for 4 hours.
Step 8: Serve with your topping. Savor each creamy bite!
Tip:
To enhance the flavor and texture of your cheesecake you can take advantage of the moist environment created by the Instant Pot. However if you want to elevate it there’s a technique called the water bath method that you can try. Here’s how:
- Make a Foil Sling: Before placing your cheesecake, in the Instant Pot create a sling using aluminum foil. This sling will make it easier for you to lower the cheesecake into the pot and lift it out later without any mishaps that could ruin its smoothness.
- Add Water: Increase the amount of water in the Instant Pot to around 1½ cups. By doing you’ll create a gentle heat around the cheesecake mimicking what a traditional water bath in an oven does. This ensures cooking. Helps prevent any cracks from forming on top.
- Utilize the Sling: lower your cheesecake into the pot using the foil sling. Once it’s cooked you can use this sling to lift it out again. Not only does this method make handling easier. It also minimizes any potential damage to its delicate structure.
This pro tip will give your Instant Pot cheesecake a luscious and velvety texture akin, to what professional bakeries achieve. It may be a simple step. It can truly make all the difference when perfecting your homemade treat.
Frequently Asked Questions:
Can I make this cheesecake in a regular oven?
Sure! You can definitely bake this cheesecake in a regular oven. Just set the temperature to 325°F. Bake it in a water bath, for 45 to 55 minutes. You’ll know it’s ready when the edges are firm. The center still has a jiggle.
How should I store the cheesecake and how long does it last?
When it comes to storing the cheesecake simply cover it. Keep it in the fridge. It should stay fresh for up to 5 days. Additionally if you want to store it for longer you can freeze it for a month.
Why did my cheesecake crack on top?
Now regarding the issue of cracks, on top of your cheesecake there are reasons why that might happen. One possibility is that you may have overmixed the batter so try to mix just until everything is combined. Another factor could be that your cheesecake cooled quickly after baking. To avoid this allow it to cool slowly and gradually.
<Remember it later>
Planning to try this recipe soon? Pin it for a quick find later!
<Remember it later>
Planning to try this recipe soon? Pin it for a quick find later!
Classic Instant Pot Cheesecake
Ingredients
CRUST:
- 2 c graham cracker crumbs
- 4 tbsp melted butter
- 1 tbsp white sugar
- 1 tbsp brown sugar
FILLING:
- 16 oz cream cheese room temperature
- ½ c sugar
- 2 eggs room temperature
- 1 ½ tbsp cornstarch
- Pinch of salt
- 2 tsp vanilla extract
- ¼ c heavy whipping cream
Instructions
- Make sure your cream cheese and eggs are, at room temperature.
- Cut out a circle of parchment paper and place it at the bottom of your springform pan securing it in position.
- Crush graham crackers until they turn into crumbs. Mix them with melted butter and sugars. Press this mixture into the bottom of your pan.
- In one bowl combine sugar, cornstarch and salt. Then in another bowl mix together cream cheese (at room temperature) eggs, whipping cream vanilla extract and the sugar mixture. Blend everything together until it becomes smooth.
- Pour the prepared filling over the crust. Lightly tap on the pan to remove any trapped air bubbles.
- Add 1 cup of water to your Instant Pot. Place a trivet inside. Carefully lower your cheesecake onto it. Seal the lid tightly set the valve to sealing position then cook on pressure for 26 minutes. Allow for pressure release when done.
- Gently pat away any moisture, from the top using a paper towel. Let your cheesecake cool down first before refrigerating it for 4 hours or more. Once chilled thoroughly you can serve it with your topping! Enjoy!
Notes

I’m Bitty, owner of nodashofgluten.com, where I share simple, delicious recipes for all tastes, including gluten-free. Check out my “About Me” page for more info!


