

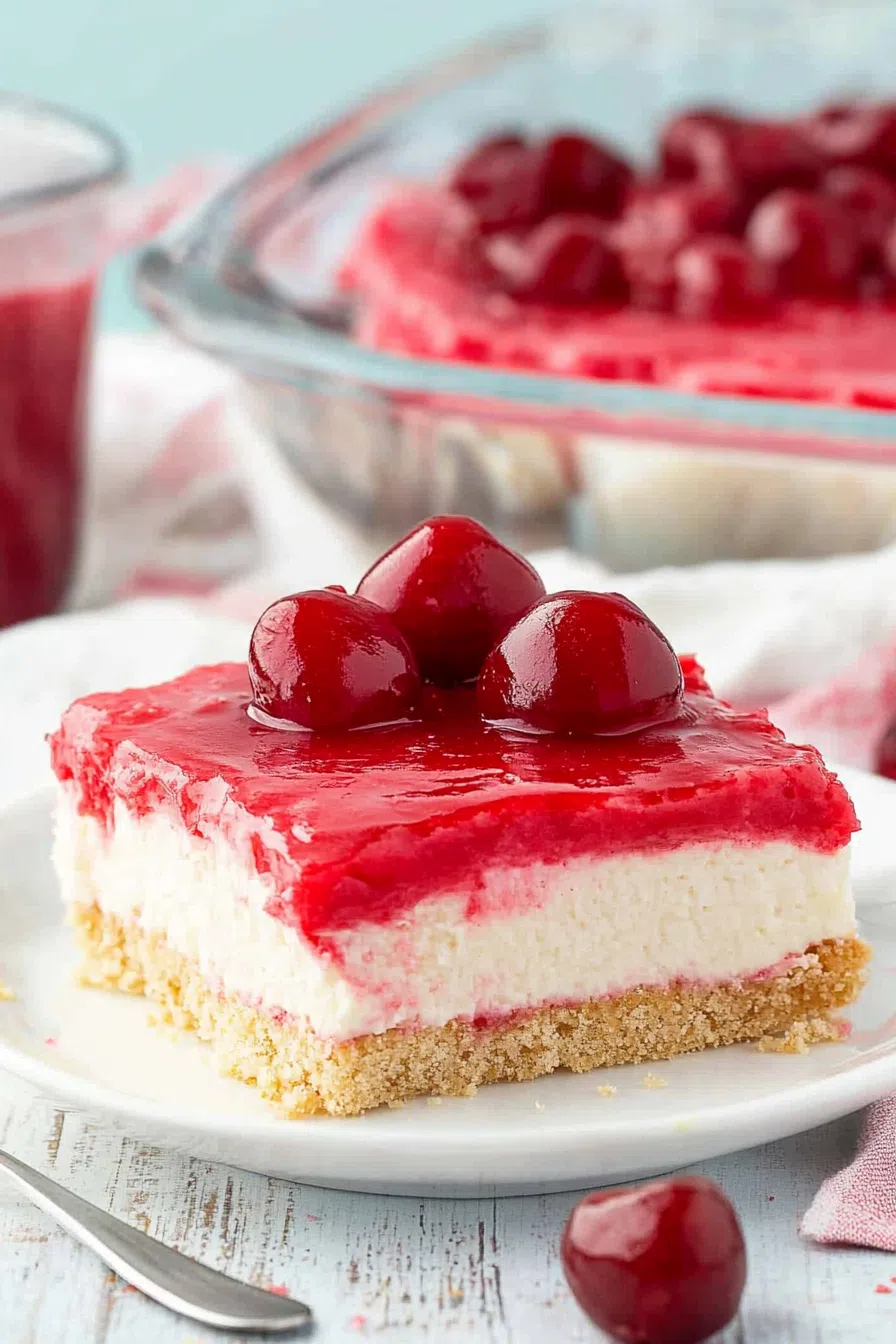
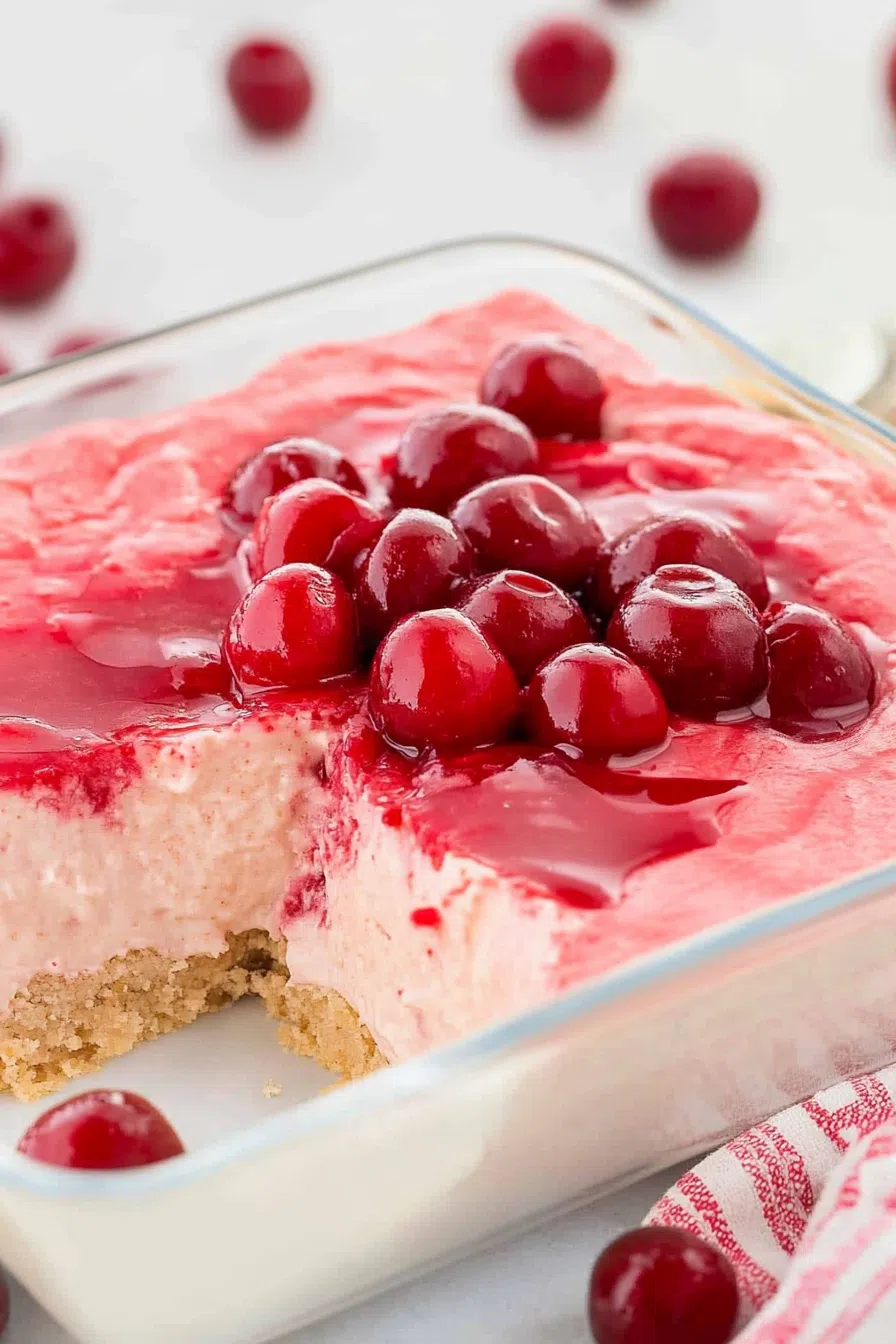
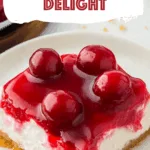
A buttery graham cracker crust, velvety cheesecake filling, and tangy cherry topping make this Classic Cherry Delight an easy, no-bake favorite!
You ever have a dessert that just feels like home? The kind that shows up at every holiday, potluck, and random Tuesday night when someone in the house needs something sweet? For me, that dessert is Classic Cherry Delight.


I grew up watching my mom make it, always with the same effortless routine—graham cracker crust pressed into the pan while she hummed some ‘70s song, cream cheese whipped to perfection (with zero measurements because she somehow just knew), and that bright red cherry topping spooned over the top with a dramatic final swirl. And somehow, it always tasted better when she made it.
The best part? It’s so ridiculously easy. No baking, no fussy techniques, just simple ingredients layered together into something way more magical than it should be. If you’ve never had Classic Cherry Delight, buckle up—you’re about to find your new go-to dessert.
Why You’ll Love This Classic Cherry Delight Recipe?
- No baking required – Because let’s be real, sometimes you just can’t with the oven.
- Crazy easy – If you can mix, spread, and refrigerate, you can make this.
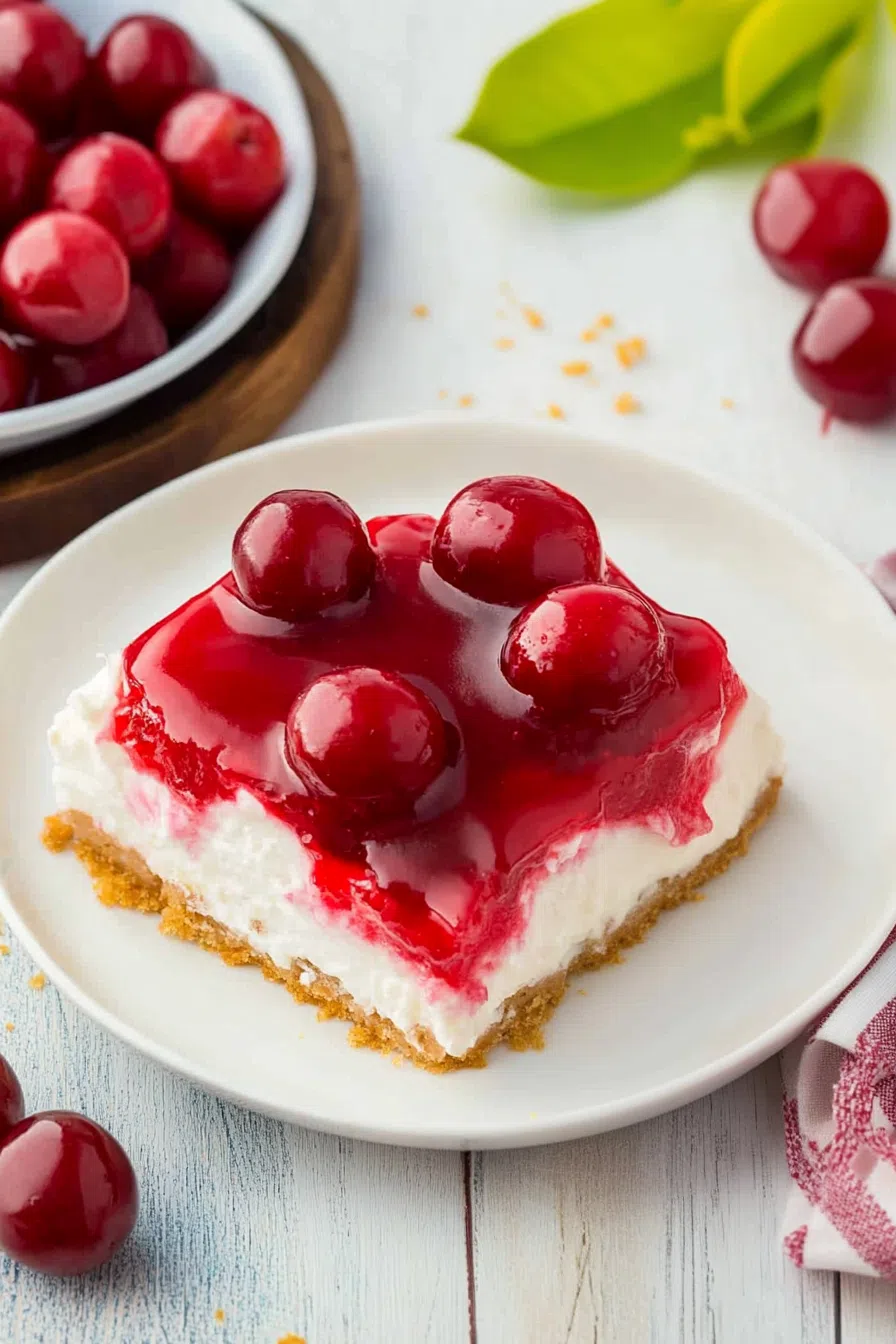
- The perfect balance – Buttery, crunchy, creamy, tangy, sweet… this one checks all the boxes.
- Make-ahead magic – It actually tastes better the next day.
- Always a crowd favorite – If you bring this to a party, prepare to be asked for the recipe.
Ingredient Notes:
Let’s break this down because every layer of Classic Cherry Delight matters.
- Graham Cracker Crumbs – The base of the crust! Crush whole crackers yourself (great for stress relief) or take the easy route and buy pre-crushed crumbs.
- Unsalted Butter – Holds the crust together and adds that rich, buttery taste.
- Granulated Sugar – A little in the crust gives it a subtle caramelized sweetness.
- Cream Cheese – The heart of the filling! Make sure it’s softened, or you’ll end up with lumps (which no one wants).
- Powdered Sugar – Dissolves easily, making the filling smooth and creamy.
- Vanilla Extract – Just a touch makes everything taste warmer and richer.
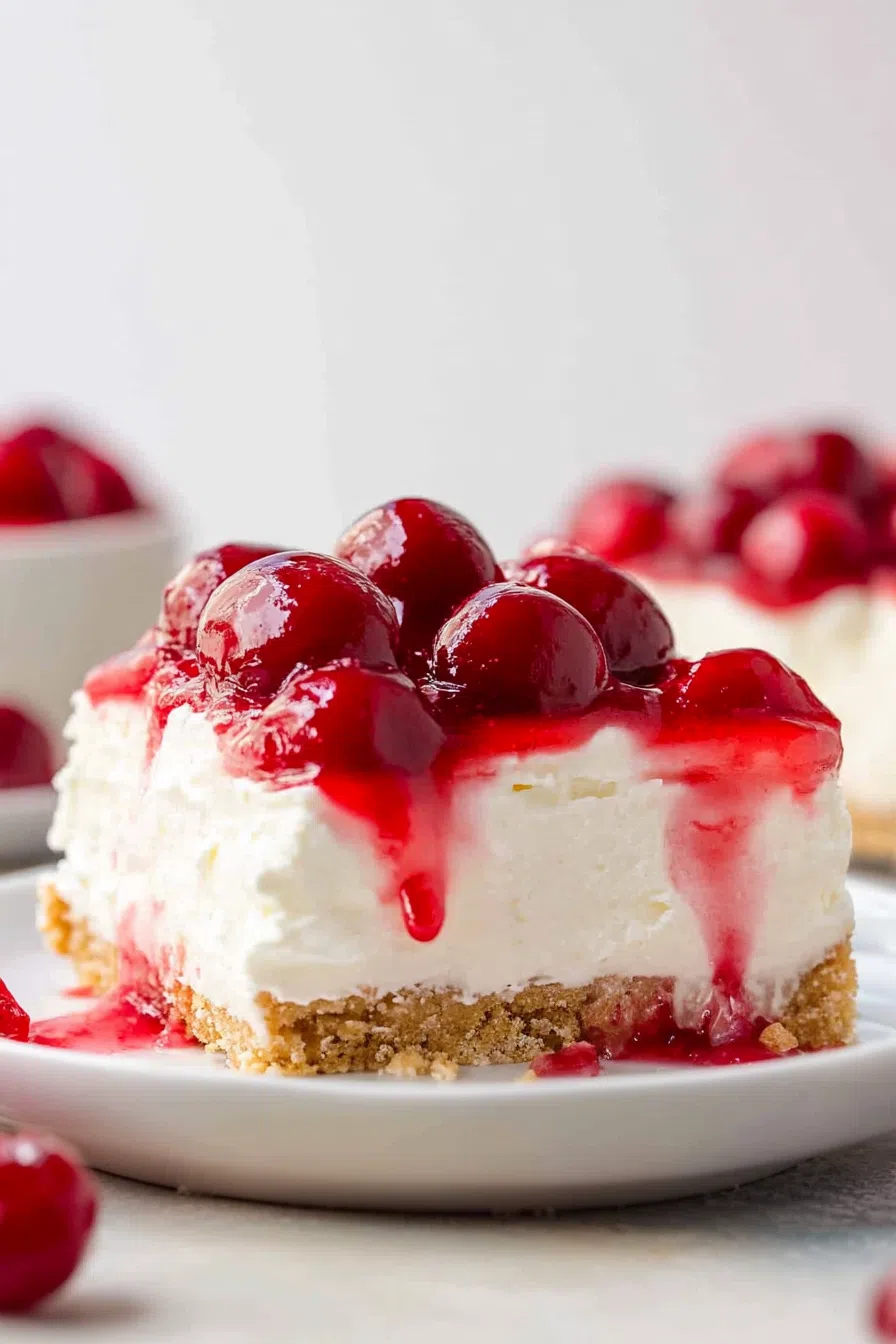
- Cool Whip – Lightens up the filling and gives it a fluffy texture. Want to be fancy? Use homemade whipped cream!
- Cherry Pie Filling – The finishing touch! Sweet, tart, and so pretty on top.
Pro Tip: If you love a thicker crust (because honestly, who doesn’t?), add an extra 2 tablespoons of graham cracker crumbs.
How To Make Classic Cherry Delight?
Step 1: Make the crust
First, melt the butter in the microwave—it’s quick and easy. Stir in the graham cracker crumbs and sugar until everything is evenly coated. The texture should be like wet sand—it should clump together when you squeeze it.
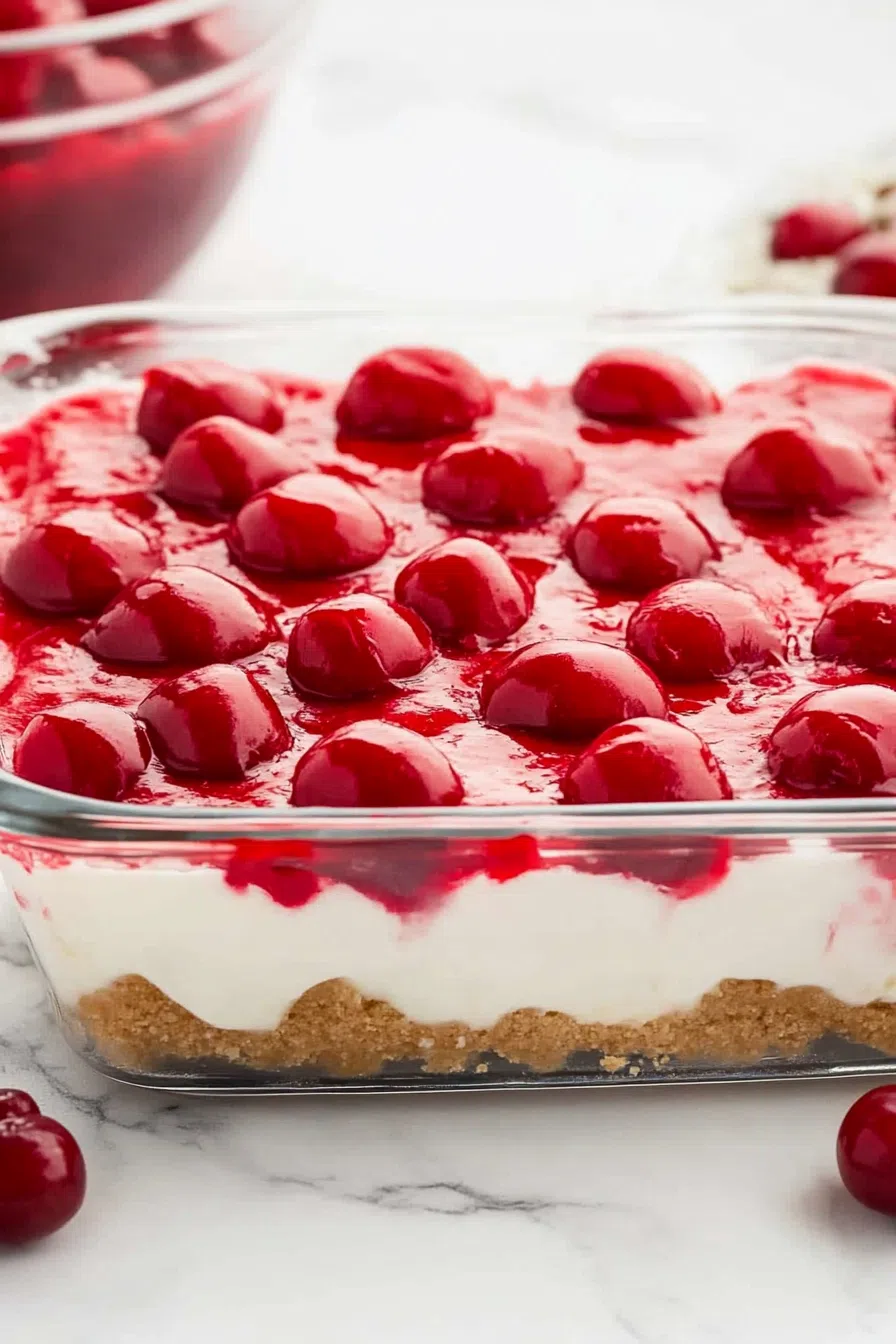
Press the mixture firmly into an 8×8-inch dish. Use the back of a spoon or the bottom of a measuring cup to really pack it in. The firmer the crust, the better the texture later. Pop it in the fridge while you make the filling.
Step 2: Make the filling
In a bowl, beat the softened cream cheese until it’s completely smooth. Seriously, take your time—nobody wants a surprise lump of cream cheese in their dessert. Add the powdered sugar and vanilla, then keep mixing until it’s silky.
Now, gently fold in the Cool Whip. Gently is key—overmixing can make the filling too dense. Spread this dreamy mixture evenly over the crust.
Step 3: Add the cherry topping
This part is fun—spoon the cherry pie filling over the top, spreading it out so every bite gets that perfect cherry-to-cream ratio. If you’re extra like me, you’ll make sure every serving gets at least three cherries (because let’s be honest, that’s the best part).
Step 4: Chill & serve
Cover the dish and let it chill for at least 2 hours, but overnight is even better. The flavors meld together, and the crust firms up to that perfect, sliceable texture.
Want To Save This Recipe?
Once chilled, cut it into squares and serve. And yes, licking the spoon is mandatory.
Storage Options:
Got leftovers? (Unlikely, but let’s pretend.)
- Fridge: Store in an airtight container for up to 4 days. The crust softens over time, but honestly? That just makes it better.
- Freezer: You can freeze it, but the texture won’t be quite the same. If you do, wrap individual slices in plastic wrap and freeze for up to a month. Let them thaw in the fridge before serving.
Pro Tip: If the cherry topping starts to bleed into the cream cheese layer, don’t panic—it still tastes amazing.
Variations and Substitutions:
Want to put your own spin on it? Here are some fun twists:
- Swap the fruit – Blueberry, raspberry, or even lemon pie filling would be insanely good.
- Make it chocolatey – Stir in mini chocolate chips or drizzle chocolate sauce on top.
- Go nutty – Sprinkle crushed pecans or almonds over the cherry layer.
- Change the crust – Try crushed Oreos or vanilla wafers instead of graham crackers.
What to Serve with Classic Cherry Delight?
This dessert is a star on its own, but if you want to really go all out, here are some perfect pairings:
- A cup of coffee or tea – The slight bitterness balances the sweetness beautifully.
- A scoop of vanilla ice cream – Because, let’s be honest, more dessert is never a bad idea.
- Whipped cream on top – If you’re feeling extra indulgent.
- A glass of dessert wine – Something like Moscato or Riesling would be a dreamy match.
Frequently Asked Questions:
Can I use homemade whipped cream instead of Cool Whip?
Absolutely! Whip 1 cup of heavy cream with 2 tablespoons of powdered sugar until stiff peaks form.
Can I make this ahead of time?
Yes! In fact, it’s better if you do. Make it the night before and let it chill overnight.
Can I double the recipe?
Yep—just use a 9×13-inch dish and double everything. Perfect for feeding a crowd!
Classic Cherry Delight is one of those desserts that just works. It’s simple, nostalgic, and always a hit. Whether you’re making it for a family gathering, a potluck, or just because you need something sweet, this recipe never disappoints.
So, what do you think? Are you making this for your next get-together? Or are you keeping it all for yourself? (Hey, no judgment!) Let me know—I’d love to hear how you make it your own!
Keep the Flavor Coming – Try These:

Classic Cherry Delight
Ingredients
CRUST:
- 7 tbsp unsalted butter
- 1 1/2 c graham cracker crumbs about 9 whole crackers
- 3 tbsp granulated sugar
FILLING:
- 8 oz cream cheese softened
- 1 c powdered sugar
- 1 tsp pure vanilla extract
- 8 oz cool whip
- 21 oz cherry pie filling
Instructions
For the crust:
- Start by melting 7 tablespoons of butter in a medium-sized bowl using the microwave.
- Once melted add 1 ½ cups of crushed graham cracker crumbs and 3 tablespoons of granulated sugar, to the butter. Mix everything together until well combined.
- Take an 8x8-inch baking dish. Spray it with non-stick spray. Press the mixture firmly onto the bottom of the dish. Set it aside.
For the filling:
- In a bowl take 8 ounces of softened cream cheese. Use a mixer to blend it until smooth and free from lumps.
- Add 1 cup of sugar and 1 teaspoon of vanilla extract to the cream cheese continuing to mix until well combined.
- Gently fold in 8 ounces of Cool Whip being careful not to overmix.
- Spread this cream cheese mixture evenly over the crust.
To finish:
- Carefully spoon out 21 ounces of cherry pie filling over the cream cheese layer spreading it out so that it covers the surface nicely.
- Place your dish in the refrigerator. Let it chill for at least two hours or for even better results, overnight.
- Chilled, cut into squares and serve them cold from your homemade Classic Cherry Delight!
- Store any leftovers, in the refrigerator.
- Enjoy!
Notes
I’m Bitty, owner of nodashofgluten.com, where I share simple, delicious recipes for all tastes, including gluten-free. Check out my “About Me” page for more info!

2 Responses
This is the same recipe as Cherry Cheesecake Fluff. It’s the best dessert !! Always a hit!
Great