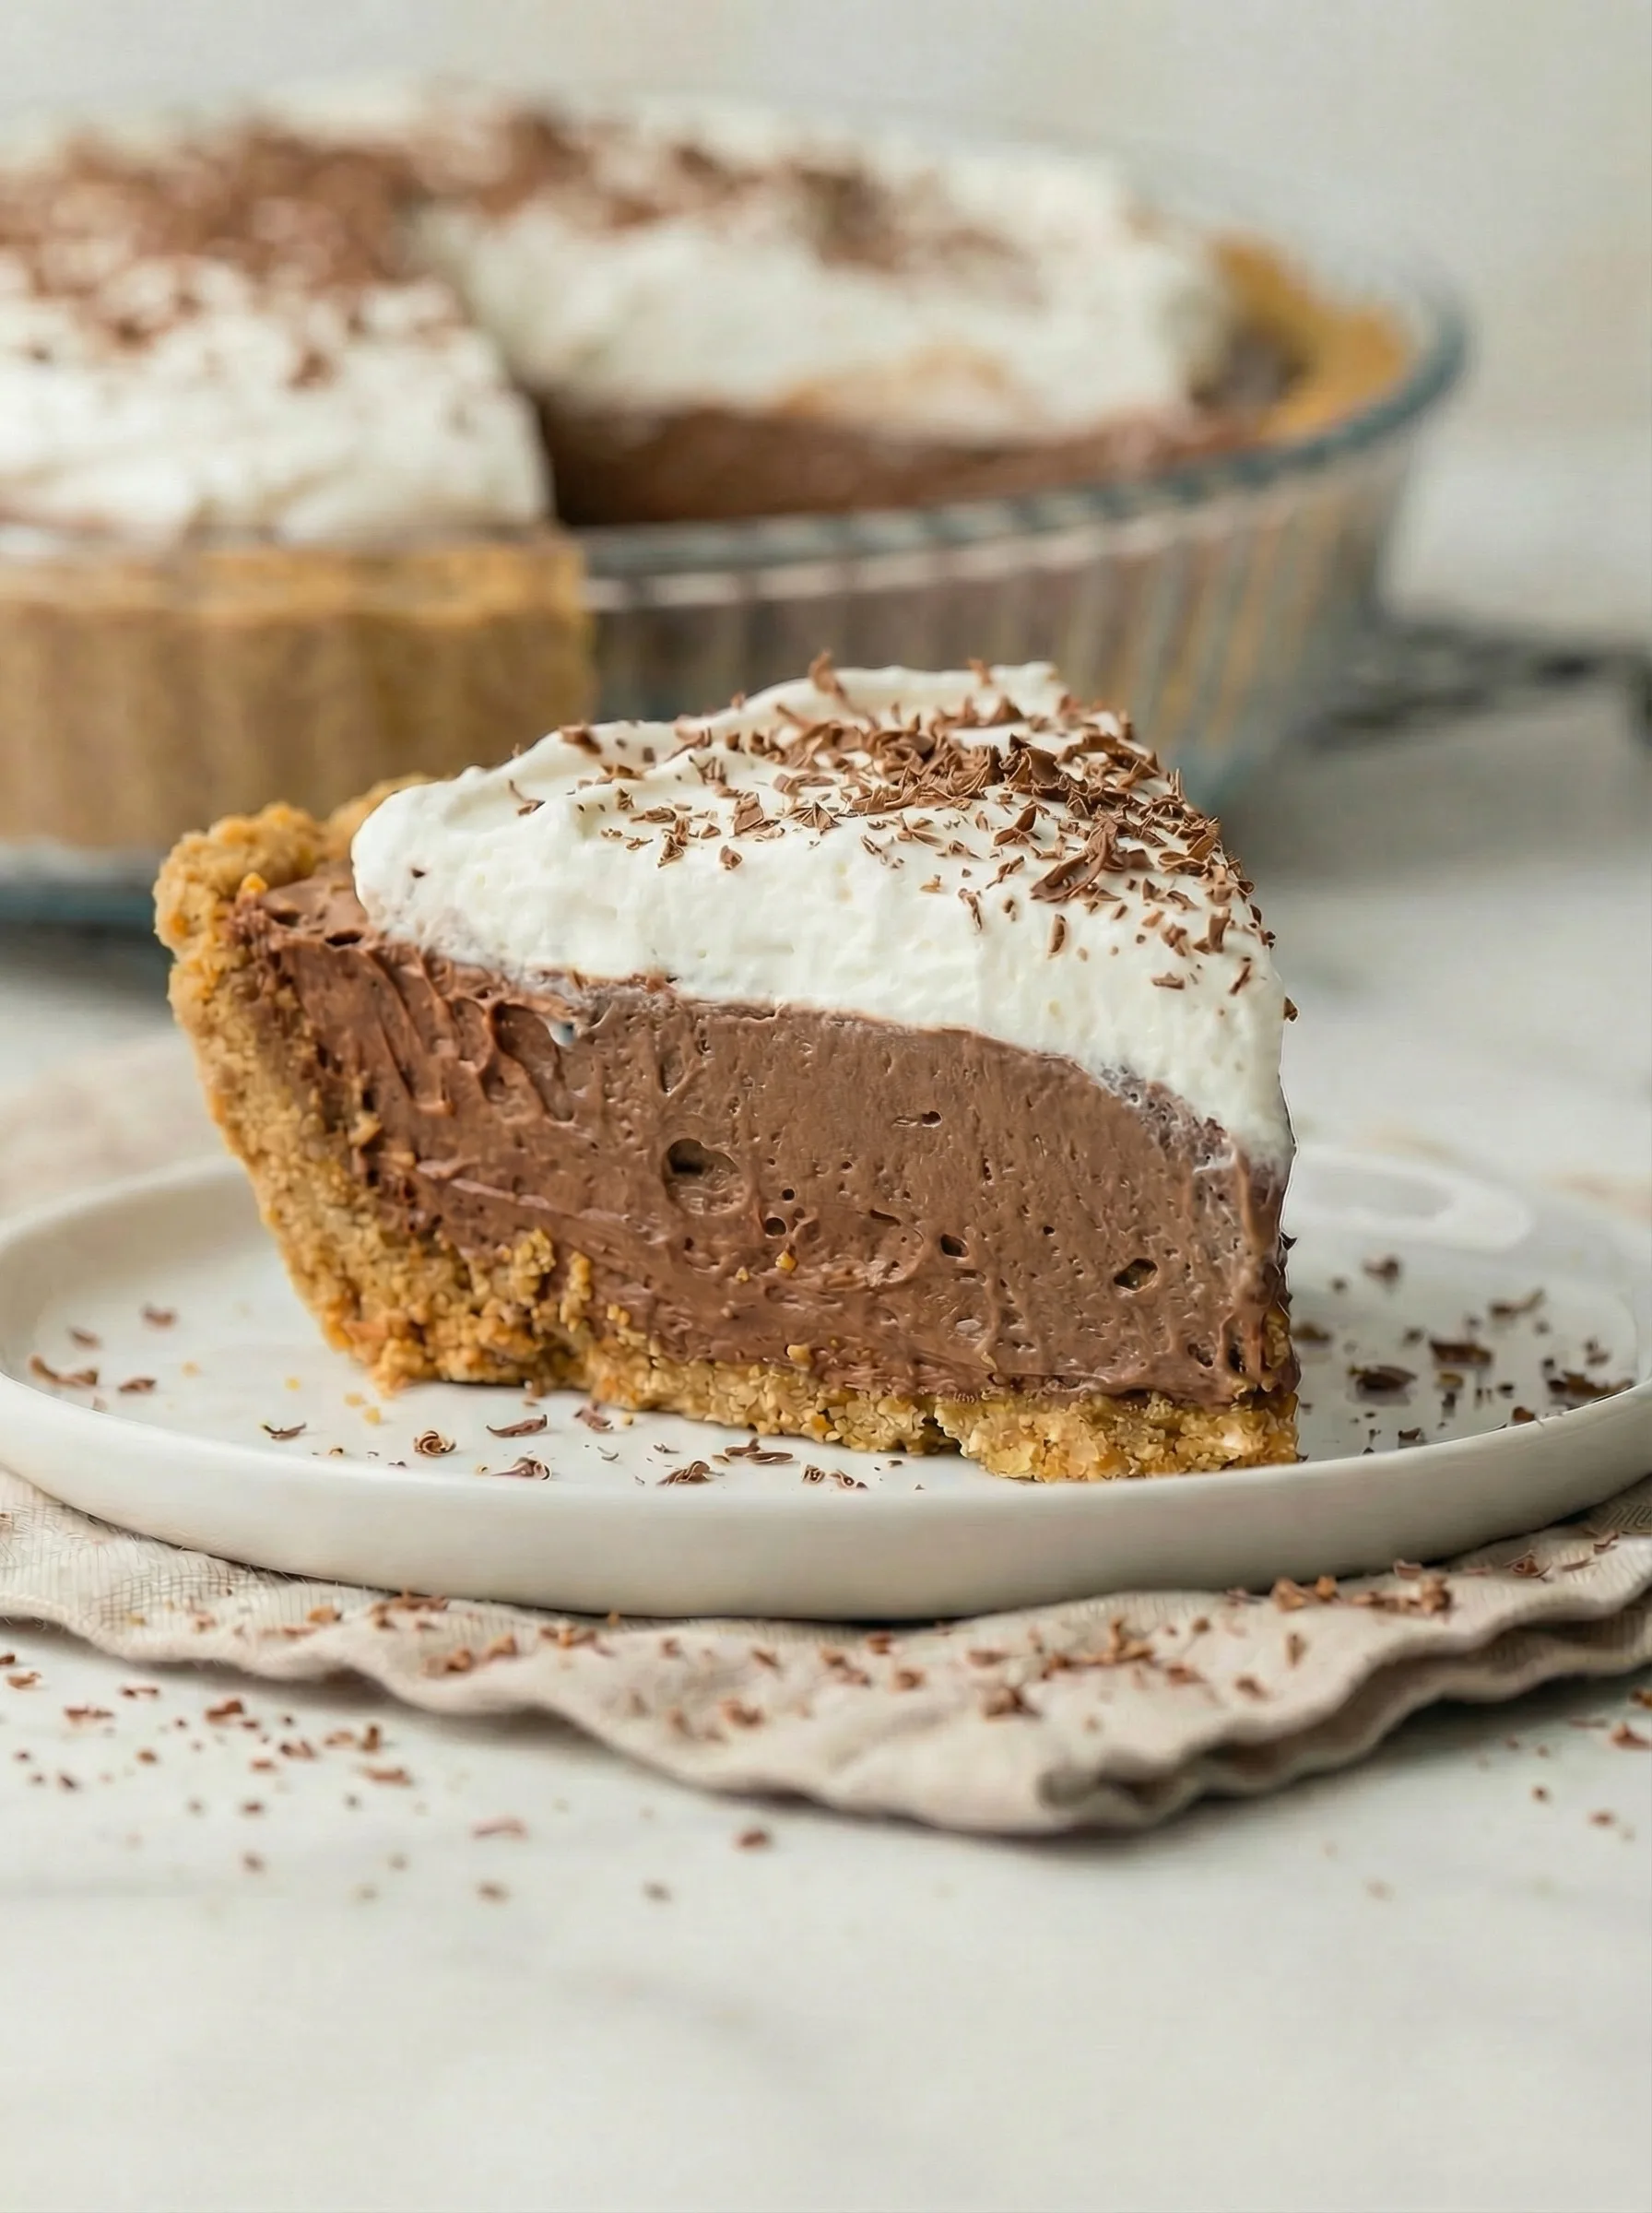
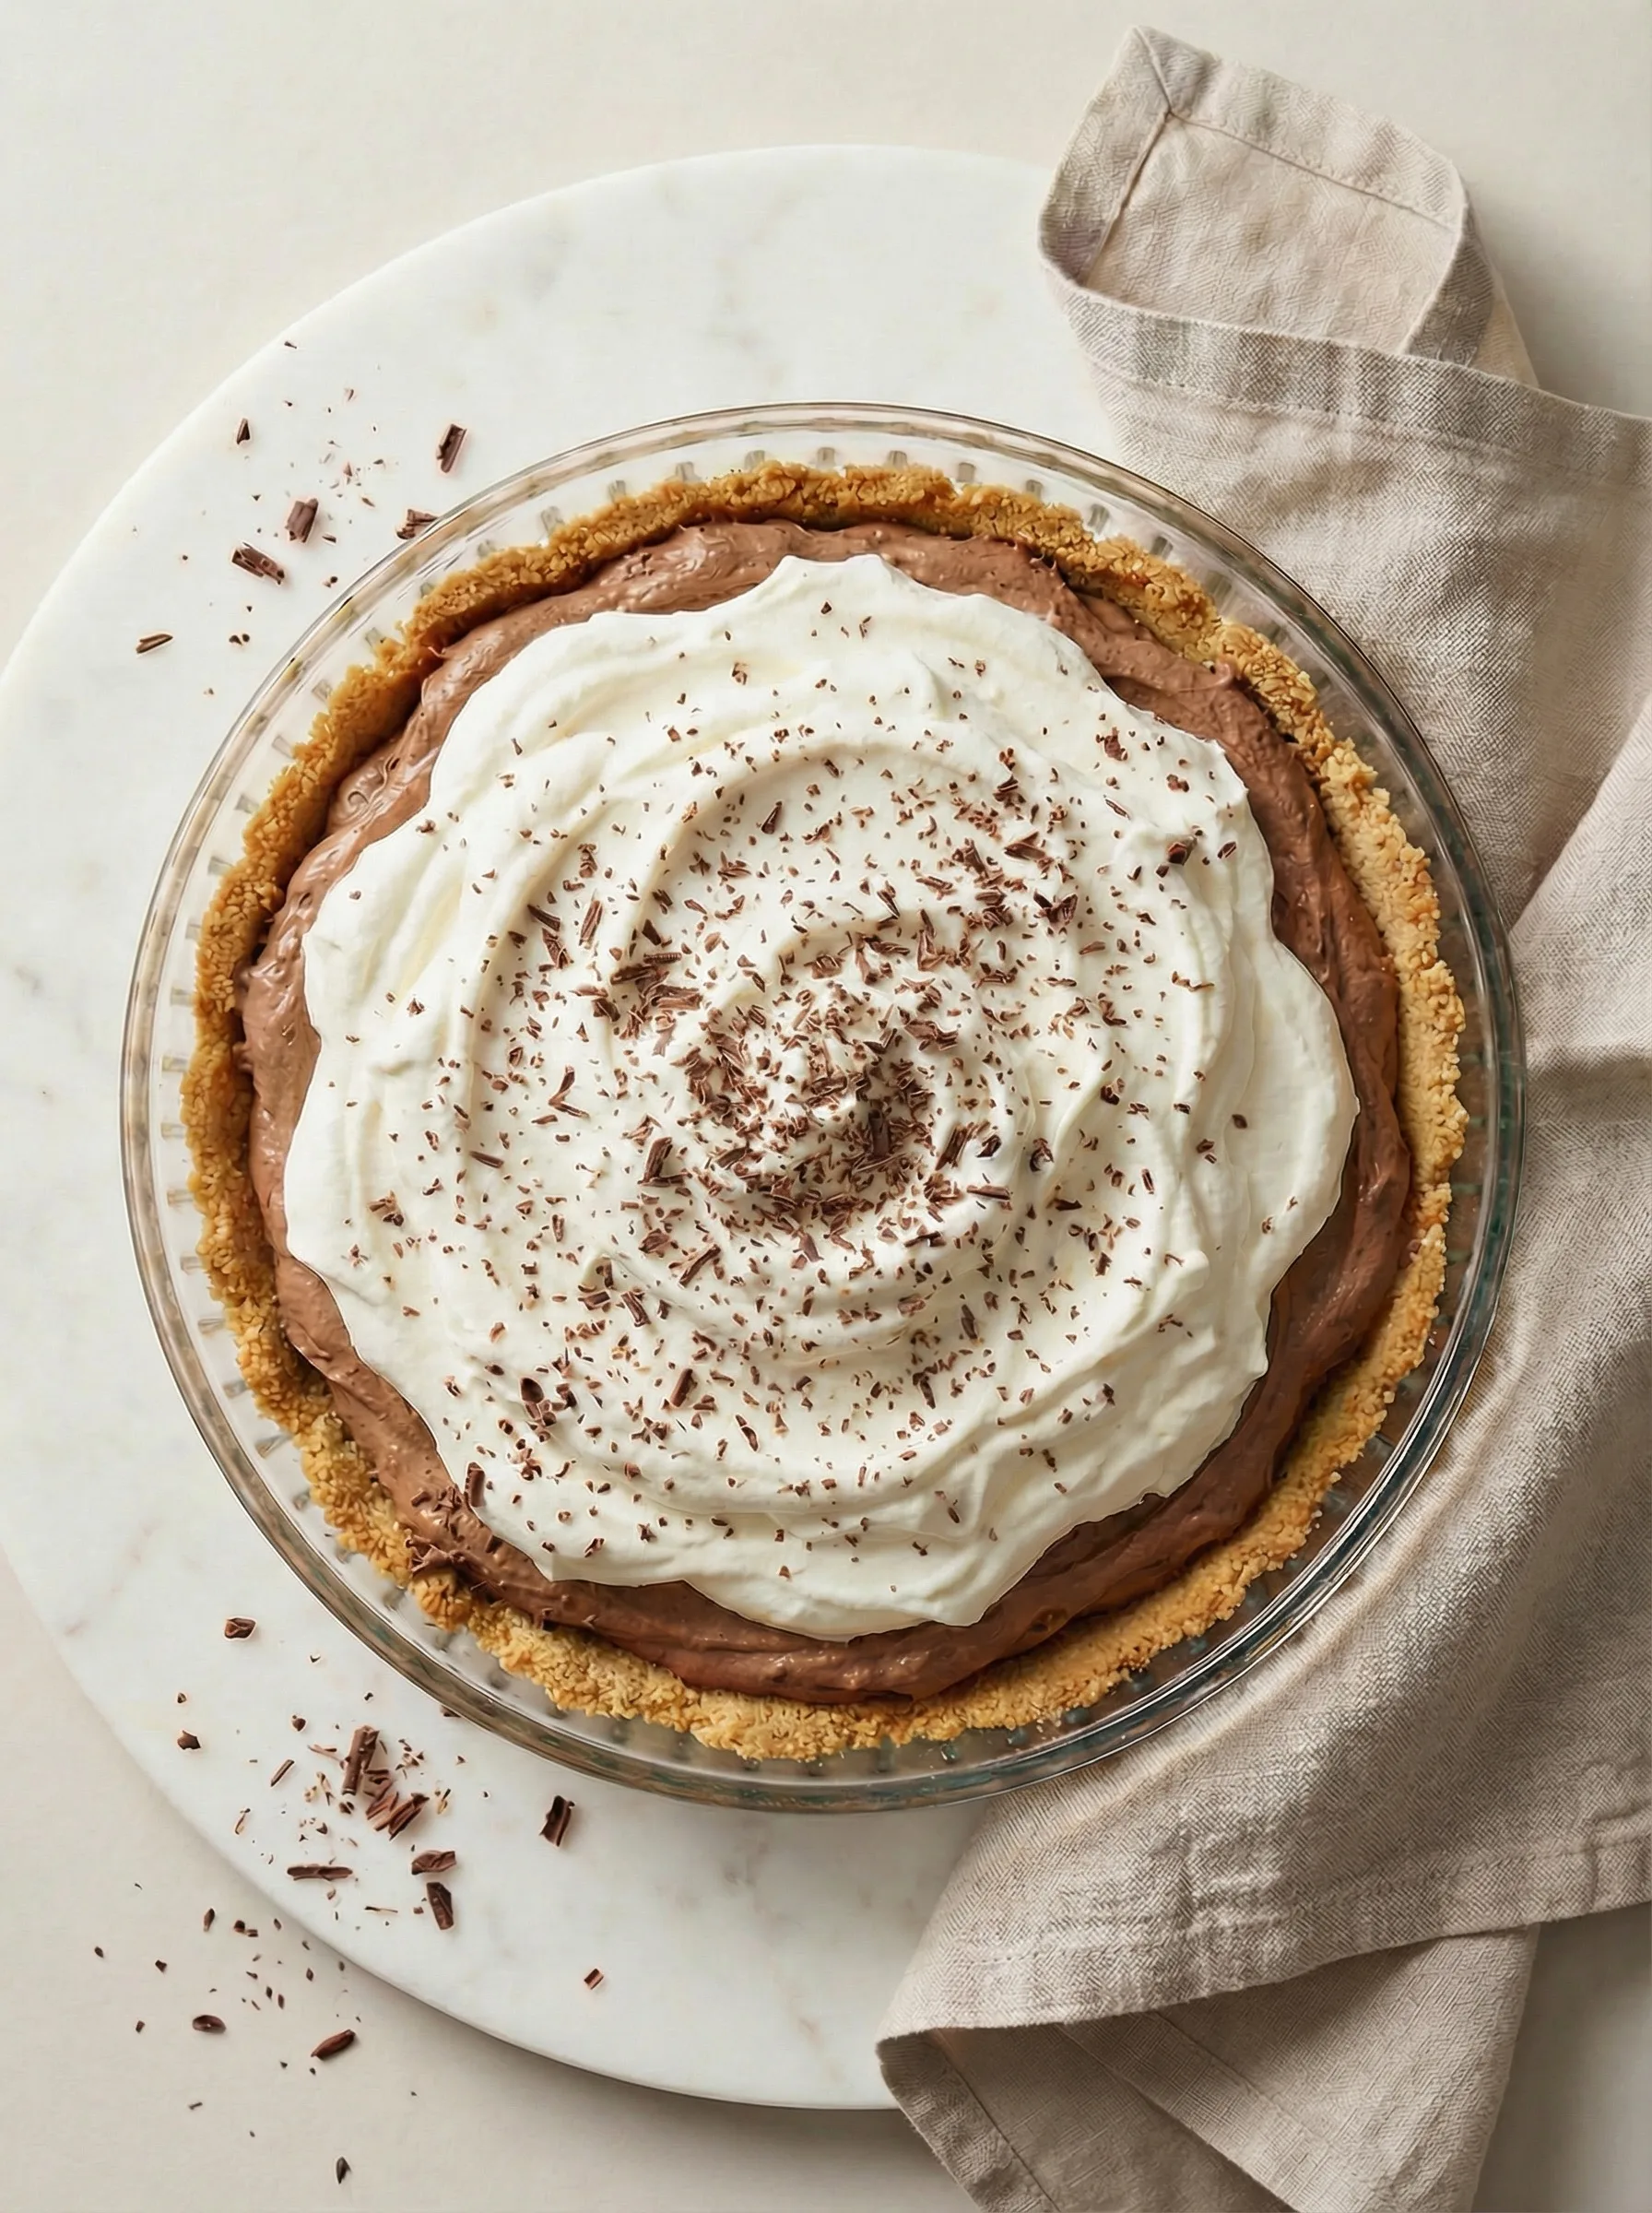
This Chocolate Pudding Pie is rich and silky, tucked into a cozy graham cracker crust with a cloud of whipped cream on top. You’ll melt dark chocolate into warm cream, stir slowly until velvety, then tuck it all into that toasty, buttery cookie crust. The aroma? Like a chocolate shop decided to bake itself into your kitchen.

Remember it later!
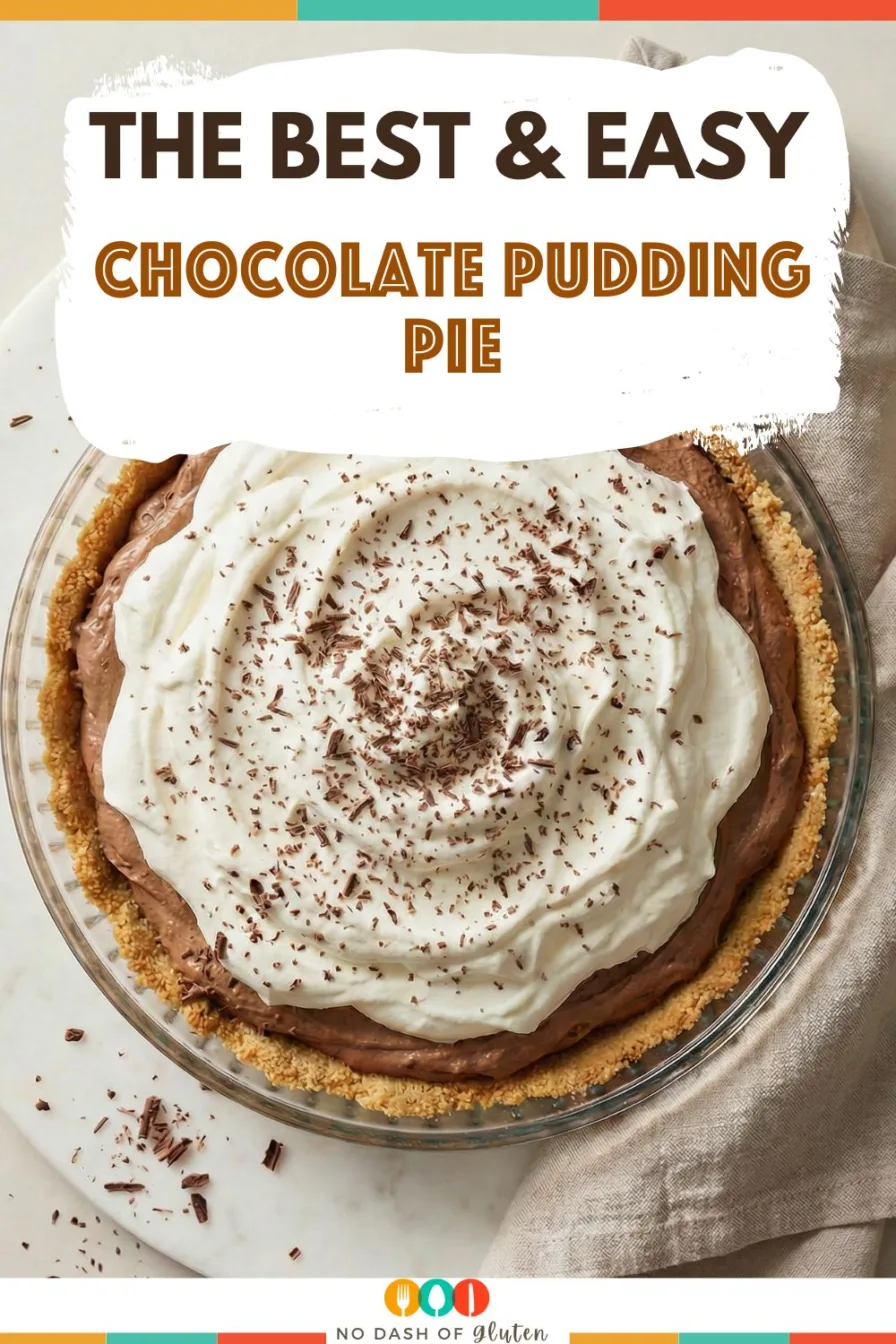
Planning to try this recipe soon? Pin it for a quick find later!
Remember it later!
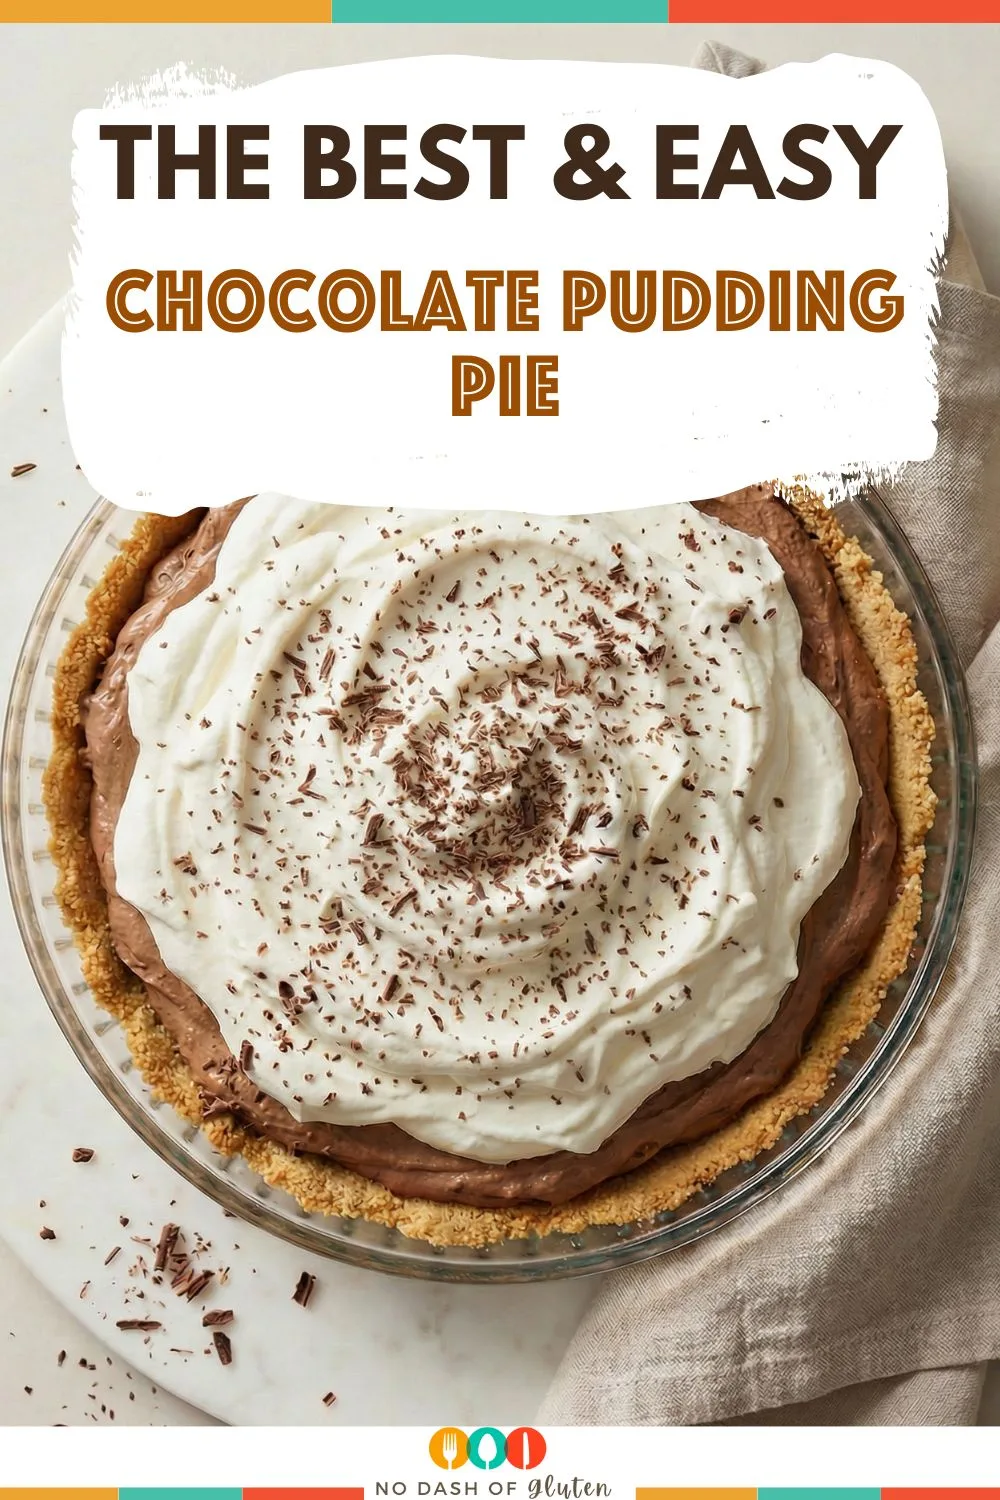
Planning to try this recipe soon? Pin it for a quick find later!
This pie is dreamy, quietly fancy, and surprisingly low effort, a spoonable chocolate blanket wrapped in a simple golden crust. It doesn’t ask much of you, just some gentle stirring, a little chilling time, and maybe a moment of self-control. Whether you’re serving it after dinner or sneaking forkfuls straight from the fridge (hey, no judgment), the texture is swoon-worthy: creamy but thick, rich but not cloying. Even if you usually fear pudding or pie crusts, this is your moment.
Here’s a quick peek at what’s inside:
Table of content
Why You’ll Love this Chocolate Pudding Pie with Graham Cracker Crust
This Chocolate Pudding Pie is calm, cozy dessert energy in pie form. No peppy flourishes, just real-deal chocolate comfort. A few reasons I keep this on dessert rotation:
- Ridiculously simple to make: You just squish, stir, simmer, and chill. Minimal effort, maximum satisfaction.
- Deep chocolate flavor: The melted semisweet chocolate brings rich vibes without overwhelming sweetness.
- No pie crust trauma: The graham cracker crust is fuss-free and hard to mess up (bonus: smells like toasted heaven while baking).
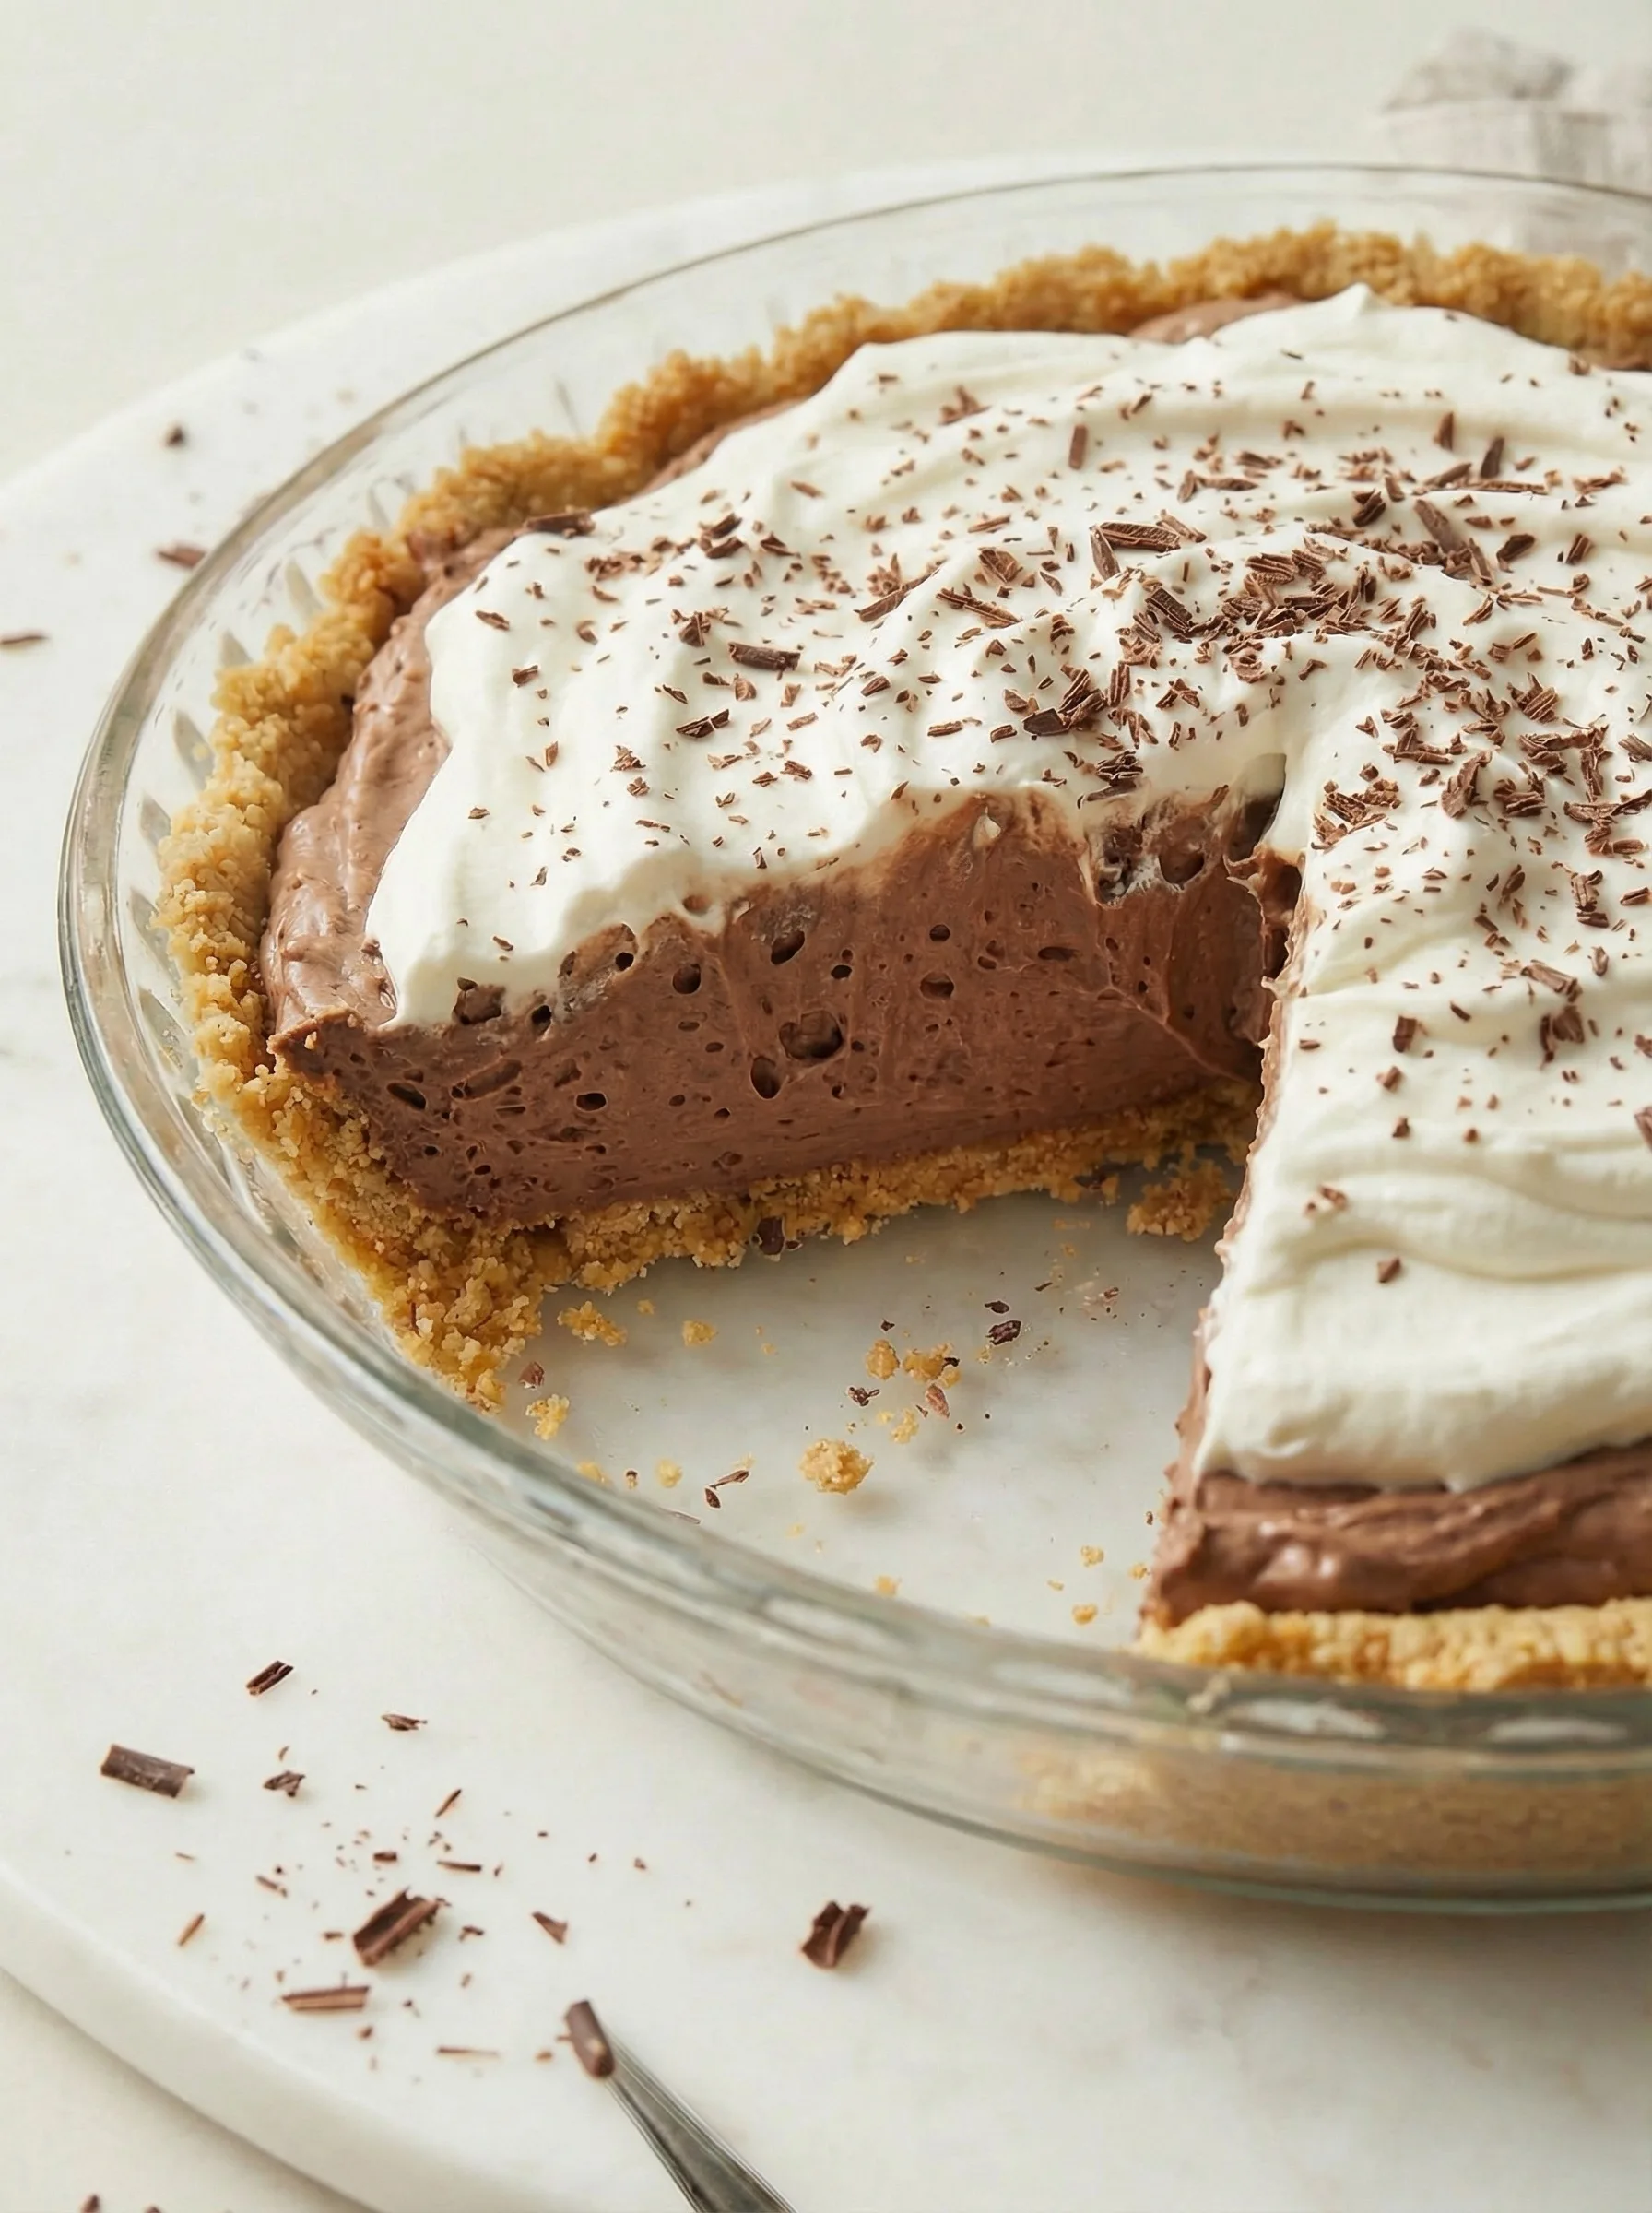
- Perfect texture payoff: The pudding sets up softly but slices clean, with that smooth spoon-glide you crave.
- Make-ahead friendly: It chills happily overnight, giving you one less thing to worry about before guests show up or you collapse into the couch.
It’s easy, comforting, and exactly the kind of dessert you make once… then keep coming back to.
Ingredient Notes
This pie sticks close to the basics but delivers big flavors. A few notes for smooth sailing (and even smoother pudding):
- Graham cracker crumbs: Go classic or try cinnamon grahams for a warmer twist. Crush them finely, no big rocky bits, please.
- Semisweet dark chocolate: Pick something you’d happily nibble. I go for 60–70% cocoa for balance. Milk chocolate makes it sweeter but less intense.
- Whole milk and heavy cream: The combo keeps the pudding thick but not gluey. Don’t skimp; no skim milk here, please.
- Egg yolks: These thicken the pudding to custardy glory. Make sure they’re at room temperature so they temper more easily.
- Cornstarch: Partners with the yolks to get that thick-enough-to-stand-a-spoon-in consistency.
- Kosher salt: Just a pinch in the crust and more in the pudding, it sharpens the chocolate without ever tasting “salty.”
- Vanilla extract: Don’t skip it. It rounds out the rich chocolate and makes it feel more pudding-y than candy-like.
- Whipped cream: Fluffy, lightly sweet, and totally dreamy on top. You could skip it, but… why would you?
P.S. You’ll find the ingredient measurements on the recipe card at the end of the post.
How To Make This Chocolate Pudding Pie with Graham Cracker Crust
You’ve got this. The steps are legit simple; we just take our time with the pudding so it gets satiny instead of sad and lumpy.
Make the Crust and Pudding
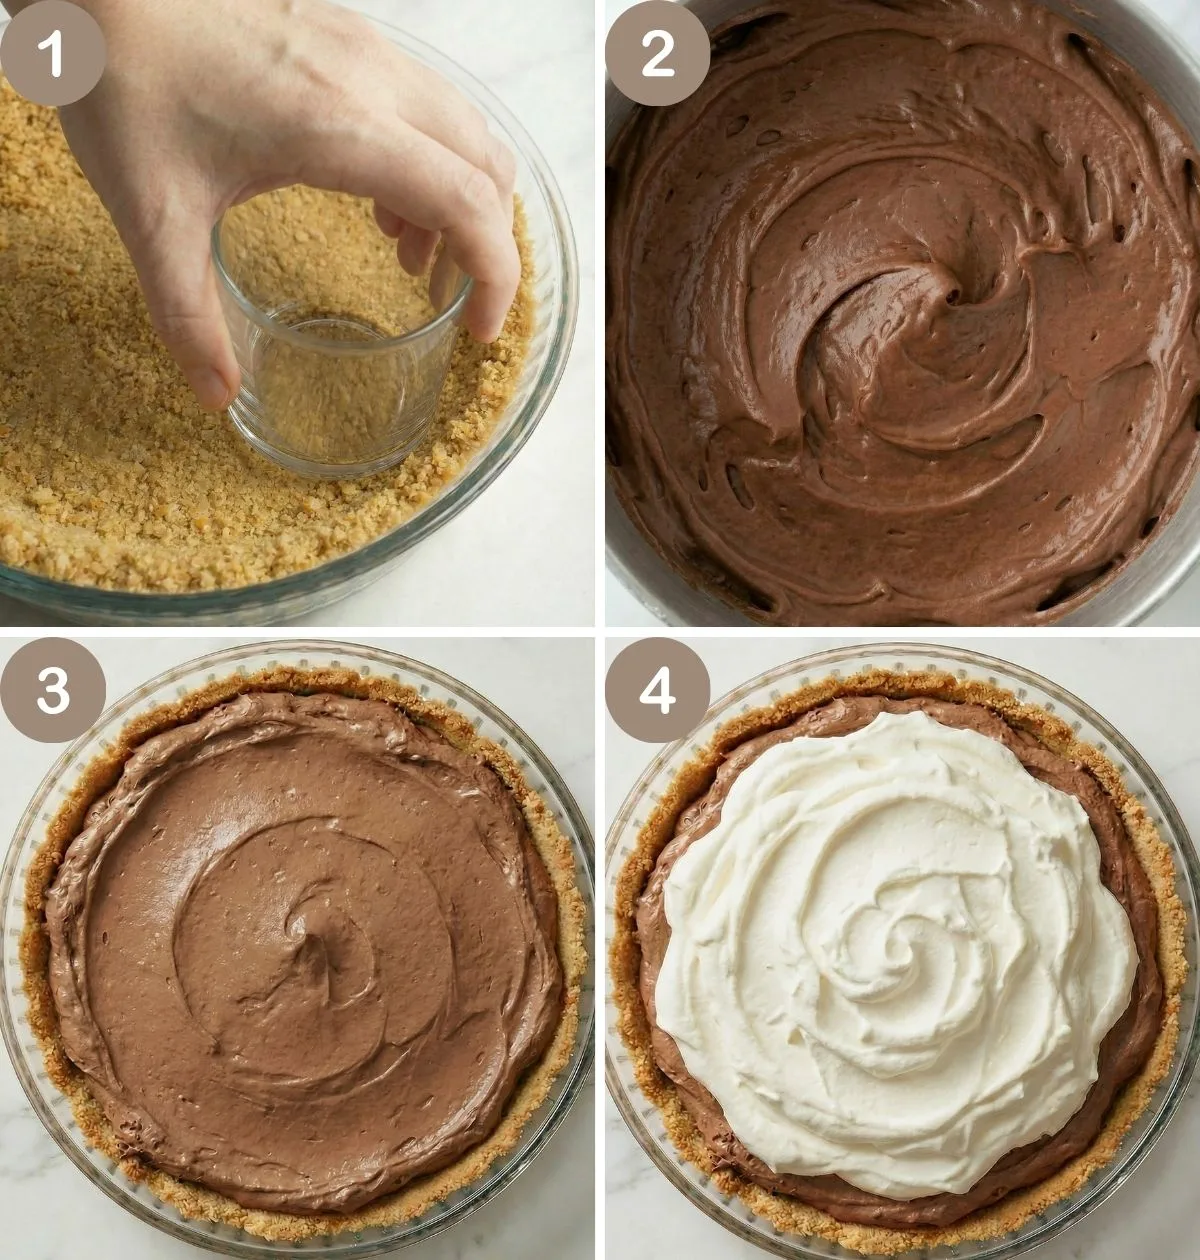
- Make the crust: Stir the graham cracker crumbs with sugar, salt, and melted butter until it looks like damp sand. Scoop it into a 9-inch pie plate and press it down with the bottom of a flat glass cup (edges too!). Bake it at 350°F for 6–8 minutes until it smells like caramelized cookies, then let it cool completely. If you like seeing the process before you start, this short YouTube video from Allrecipes walks through making a classic graham cracker crust, from crushing the crumbs to pressing them firmly into the pie plate.
- Prep the yolk base: Whisk the egg yolks with sugar, salt, and cornstarch in a pitcher or big bowl. It’ll be pretty thick. This is good. It means your pudding will set up with zero puddle vibes.
- Heat the milk and cream: In a saucepan, bring the milk and heavy cream to a gentle simmer over medium-low heat. Not boiling! When you see steam and little bubble action around the edges, add your chopped chocolate and stir with a spatula until it’s one smooth, chocolatey pond.
- Temper the eggs: Scoop out about 1 cup of the hot chocolate mixture. Slowly pour it into the yolks while whisking constantly, as your life depends on it. This keeps the eggs from scrambling; a weird blob in your pie is not the look.
- Thicken the pudding: Pour the now-warmed yolk mixture back into the saucepan. Keep stirring over medium-low heat, making sure to scrape the bottom so it doesn’t stick. It’ll go from loose to thick enough to coat a spoon, with big, slow bubbles rising up like a chocolate volcano. That’s your cue to stop.
- Add butter and vanilla: Off the heat, stir in the vanilla and butter until fully melted and glossy. Oh, hi, pudding perfection.
- Strain for smoothness: Run the pudding through a fine mesh sieve into a clean bowl. I know it’s an extra step, but worth it for that creamy restaurant-level texture.
Chill and Finish
- Chill in stages: Press plastic wrap directly on the pudding surface (no skin zone here), let it cool to room temp, then pour into the crust. Re-cover and chill in the fridge for at least 6 hours, ideally overnight. Set it and forget it.
- Whip and top: Whip the cream and sugar to stiff peaks, then swirl it generously over the chilled pie. Sprinkle chocolate curls if you’re feeling fancy. Slice, serve, swoon.
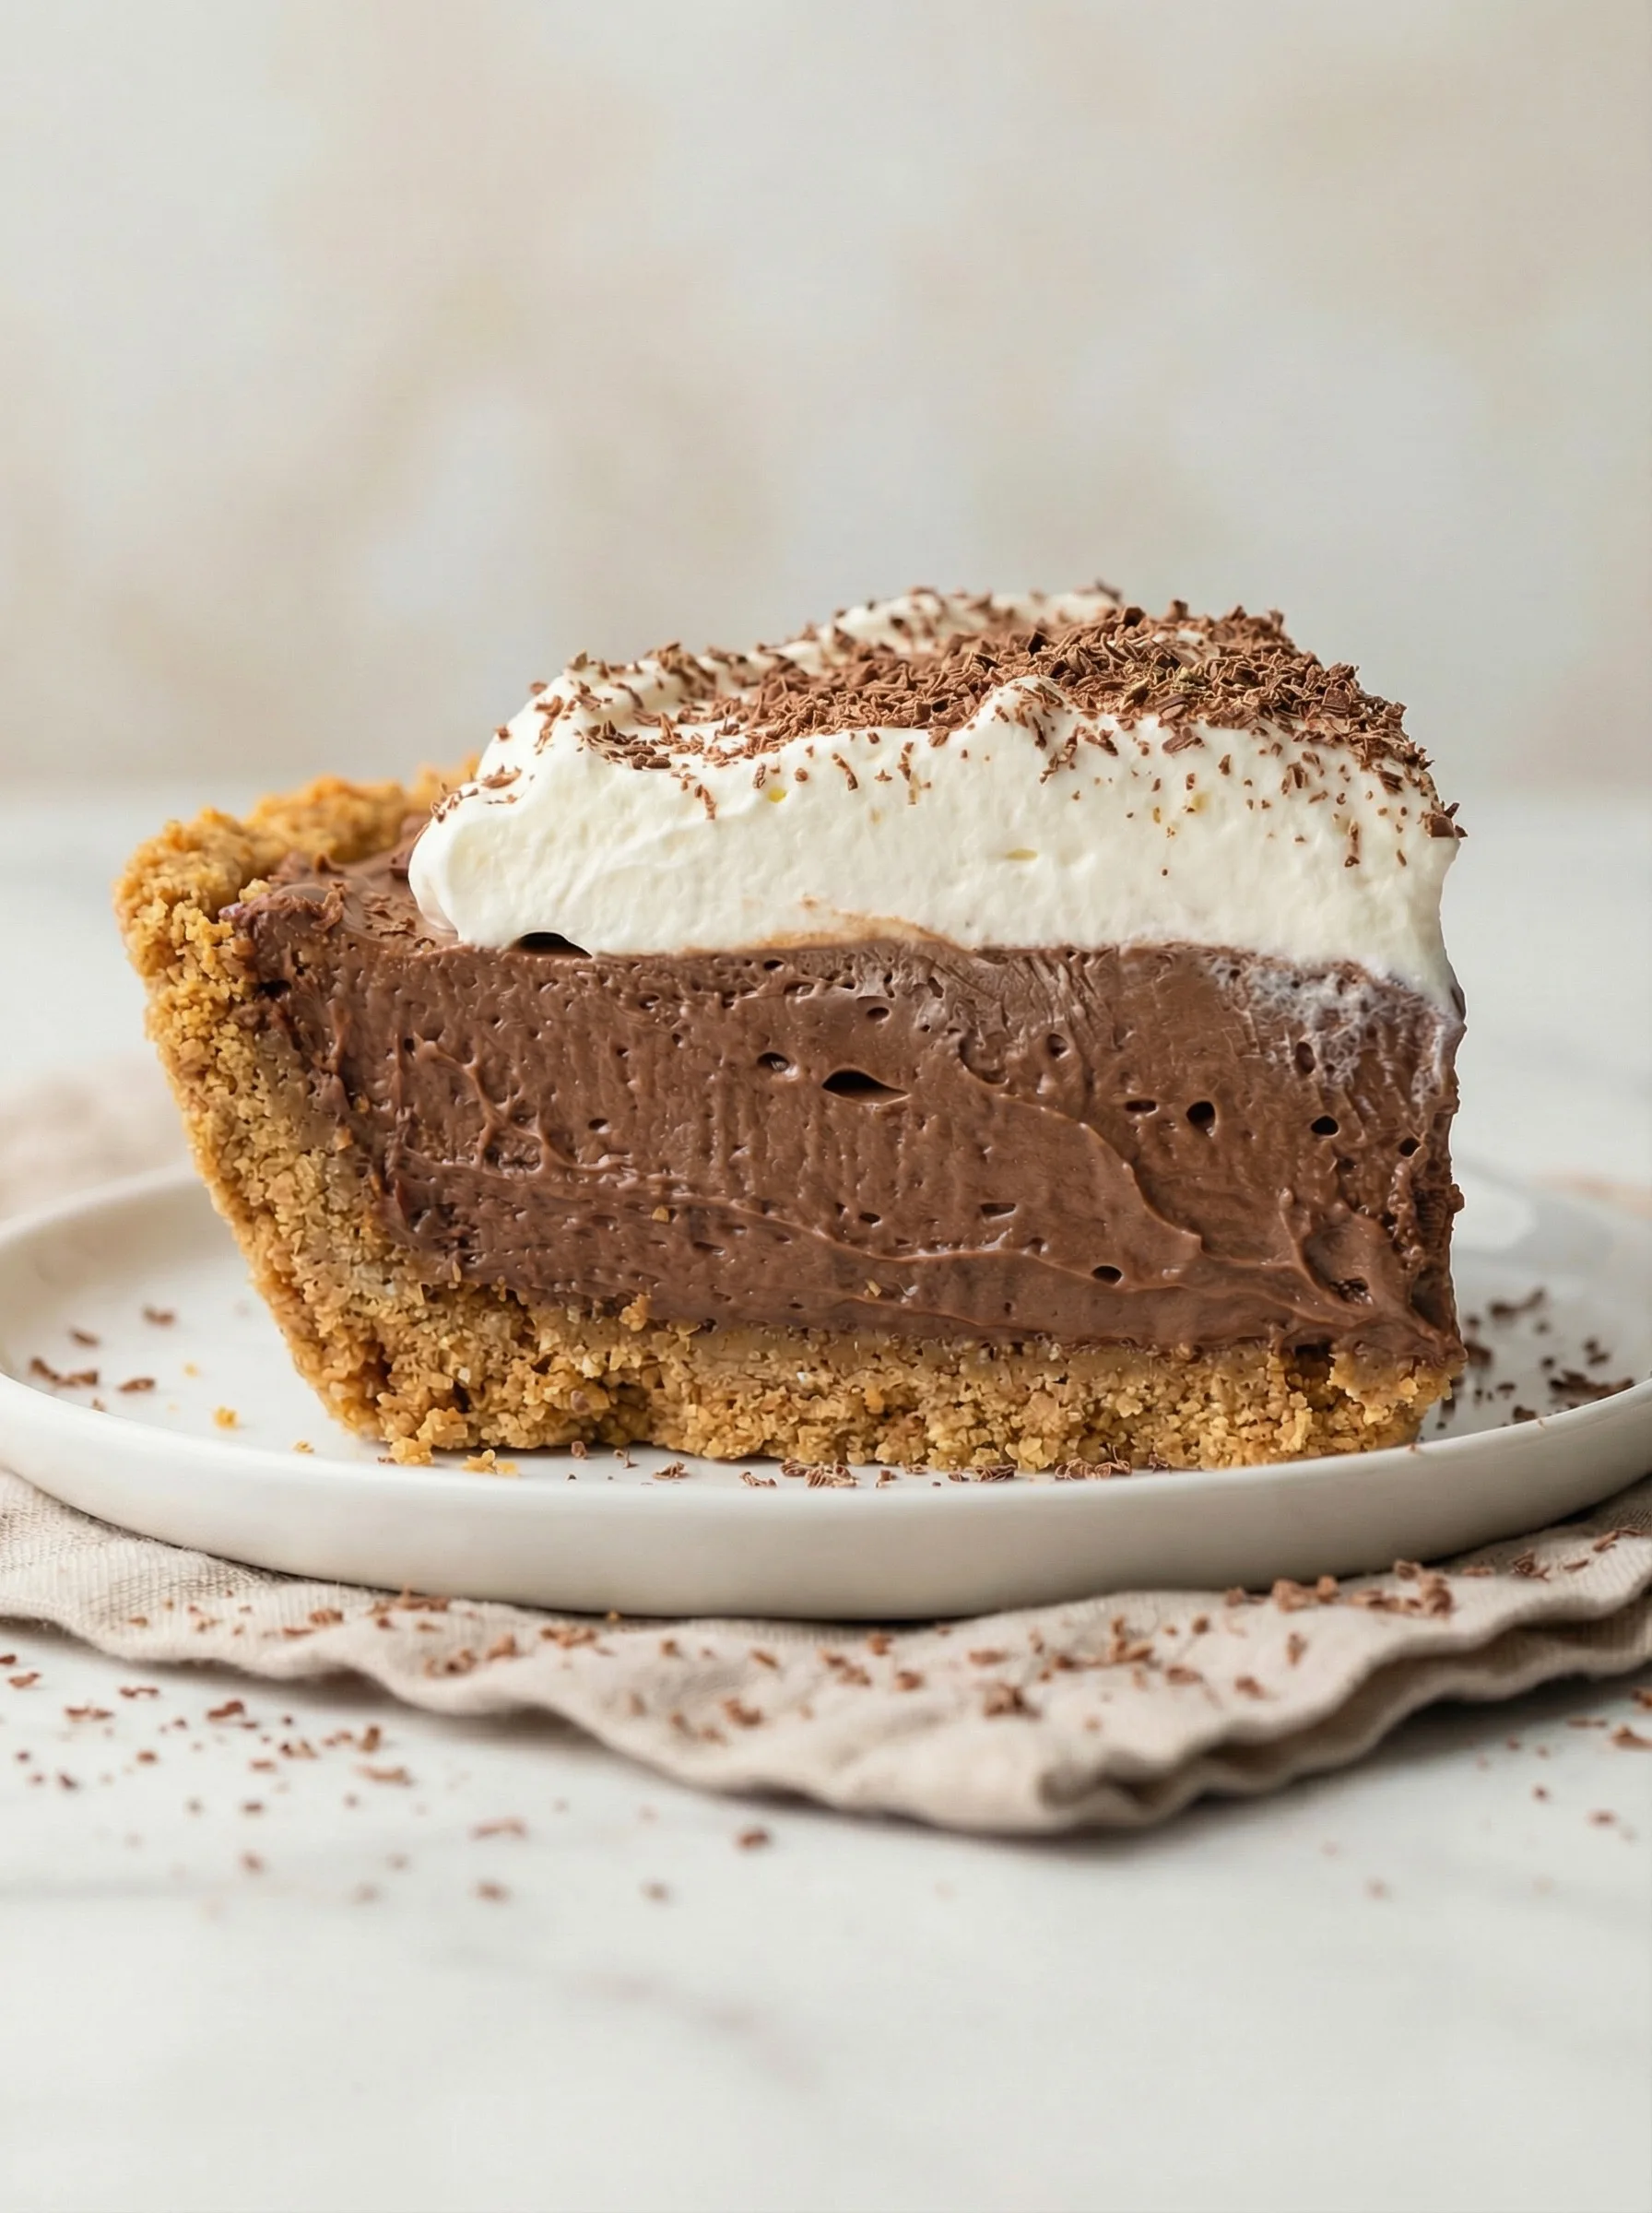
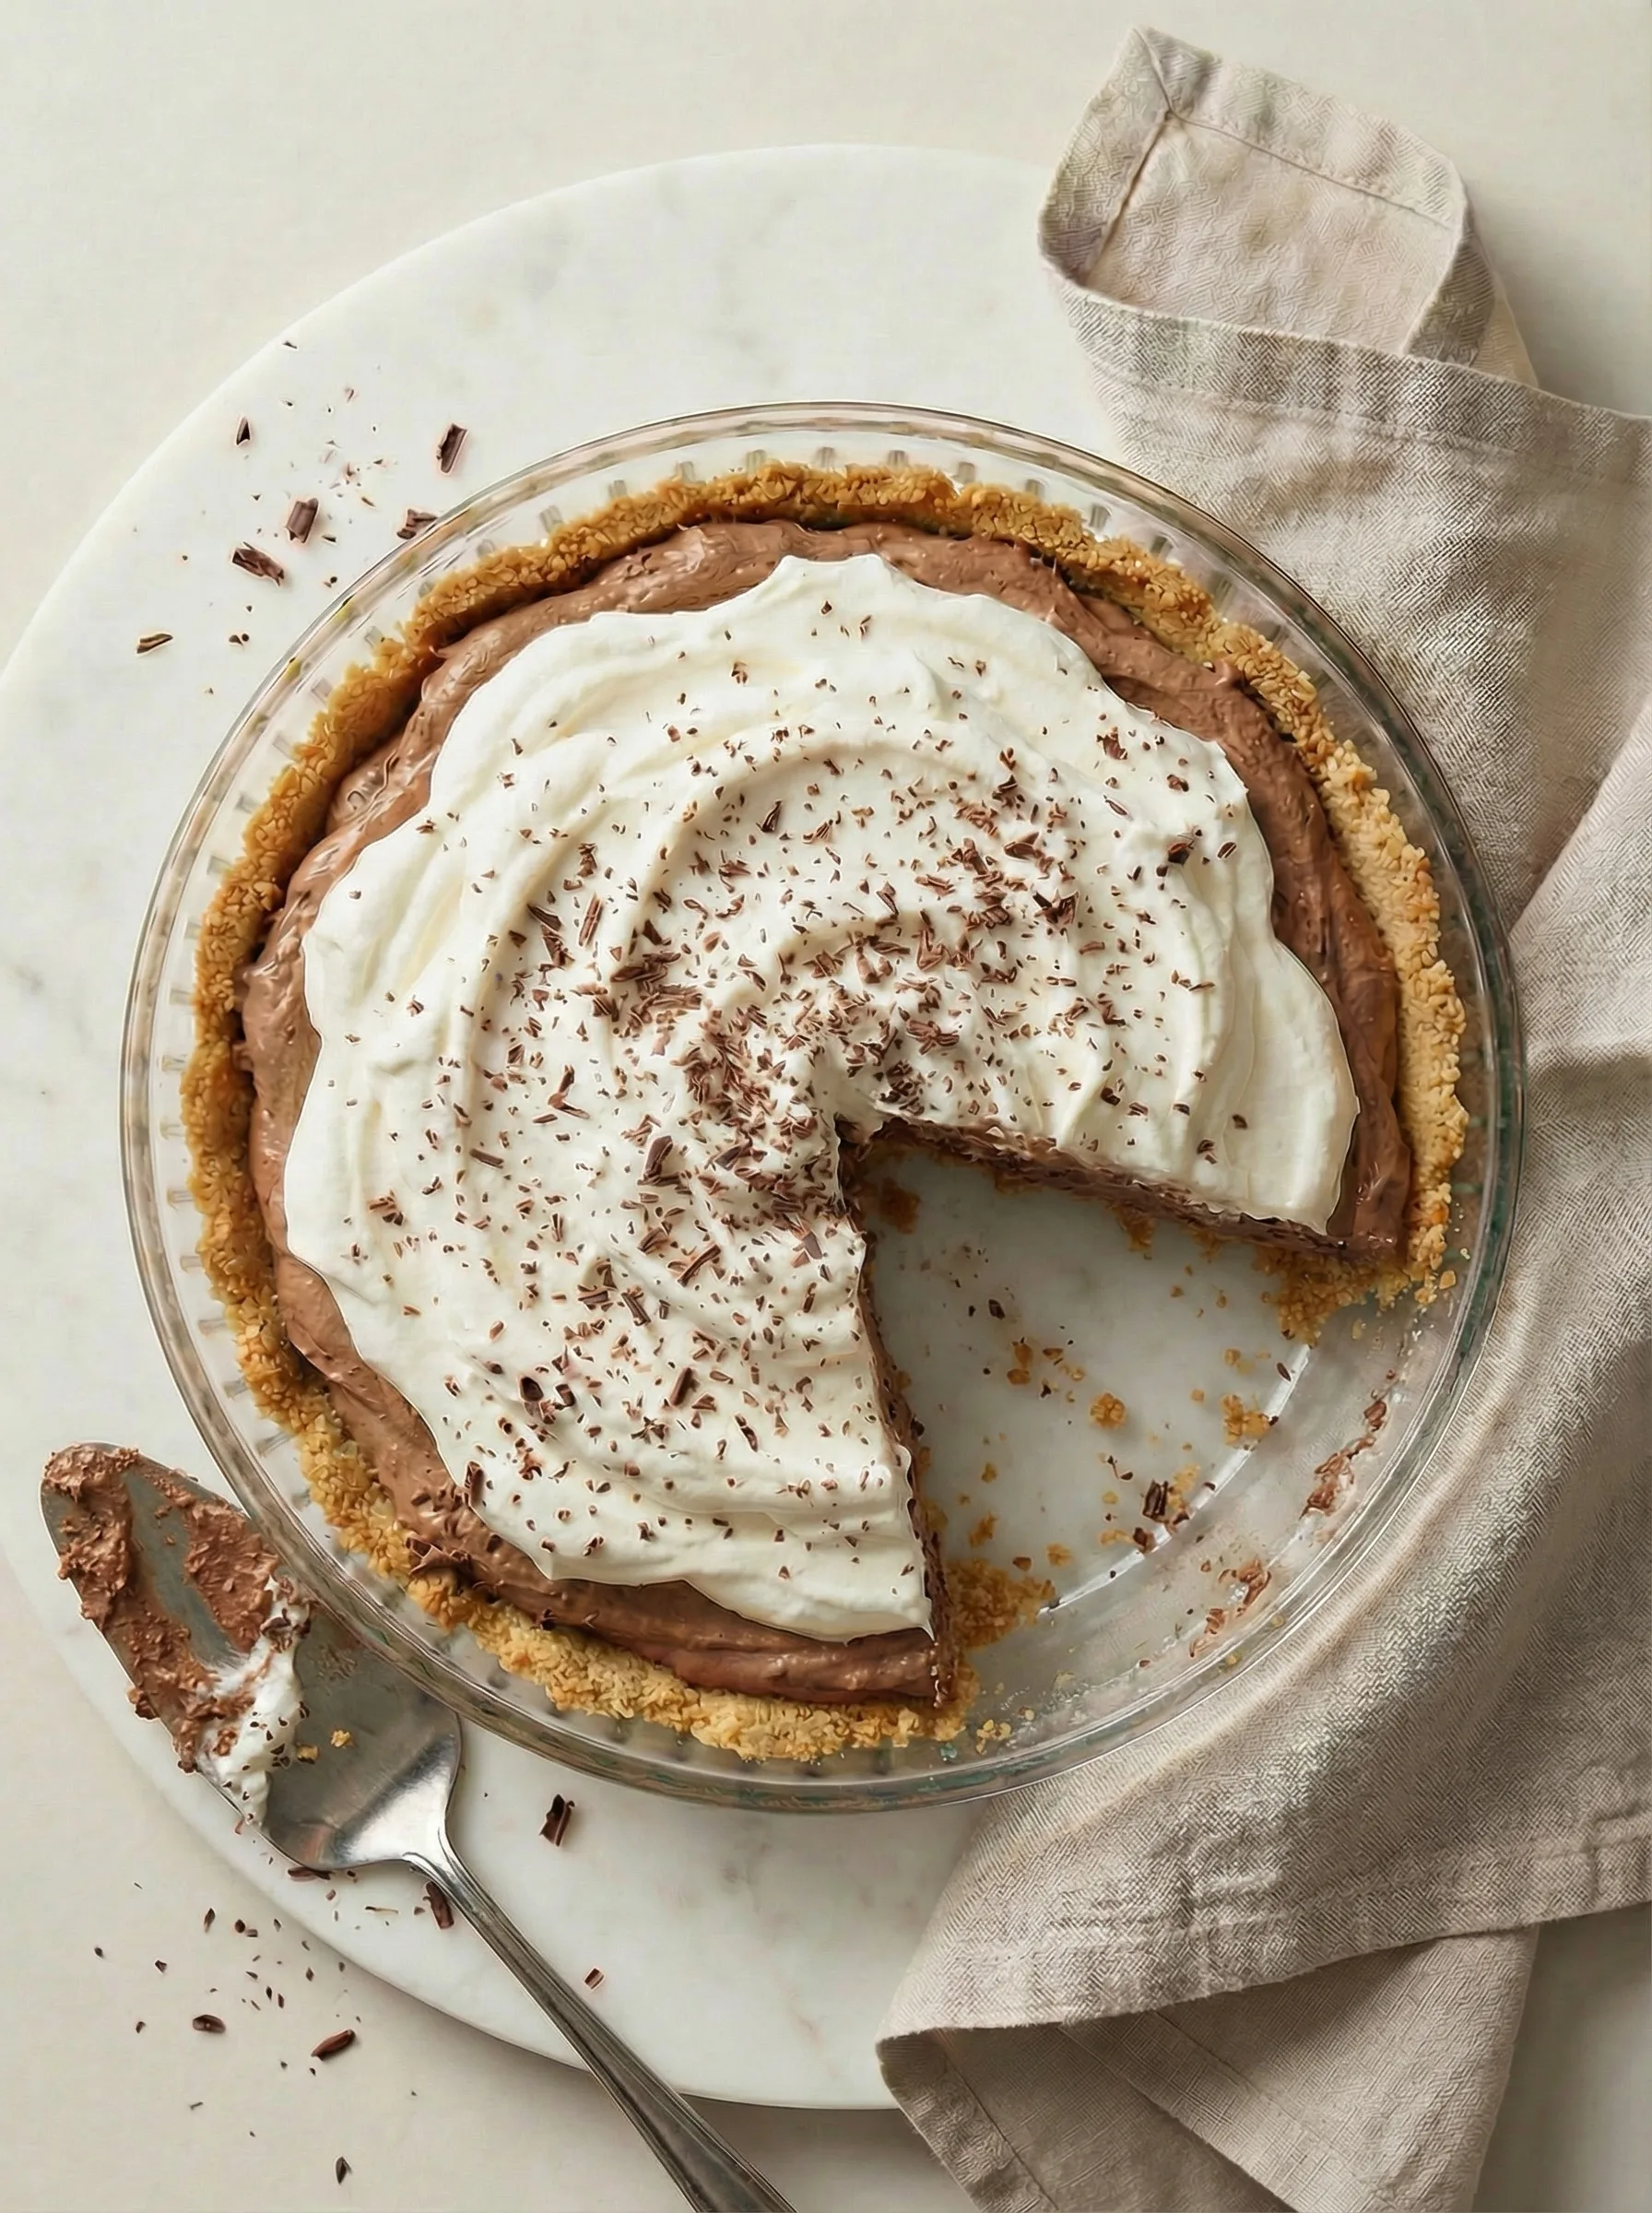
This Chocolate Pudding Pie sets beautifully and slices cleanly once fully chilled.
Storage Options
Ah, yes, the “what do I do with the leftovers (if any)?” question. Good news: this pie is super chill, literally.
In the fridge, it holds up like a champ for 3 to 4 days. Keep it covered with plastic wrap (pressed against the surface, just like when you chilled it) to prevent a weird skin from forming. Bonus: the crust stays fairly crisp if your fridge isn’t too humid. If it softens a little? Still deliciously chewy.
Freezer? Well… frozen chocolate pudding pie does work, but the texture will never be quite as silky after thawing. The custard firms up and can get a bit icy around the edges. That said, if you freeze individual slices tightly wrapped in plastic and foil, you’ll still get a decent dessert after a slow overnight fridge thaw. Just skip the whipped cream before freezing and add it fresh, post-thaw.
As for reheating: don’t. This guy is strictly serve-chilled. Warm pudding pie is just… soup.
Variations and Substitutions
There’s room to riff here, especially if you like to play with textures or flavor profiles without breaking the whole vibe.
Want To Save This Recipe?
Enter your email below and we'll send the recipe straight to your inbox.
- Milk chocolate: Want it sweeter and less cocoa-forward? Sub in milk chocolate. Just ease back on the sugar slightly.
- Oreo crust: Swap graham crackers for chocolate sandwich cookies and you’ve entered full double-chocolate territory.
- Infuse the milk: Steep a cinnamon stick or a pinch of espresso powder in the milk while it heats for subtle flavor boosts.
- Dairy-free version: Use coconut cream and a solid oat milk. The thick texture still works, but expect a slightly different sweetness.
- Salted caramel swirl: Before pouring the pudding into the crust, drizzle in some caramel and swirl gently with a toothpick. Fancy, yes, but low effort.
- Pile on toppings: Toasted nuts, crushed toffee, or even a few shards of homemade chocolate pretzel crunch would be dreamy.
What to Serve with Chocolate Pudding Pie with Graham Cracker Crust
This pie leans luxurious, so go with pairings that keep the mood cozy, a little playful, or spice things up.
Pour yourself an espresso or bold coffee: Something bitter and dark is magic against the creamy-sweet pudding. Bonus if you serve it with cold pie straight from the fridge (a personal favorite, honestly).
Add an extra little bite plate: Think of a tiny wedge of caramel pecan log or a square of no-bake fudge for contrast. Two desserts? Sure. No one’s stopping you.
A light fruit plate or berry compote: Something tart (raspberries, strawberries, even orange segments) balances the chocolate like a charm.
Savory snacks if serving at a party: Think olives, salted almonds, cheese cubes, little salty bites. Keep this from being a sugar-on-sugar situation.
Vanilla or almond-scented whipped cream: For when you’ve made the pie ahead and want to zhuzh it up last minute.
Frequently Asked Questions
Can I use store-bought pudding instead of making it from scratch?
You technically *can* use premade pudding, but I’ll gently say… it won’t be the same. Store-bought pudding sets a bit looser and has a flatter flavor. The homemade version thickens with eggs and cornstarch, giving it that rich, satiny texture that holds a slice. Plus, melting real chocolate makes a world of difference to the flavor. But if you’re really short on time? It’ll still be tasty, just a bit more “party potluck” than custardy artisan pie.
Do I have to use semisweet chocolate?
Not at all! Semisweet is the sweet spot (pun intended) between dark and milk, but you can absolutely swap in bittersweet (for a bolder cocoa twist) or milk chocolate (if you love things extra sweet and creamy). Just keep in mind, if switching to milk, the pudding will be sweeter overall, so you might want to slightly reduce the added sugar in the custard.
Why do I need to temper the eggs?
Tempering gently raises the temperature of the egg yolks so they don’t get shocked and turn into chocolatey scrambled eggs. It’s science, yes, but also just basic custard kindness. You slowly whisk the hot chocolate-cream mix into the yolks so everyone adjusts gradually and gets along. Once integrated, it’s safe to return the whole thing to the pan to finish thickening without curdling.
Can I make this pie ahead of time?
Totally! This pie is practically begging to be made ahead. In fact, it *needs* several hours (preferably overnight) to chill and set properly. That makes it great for dinner parties or lazy weekends. Just leave the whipped cream off until right before serving so it stays fluffy and fresh. I’ve tried saving whipped cream in the fridge before and… let’s just say it gets droopy fast.
Remember it later!
Planning to try this recipe soon? Pin it for a quick find later!
Remember it later!
Planning to try this recipe soon? Pin it for a quick find later!
Keep the Flavor Coming – Try These:
Chocolate Pudding Pie with Graham Cracker Crust
Ingredients
Graham Cracker Crust
- 1 1/2 cups graham cracker crumbs finely crushed (~12 whole graham crackers)
- 1/4 cup granulated sugar
- 1/2 tsp kosher salt
- 6 tbsp unsalted butter melted
Chocolate Pudding Filling
- 4 large egg yolks room temperature
- 1/2 cup granulated sugar
- 1/4 tsp kosher salt
- 3 tbsp cornstarch
- 1 1/2 cups whole milk
- 1 cup heavy cream
- 6 oz semisweet dark chocolate finely chopped, 60–70% cacao preferred
- 2 tbsp unsalted butter cut into pieces
- 1 tsp vanilla extract
Whipped Cream Topping
- 1 cup heavy cream very cold
- 2 tbsp powdered sugar
- chocolate curls or shavings for garnish (optional)
Equipment
- 9-inch pie plate
- Saucepan
- Whisk
- Spatula
- Mixing bowls
- Measuring cups
- Fine mesh sieve
Instructions
- Make the Crust: Preheat oven to 350°F (175°C). In a medium bowl, stir graham cracker crumbs, sugar, and salt. Add melted butter and mix until the texture resembles damp sand. Press the mixture evenly on the bottom and up the sides of a 9-inch pie plate, using the bottom of a measuring cup to compact firmly. Bake for 6–8 minutes, until fragrant and set. Cool completely.
- Prepare the Yolk Mixture: In a large bowl or pitcher, whisk together egg yolks, sugar, salt, and cornstarch until thick and smooth. Set aside.
- Heat Milk & Melt Chocolate: In a saucepan, bring whole milk and heavy cream to a gentle simmer over medium-low heat. Do not let it boil. Add chopped chocolate and stir until fully melted and smooth.
- Temper the Eggs: Slowly pour about 1 cup of the hot chocolate mixture into the yolk mixture, whisking constantly to gently warm the eggs and avoid scrambling. Once combined, whisk this back into the saucepan with the rest of the chocolate mixture.
- Thicken the Pudding: Cook over medium-low heat, stirring constantly with a spatula, until the mixture thickens and large, slow bubbles begin to form (about 3–5 minutes). It should coat the back of a spoon.
- Finish the Custard: Immediately remove from heat and add butter and vanilla extract. Stir until melted and glossy.
- Strain & Cool: Strain pudding through a fine mesh sieve into a clean bowl to ensure ultimate smoothness. Press plastic wrap directly onto the surface to prevent a skin, then cool to room temperature.
- Fill and Chill: Once cooled, pour pudding into prepared crust. Press plastic wrap directly onto the surface again and refrigerate at least 6 hours (or overnight) until fully set.
- Whip & Top: Whip the cold cream and powdered sugar together to stiff peaks. Spread or pipe over the chilled pie. Sprinkle chocolate curls or shavings on top if desired.
- Serve: Slice, serve, and swoon! Store leftovers covered in the fridge for 3–4 days.
Notes
Nutrition

I’m Bitty, owner of nodashofgluten.com, where I share simple, delicious recipes for all tastes, including gluten-free. Check out my “About Me” page for more info!




2 Responses
What kind of whipped cream? From a can or cool whip?
Hi Rachel,
Great question! You can use either canned whipped cream or Cool Whip for this recipe, depending on your preference. If you’re going for convenience and a lighter texture, Cool Whip works perfectly. If you prefer fresh, airy whipped cream, the kind from a can will also do the job beautifully. Both options will give you that dreamy topping for the pie!
Hope that helps—let me know if you have more questions. 😊