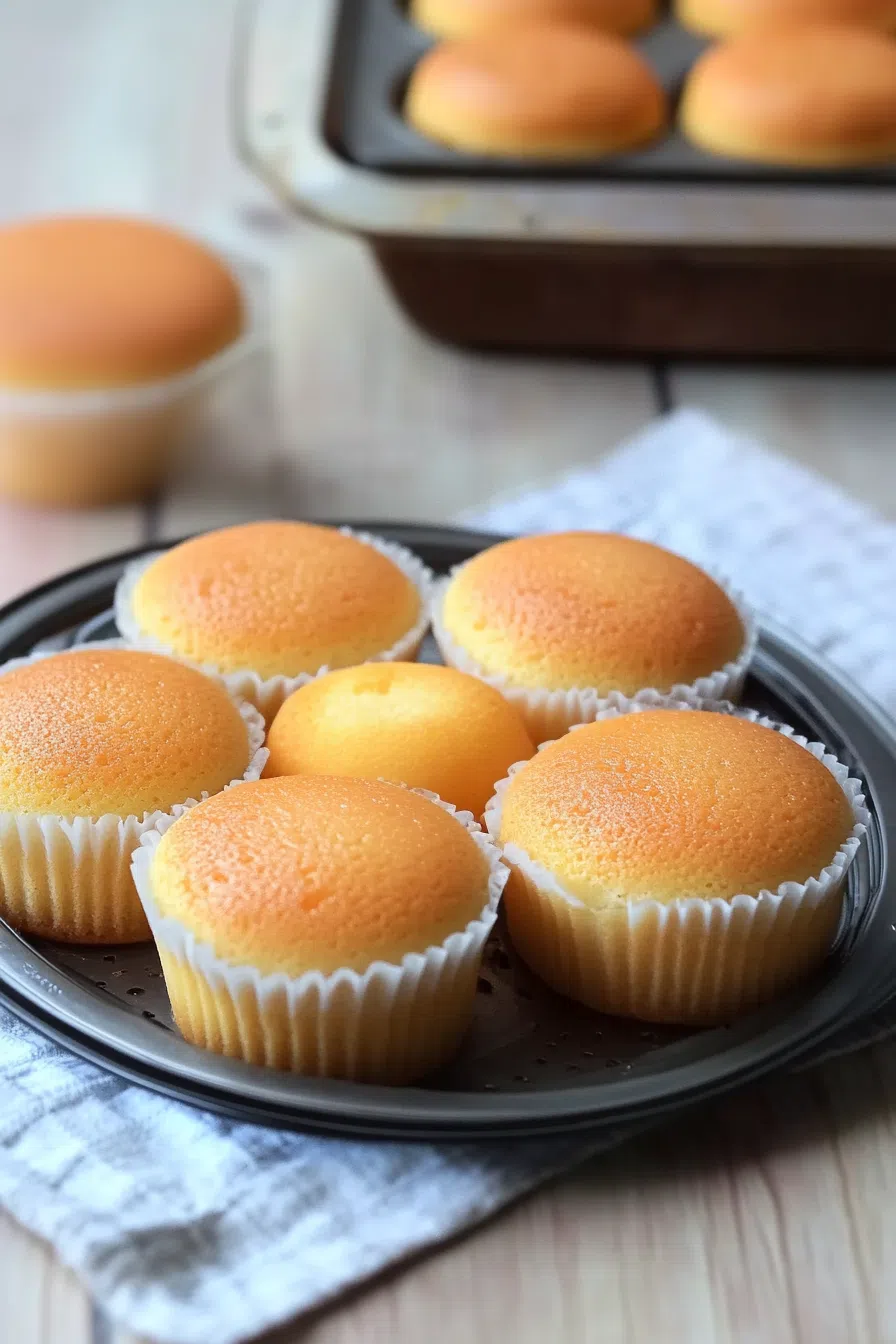
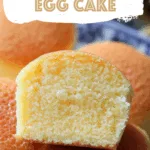
This Chinese Egg Cake uses eggs, sugar, cake flour, and oil to create a fluffy, golden treat perfect for snacking or tea time.
Let me tell you a secret. The first time I made Chinese Egg Cake, I wasn’t even trying to impress anyone. No birthday. No fancy brunch. Just a quiet afternoon, a half-empty fridge, and me scrolling through recipe notes scribbled on the back of a grocery list. The ingredients were humble—eggs, sugar, flour. You know, the kind of stuff that just… exists in your kitchen.
But what came out of the oven? Magic.
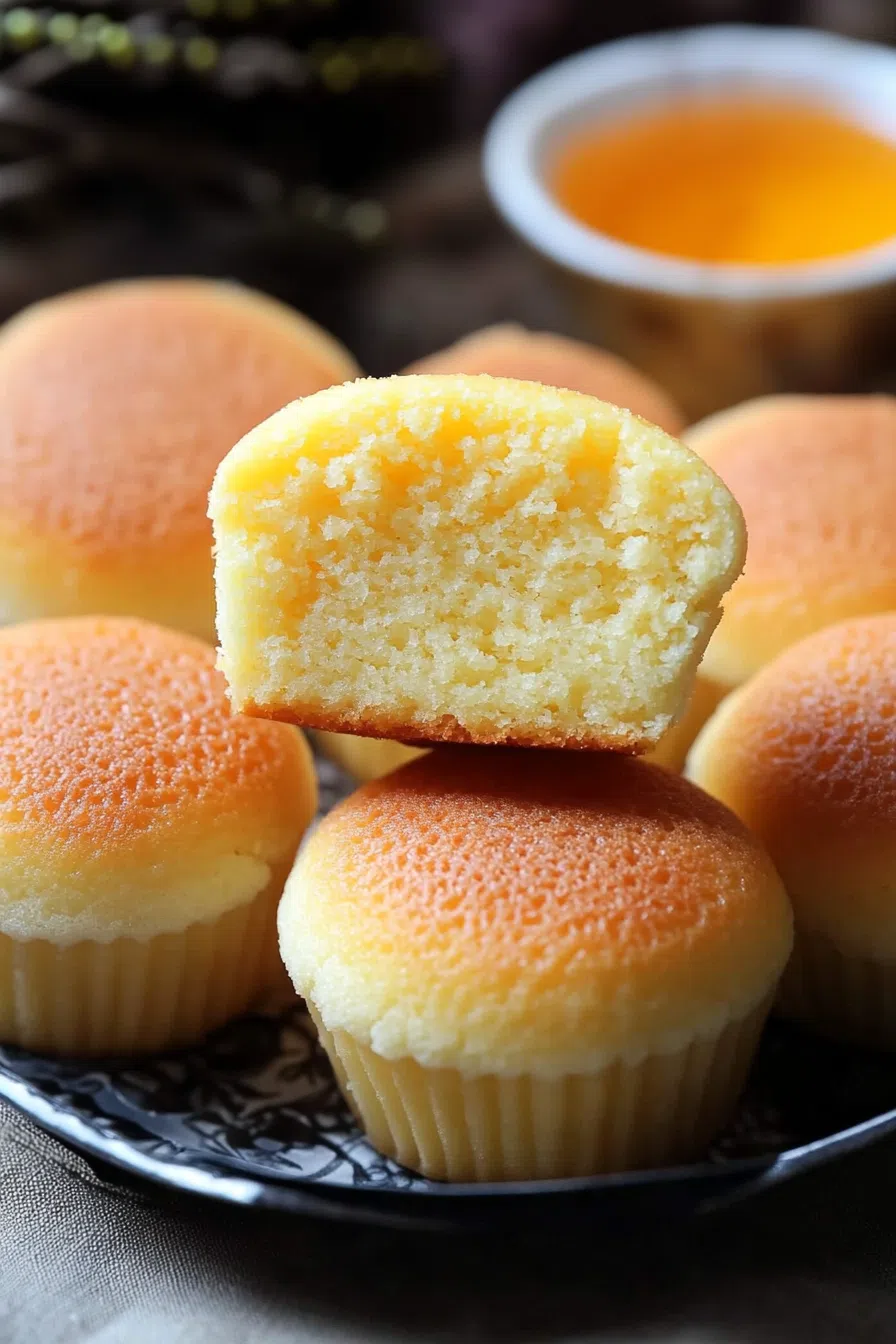
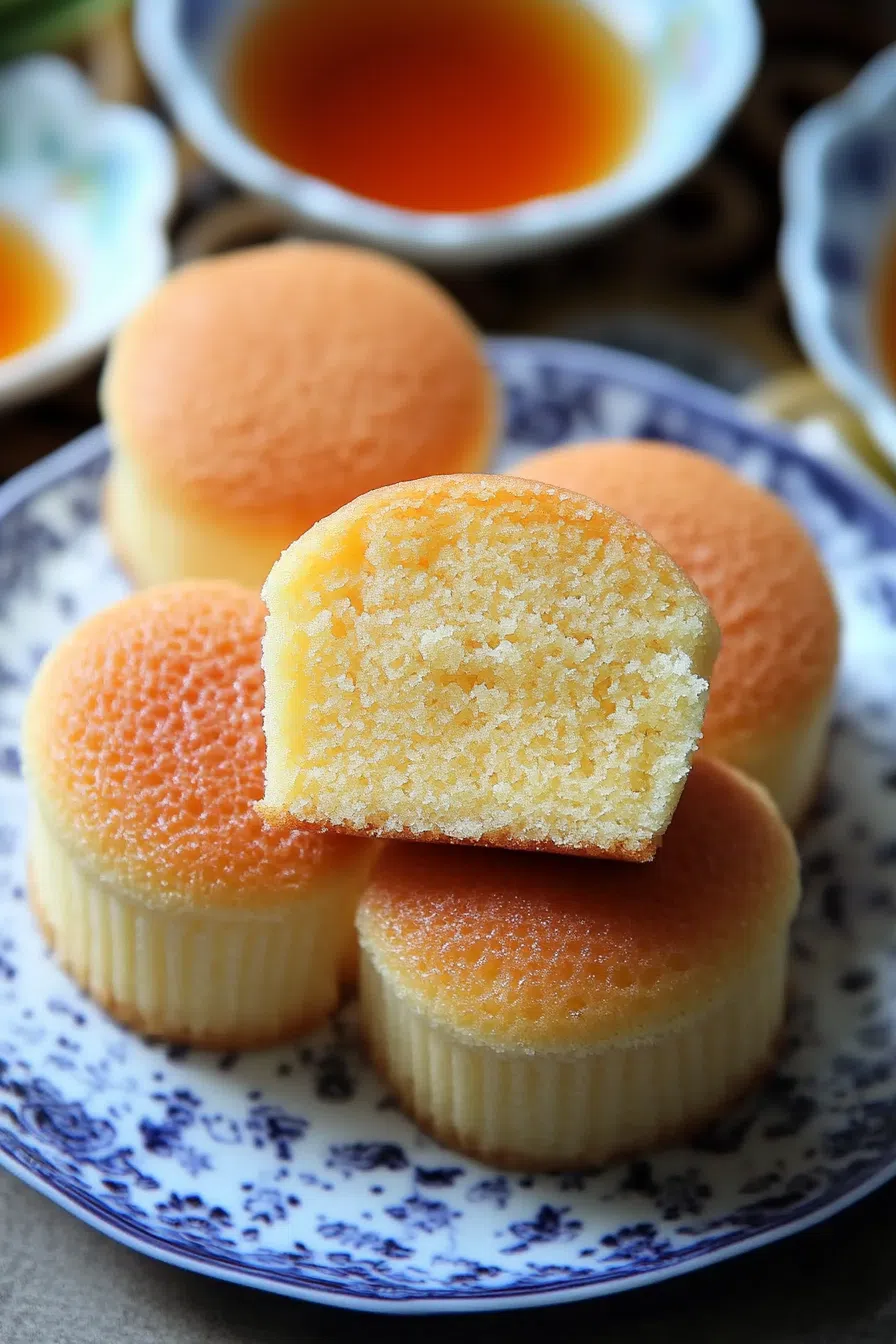
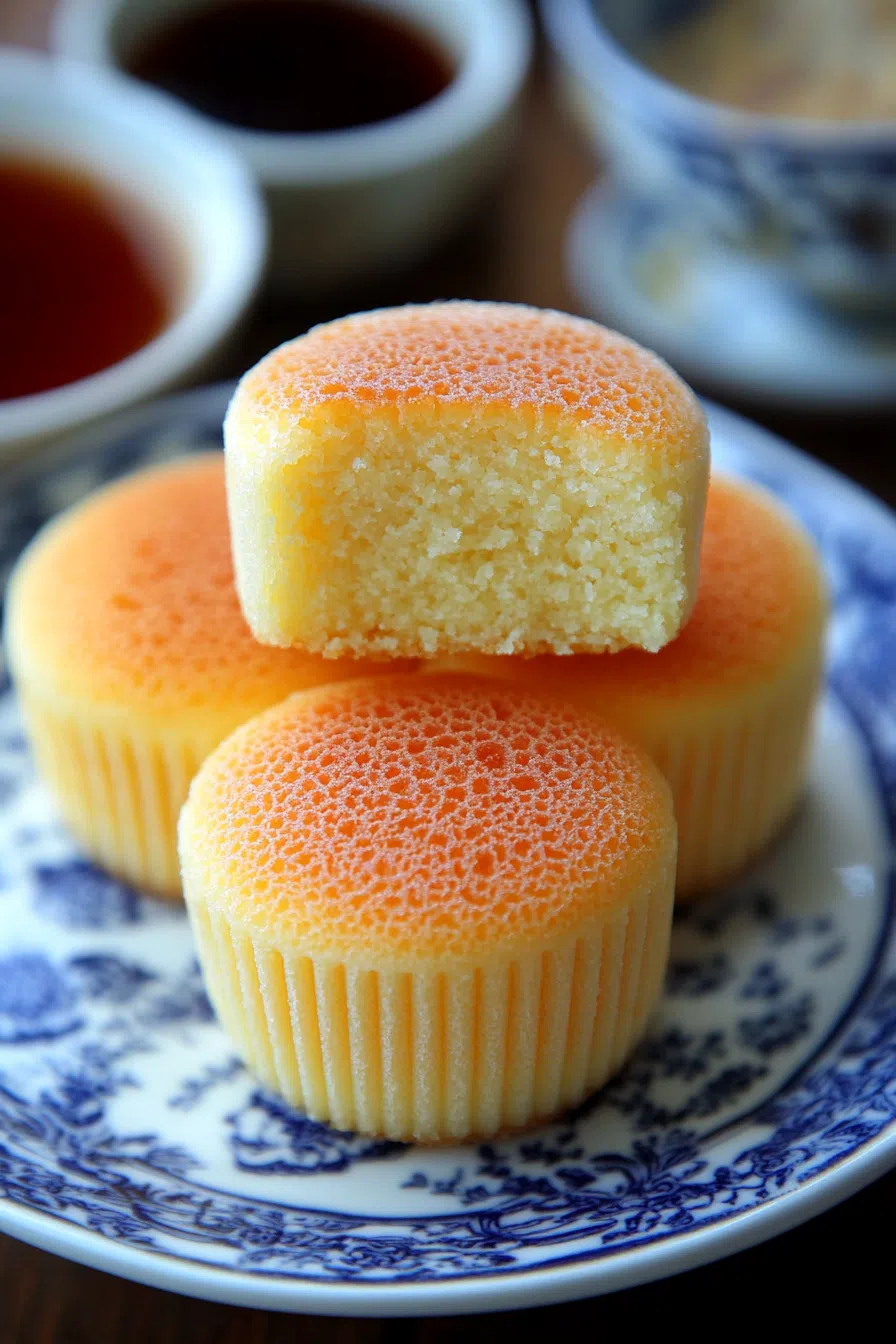
The smell alone brought me back to this tiny bakery tucked between two laundry shops in my old neighborhood—where the auntie behind the counter would wrap egg cakes in paper so soft, it almost felt like she was handing you a gift. I didn’t even realize I’d been holding my breath until I took that first bite. Still warm. Crisp on the outside, melt-in-your-mouth inside. Just sweet enough to feel indulgent, but not enough to make you crash.

Remember it later!
Planning to try this recipe soon? Pin it for a quick find later!
Remember it later!
Planning to try this recipe soon? Pin it for a quick find later!
I stood there, barefoot on cold tile, eating one after the other straight from the cooling rack. A few crumbs on the counter. A little too much emotion in my chest for a cake that came together in under 30 minutes.
But you know what? That’s the magic of this recipe. It’s not just a cake. It’s a feeling.
Here’s a quick peek at what’s inside:
Table of content
Why You’ll Love This Chinese Egg Cake Recipe?
There’s something about this recipe that feels like it’s been passed down quietly—no fuss, no frills, just real baking. Here’s what makes it special:
-
Fluffy with a whisper of sweetness. They’re not showy. They don’t need to be.
-
Zero baking powder. Just eggs and a mixer. That’s all the lift you need.
-
You probably have everything on hand already. No weird ingredients. No last-minute store run.
-
They bake in muffin tins. Which means: no slicing, no fancy pans, and no stress.
-
They’re forgiving. A little overbaked? Still tasty. Didn’t whip the eggs quite long enough? You’ll still love them.
They’re the kind of cake you make when you’re homesick, when you want to impress no one but soothe yourself, or when you just want to fill your kitchen with the smell of warmth.
Ingredient Notes:
This recipe is like a soft-spoken friend. It doesn’t demand a lot, just a little attention and care.
-
Eggs (2, room temp): I’m not gonna lie—room temp does make a difference. If you forget, run them under warm water for a minute or two.
-
Cake flour (60g or ½ cup): This is key. Cake flour gives that tender, airy texture. If you only have all-purpose, sift it a few times to fake it.
-
Castor sugar (40g or ~3 tbsp + 1 tsp): It dissolves quickly. If you’ve only got granulated, just beat it longer. It’ll still work.
-
Neutral oil (5g or about ¾ tsp): Just a touch to keep the crumb moist. I’ve used vegetable oil and olive oil. No drama either way.
-
Warm water (optional): If your kitchen’s cold, use it to help the eggs whip. Old-school trick, totally works.
How To Make Chinese Egg Cake?
Step 1. Preheat your oven.
350°F (180°C). Line a 12-cup muffin tin with paper liners. No liners? Grease it well. But honestly, just use the liners.
Step 2. Whip the eggs and sugar.
This part takes time—10 to 15 minutes—but it’s everything. Use a hand mixer or stand mixer and just let it go until the batter is pale, thick, and leaves a ribbon when you lift the beater. You’ll know it when you see it. (Or when your arm starts begging you to stop.)
Step 3. Gently fold in flour.
Sift it in gradually. Use a spatula and go slowly—this isn’t a race. The key here is gentle. We’re trying to keep that precious fluff intact.
Step 4. Stir in the oil.
Just a quick mix to get it in there. Don’t overthink it. I’ve forgotten it before and they still turned out edible. Not perfect, but hey, life’s like that sometimes.
Step 5. Fill the tins.
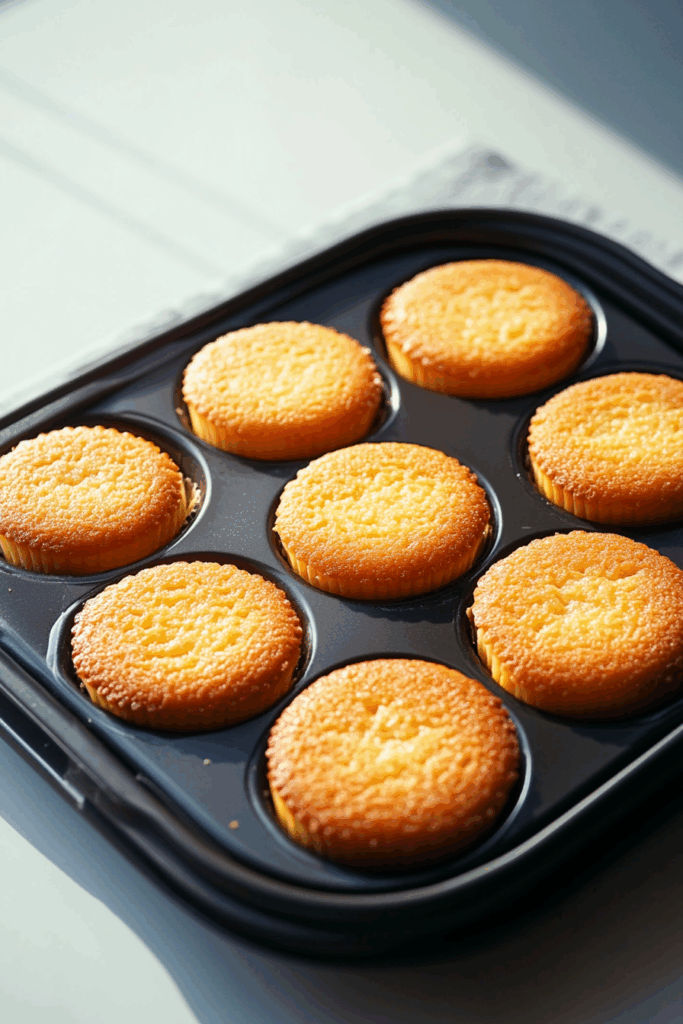
Spoon the batter into each cup about ¾ full. They’ll puff up, so don’t overdo it.
Step 6. Bake for 15–20 minutes.
They should be golden on top and spring back when you poke them. Keep the oven door shut until they’re almost done—these little cakes hate being stared at while baking.
Step 7. Cool, devour, repeat.
They’re amazing warm, lovely at room temp, and weirdly good straight from the fridge. I don’t make the rules.
Want To Save This Recipe?
Enter your email below and we'll send the recipe straight to your inbox.
Storage Options:
-
Room temp: 2–3 days in a container, but they’re best the day you bake them.
-
Fridge: Up to 5 days. Heat them gently in the microwave or toaster oven.
-
Freezer: Yep. Wrap individually, stash in a freezer bag, and they’ll keep for a couple months. Perfect for future-you.
Pro tip: wrap a few in wax paper and tuck them in your bag. You’ll feel weirdly proud when you remember them later.
Variations and Substitutions:
Once you get comfortable with the base, here’s where you can play:
-
Add orange or lemon zest. It makes the whole thing feel brighter.
-
Fold in a few mini chocolate chips. Not traditional. But delicious.
-
Try a matcha version. ½ tsp of matcha powder gives a subtle green tea vibe.
-
Use brown sugar. For a richer, caramel-y taste. Not authentic, but sometimes comfort wins.
-
Top with sesame seeds. Adds a little texture and a lovely, nutty scent.
What to Serve with Chinese Egg Cake?
These little guys don’t need much, but if you’re in the mood:
-
Hot tea. Jasmine, oolong, chrysanthemum—your call.
-
Milk tea. They’re best friends. Trust me.
-
Soy milk. Especially if you’re feeling nostalgic.
-
Sliced fruit. Light and fresh, just like the cakes.
-
Coffee. Because let’s be honest, everything pairs well with coffee.
Frequently Asked Questions:
Do I really have to beat the eggs that long?
Yes. That’s what gives the cake its height. It’s annoying, but worth it.
Why did my cake collapse?
Probably overmixed or opened the oven too early. Or maybe the eggs weren’t whipped enough. Don’t worry—it still tastes good.
Can I make these without a muffin tin?
You could try a square pan and slice them after. Not traditional, but life’s about bending the rules sometimes.
This Chinese Egg Cake isn’t the kind of dessert that demands attention. It doesn’t sparkle. It doesn’t trend. But it shows up, quietly and beautifully, when you need a little something soft. A reminder of home. Or just a reason to take a breath and eat a warm cake with your tea.
So go make a batch. Make a memory. Burn one, laugh about it, and try again.
And hey—when you do? Tell me. Did it remind you of your childhood? Did your mom used to make them? Did you mess up the first try like I did? I’d love to hear your story.
Remember it later!
Planning to try this recipe soon? Pin it for a quick find later!
Remember it later!
Planning to try this recipe soon? Pin it for a quick find later!
Keep the Flavor Coming – Try These:

Chinese Egg Cake
Ingredients
- 2 middle-size eggs room temperature
- 60 grams cake flour about ½ c
- 40 grams castor sugar approximately 3 tbsp + 1 tsp
- 5 grams oil olive oil or other vegetable oil, roughly ¾ tsp
- Warm water as needed optional, for speeding up the whipping process, especially on colder days
Instructions
- Preheat your oven to 350°F (180°C).
- Take a container and fill it halfway with water. Place your mixing bowl on top of the container.
- In the mixing bowl combine eggs and caster sugar. Beat them together at speed until they become light and fluffy which should take around 12 to 15 minutes. You'll know you've reached the ribbon stage when the mixture has a flowing consistency.
- Gradually sift the cake flour into the mixture and gently fold it in using a spatula.
- Pour, in the oil and stir until it is well blended with the batter.
- Line a muffin tin with paper liners making sure to cover all 12 cups.
- Pour in Batter; Fill each cup of the muffin tin with the batter.
- Position the muffin tin, on the rack of your oven. Bake for approximately 15 to 20 minutes or until you notice that their tops have turned a lovely golden color.
- Savor your Chinese Egg Cakes!
Notes

I’m Bitty, owner of nodashofgluten.com, where I share simple, delicious recipes for all tastes, including gluten-free. Check out my “About Me” page for more info!





2 Responses
I presume “middle sized eggs” are medium eggs?
Yes