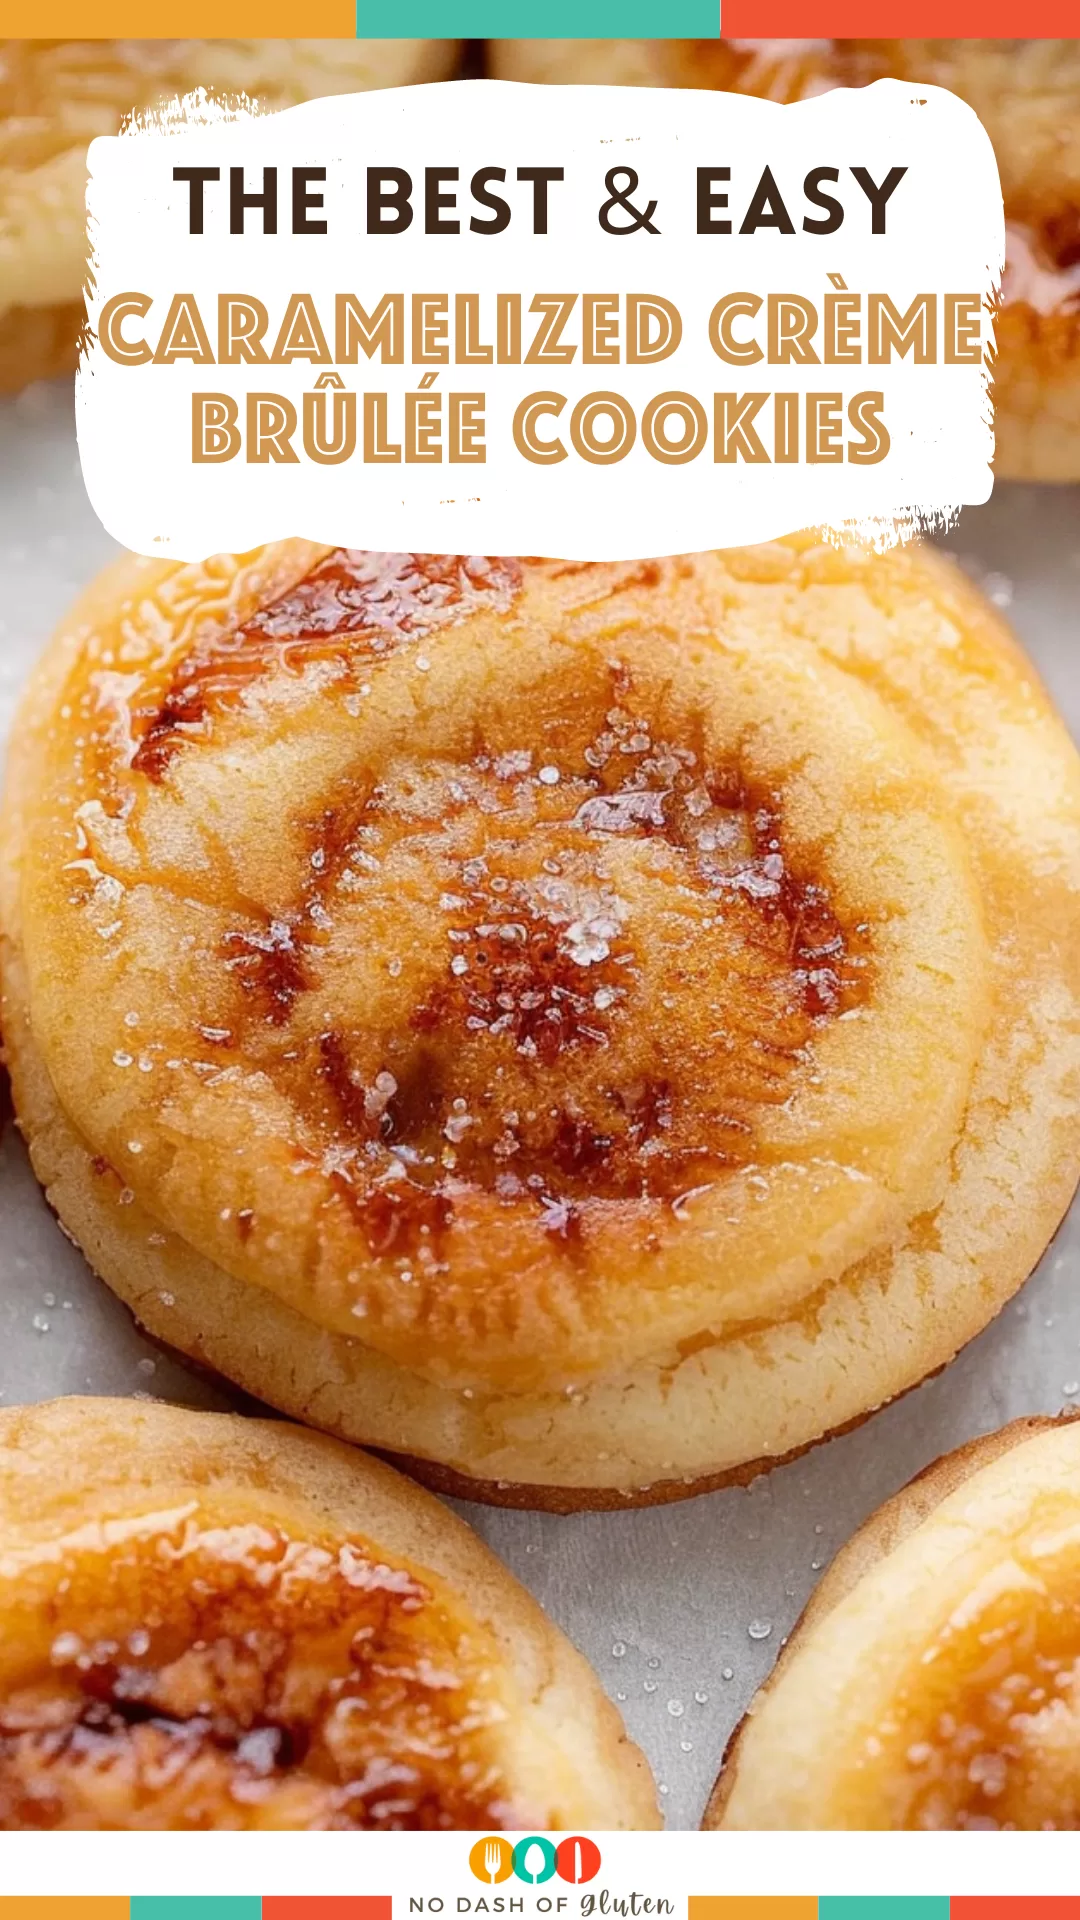
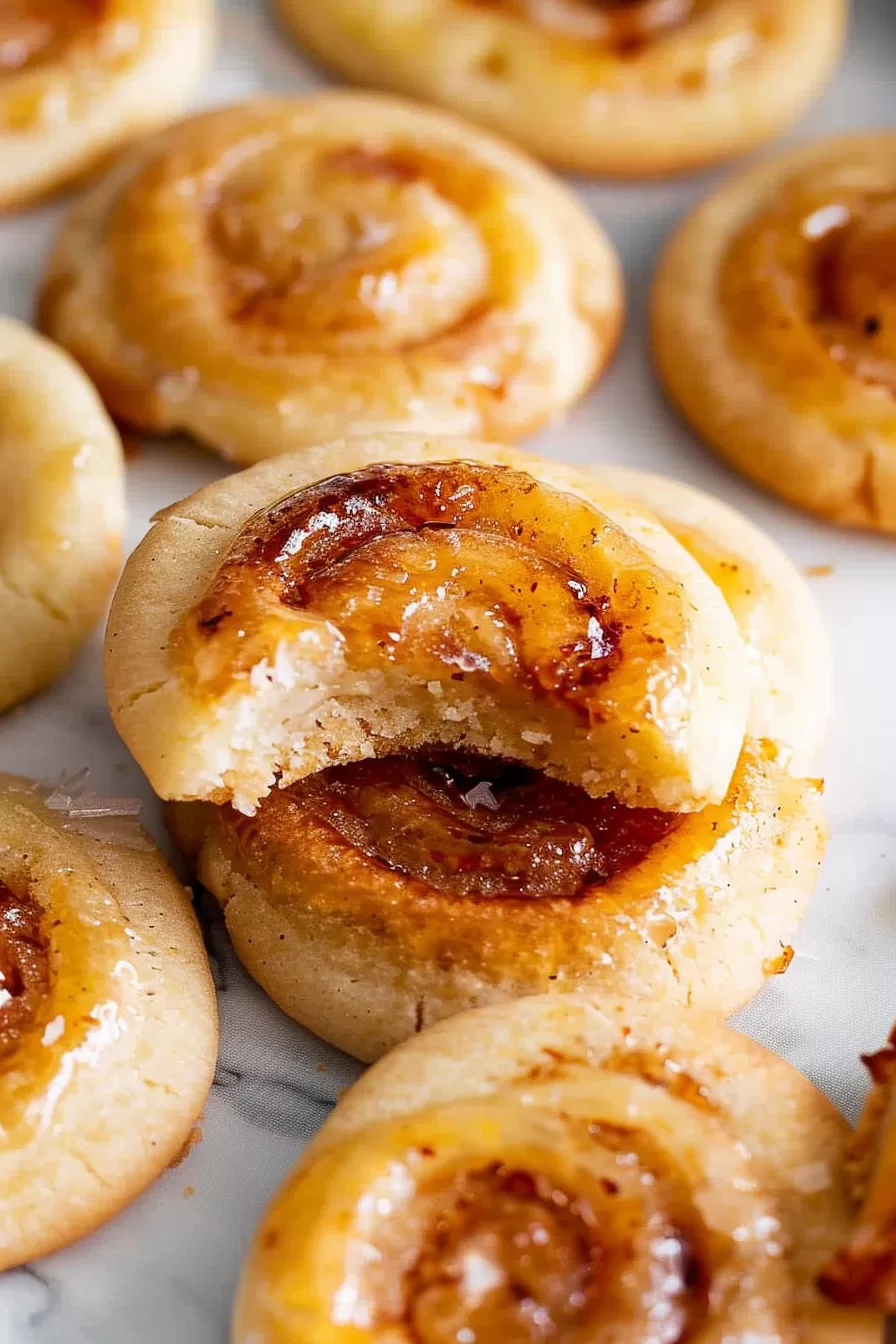
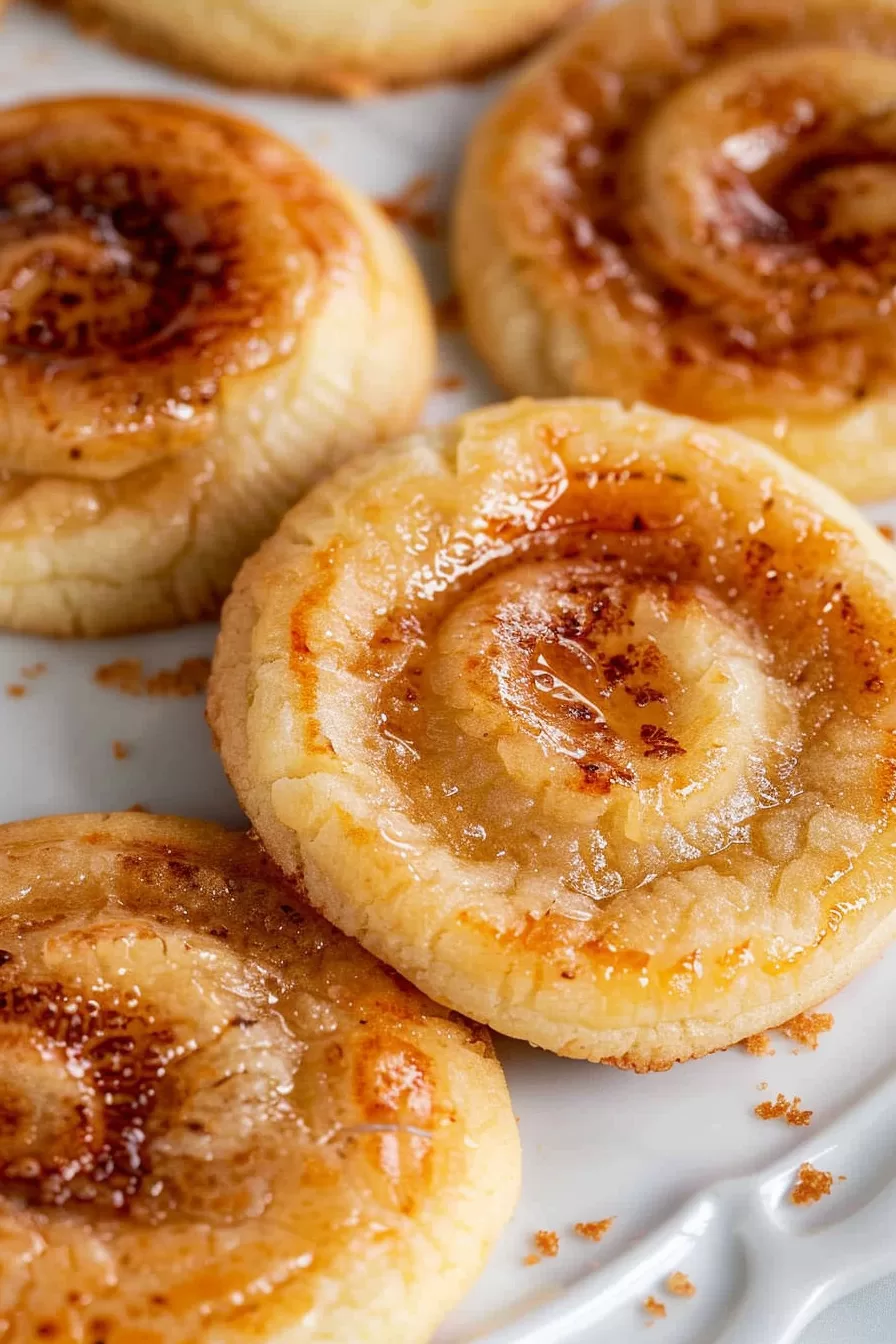
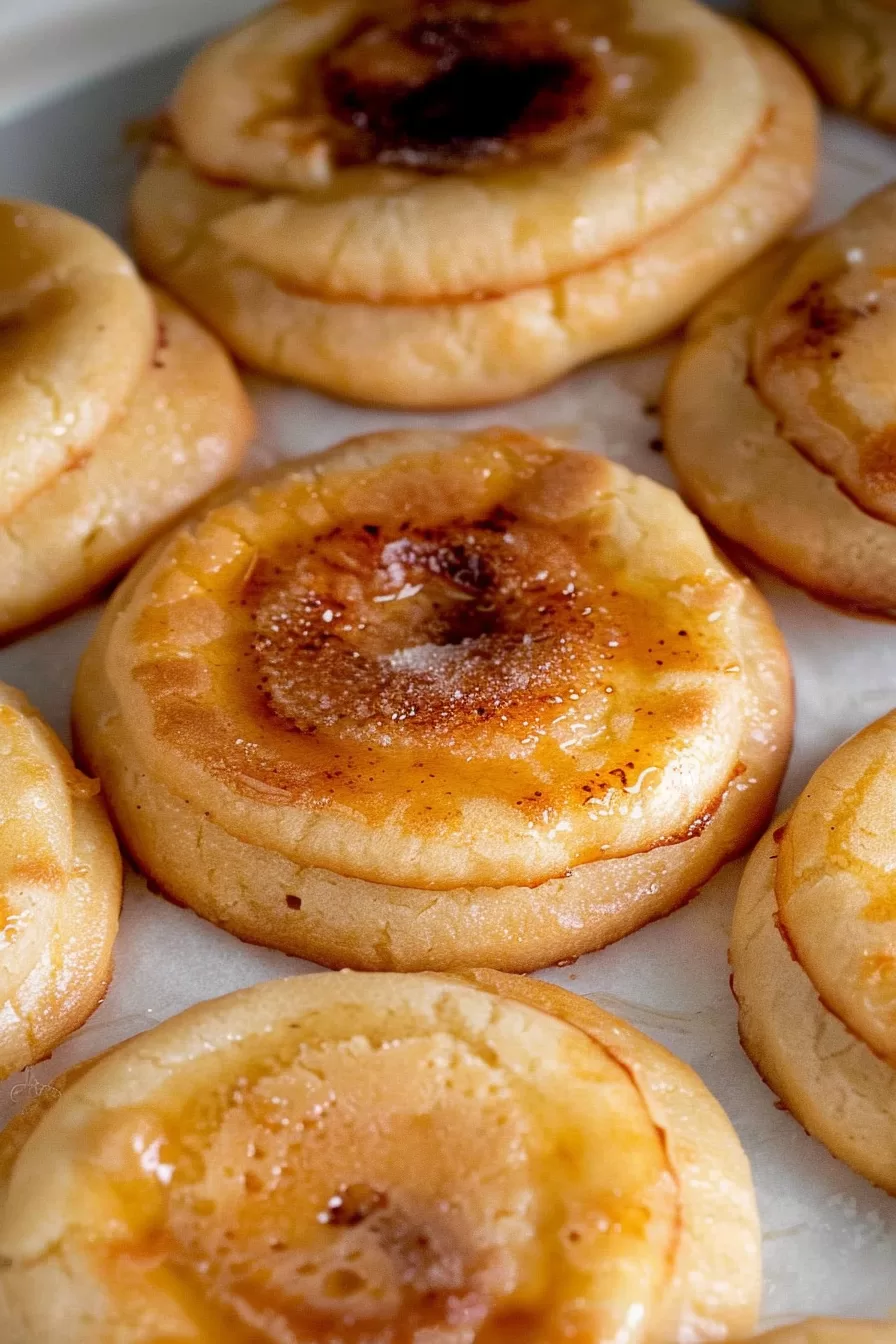
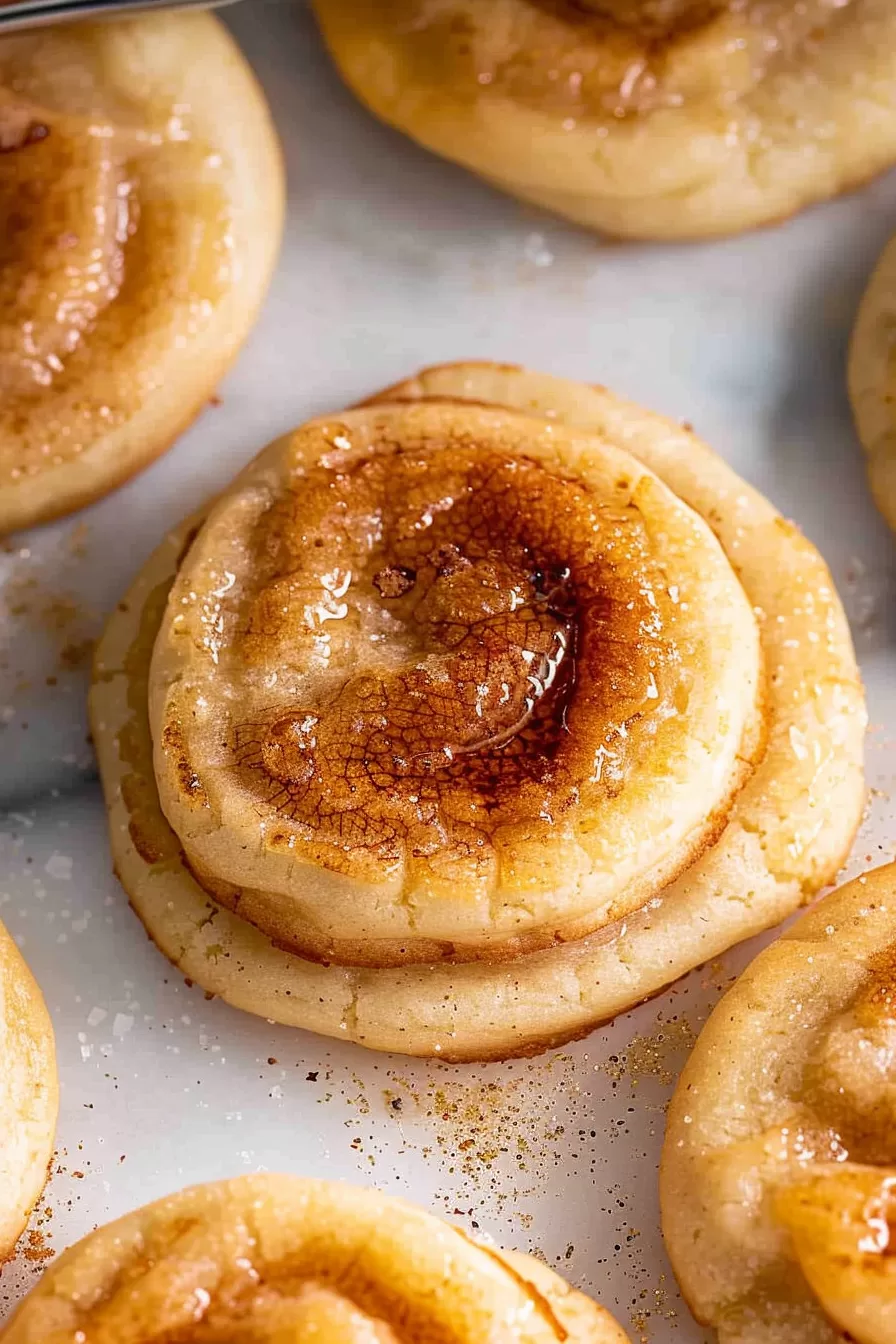
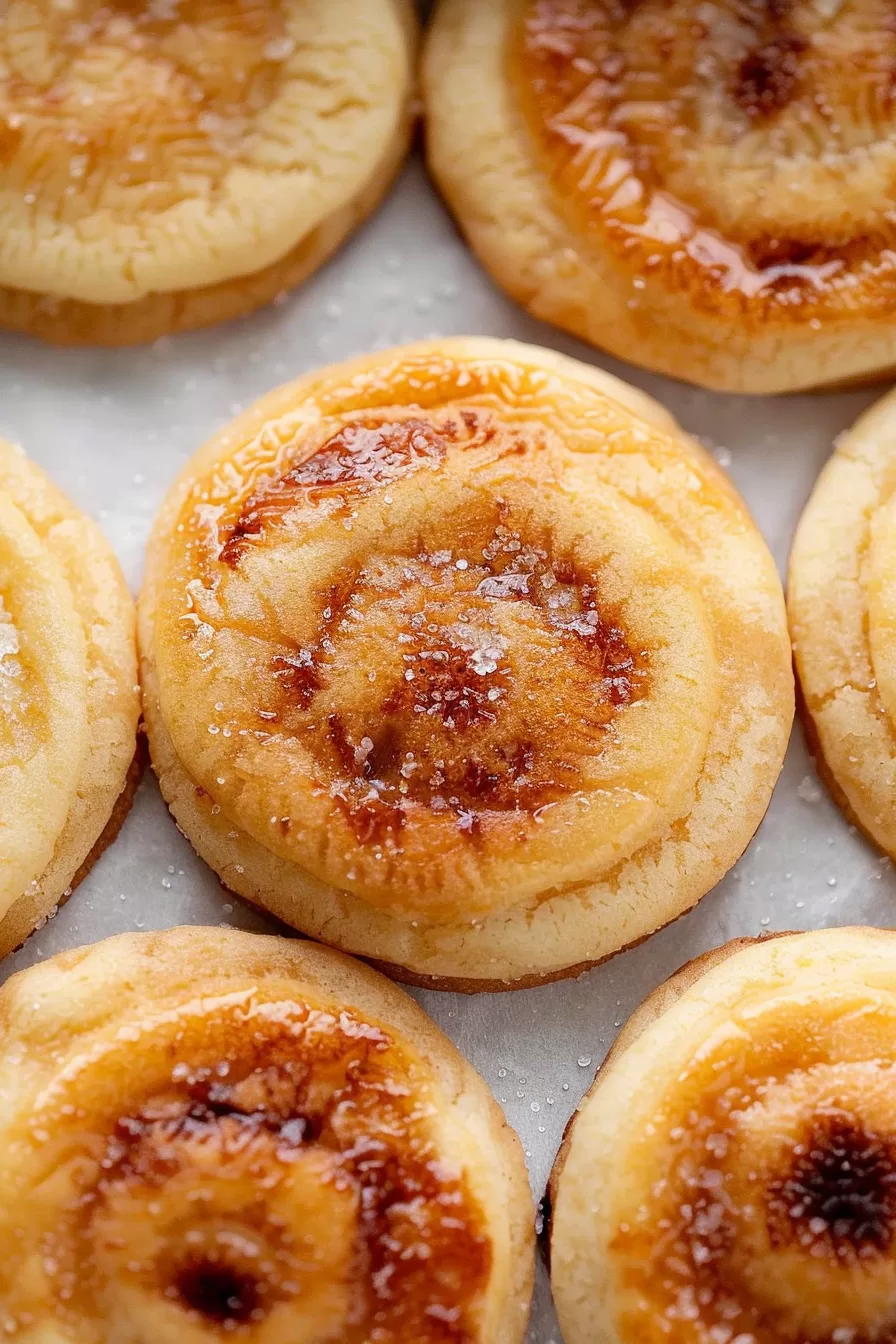
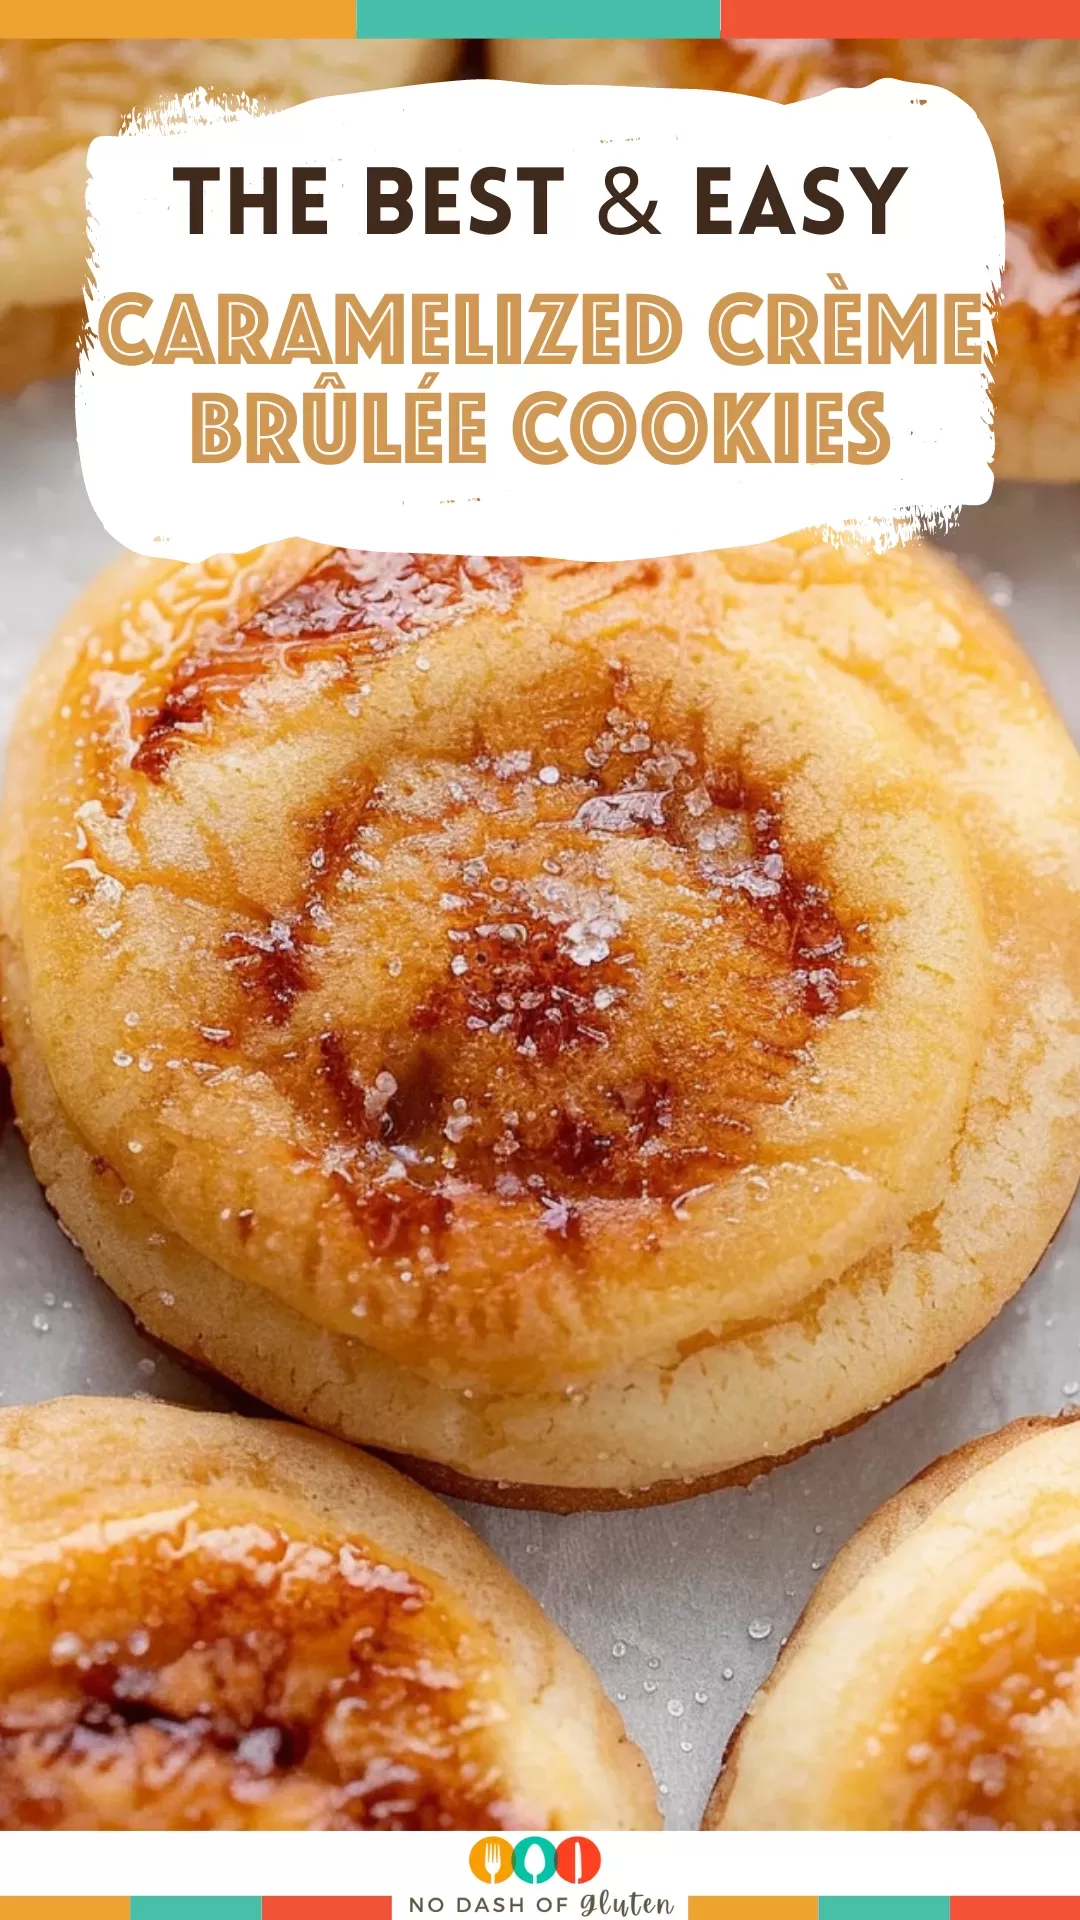
Turn your favorite dessert into cookies! Creme Brûlée Cookies combine buttery sugar cookies, silky vanilla pastry cream, and caramelized sugar.
Have you ever had a dessert that made you stop mid-bite and just savor the moment? For me, crème brûlée is that dessert. It’s the kind of treat that feels like a hug in dessert form. But, let’s be real—there’s not always time to whisk eggs, heat cream, and bake something in a water bath. Enter: Creme Brûlée Cookies.

Remember it later!
Planning to try this recipe soon? Pin it for a quick find later!
Remember it later!
Planning to try this recipe soon? Pin it for a quick find later!
The idea came to me during a holiday gathering. You know how it is—everyone’s grazing, drinks are flowing, and you want a dessert that’s easy to grab but still feels elegant. I thought, Why not turn crème brûlée into something handheld? These cookies were born that day, and let me tell you—they were the first thing to disappear from the dessert table.
What makes these cookies special isn’t just the flavor (though, wow). It’s the experience. There’s something so satisfying about using a kitchen torch to caramelize sugar on a cookie. It’s like a little dessert theater right in your kitchen.
Here’s a quick peek at what’s inside:
Table of content
Why You’ll Love This Caramelized Crème Brûlée Cookies Recipe?
- Texture Party: Buttery cookies, silky pastry cream, and crunchy caramelized sugar? It’s all there.
- Crème Brûlée Made Easy: Skip the ramekins and custard stress. This is crème brûlée without the fuss.
- Show-Stopping Dessert: They look so fancy, but they’re surprisingly simple to pull off.
- Interactive Fun: Torch the sugar topping while your guests watch—it’s a crowd-pleaser!
Ingredient Notes:
Here’s a closer look at what makes these cookies shine:
- Vanilla Bean Paste: Real vanilla flavor and those pretty black specks make these cookies feel extra special.
- Egg Yolks: The secret to a rich, creamy pastry cream. Don’t skimp here!
- Granulated Sugar: For the dough, the cream, and that crackly brûlée topping. It’s the MVP.
- Butter: Softened butter is key for creating those melt-in-your-mouth cookies.
- Cornstarch: Helps the pastry cream achieve that perfect thickness without being heavy.
Pro Tip: If you don’t have a kitchen torch, you can use your oven’s broiler—but keep a close eye on it to avoid burning.
How To Make Caramelized Crème Brûlée Cookies?
Don’t let the fancy name intimidate you—these are easier than you think. Here’s how to make them step by step.
Step 1: Whip Up the Pastry Cream
Start by warming the milk. While that’s heating up, whisk together egg yolks, sugar, salt, and cornstarch. Slowly add the warm milk, then cook it all together until the mixture thickens into a luscious custard. Stir in butter for that extra silkiness, then let it chill. Trust me, the wait is worth it.
Step 2: Make the Cookie Dough
Cream butter and sugar together until it’s light and fluffy—this is where the magic starts. Add an egg and vanilla, then mix in the dry ingredients until everything comes together. Roll the dough into balls, coat them in sugar, and bake until just golden. They’ll smell amazing.
Step 3: Assemble and Torch
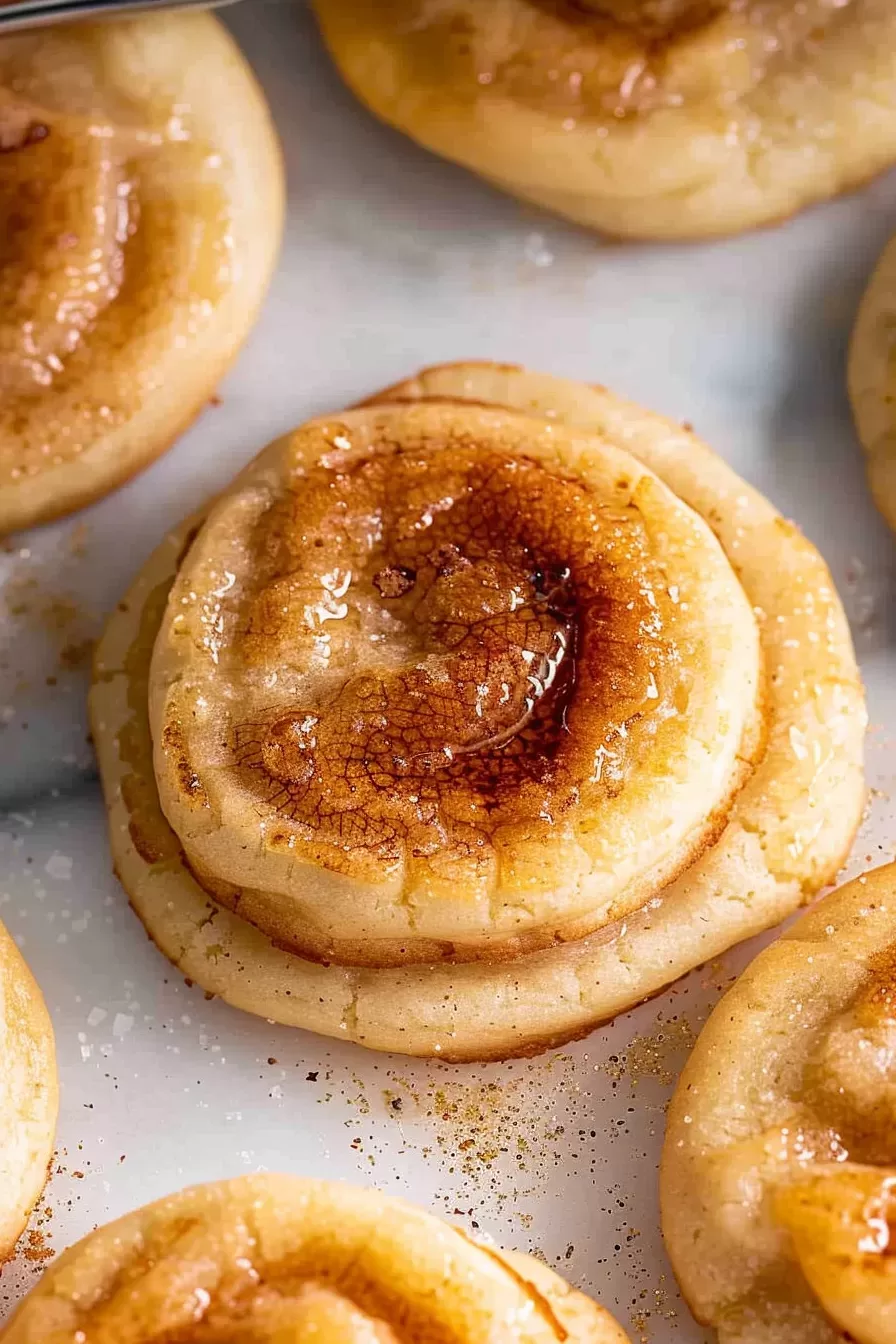
Once the cookies are cooled, pipe the chilled pastry cream onto each one. Then comes the fun part—sprinkle sugar on top and caramelize it with a torch. It’s like crafting tiny works of edible art.
Want To Save This Recipe?
Enter your email below and we'll send the recipe straight to your inbox.
Storage Options:
- Refrigerator: Store assembled cookies in an airtight container for up to 3 days. Keep them chilled to maintain that creamy center.
- Freezer: The cookies (without the cream) freeze beautifully. Thaw and assemble when you’re ready to serve.
- Pastry Cream: You can make the cream a day in advance and store it in the fridge. Just give it a quick stir before piping.
Variations and Substitutions:
- Flavored Pastry Cream: Add a splash of almond or coffee extract for a twist.
- Chocolate Version: Drizzle melted dark chocolate over the caramelized sugar.
- Gluten-Free Cookies: Swap in a 1:1 gluten-free flour blend, and they’ll still be fantastic.
- Mini Cookies: Make smaller versions for bite-sized elegance at parties.
What to Serve with Caramelized Crème Brûlée Cookies?
- Coffee or Tea: These cookies are perfect with a latte or a strong cup of Earl Grey.
- Fresh Fruit: Add a side of berries for a refreshing contrast.
- Whipped Cream: A dollop of lightly sweetened whipped cream takes them over the top.
Frequently Asked Questions:
Can I skip the kitchen torch?
Sure! Use your oven’s broiler instead, but keep a watchful eye to avoid burning the sugar.
How far in advance can I make these?
Bake the cookies and make the pastry cream a day ahead. Assemble and torch them just before serving for the best texture.
Are these cookies kid-friendly?
Absolutely! You might even let them sprinkle the sugar on top (but maybe keep the torching part for yourself).
So, are you ready to impress your friends, family, or, heck, just yourself? These Creme Brûlée Cookies are a guaranteed hit. I’d love to hear how they turn out for you—drop a comment and let me know!
Remember it later!
Planning to try this recipe soon? Pin it for a quick find later!
Remember it later!
Planning to try this recipe soon? Pin it for a quick find later!
Keep the Flavor Coming – Try These:
Caramelized Crème Brûlée Cookies
Ingredients
For the Vanilla Pastry Cream:
- 2 1/4 c 540 ml whole milk
- 6 egg yolks
- 1 c + 2 tablespoon 225 grams granulated sugar
- 1/8 teaspoon salt
- 1 1/2 tablespoon vanilla bean paste
- 3 1/2 tablespoon 28 grams cornstarch
- 3 tablespoon 42 grams unsalted butter, cubed
For the Sugar Cookies:
- 2 1/2 c 313 grams all-purpose flour, spooned and leveled
- 1/2 teaspoon baking powder
- 1/2 teaspoon salt
- 1 1/4 c 250 grams granulated sugar
- 1 c 224 grams unsalted butter, softened
- 1 egg
- 1 tablespoon vanilla bean paste
- 1/2 c 100 grams granulated sugar (for rolling the dough)
- 1/2 c 100 grams granulated sugar (for the brûlée topping)
Instructions
For the Vanilla Pastry Cream:
- In a medium saucepan. Warm the milk. Over medium-low heat. Until it starts steaming. Once it's heated. Reduce the heat to low. Until you're ready. To use it.
- In a separate large bowl. Whisk together the egg yolks, sugar, salt, vanilla, and cornstarch. Until the mixture is smooth. And pale yellow. It may start out thick. But it will smooth out. As you whisk.
- Slowly pour. About a quarter of the heated milk. Into the egg mixture. Stirring vigorously. To avoid curdling. Gradually add the remaining milk. And stir. Until combined.
- Return the mixture. To the saucepan. Cooking over medium-low heat. For 8-12 minutes. Whisking constantly. Until it thickens. And forms soft peaks.
- Remove the pan from heat. Stir in the butter. And mix. Until it's fully incorporated. Transfer the pastry cream. To a bowl. And place plastic wrap. Directly on the surface. To prevent a skin from forming. Let it chill in the fridge. Until fully cooled.
For the Sugar Cookies:
- Preheat your oven to 350°F (175°C). And line two baking sheets. With parchment paper.
- In a large bowl. Whisk together the flour. With baking powder, and salt. Set aside.
- In another large bowl. Cream the butter. And sugar. With an electric mixer. On high speed. For about two minutes. Until it's fluffy. And light. You can also use a stand mixer. With the paddle attachment if preferred.
- Add the egg and vanilla. And beat on medium speed. Until the mixture is pale. And fluffy. About 1-2 minutes.
- Gradually add the dry ingredients. To the wet ingredients. Mixing on low speed. Until the dough. Just comes together.
- Scoop the dough. Into balls. Using a large cookie scoop. And roll them. In granulated sugar.
- Place the dough balls. On the parchment-lined baking sheets. Flattening them slightly. Bake 6 cookies at a time. For 9-10 minutes. Let them cool. On the baking sheet. For 5 minutes. Before transferring them. To a wire rack. To cool completely.
Assembling the Cookies:
- Once the cookies. Are completely cooled. Transfer the chilled pastry cream. Into a piping bag. With a small circular tip. Pipe the cream. Onto each cookie.
- Sprinkle 1 teaspoon of sugar. Over the top of each cookie. And use a kitchen torch. To caramelize the sugar. Until golden brown. And fragrant. Like roasted marshmallows.
- Let the cookies rest. For about 10 minutes after torching. Then they're ready to enjoy!
Notes

I’m Bitty, owner of nodashofgluten.com, where I share simple, delicious recipes for all tastes, including gluten-free. Check out my “About Me” page for more info!


