

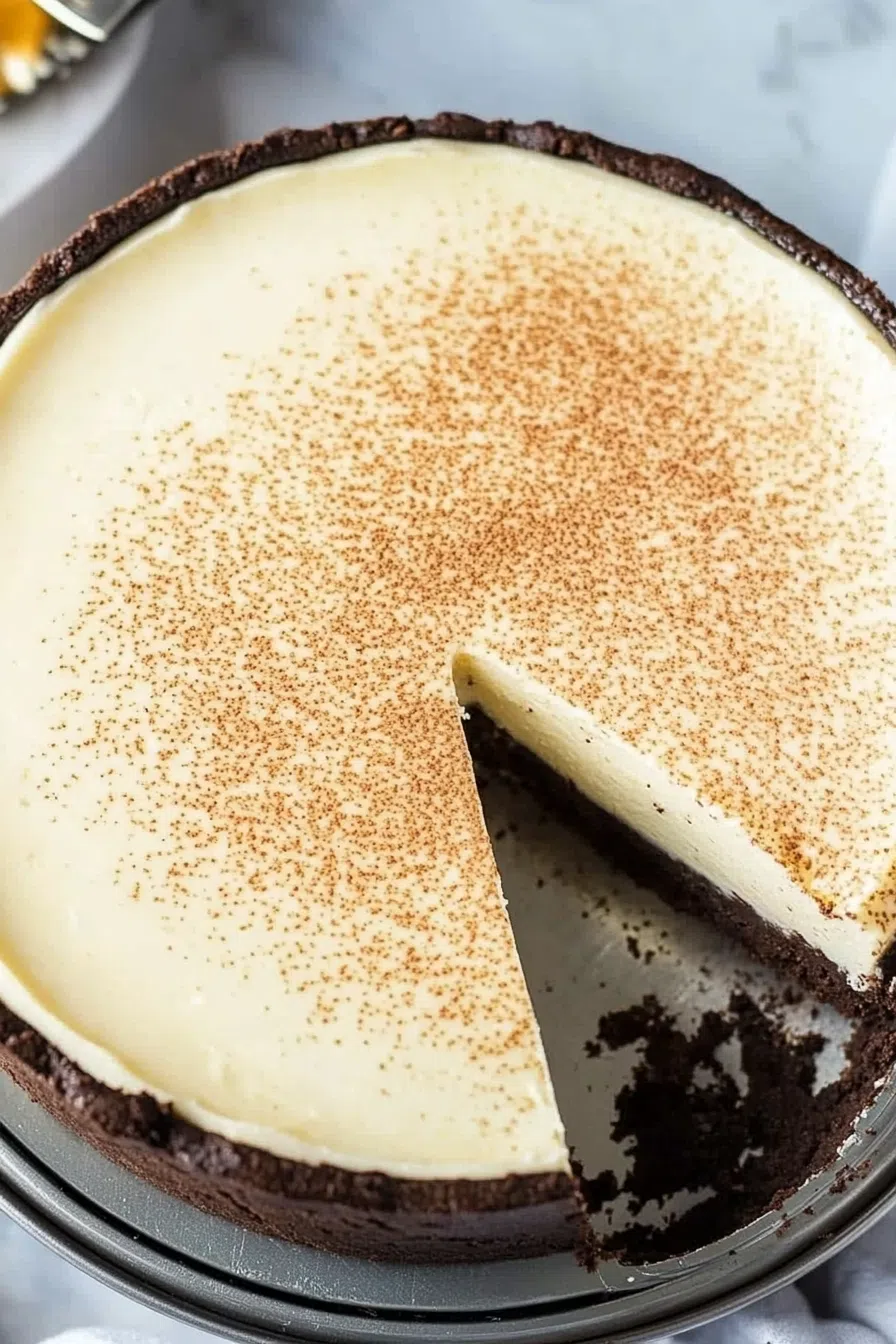
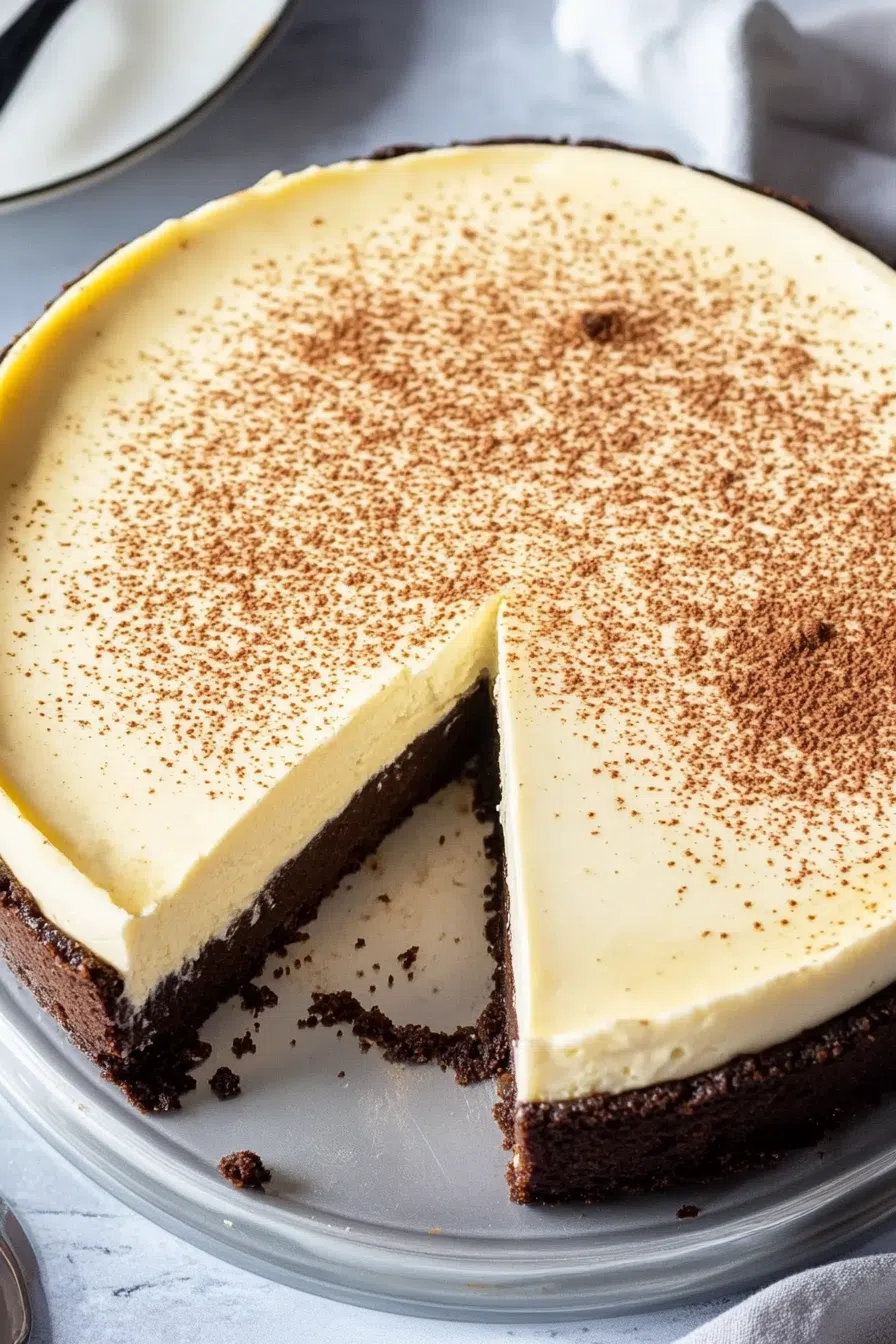
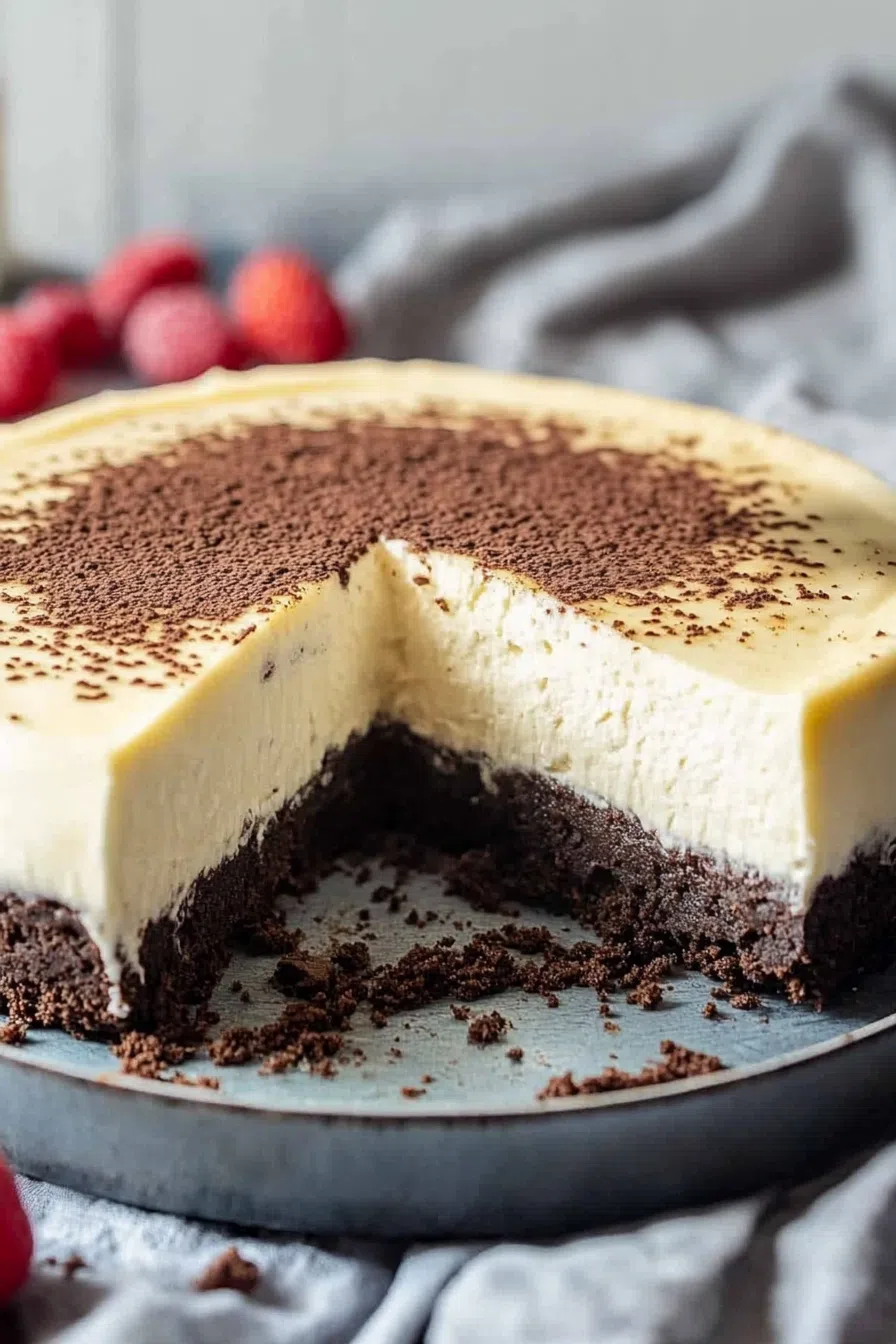
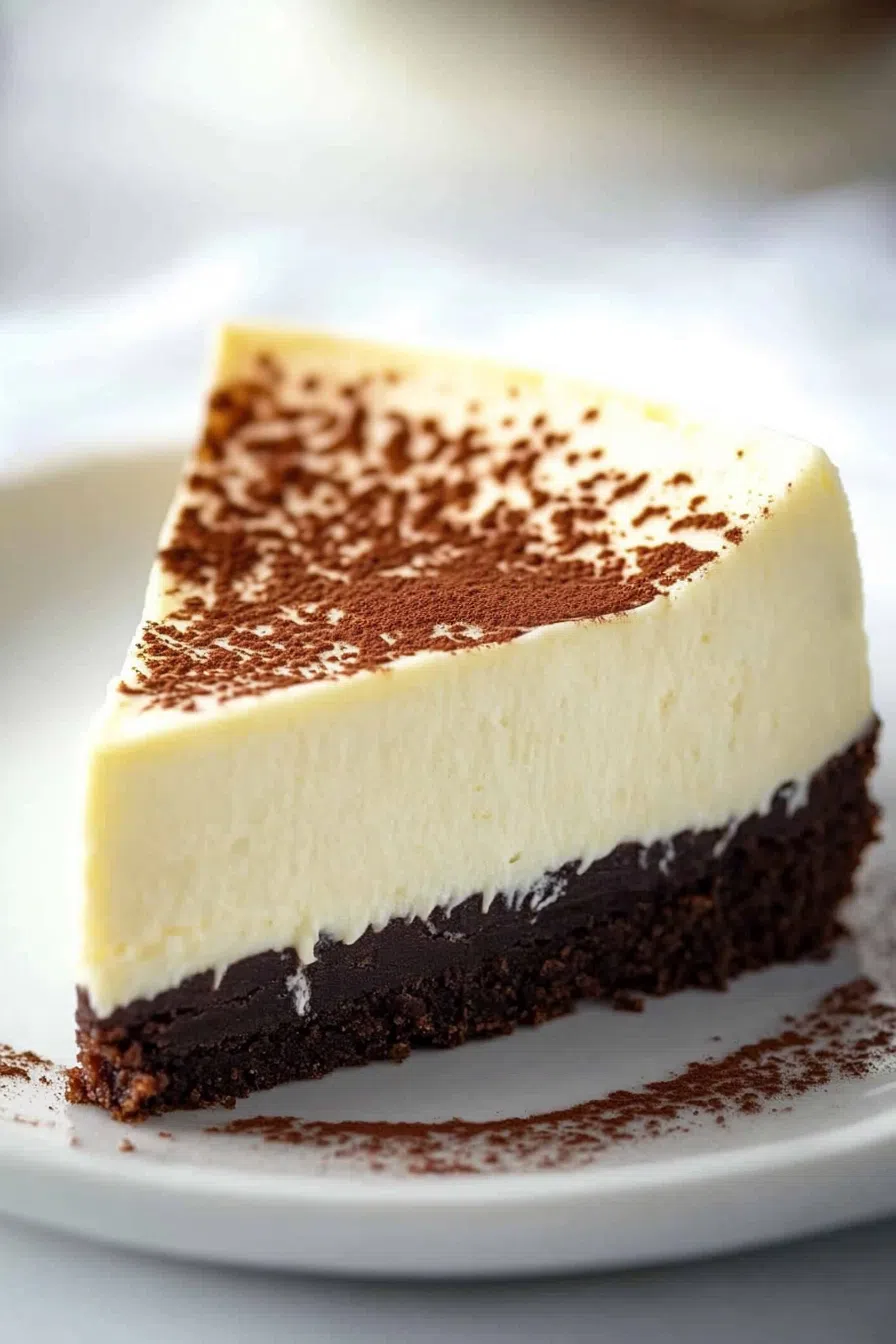
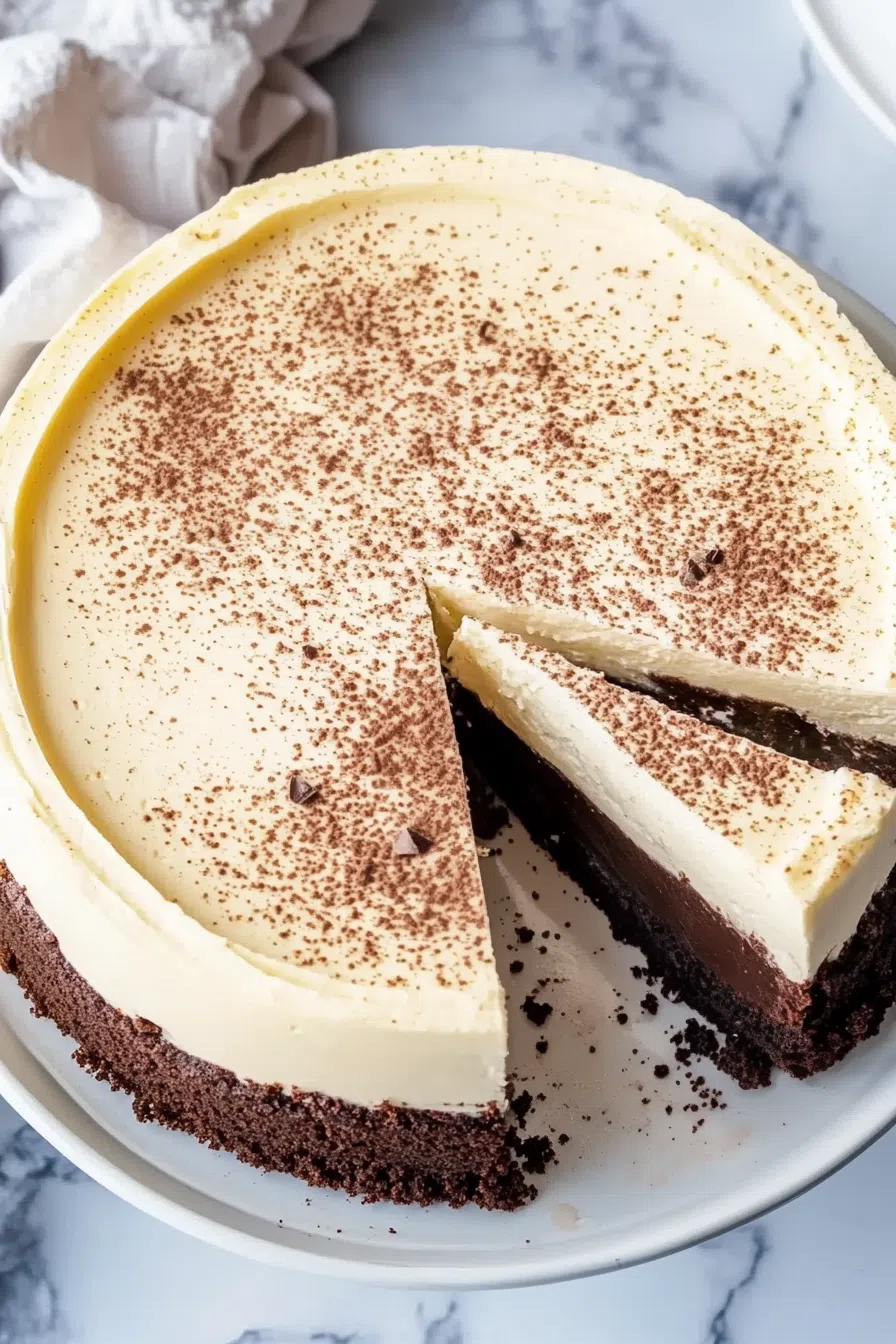
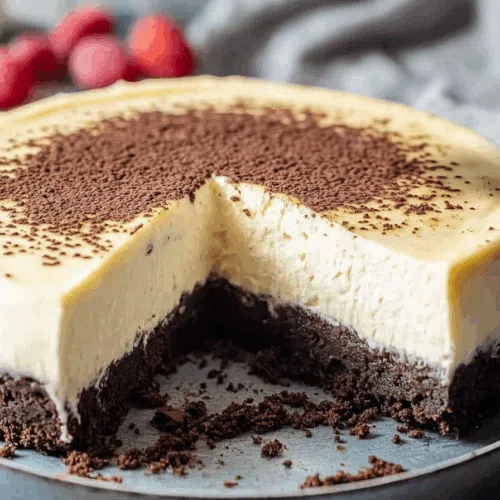
Rich brownie base meets creamy cheesecake in this dreamy Brownie Bottom Cheesecake. Made with brownie mix, cream cheese, and sour cream.
Okay. So, let’s talk about cheesecake. And brownies. Specifically: when you can’t, for the life of you, pick between them. If you’ve ever stared at a dessert menu like it was a life-altering decision, you get it. There I was, at this tiny local café last fall, chilly air coming in from the door every time someone walked in, and I was deadlocked between a slice of New York-style cheesecake and this dense, gooey brownie that looked like it could ruin all my good intentions.
So I asked the server, “Okay, real talk… if you had to pick one?”
And she didn’t even hesitate—“Oh, I’d stack ‘em.”


It was like lightning. Why not stack them?
That’s how this Brownie Bottom Cheesecake came into my life, and it hasn’t left since. It’s unapologetically rich. It’s a little over-the-top. And honestly? It’s the dessert I make when I need something that feels like a celebration—even if that “celebration” is just surviving Monday without screaming into a pillow.
Why You’ll Love This Brownie Bottom Cheesecake Recipe?
Imagine the fudgiest brownie base—like the kind that clings to the fork just a little—and then you layer on this cloud of creamy, slightly tangy cheesecake. It bakes up in a single pan, cools overnight, and the result is something that feels like a bakery special but came from your kitchen in fuzzy socks and a messy bun.
I’m not exaggerating when I say it’s been requested at more birthdays and holiday dinners than I can count. And here’s the kicker: it uses a box brownie mix. Yup. No shame. You can absolutely make homemade brownie batter if you’re feeling extra, but honestly? Nobody’s complaining either way when they take a bite of this.
Ingredient Notes:
Let’s keep this honest. You don’t need anything fancy to make Brownie Bottom Cheesecake happen. And if you do want to dress it up, I’ve got options.
-
Brownie Mix (10 oz, 8×8 pan size): Grab your favorite. I’ve used Ghirardelli and the cheap store brand and both worked like a charm. Just prep it as directed and pour it into a springform pan.
-
Cream Cheese (3 x 8 oz blocks): Full fat. None of that “light” nonsense. You want it room temp so it blends nice and smooth. I’ve learned that the hard way.
-
Sugar (¾ cup): Enough to sweeten the cheesecake but not make your teeth sing.
-
Vanilla Extract (1 tsp): I sometimes eyeball this. No regrets.
-
Sour Cream (½ cup): Adds that rich, tangy vibe that sets this apart from the overly sweet stuff.
-
Eggs (3): Room temp is ideal, but if you forget (which I do constantly), just run them under warm water for a minute.
How To Make Brownie Bottom Cheesecake?
Step 1: Start with the brownie base.
Preheat your oven. Mix up your brownie batter according to the box (you know the drill), then pour it into a greased 9-inch springform pan. Yep, even the sides. Bake it as directed for an 8×8 pan, then let it cool just slightly while you make the cheesecake part.
Step 2: Make the cheesecake filling.
In a big bowl—ideally one that doesn’t wobble when your mixer hits full speed—beat the cream cheese, sugar, and vanilla until smooth. Add the sour cream, beat again, then add your eggs one at a time. Don’t overmix once the eggs are in. Just blend enough so you don’t see streaks. This part always feels weirdly calming to me.
Step 3: Pour it on and bake.
Gently pour the cheesecake filling over the brownie base. Smooth the top. If you’re using a silver pan, bake at 325°F for about an hour. If you’re using a dark nonstick one, lower it to 300°F. You’re looking for the center to still have a little jiggle—like Jello that’s almost set.
Step 4: Cool slowly.
Once out of the oven, run a knife around the edges right away—this helps it settle without cracking. Let it cool completely on the counter, then refrigerate at least 4 hours (overnight is even better). Waiting is hard. I know. But it’s worth it.
Want To Save This Recipe?
Storage Options:
Cover it and keep it in the fridge for up to 5 days. It actually tastes better after a day, I swear. For freezing, slice it, wrap each piece in plastic and foil, and freeze up to 2 months. Defrost in the fridge overnight and you’re back in business.
Variations and Substitutions:
-
Gluten-Free? Use a gluten-free brownie mix. Everything else is already naturally gluten-free.
-
Add chocolate chips: To the brownie mix. Or the cheesecake. Or both. You do you.
-
Swirl in jam: A few spoonfuls of raspberry or strawberry jam on top before baking adds a fancy flair.
-
Make it mocha: Add espresso powder to the brownie batter for a coffee kick. Game changer.
What to Serve with Brownie Bottom Cheesecake?
-
Berries: Strawberries, raspberries—whatever you’ve got.
-
Whipped cream: Because why not go all out?
-
Coffee: A strong, dark roast. Trust me on this.
-
Vanilla ice cream: Over the top? Yep. Totally worth it.
Frequently Asked Questions:
Can I use homemade brownie batter?
Of course. Just make sure it’s for an 8×8 pan so the proportions work. I’ve done both ways, and no one’s ever complained.
It cracked—what did I do wrong?
Maybe nothing! Cheesecake cracks sometimes. It’s part of its charm. Slap some whipped cream on it and no one will care.
Do I really need to chill it overnight?
Honestly? Yes. The texture is way better. But I’ve also snuck slices early and lived to tell the tale.
This Brownie Bottom Cheesecake is more than just a dessert—it’s a moment. The kind of thing you make when you want to treat yourself, or someone else, or you just need a slice of something really good. It’s soft, it’s rich, it’s not too sweet, and it tastes like the kind of memory you want to share.
Try it. Make it your own. And if you do, tell me how it goes—especially if you’ve got a wild variation I should try next. This dessert is basically my love language.
Keep the Flavor Coming – Try These:


Brownie Bottom Cheesecake
Ingredients
- 1 10 oz package brownie mix, suitable for an 8x8 inch pan
- 3 8 oz packages full-fat cream cheese, softened
- ¾ cup granulated sugar
- 1 teaspoon pure vanilla extract
- ½ cup sour cream
- 3 large eggs
Instructions
Prepare the Brownie Base:
- Preheat the oven according to the instructions on your boxed brownie mix. Prepare the brownie batter as directed for an 8x8 inch pan. Grease a 9-inch springform pan thoroughly and pour the prepared batter into the bottom. Bake as directed on the package. Remove from oven and allow to cool slightly while preparing the cheesecake layer.
Prepare the Cheesecake Filling:
- In a large mixing bowl, beat the softened cream cheese, granulated sugar, and vanilla extract with an electric mixer on medium speed until smooth and creamy. Add the sour cream and blend until fully incorporated.
Add Eggs and Blend:
- Add the eggs one at a time, mixing on low speed just until combined after each addition. Avoid overmixing to prevent incorporating excess air.
Assemble and Bake:
- Carefully pour the cheesecake mixture over the slightly cooled brownie base in the springform pan. Smooth the top with a spatula. If using a silver springform pan, bake at 325°F (163°C) for 60–65 minutes, or until the center is nearly set. If using a dark nonstick springform pan, reduce the oven temperature to 300°F (149°C) and bake for the same duration.
Cool and Chill:
- Once baking is complete, run a knife or metal spatula around the edge of the pan to loosen the cheesecake from the sides. Allow it to cool to room temperature, then refrigerate for at least 4 hours, or preferably overnight, before removing the springform ring and serving.
Notes
I’m Bitty, owner of nodashofgluten.com, where I share simple, delicious recipes for all tastes, including gluten-free. Check out my “About Me” page for more info!

