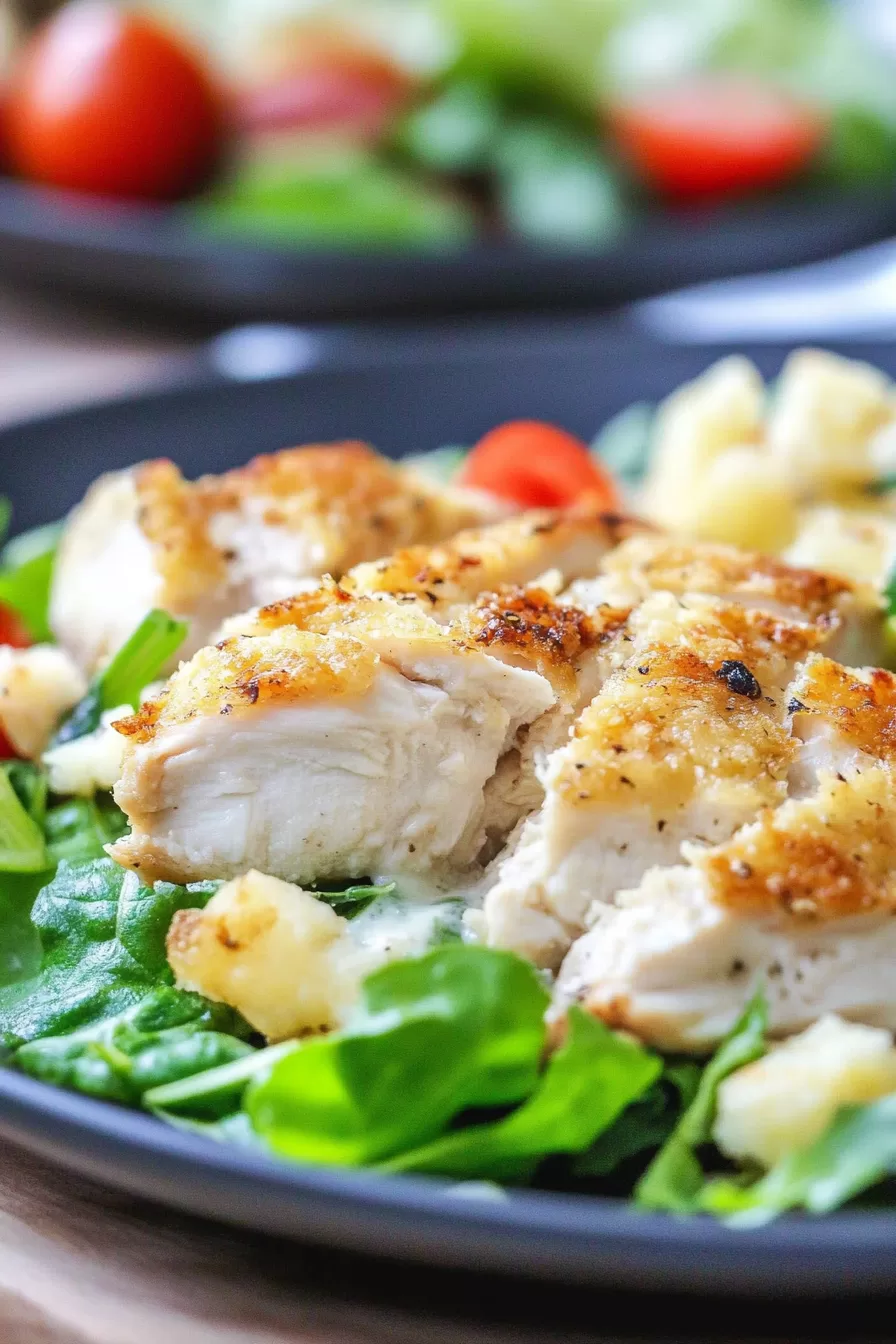
Juicy Baked Caesar Chicken with Parmesan, Caesar dressing, and sour cream. A creamy, cheesy, and effortless dinner ready in 40 minutes!

Okay, confession time. I discovered this Baked Caesar Chicken recipe during one of those weeks where everything felt like a chore. You know the kind, right? The kind where even deciding what to eat feels like running a marathon? Well, let me tell you, this recipe saved my sanity.
I remember rummaging through my fridge, staring at some chicken breasts and an almost-empty bottle of Caesar dressing. I thought, “What’s the worst that could happen?” A quick mix of a few ingredients, a sprinkle of Parmesan, and a dash of hope later, the kitchen smelled like heaven.
When I pulled the dish out of the oven and my family took their first bites, I actually got a round of applause (which never happens, by the way). Now, this dish has become our go-to comfort food, especially on those crazy-busy weeknights.
Why You’ll Love This Baked Caesar Chicken Recipe?
- Ridiculously Easy: If you can mix, pour, and bake, you can make this. No culinary degree required.
- Rich, Creamy Flavor: The Caesar dressing and Parmesan combo is basically magic.
- Picky-Eater Approved: Even the kids who normally turn up their noses at “fancy” food love it.
- Perfect for Any Occasion: It’s quick enough for a weeknight but impressive enough for guests.
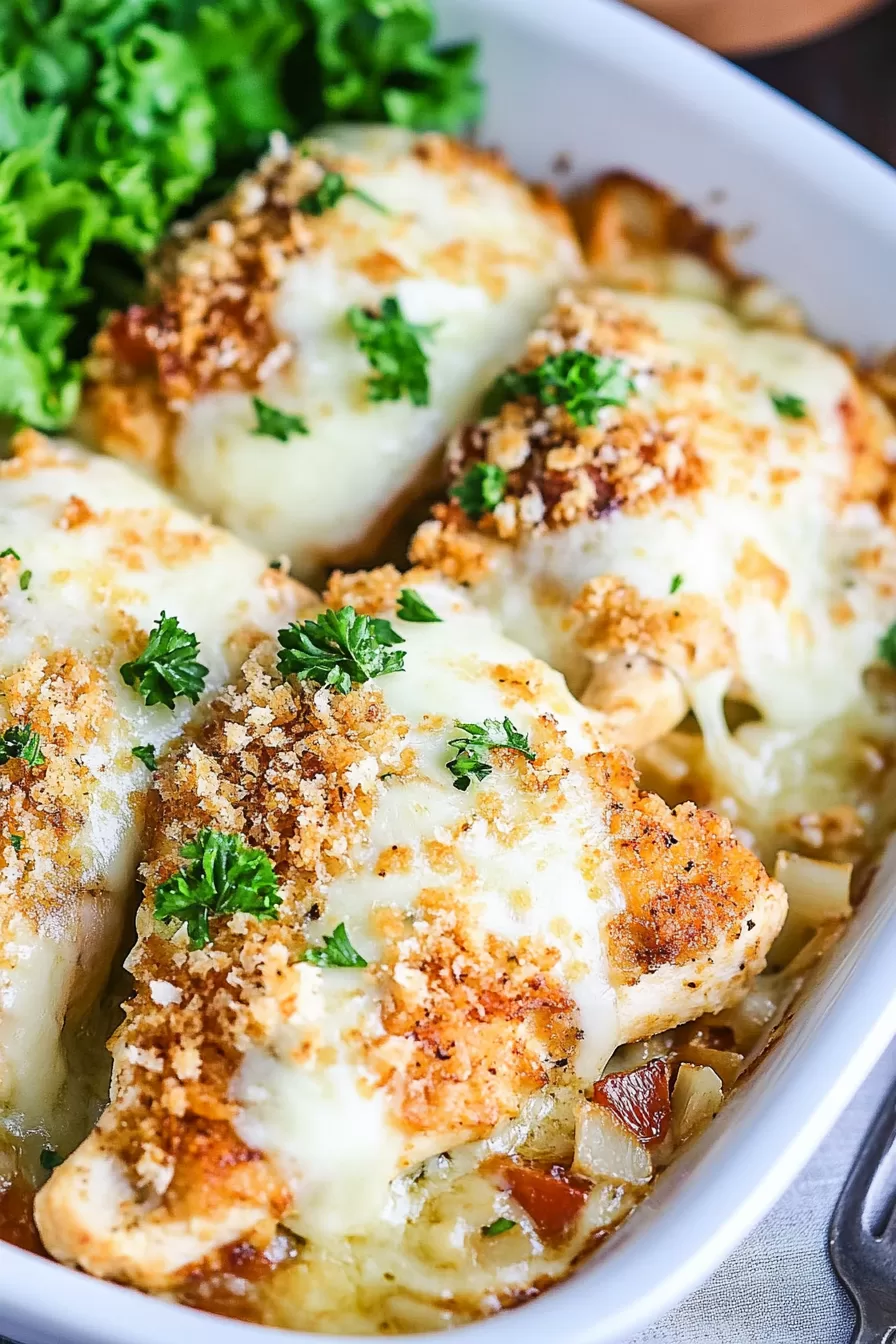
Ingredient Notes:
This recipe is all about keeping things simple while delivering big flavor. Here’s the lowdown:
- Chicken Breasts: Boneless and skinless work best. Pound them to an even thickness for perfect cooking.
- Parmesan Cheese: Freshly grated is a must. The pre-shredded stuff? Skip it—it won’t melt as well.
- Caesar Dressing: Use a good-quality creamy dressing. Homemade? Even better.
- Sour Cream (Optional): Adds a little extra creaminess, but you can leave it out if you prefer.
- Black Pepper: Freshly ground for that perfect finishing touch.
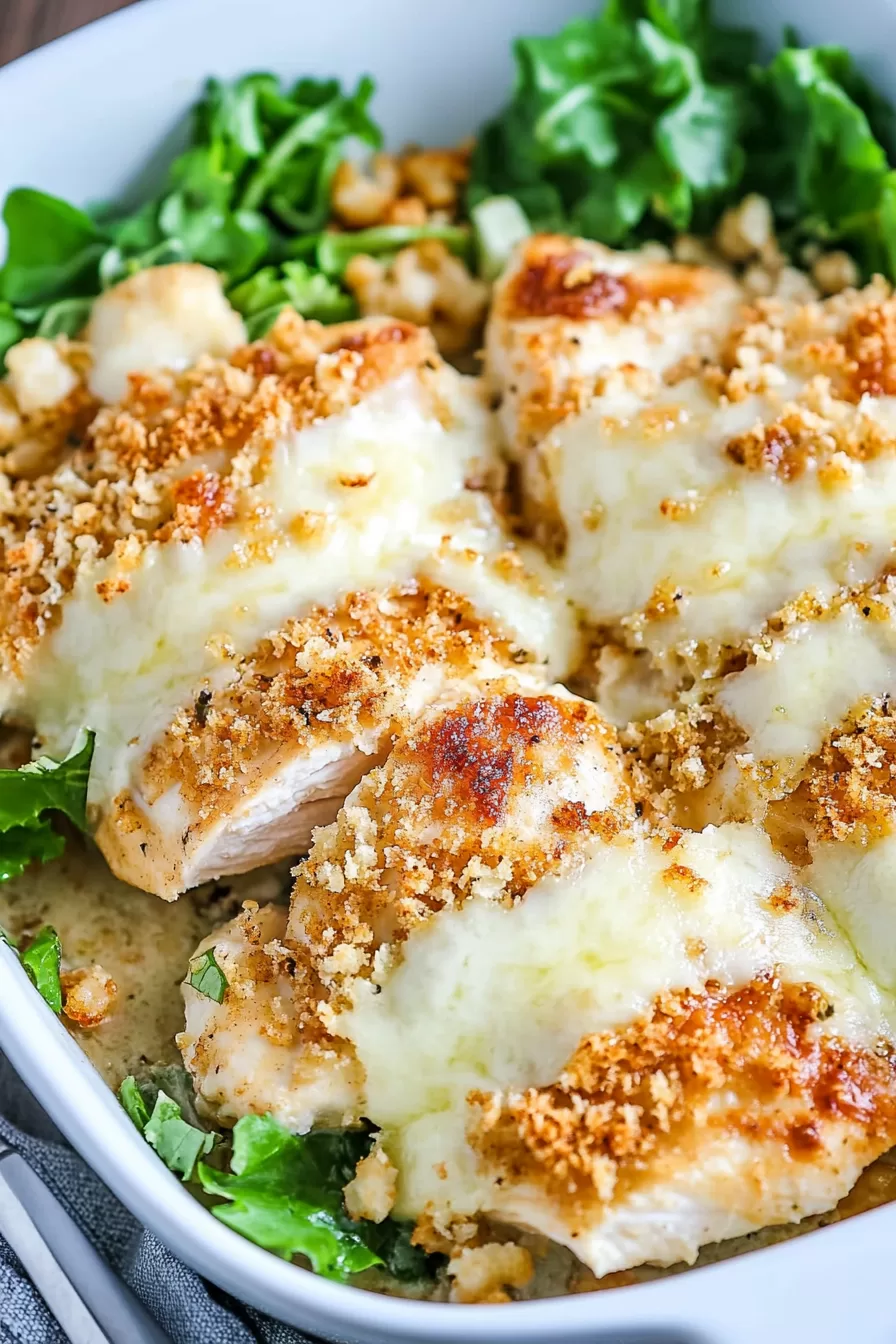
How To Make Baked Caesar Chicken?
Step 1: Preheat and Prep
First things first, preheat your oven to 375°F (190°C). Lightly coat a baking dish with nonstick spray. (Trust me, it makes cleanup so much easier.)
If your chicken breasts are on the thicker side, pound them to about ¾-inch thick. This step ensures they cook evenly and stay juicy.
Step 2: Season the Chicken
Lay the chicken breasts in the baking dish. Sprinkle one cup of Parmesan cheese and some freshly ground black pepper over both sides. You’re already halfway to flavor town.
Step 3: Mix the Sauce
In a small bowl, whisk together the Caesar dressing and sour cream. Pour this creamy mixture over the chicken, making sure every piece gets a good coating. Sprinkle the remaining Parmesan cheese over the top.
Step 4: Bake It Up
Pop the dish into the oven and bake for about 30 minutes. You’ll know it’s ready when a meat thermometer reads 150°F (65°C).
Step 5: Broil for the Perfect Finish
Switch your oven to broil and let the chicken cook for another 2-4 minutes. Keep a close eye on it—you’re aiming for golden-brown, not charred!
Want To Save This Recipe?
Enter your email below and we'll send the recipe straight to your inbox.
Step 6: Let It Rest
Once out of the oven, cover the dish with foil and let the chicken rest for 5-10 minutes. This step locks in all those juices and flavors.
Step 7: Serve and Savor
If you’re feeling fancy, garnish with freshly chopped parsley. Serve warm and watch your family devour it!
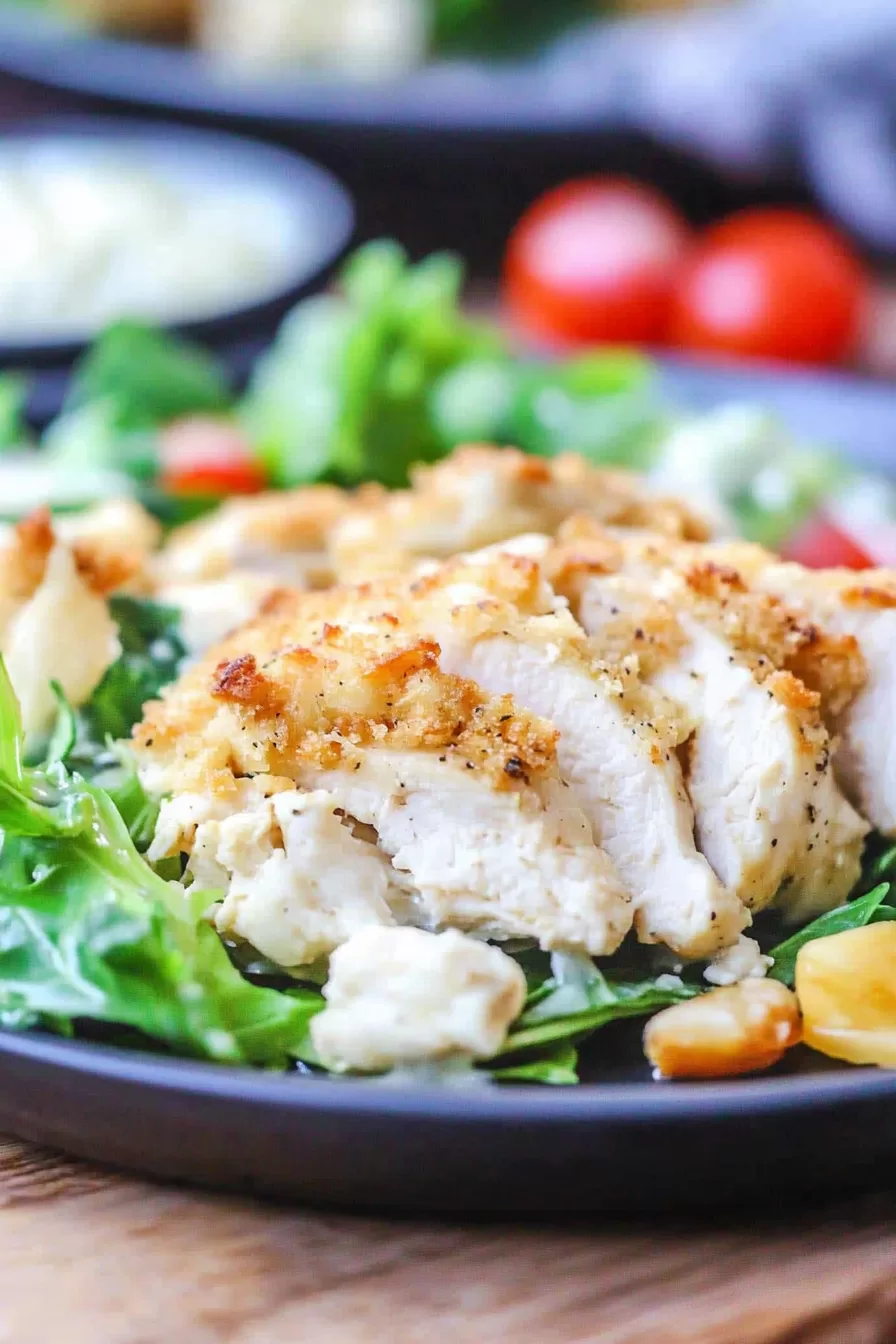
Storage Options:
- In the Fridge: Store leftovers in an airtight container for up to 3 days.
- In the Freezer: Freeze for up to 2 months. Thaw overnight in the fridge before reheating.
- Reheating Tips: Use the oven at 350°F (175°C) to keep it moist. Microwaving works too, but it might dry out a bit.
Variations and Substitutions:
- Switch Up the Protein: Chicken thighs or even pork chops work beautifully here.
- Cheese Swaps: No Parmesan? Mozzarella, Asiago, or even Gruyere will work.
- Add Veggies: Toss in some cherry tomatoes or broccoli for a one-pan meal.
- Lighter Option: Swap sour cream for Greek yogurt to cut calories without losing flavor.
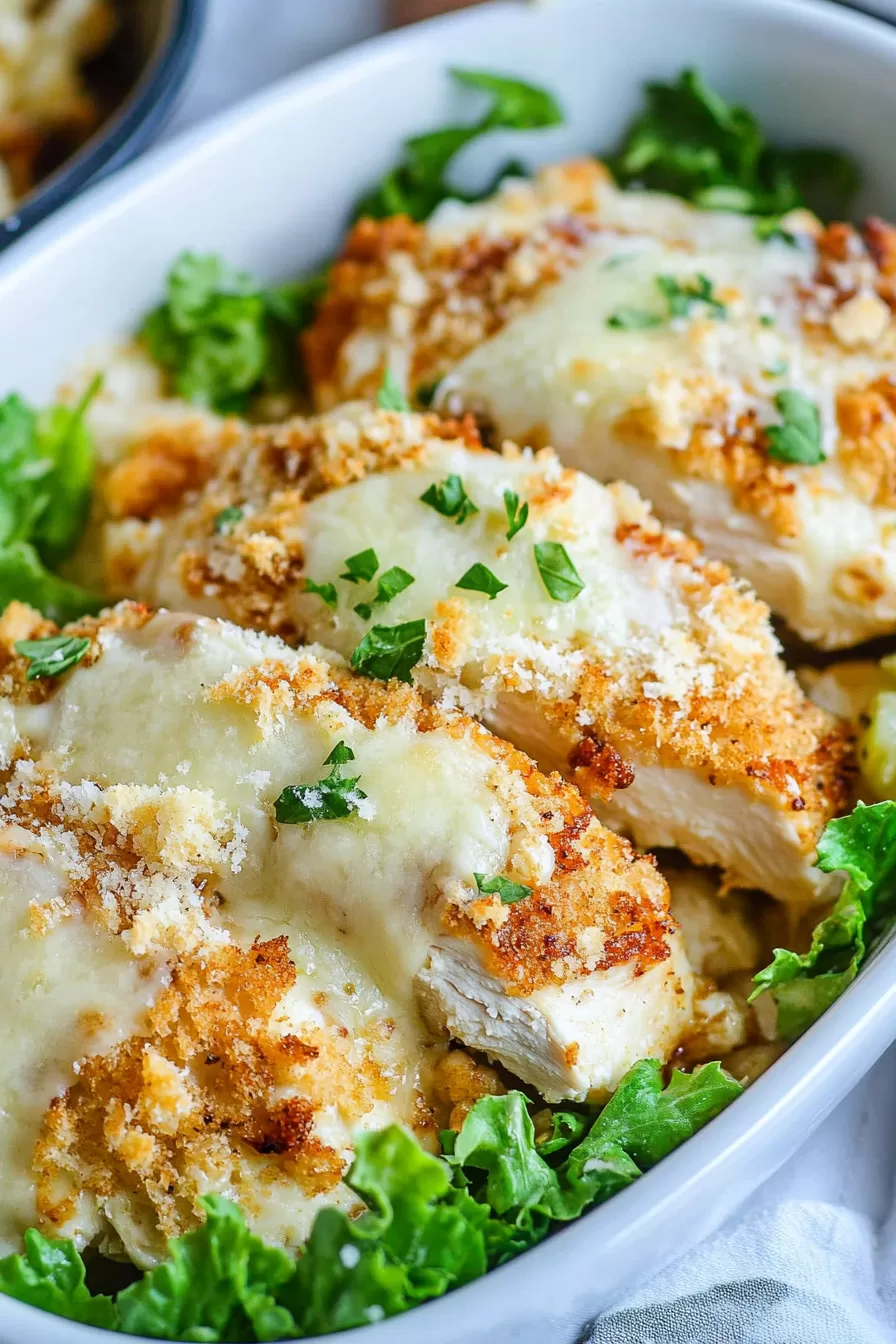
What to Serve with Baked Caesar Chicken?
This dish is super versatile, so you can pair it with almost anything. Here are my faves:
- Garlic Mashed Potatoes: Because creamy chicken deserves a creamy side.
- Steamed Veggies: Broccoli or green beans are simple and perfect.
- Crispy Garlic Bread: For soaking up every drop of that cheesy sauce.
Frequently Asked Questions:
Can I use chicken thighs instead of breasts?
Absolutely! Just adjust the cooking time since thighs take a little longer to cook.
Do I have to use sour cream?
Nope! You can skip it or swap it for Greek yogurt if you want a tangy twist.
How do I know the chicken is done?
Use a meat thermometer. The internal temp should be 165°F (74°C) for perfectly cooked chicken.
So, what do you think? Ready to whip up this Baked Caesar Chicken? It’s quick, easy, and guaranteed to impress. I’d love to hear how it turns out for you—leave a comment or snap a pic and share your creation!
<Remember it later>
Planning to try this recipe soon? Pin it for a quick find later!
<Remember it later>
Planning to try this recipe soon? Pin it for a quick find later!

Baked Caesar Chicken
Ingredients
- Chicken Breasts: 4 boneless skinless pieces
- Parmesan Cheese: 1 ½ cups freshly grated, divided
- Black Pepper: ½ teaspoon freshly ground
- Caesar Salad Dressing: 1 cup store-bought or homemade
- Sour Cream: ½ cup optional
Instructions
Preheat the Oven
- Preheat your oven to 375°F (190°C). Lightly grease an 8×11½-inch baking dish with nonstick cooking spray to prevent sticking.
Prepare the Chicken
- If the chicken breasts are uneven in thickness, place them in a resealable plastic bag and use a meat mallet to pound them to a uniform thickness of ¾ to 1 inch. This ensures even cooking.
Season the Chicken
- Sprinkle 1 cup of grated Parmesan cheese and freshly ground black pepper over both sides of the chicken breasts. Arrange the seasoned chicken in the prepared baking dish.
Mix the Sauce
- In a small mixing bowl, whisk together the Caesar dressing and sour cream (if using). Pour this creamy mixture evenly over the chicken breasts.
Add the Topping
- Sprinkle the remaining ½ cup of Parmesan cheese over the top of the chicken to create a flavorful crust.
Bake the Chicken
- Place the dish in the preheated oven and bake for approximately 30 minutes. Use a meat thermometer to ensure the internal temperature of the chicken reaches 150°F (65°C).
Broil for Crispness
- Switch your oven to the broil setting and continue cooking for an additional 2-4 minutes, or until the top turns golden brown. Be sure to monitor closely to avoid burning.
Rest the Chicken
- Remove the dish from the oven and loosely cover it with aluminum foil. Allow the chicken to rest for 5-10 minutes to retain its juices and enhance its flavor.
Serve
- Garnish the chicken with freshly chopped parsley for a vibrant touch before serving. Serve warm and enjoy.
Notes

I’m Bitty, owner of nodashofgluten.com, where I share simple, delicious recipes for all tastes, including gluten-free. Check out my “About Me” page for more info!


