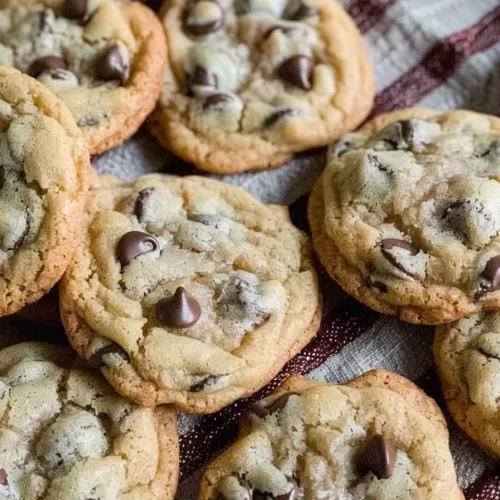
Thick, chewy milk chocolate chip cookies made with butter, brown sugar, vanilla, and milk chocolate chips for the perfect balance of gooey centers and crisp edges.
I’m gonna be real with you—these cookies weren’t born out of some fancy recipe test. Nope. They were a crisis bake.

You know the kind? That random Thursday when the day felt off? I was already stress-cleaning the kitchen, so I figured, why not bake? I wanted comfort—and nothing comforts quite like milk chocolate chip cookies.
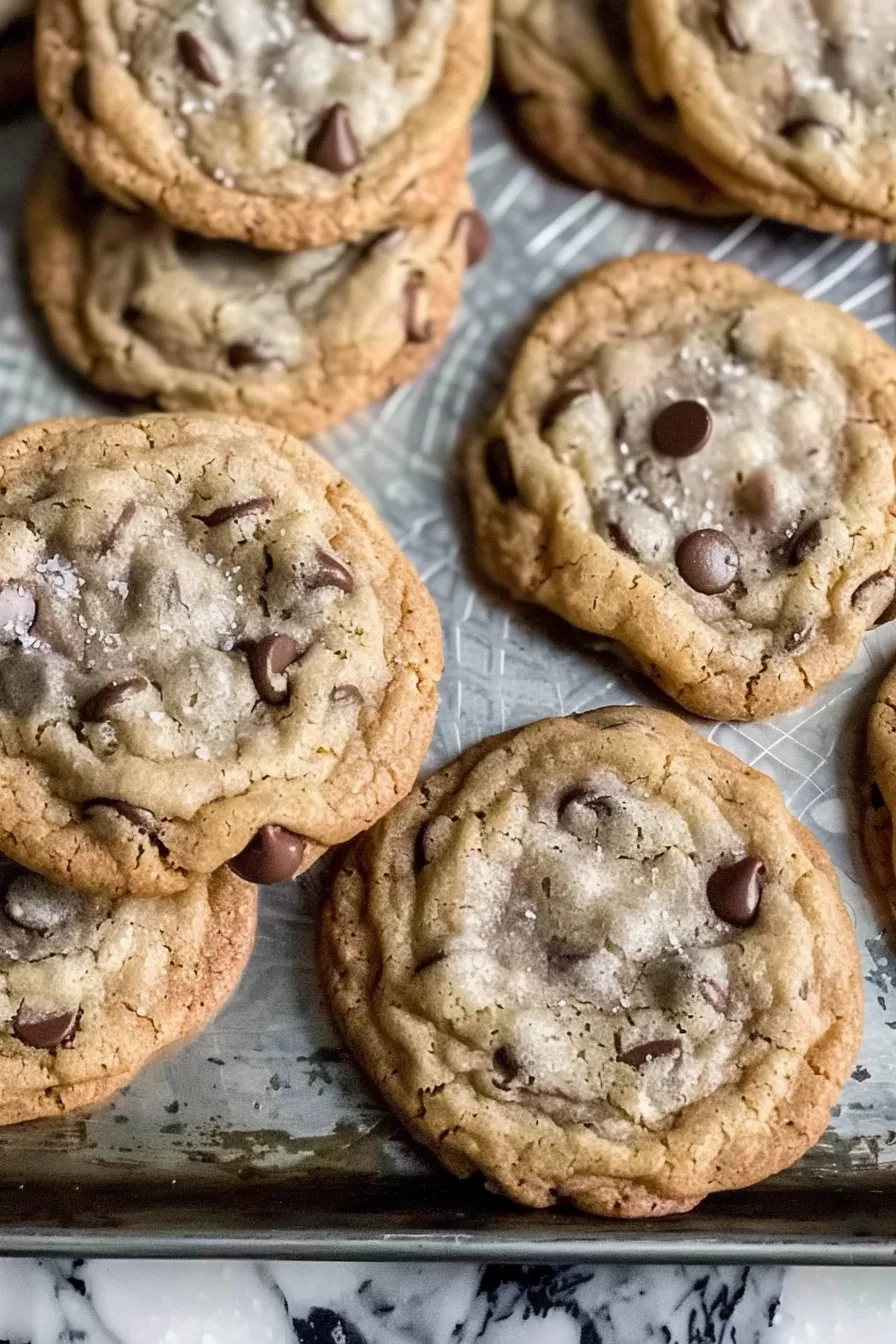
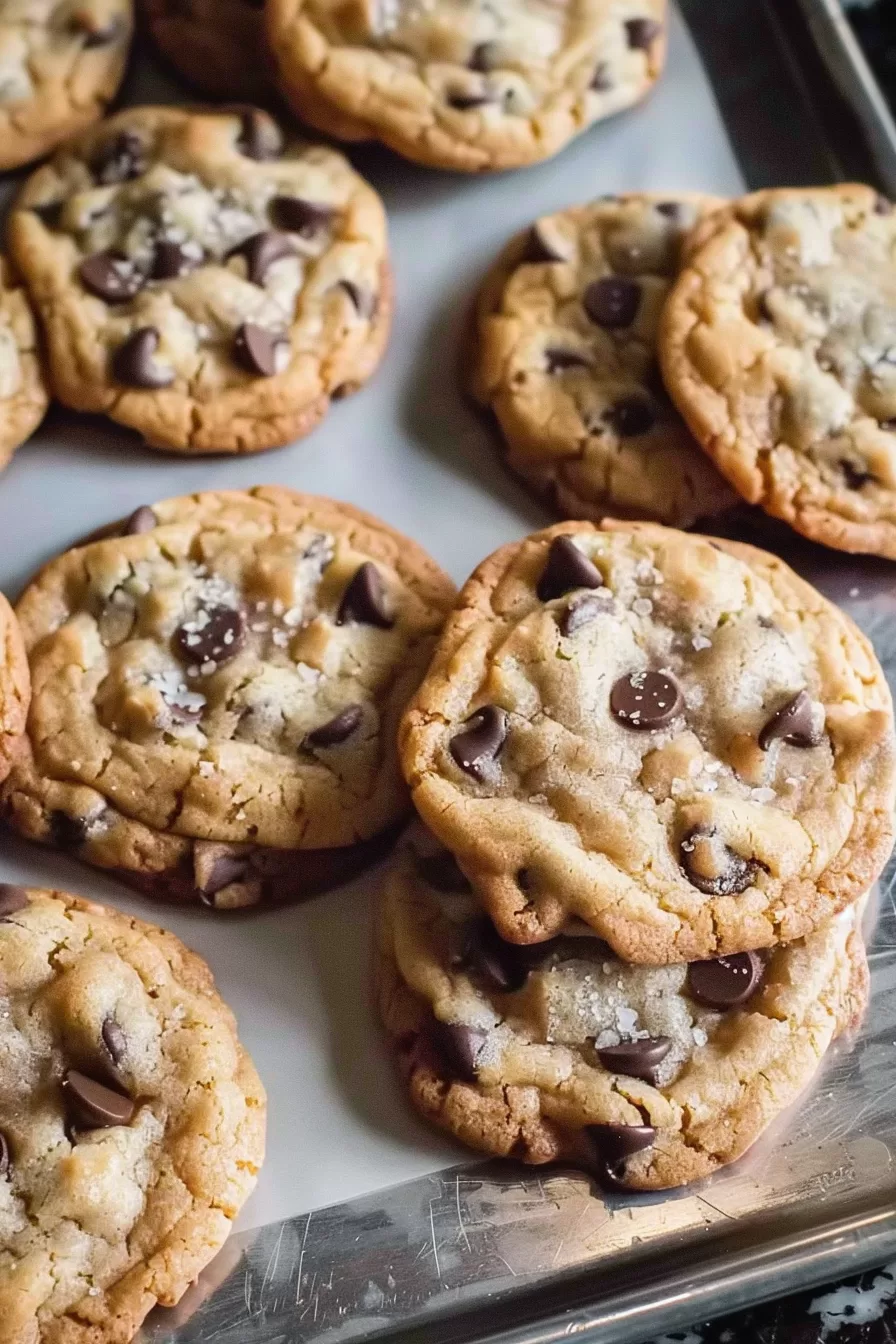
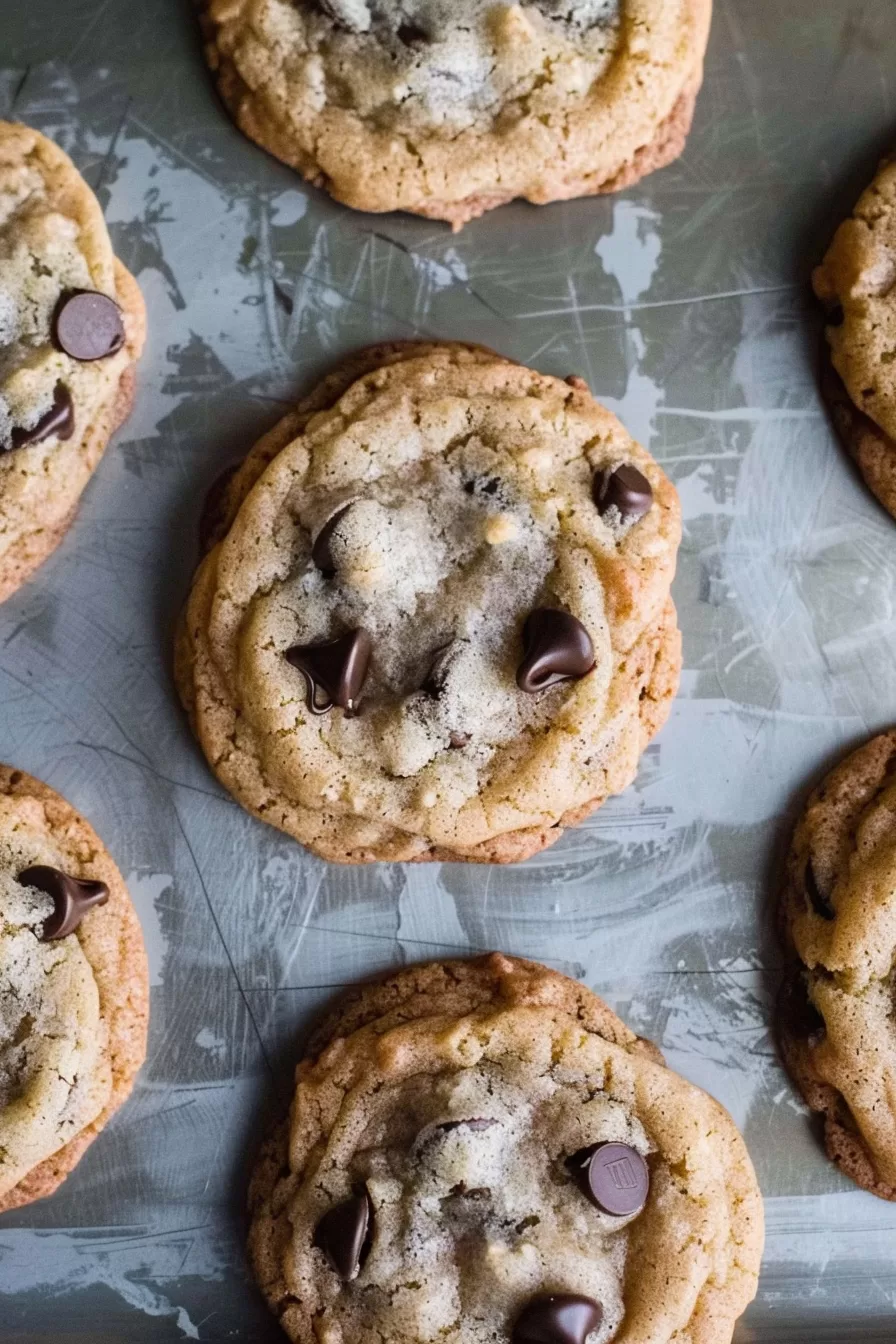
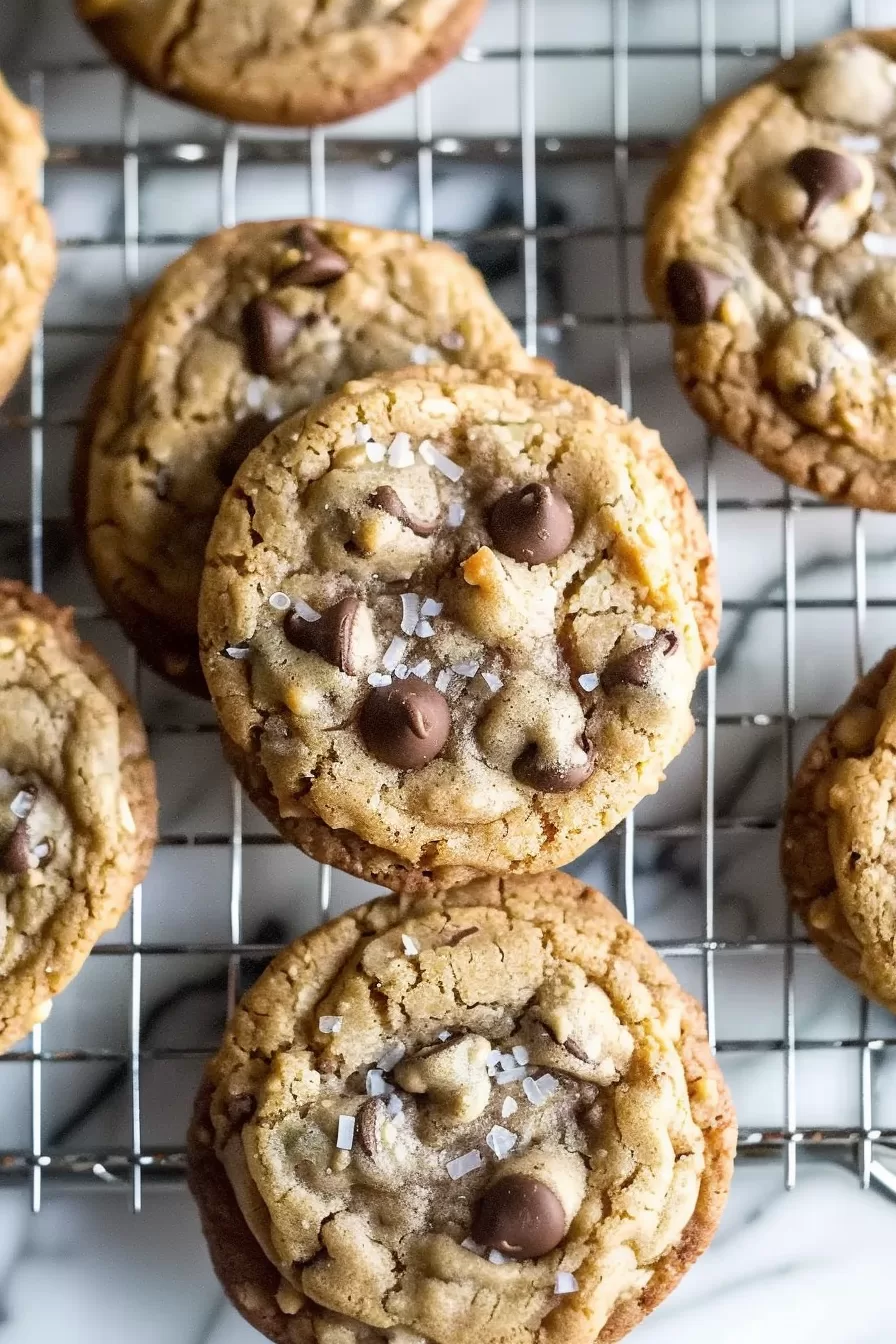
What I didn’t expect was how perfect they’d turn out. The butter? Rich and golden. The brown sugar? Made the edges caramelized just enough. And the milk chocolate? Don’t even get me started—it pooled into these melty, chocolatey puddles. I pulled them out of the oven, sprinkled a little flaky salt on top, and let’s just say… only half the batch made it to the cooling rack.
Now, these cookies have become my go-to. Whether I’m stress-baking, holiday gifting, or just craving something sweet—these cookies always hit the spot. And trust me, you’ll want to make them too.
Why You’ll Love This Milk Chocolate Chip Cookies Recipe?
- Chewy, Gooey Perfection: Think bakery-style—crisp edges, soft, thick centers.
- Ridiculously Easy: No chilling (unless you wanna). No special tools. Just real ingredients.
- Sweet Milk Chocolate Goodness: If dark chocolate feels a little too intense sometimes, this is your softer, creamier fix.
- Sea Salt Sprinkle: Is it necessary? No. Does it make them unforgettable? 100% yes.
- Great for Any Occasion: Bake sale? Date night? Just a Tuesday? These fit all the vibes.
Ingredient Notes:
Good cookies start with good ingredients—basic, but true. Here’s what makes the difference:
- Butter: Real, unsalted butter. Cut it into cubes so it creams more evenly.
- Brown Sugar: Adds moisture and that almost caramel-like depth. Light brown works best here.
- Granulated Sugar: Balances the sweetness and helps those edges crisp up.
- Eggs: Two large ones. Room temp is best—it helps everything blend better.
- Vanilla Extract: Don’t skip this. The warm, cozy flavor ties it all together.
- All-Purpose Flour + Cake Flour: Yep, both. Cake flour makes them tender, all-purpose keeps them sturdy.
- Cornstarch: The chewiness MVP. A tiny bit keeps the centers extra soft.
- Baking Soda: Just the right lift—no puffball cookies here.
- Salt: Balances the sweetness. Always.
- Milk Chocolate Chips & Chunks: Use both if you can! Chips give consistent chocolate, while chunks melt into gooey puddles.
- Sea Salt Flakes: Totally optional, but highly recommended for that sweet-salty bliss.
How To Make Milk Chocolate Chip Cookies?
This process is pretty chill. Nothing complicated—just classic cookie magic.
Step 1: Cream the Butter and Sugars
Start with the butter. Cube it, toss it in the mixer (or grab a bowl if you’re old-school like me). Add the brown sugar and granulated sugar, and beat them together for 3-4 minutes until it looks pale and fluffy.
Why so long? Because the air you whip in now gives you those soft, thick centers later. Trust the process.
Step 2: Mix in the Eggs and Vanilla
Crack in those eggs—one at a time. Mix after each, then pour in the vanilla.
Pro Tip: If your eggs are fridge-cold, soak them in warm water for 5 minutes. It helps everything blend better.
Step 3: Add the Dry Ingredients
In a separate bowl, whisk together the all-purpose flour, cake flour, cornstarch, baking soda, and salt. Slowly mix it into the wet ingredients—just until combined.
Don’t overmix! The dough should look soft, not overworked.
Step 4: Stir in the Chocolate
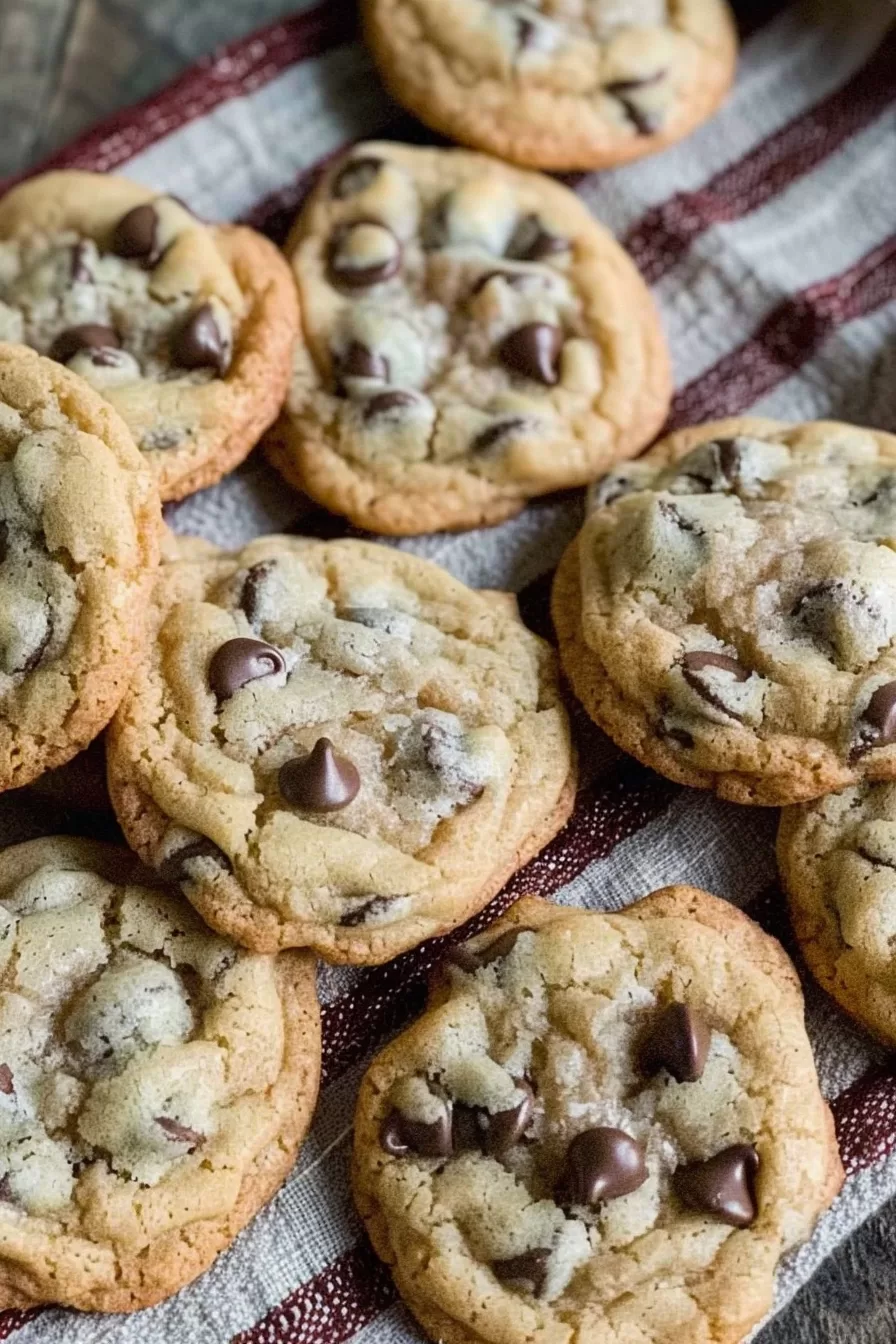
Gently fold in the milk chocolate chips and chunks. No need to be fancy here. If you want that “bakery-style look,” set a few chunks aside to press on top of the dough balls later.
Want To Save This Recipe?
Enter your email below and we'll send the recipe straight to your inbox.
Step 5: Chill (Optional)
If you’ve got the patience (which… I rarely do), chill the dough for an hour or even overnight. Chilling = thicker cookies and deeper flavor. But you can skip it if you’re in a cookie emergency.
Step 6: Roll and Bake
Preheat your oven to 395°F (yes, that specific). Roll the dough into big balls—about the size of a golf ball. Press a few extra chocolate chunks on top for that fancy look.
Bake for 9-11 minutes. You want golden edges but a soft, slightly underbaked center. That carryover heat will finish the job.
Step 7: Sprinkle with Salt (Trust Me)
As soon as they’re out of the oven, hit them with a sprinkle of sea salt flakes. It’s that final, magical touch.
Step 8: Cool (If You Can Wait)
Let the cookies sit on the baking sheet for 10 minutes before transferring them to a wire rack.
They firm up as they cool—so don’t panic if they look soft right out of the oven!
Storage Options:
- Room Temp: Store in an airtight container for up to 4 days. (They won’t last that long, let’s be real.)
- Fridge: Chill the dough for up to 48 hours before baking for even richer flavor.
- Freezer: Freeze dough balls for up to 3 months. Bake straight from frozen—just add 2 minutes to the baking time.
Variations and Substitutions:
- Dark Chocolate: Swap milk chocolate for dark if you love that bittersweet vibe.
- Nuts: Add chopped walnuts or pecans for a little crunch.
- Extra Mix-Ins: Try toffee bits, shredded coconut, or white chocolate chunks.
- Gluten-Free: Use a 1:1 gluten-free flour blend—still chewy, still perfect.
What to Serve with Milk Chocolate Chip Cookies?
You really can’t go wrong here, but just in case you’re feeling fancy:
- A Tall Glass of Milk: Because, obviously.
- Vanilla Ice Cream: Cookie sandwich, anyone?
- Espresso: Sweet + bitter = perfection.
Frequently Asked Questions:
Why use both all-purpose and cake flour?
Cake flour keeps the cookies soft, while all-purpose adds structure. The combo? Chef’s kiss.
Do I really need to chill the dough?
Nope! But chilling gives you thicker, chewier cookies. So if you’ve got time—go for it.
Can I freeze the dough?
Yes! Roll the dough into balls, freeze them on a sheet, then store in a freezer bag. Bake from frozen when cravings hit.
Alright, your turn! Bake these cookies, and I dare you not to eat half the batch straight from the pan. Let me know how they turn out—did you try a fun twist? Add extra chocolate? Spill the details in the comments!
<Remember it later>
Planning to try this recipe soon? Pin it for a quick find later!
<Remember it later>
Planning to try this recipe soon? Pin it for a quick find later!
Keep the Flavor Coming – Try These:
Milk Chocolate Chip Cookies
Ingredients
- 1 cup unsalted butter cubed
- 1 cup brown sugar
- ¾ cup granulated sugar
- 2 large eggs
- 2 tsp vanilla extract
- 2 cups all-purpose flour
- 1 cup cake flour
- ¾ tsp cornstarch
- ¾ tsp baking soda
- ½ tsp salt
- 2 cups milk chocolate chips and chunks
- Sea salt flakes optional, for garnish
Instructions
Cream the Butter and Sugars:
- In a large mixing bowl, cream together the cubed unsalted butter, brown sugar, and granulated sugar using a hand or stand mixer on medium speed. Mix for approximately 3-4 minutes, or until the mixture appears pale and fluffy. Scrape down the sides of the bowl halfway through to ensure even blending.
Incorporate the Eggs and Vanilla:
- Add the eggs, one at a time, to the butter and sugar mixture, beating well after each addition. Pour in the vanilla extract and mix for an additional minute. Scrape the sides of the bowl to ensure all ingredients are fully incorporated.
Combine the Dry Ingredients:
- In a separate bowl, whisk together the all-purpose flour, cake flour, cornstarch, baking soda, and salt. Gradually add the dry ingredients into the wet mixture, mixing just until combined. Avoid overmixing to prevent tough cookies.
Fold in the Chocolate:
- Gently fold in the milk chocolate chips and chunks using a spatula. Reserve a small handful of chocolate chips for pressing onto the top of the cookies before baking for a decorative finish.
Chill the Dough (Optional):
- For thicker cookies with a richer flavor, wrap the dough in plastic wrap and chill it in the refrigerator for at least one hour, or up to 48 hours. If baking immediately, proceed to the next step.
Preheat the Oven:
- Preheat the oven to 395°F (200°C). Line a light-colored baking sheet with parchment paper for even baking.
Shape the Cookie Dough:
- Roll the cookie dough into 4-ounce balls (approximately the size of a golf ball). Place them onto the prepared baking sheet, leaving space between each for spreading. If desired, press the reserved chocolate chips on top of each dough ball for a bakery-style appearance.
Bake:
- Bake the cookies for 9-11 minutes, or until the edges are lightly golden while the centers remain slightly underbaked. The residual heat will continue to bake the centers as they cool.
Finish with Sea Salt:
- Once out of the oven, lightly sprinkle the cookies with sea salt flakes for a sweet-salty contrast. Allow the cookies to rest on the baking sheet for 10 minutes before transferring them to a wire rack to cool completely.
Notes

I’m Bitty, owner of nodashofgluten.com, where I share simple, delicious recipes for all tastes, including gluten-free. Check out my “About Me” page for more info!


