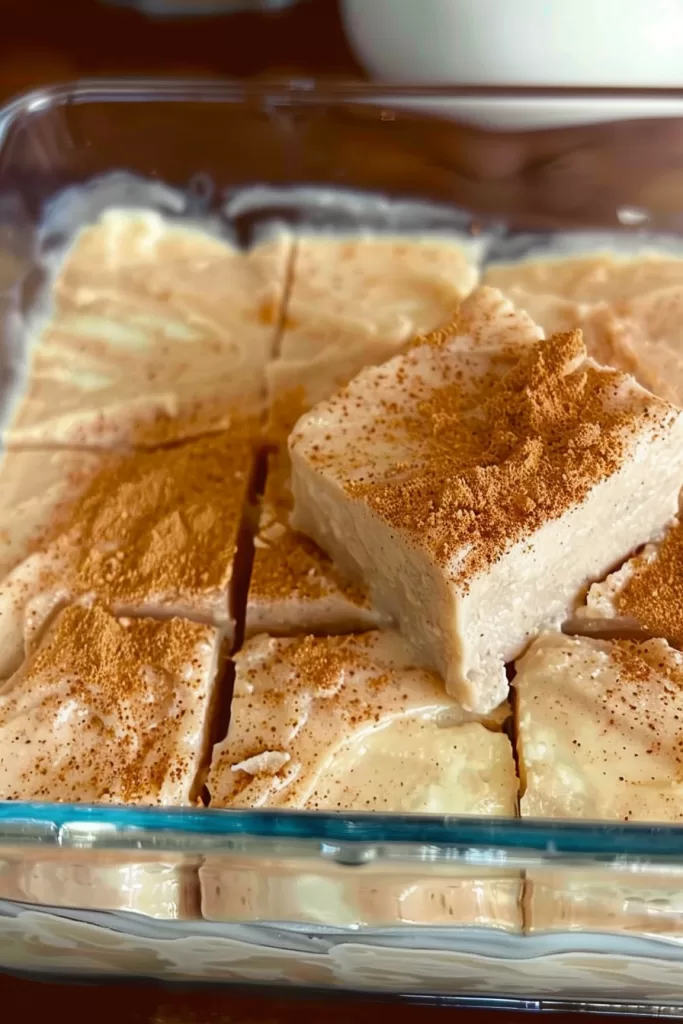
Traditional Coconut Natilla – Okay, you know how some desserts just bring back memories? That’s what this Traditional Coconut Natilla does for me. Every time I make it, I’m right back in my grandma’s kitchen, watching her work her magic on a pot of creamy, coconut goodness. She’d add just the right amount of spices – not too much, because she’d say, “Let the coconut do the talking!” I didn’t get it then, but I do now.

For me, natilla isn’t just a dessert; it’s like a piece of my childhood wrapped up in creamy, coconutty goodness. And these days, when I make it, I catch myself doing the same little things she did. Maybe it’s a tiny sprinkle more cinnamon on top, or maybe it’s just letting it sit in the fridge a few extra hours for that perfect texture. Have you ever made a dessert that just takes you back?
You’ll Love This Traditional Coconut Natilla?
- Feels Like a Warm Hug: With each bite, you get that rich coconut flavor mixed with holiday spices – it’s like wrapping up in your coziest blanket.
- Gluten-Free, Naturally: No weird flours or substitutes here, just pure coconut and creaminess. And for anyone with gluten sensitivities, it’s a total win!
- Great for Making Ahead: Natilla is actually better when it sits for a bit. You can make it a day early, and by the time you’re ready to serve, it’s all set (literally).
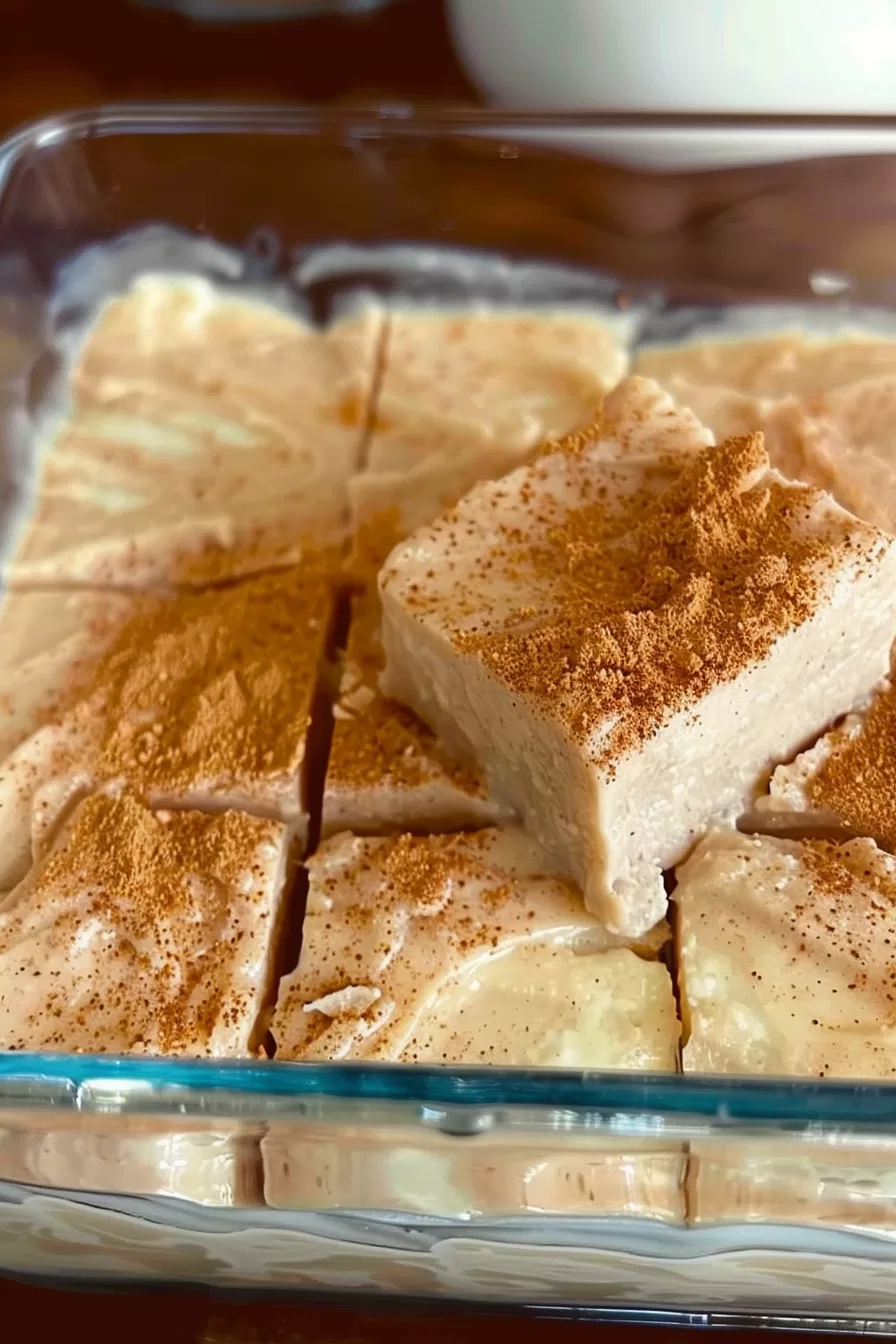
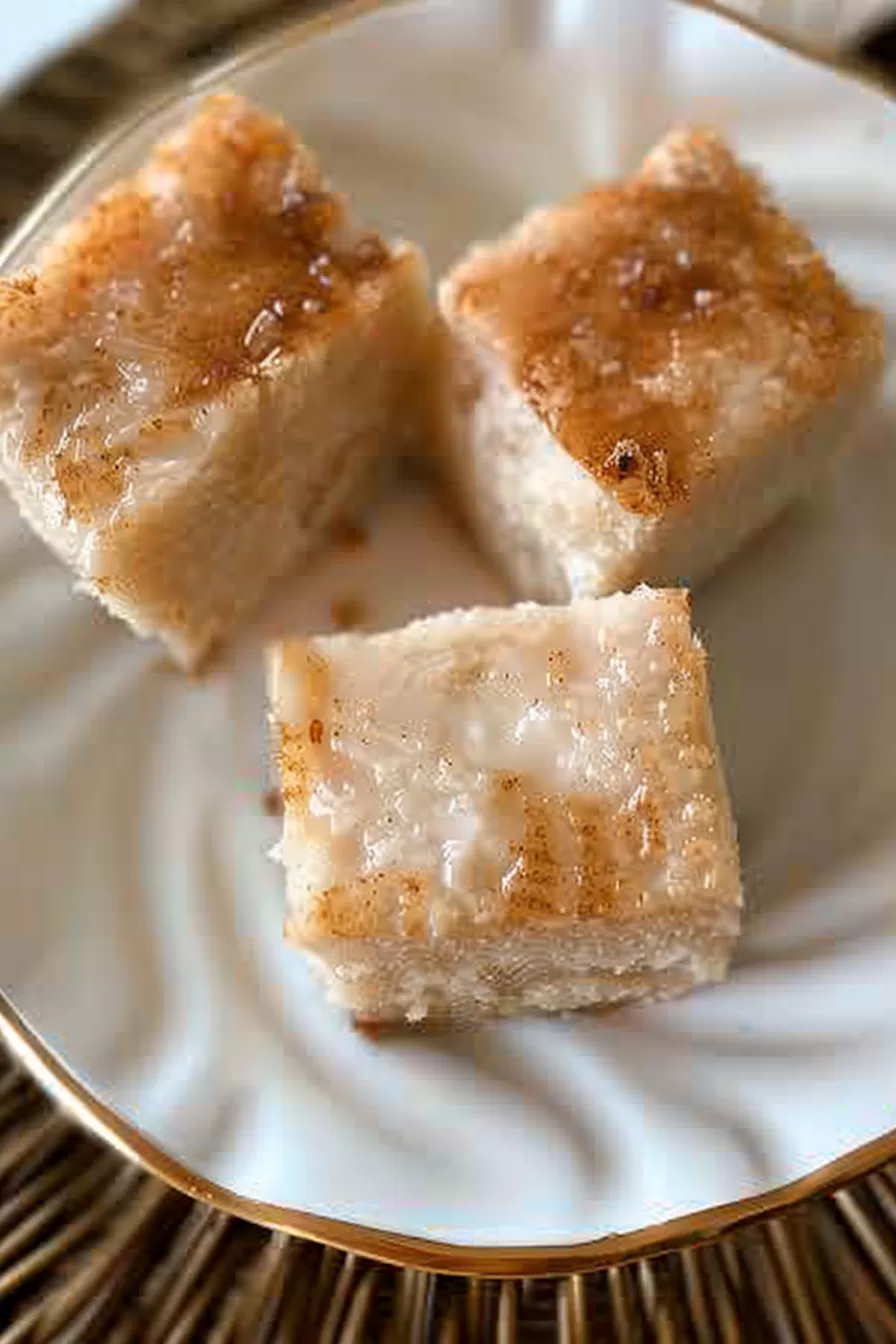
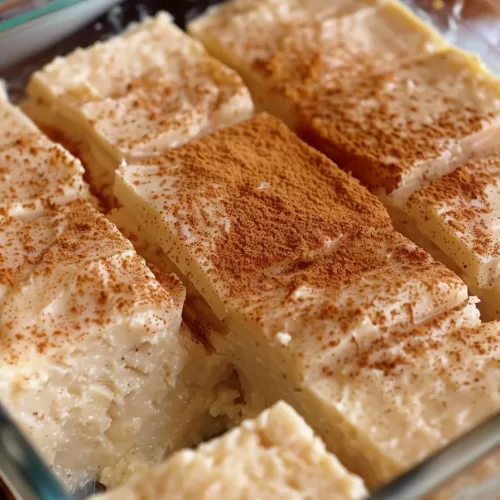
- Perfect Little Bites: Once it’s chilled, you can cut it into squares, making it easy for everyone to just grab and enjoy – no awkward spoonfuls here!
Ingredients Notes:
Let’s break down what each ingredient brings to this Traditional Coconut Natilla. Each one is key in creating that creamy, spiced, coconut magic.
- Evaporated Milk: This is the base, adding richness without making the natilla too heavy. The slight caramelized flavor really adds depth.
- Sweetened Condensed Milk: Creamy, sweet, and smooth – this is what makes the natilla feel like a dessert you’d wait all year to eat.
- Brown Sugar: It’s got that molasses thing going on, so the flavor’s a little deeper, a little richer. Kind of like how a sweater feels just a bit cozier than a t-shirt, you know?
- Ground Cloves and Nutmeg: These spices add that cozy holiday vibe, but without overpowering. A little really does go a long way here.
- Cinnamon Sticks: Using whole sticks lets the cinnamon flavor develop gently. Plus, they’re just kind of fun to drop in – feels almost ceremonial.
- Cornstarch: It’s the magic thickener that transforms the natilla into that sliceable square. No cornstarch, no natilla squares.
- Shredded Coconut: The star! Adds texture and that unmistakable coconut flavor we’re all here for.
- Ground Cinnamon: A sprinkle on top to finish – it’s pretty and adds a nice hint of spice.
How To Make Traditional Coconut Natilla?
Alright, let’s get this Traditional Coconut Natilla ready. It’s easy once you get going, and trust me, the end result is worth every stir. Here’s how to make it.
- Start with the Milks and Spices: Pour 3 cups of evaporated milk and the sweetened condensed milk into a saucepan. Add the brown sugar, cloves, nutmeg, and cinnamon sticks, then heat it all over medium-low. Keep stirring while it heats up – the smell alone will make you feel all warm and festive.
- Remove the Cinnamon Sticks: Just as it starts to boil, drop the heat and pull out the cinnamon sticks. Leaving them in too long can make the flavor bitter, and we don’t want that.
- Make the Cornstarch Slurry: In a small bowl or jar, mix the remaining 1/2 cup of evaporated milk with the cornstarch. Shake it or stir until it’s lump-free. This mixture thickens everything up and makes the natilla creamy.
- Thicken It Up: Slowly whisk the cornstarch mixture into the saucepan, then fold in the shredded coconut. Keep cooking over medium-low, stirring until it thickens to a pudding-like consistency. This part takes about 4-5 minutes – don’t rush it.
- Pour and Set: Pour the thickened mixture into an 8″x8″ baking dish, smoothing it out as you go. Let it sit at room temperature for about an hour so it can cool a bit. It might be tempting to dig in, but patience!
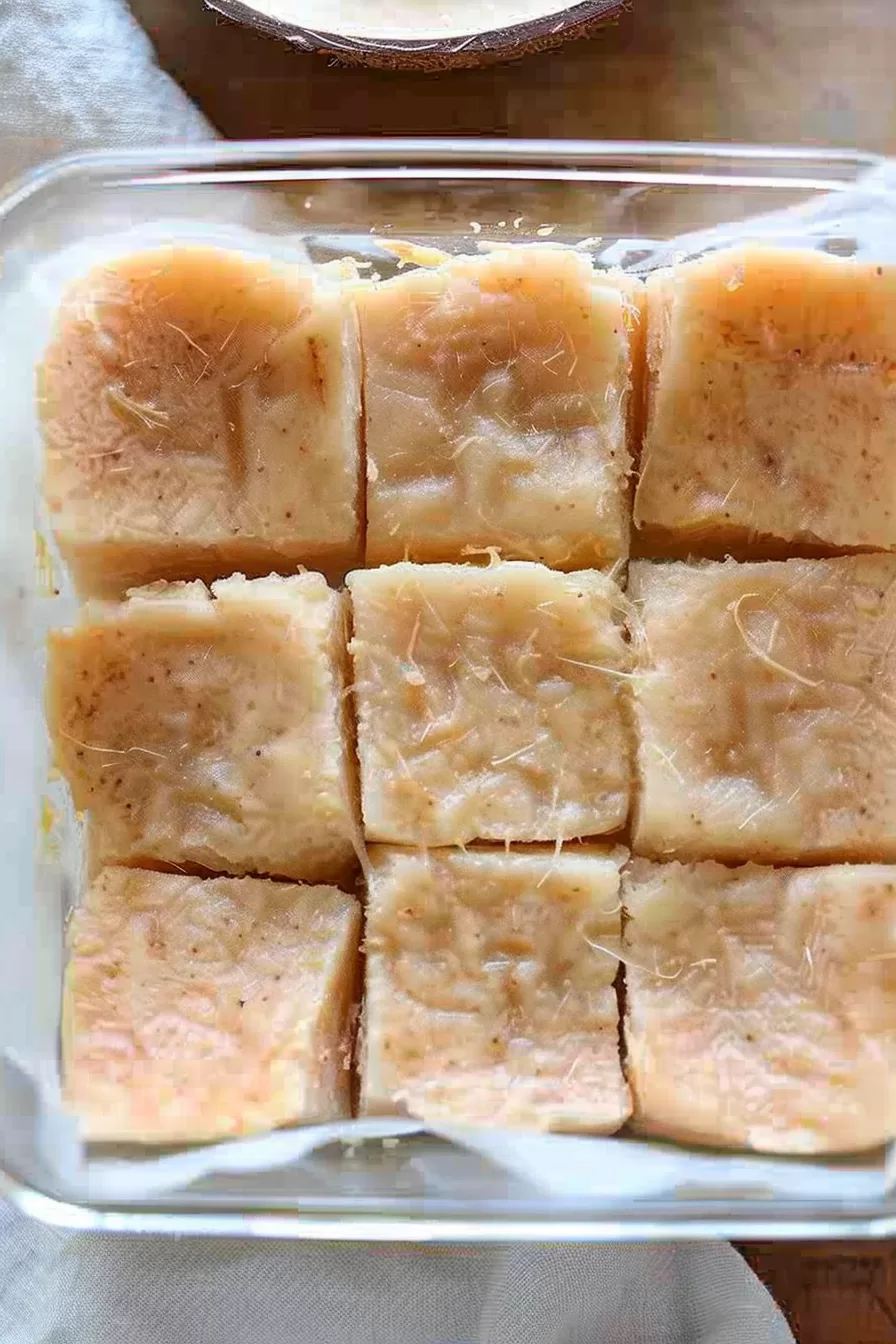
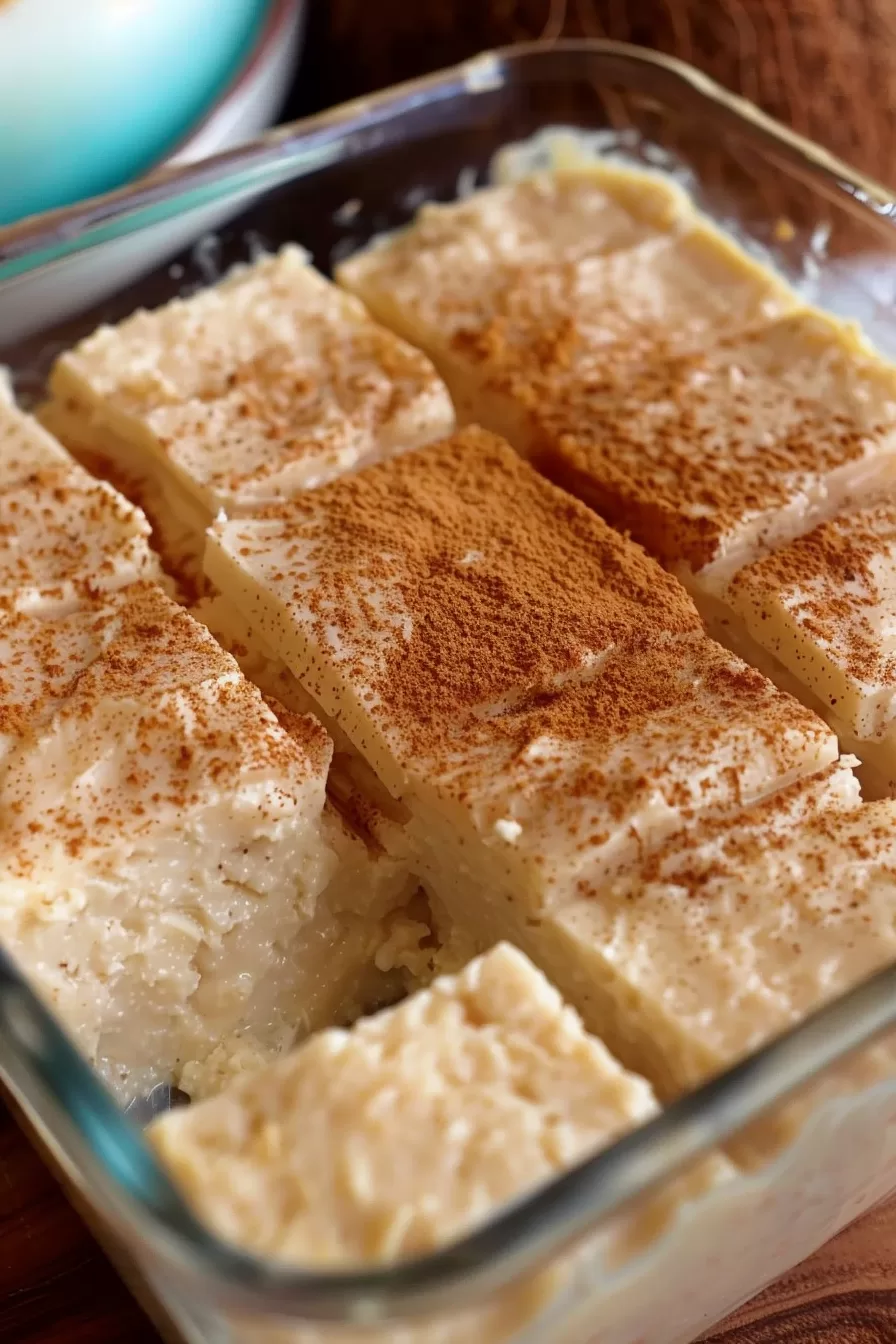
- Chill and Serve: Sprinkle some ground cinnamon on top, then pop it in the fridge for another 1-2 hours to fully set. When you’re ready to serve, cut it into 25 little squares. Chilled, it’s just right.
Storage Options:
If you somehow manage to have leftovers (it’s rare in my house), they’ll keep in the fridge for about 4 days. Just cover them up, so they stay fresh. And if you’re thinking of freezing them, go for it! Wrap each square in plastic wrap and freeze in an airtight container for up to a month. When you’re ready to enjoy, thaw them in the fridge for a few hours – they’ll still taste amazing, but the texture may change just a tiny bit. Nothing major though.
Want To Save This Recipe?
Enter your email below and we'll send the recipe straight to your inbox.
Variations and Substitutions:
Want to switch things up? Here are a few ways to make this Traditional Coconut Natilla your own.
- Mix Up the Spices: Add a little cardamom for a floral twist, or go with a pinch of allspice if you like a stronger flavor.
- Dairy-Free Option: Swap out the evaporated milk for coconut milk, and use dairy-free sweetened condensed milk. You’ll get a bit more coconut flavor too!
- Crunch Factor: Add some chopped nuts like almonds or pecans for extra texture. They give each bite a nice little surprise.
- Less Sweet?: Try using a bit less sweetened condensed milk if you don’t want it too sweet. The coconut still shines through.
- Double the Coconut: Replace half the evaporated milk with coconut milk for even more coconut goodness.
What to Serve With Traditional Coconut Natilla?
This Traditional Coconut Natilla is pretty amazing on its own, but if you want to jazz it up a little, here are a few things to try:
- Fresh Fruit: A little bowl of berries or tropical fruits like mango or pineapple is a great side – the freshness balances the rich natilla.
- Whipped Cream: A dollop of whipped cream on top makes each bite feel extra luxurious. You can’t go wrong here.
- Shortbread Cookies: A few crumbly, buttery cookies pair perfectly with the creamy natilla.
- Coffee or Espresso: This natilla with a hot espresso? Match made in heaven. It’s perfect for those after-dinner cravings.
- Toasted Coconut: Sprinkle some toasted coconut on top if you’re feeling fancy – it’s pretty and adds a little crunch.
Frequently Asked Questions:
Can I make this ahead of time?
Definitely! This is one of those desserts that actually gets better with a bit of chill time. Prep it the day before, let it set in the fridge, and you’ll have a perfectly creamy treat ready to go.
What if I don’t have cornstarch?
Cornstarch is what gives this dessert that thick, sliceable texture. But in a pinch, arrowroot powder will work as a substitute (just use the same amount).
Ready to give this Traditional Coconut Natilla a go? It’s creamy, rich, and full of that festive flavor we all crave this time of year. Plus, it’s easy to share – everyone can grab a square and dig in. Give it a try, and let me know how it turns out!
<Remember it later>
Planning to try this recipe soon? Pin it for a quick find later!
<Remember it later>
Planning to try this recipe soon? Pin it for a quick find later!
Traditional Coconut Natilla
Ingredients
- 4 cups evaporated milk divided (32 oz)
- 1 4 oz can sweetened condensed milk
- 1/2 cup brown sugar packed
- 1/4 teaspoon ground cloves
- 1/8 teaspoon nutmeg
- 3 cinnamon sticks
- 3/4 cup cornstarch
- 1/2 cup unsweetened shredded coconut
- 1 teaspoon ground cinnamon
Instructions
- Prepare the Milk and Spice Mixture: In a medium saucepan, combine 3 cups of the evaporated milk with the sweetened condensed milk, brown sugar, ground cloves, nutmeg, and cinnamon sticks. Heat the mixture over medium-low, stirring continuously until it begins to simmer. Once it reaches a gentle boil, reduce the heat to low, then remove the cinnamon sticks.
- Create the Cornstarch Slurry: In a small jar or bowl, combine the remaining 1/2 cup evaporated milk with the cornstarch. Shake or whisk vigorously until the mixture is smooth and free of lumps.
- Incorporate the Slurry and Coconut: Slowly whisk the cornstarch mixture into the saucepan, ensuring it blends smoothly into the milk mixture. Gently fold in the shredded coconut and continue cooking over medium-low heat, stirring frequently, until the mixture thickens to a pudding-like consistency, approximately 4-5 minutes.
- Set the Natilla: Remove the thickened mixture from heat and carefully pour it into an 8"x8" square baking dish with deep sides. Allow it to cool at room temperature for at least 1 hour.
- Chill and Garnish: After the initial cooling, sprinkle ground cinnamon evenly over the top of the natilla. Transfer the dish to the refrigerator and chill for an additional 1-2 hours, or until fully set. Once firm, cut into 25 squares and serve.
Notes

I’m Bitty, owner of nodashofgluten.com, where I share simple, delicious recipes for all tastes, including gluten-free. Check out my “About Me” page for more info!


