

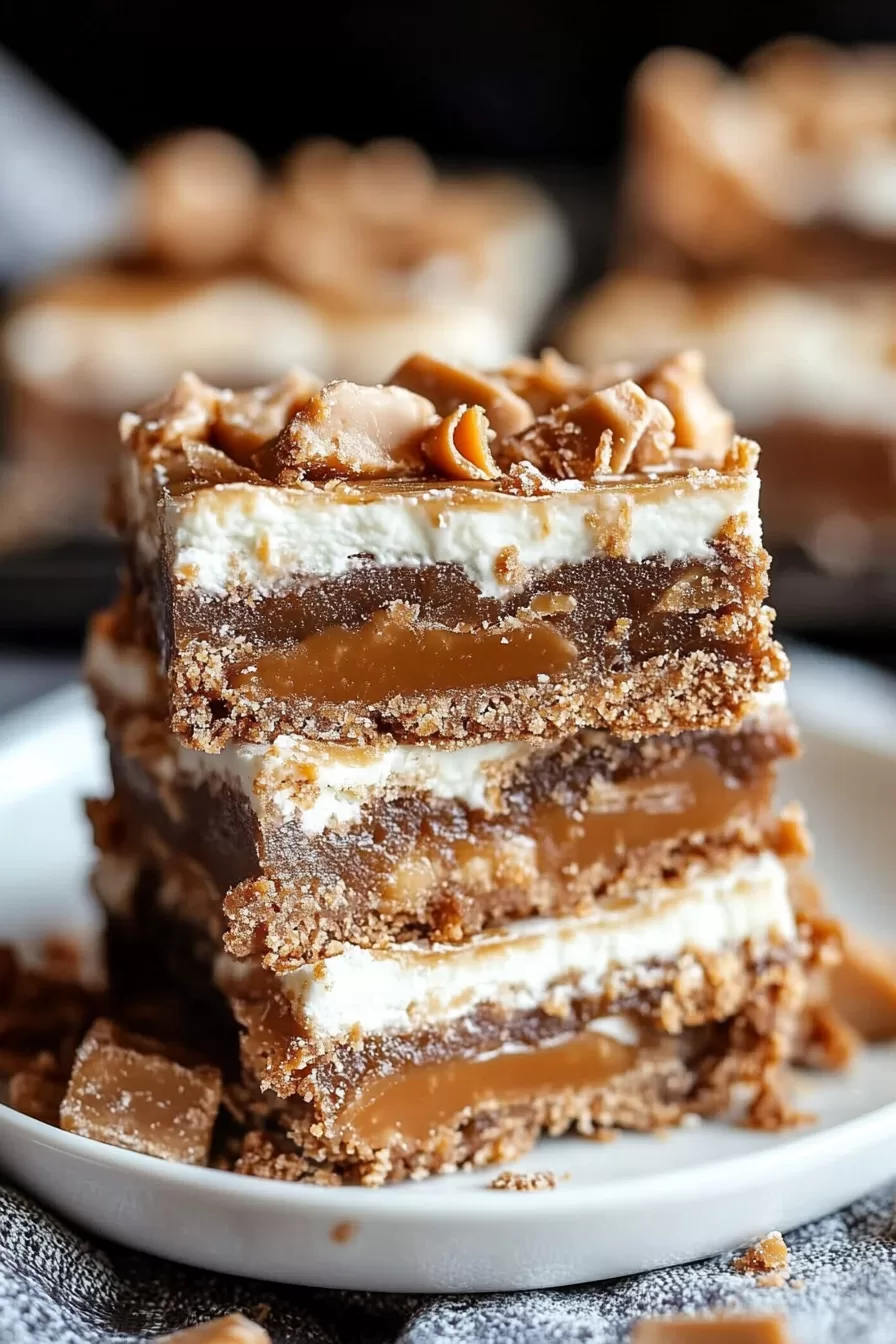
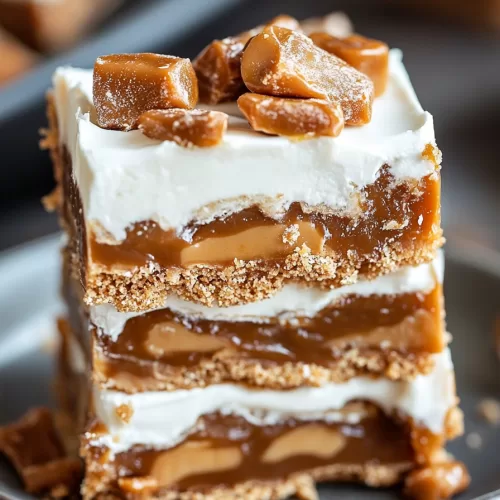
Gooey Butterfinger Caramel Bars – Craving something sweet, gooey, and a little bit over-the-top? These Gooey Butterfinger Caramel Bars have got you covered. Imagine layers of crunchy graham crackers, soft marshmallows, rich caramel, and crunchy Butterfinger pieces, all finished off with a drizzle of melty chocolate. They’re sweet, sticky, and everything you want in a quick dessert. Ready in just 15 minutes, these bars are the perfect treat for when you need to impress without all the fuss.


The first time I made these, I was scrambling for a last-minute dessert. You know those moments when you’ve got guests coming over and zero time to whip up something fancy? I found a bag of Butterfinger Bites hiding in the pantry, a few graham crackers, and thought, “Well, this could work.” I threw it all together, and honestly, I didn’t expect much. But when my husband grabbed a piece and gave me that “where have these been all my life?” look, I knew I was onto something. Now, they’re my go-to whenever I need a quick, crowd-pleasing dessert that looks way fancier than it actually is.
What makes this Gooey Butterfinger Caramel Bars truly special?
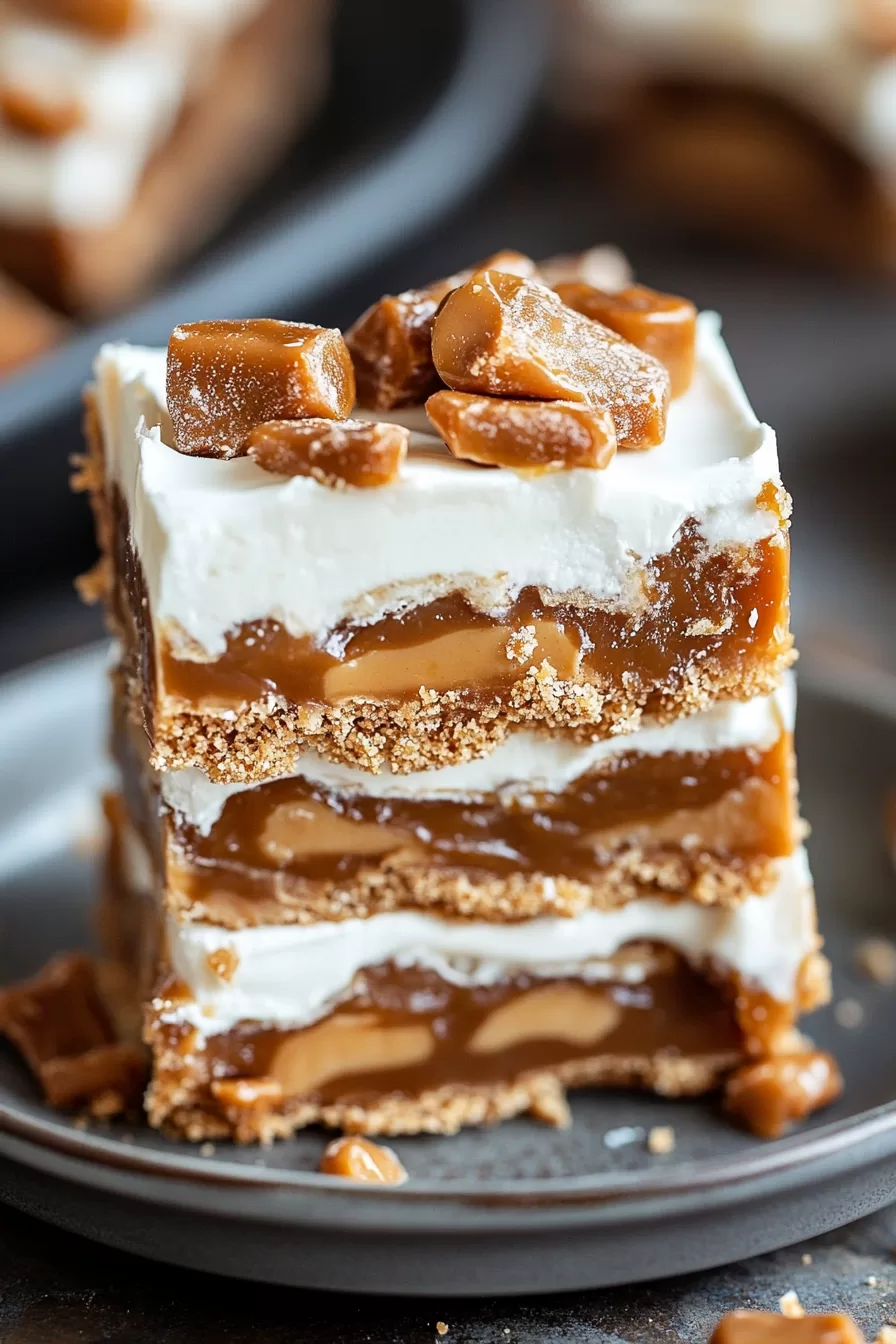
These bars are the ultimate mix of flavors and textures. You get the buttery crunch of graham crackers, the gooey stretch of melted marshmallow, and that sweet, sticky caramel that just pulls everything together. And don’t even get me started on the Butterfinger pieces—they add this perfect crunch with a little bit of peanut buttery goodness. Plus, they’re so easy to make. No fancy techniques, no complicated ingredients. Just layer, melt, drizzle, and chill. They’re the kind of treat you can whip up when you’re in a rush but still want something that tastes like you spent all afternoon making it.
What You Need To Make This Gooey Butterfinger Caramel Bars Recipe?
Graham Crackers: These are the crunchy base that holds everything together. You can break them up to fit snugly in the pan, and don’t stress if there are little gaps—the caramel and marshmallows will fill it all in. They add a nice buttery crunch that balances out all the gooeyness.
Mini Marshmallows: These melt slightly under the warm caramel, giving that soft, gooey texture we all love. If you want them extra gooey, you can even add a few more. It’s all about those melty, sticky layers!
Caramel Bits: Caramel bits are the secret to getting that smooth, rich caramel layer without all the hassle. Just a quick melt with a bit of milk and you’ve got a creamy, dreamy caramel sauce that ties everything together. If you’ve only got regular caramels, no worries—just melt them the same way, it might take a minute longer.
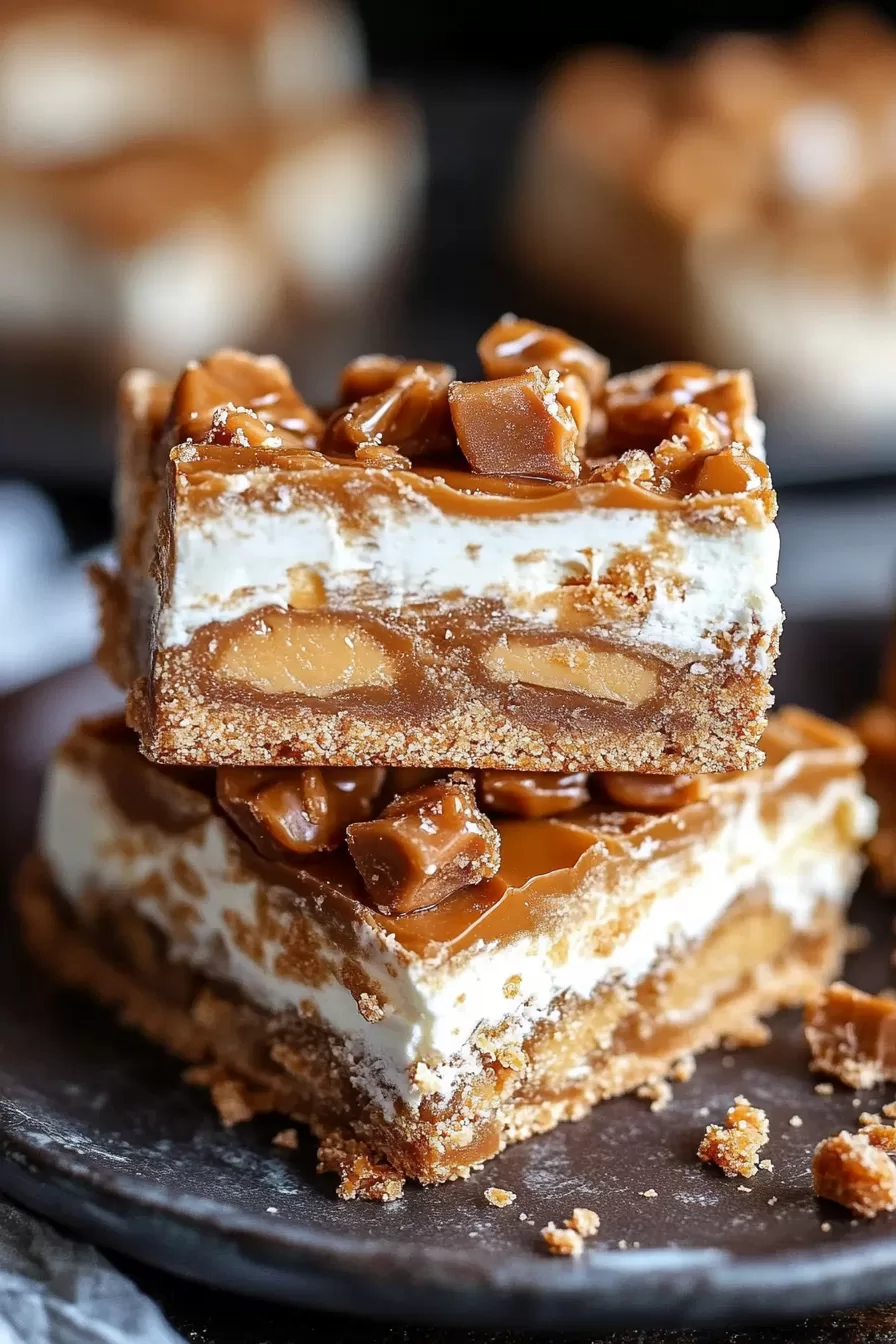
Butterfinger Bites: These little guys are the game-changer. Sweet, crunchy, with that classic peanut buttery flavor. Make sure to chop them up a bit so you get those perfect bites in every bar. And don’t be shy—press them down a little so they stick to the caramel and don’t fall off when you’re cutting.
Semi-Sweet Chocolate: The drizzle on top is totally optional, but come on, when has a bit of extra chocolate ever been a bad thing? It ties everything together and makes them look extra fancy. Melt it down and drizzle however you like—no rules here!

Steps To Make Gooey Butterfinger Caramel Bars:
Prep the Pan: First things first, line a 9×9-inch baking pan with foil, letting the edges hang over a bit so you can easily lift out the bars later. Give the foil a quick spray with some cooking spray so nothing sticks.
Layer the Base: Arrange the graham crackers at the bottom of the pan, breaking them up as needed to cover the whole base. Don’t worry if there are a few gaps—everything will melt together nicely.
Add the Marshmallows: Sprinkle the mini marshmallows evenly over the graham crackers. Make sure they’re spread out so you get a bit of gooey marshmallow in every bite.
Melt the Caramel: In a microwave-safe bowl, toss in the caramel bits and add the milk. Microwave it for 1 minute, give it a stir, then keep heating in 30-second bursts, stirring in between, until it’s all smooth and melted.
Want To Save This Recipe?
Pour & Spread the Caramel: Drizzle that warm, gooey caramel right over the marshmallows. Spread it out gently to make sure everything is covered. The marshmallows will soften a bit under the heat, and that’s totally fine!
Butterfinger Layer: Now, scatter the chopped Butterfinger pieces over the caramel. Press them down lightly so they stick to the gooey layers.
Melt & Drizzle the Chocolate: Pop the semi-sweet chocolate into another microwave-safe bowl, and melt it in 30-second intervals, stirring until smooth. Drizzle it over the top of the Butterfinger layer. Get creative with it—there’s no wrong way to do this!
Chill to Set: Place the pan in the fridge and let it chill for about an hour, or until everything’s set and firm. This will make it easier to slice.
Slice & Serve: Use the overhanging foil to lift the bars out of the pan. Cut them into squares, serve them up, and watch them disappear. Seriously, they’re addictive!
Tip:
If you want these Gooey Butterfinger Caramel Bars to come out perfect every time, make sure to chill them in the fridge for at least an hour before slicing. This step helps everything set up nicely so you get those clean, sharp edges when you cut into them. And here’s a little trick: when you’re ready to slice, run your knife under hot water, dry it off, and then make your cuts. The heat from the knife will glide right through the caramel and chocolate layers without dragging or sticking, giving you neat, picture-perfect bars every time. Trust me, this little extra step makes a big difference!
Frequently Asked Questions:
Can I switch out the Butterfinger for a different candy?
Oh, absolutely! Feel free to mix things up. If you’re more into Snickers, Reese’s, or even Twix, just chop them up and sprinkle them on top instead. It’s a fun way to play around with flavors, and honestly, you can’t really go wrong. The caramel and chocolate make a perfect match for just about anything sweet and crunchy.
How should I store these bars?
Once they’ve set and cooled, pop them into an airtight container and keep them in the fridge. They’ll stay good for about a week, but let’s be real—they rarely last that long. When you’re ready to dig in, let them sit out for a few minutes so they soften up a bit.
Can I make these ahead of time?
Yep, and that’s one of the best things about them! You can make these bars a day or two before you need them, and they’re still going to taste amazing. Just store them in the fridge until you’re ready to serve. It makes life so much easier when you’ve got a busy schedule or a party to plan, and your dessert is already good to go.
Gooey Butterfinger Caramel Bars
Ingredients
- 6 1/2 graham crackers
- 2 c mini marshmallows
- 1 bag 11 ounces caramel bits
- 2 tablespoons milk
- 1 bag 10 ounces Butterfinger Bites, roughly chopped
- 2 ounces semi-sweet chocolate melted for drizzling
Instructions
Get the Pan Ready:
- Line a 9x9-inch baking pan with foil, letting a bit hang over the sides—this makes it super easy to lift the bars out later. Give the foil a quick spritz of cooking spray so nothing sticks.
Lay Down the Base:
- Arrange the graham crackers across the bottom of the pan. Break them up as needed so they fit snugly without leaving big gaps.
Add the Marshmallows:
- Sprinkle the mini marshmallows evenly over the graham crackers, making sure they’re spread out nicely.
Melt the Caramel:
- Grab a microwave-safe bowl and toss in the caramel bits with a splash of milk. Microwave for 1 minute, stir, then continue heating in 30-second bursts, stirring each time until the caramel is melted and smooth.
Pour Over the Caramel:
- Drizzle the warm, gooey caramel over the marshmallows, spreading it gently to make sure everything is coated. The marshmallows will soften a bit, and that’s totally fine.
Add the Butterfinger:
- Scatter the chopped Butterfinger pieces over the caramel layer. Press them down lightly so they stick to the gooey mix underneath.
Melt the Chocolate:
- Place the semi-sweet chocolate in a microwave-safe bowl, then heat it in 30-second intervals, stirring in between, until it’s fully melted and smooth.
Drizzle the Chocolate:
- Use a spoon to drizzle the melted chocolate over the top of the Butterfinger layer. Get creative with it—there’s no wrong way to do this!
Let It Set:
- Pop the pan in the fridge and let everything chill for about an hour, or until it’s set and firm to the touch.
Slice & Serve:
- Once the bars are set, lift them out of the pan using the foil edges. Slice into squares, serve, and watch them disappear faster than you can say “Butterfinger.”
Notes
I’m Bitty, owner of nodashofgluten.com, where I share simple, delicious recipes for all tastes, including gluten-free. Check out my “About Me” page for more info!