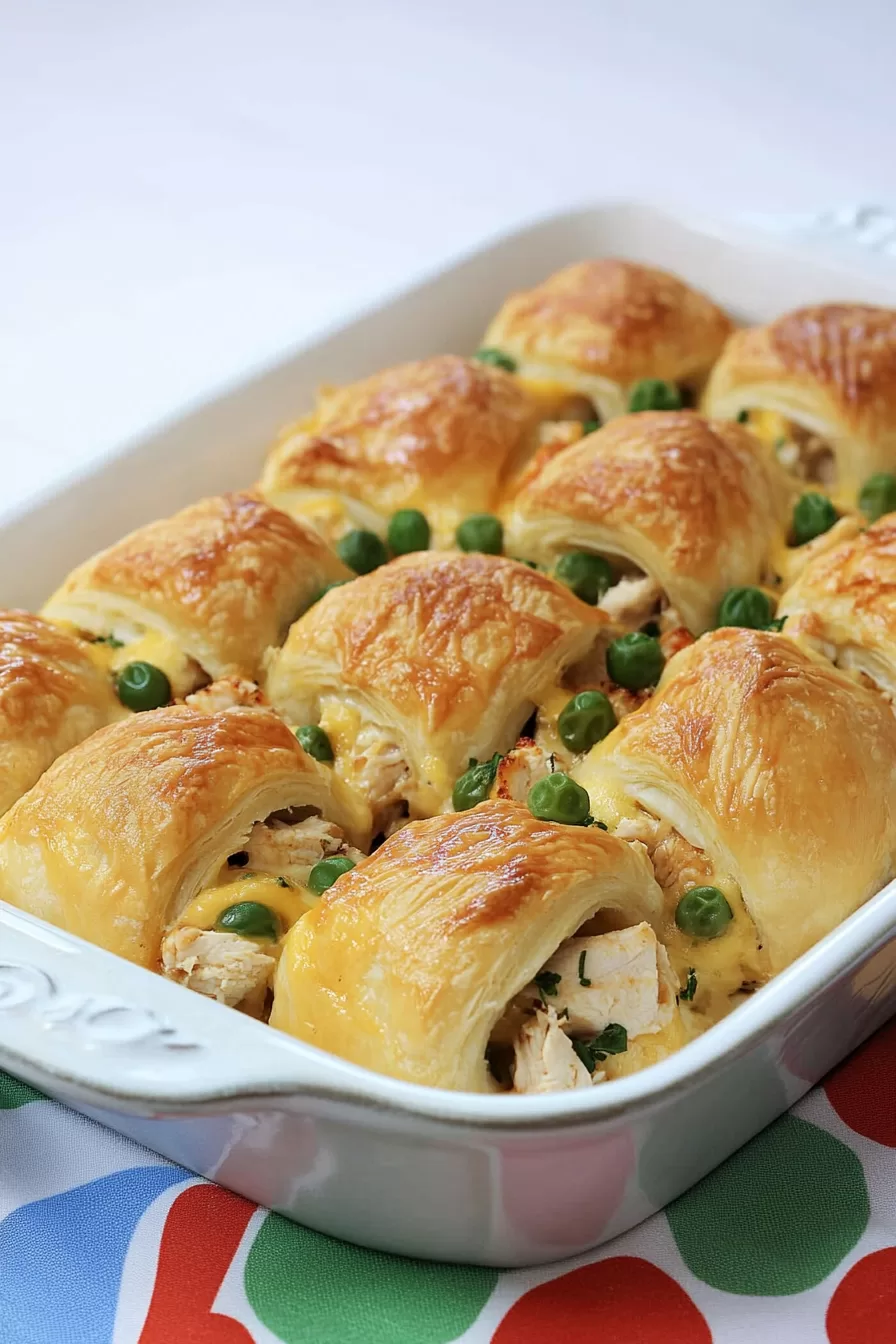
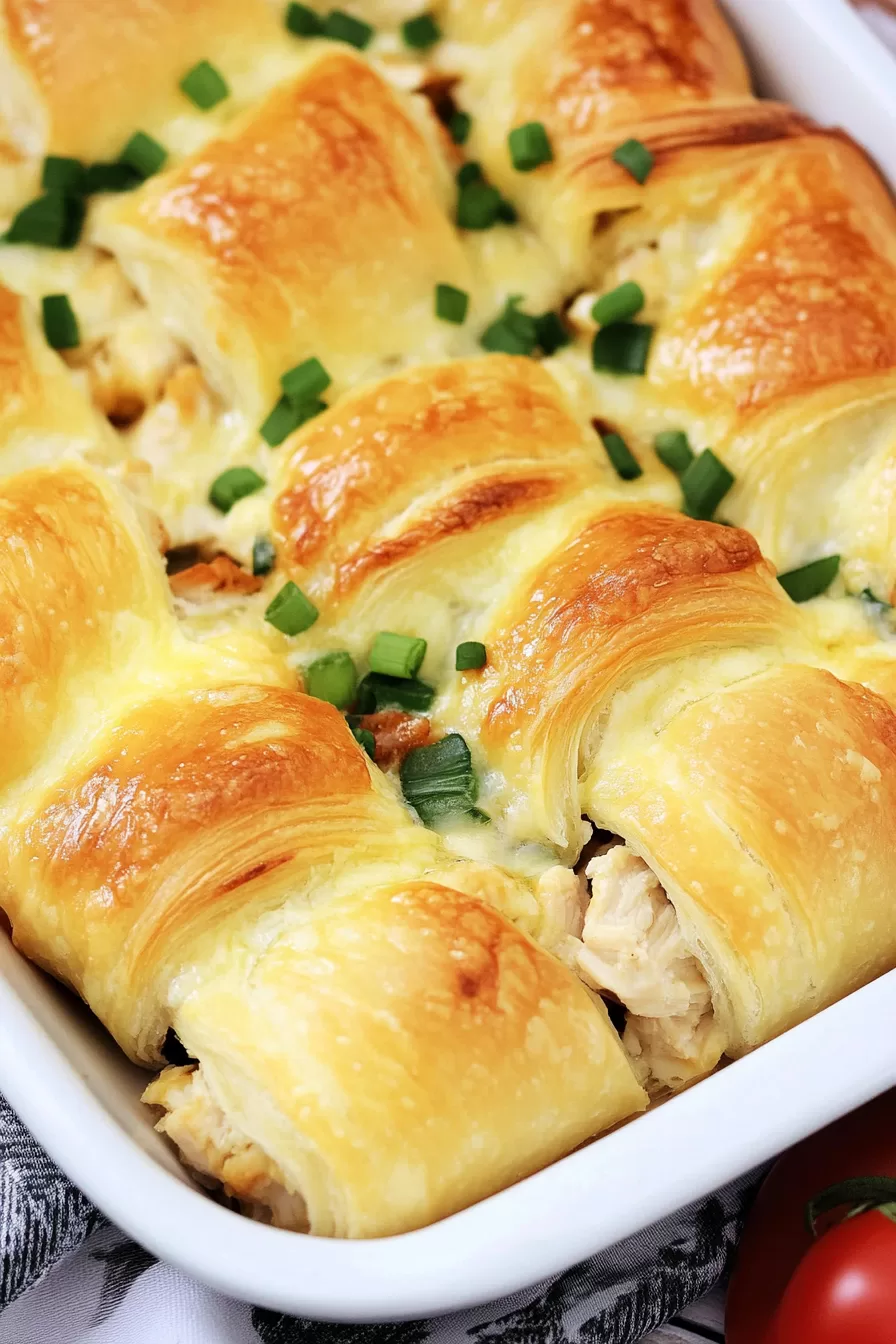
Cheesy Crescent Chicken Roll-Ups – Need a quick, cheesy, and downright delicious dinner? These Cheesy Crescent Chicken Roll-Ups are it. Tender shredded chicken mixed with creamy soup and lots of melty cheddar, all wrapped up in flaky, golden crescent rolls. Ready in under 30 minutes, they’re perfect for those nights when you want something warm and comforting without a ton of effort. Seriously, it’s hard to go wrong with these!

The first time I whipped these up, I was in a rush. You know those days when everything is a little chaotic, and you just need something easy that everyone will eat without complaints? I found a can of crescent rolls, some leftover chicken, and thought, “Why not?” I didn’t expect much, but as soon as they came out of the oven, all golden and melty, my husband was hovering around the kitchen, trying to sneak one. And our kiddo? Let’s just say I barely got a chance to sit down before they were asking for seconds. Now, it’s a go-to whenever I need a quick win at dinnertime.
What makes this Cheesy Crescent Chicken Roll-Ups truly special?
These roll-ups are the perfect blend of comfort and convenience. They’re creamy, cheesy, and loaded with flavor, but the best part? They’re a breeze to make. You’ve got tender chicken, a rich, savory filling, and that flaky, buttery crescent roll to wrap it all up. Whether you’re serving them as a main dish, a quick snack, or even a party appetizer, they’re a hit every single time. And if you’re feeling creative, you can add a little spice, swap out the cheese, or even toss in some veggies. They’re flexible, easy, and always delicious. What’s not to love?

What You Need To Make This Cheesy Crescent Chicken Roll-Ups Recipe?
Cooked & Shredded Chicken: This is a great way to use up leftovers! Rotisserie chicken works perfectly here because it’s already seasoned and easy to shred. You can also use grilled, baked, or even boiled chicken breasts—whatever you’ve got. Just make sure it’s shredded up nicely so it mixes well with the other ingredients.
Condensed Cream of Chicken Soup: This is the secret to making these roll-ups so creamy and comforting. It gives the filling that rich, savory flavor without needing a ton of extra ingredients. You can use a low-sodium version if you’re watching salt, or swap it out for cream of mushroom or even cream of celery if you want to switch things up a bit.
Chicken Broth: The broth helps thin out the soup a little, so the filling is creamy but not too thick. Plus, it adds a bit more chicken-y flavor (which is always a good thing). If you don’t have chicken broth, veggie broth works too.
Cheddar Cheese: Go for sharp cheddar if you want a bold, cheesy flavor, but you can mix in other cheeses if you feel like experimenting. A bit of Monterey Jack or mozzarella would be great too. Just make sure it’s shredded so it melts easily when you bake the rolls.
Crescent Rolls: These are what make the whole thing so easy. They’re soft, buttery, and bake up to be beautifully golden and flaky. Make sure to roll them out with the wide end facing you, so you can tuck all that filling in without it spilling out.

Steps To Make Cheesy Crescent Chicken Roll-Ups:
Preheat & Prep: First things first, set your oven to 400°F. Grab a baking tray and line it with parchment paper or aluminum foil so cleanup’s a breeze.
Shred the Chicken: Take your cooked chicken and shred it up using two forks. You want nice, bite-sized pieces that’ll blend well with the rest of the filling.
Mix the Filling: In a bowl, combine the condensed cream of chicken soup with the chicken broth. Give it a good stir until it’s smooth. Add in your shredded chicken and half of the shredded cheddar cheese. Mix everything together until it’s all coated and looking nice and creamy.
Get the Crescent Rolls Ready: Pop open the can of crescent rolls (don’t you love that little “pop”?) and unroll them. Lay them out flat on your work surface with the wide end facing you.
Want To Save This Recipe?
Enter your email below and we'll send the recipe straight to your inbox.
Fill & Roll: Spoon a bit of the chicken mixture onto the wide end of each crescent roll. Roll it up, starting from the wide end and working your way to the point. Gently pinch the ends so the filling stays tucked in.
Bake: Place the filled crescent rolls on your prepared baking tray, leaving a bit of space between each one. Slide the tray into the oven and bake for about 25 minutes, until they’re golden and crispy.
Add Extra Cheese & Finish: Pull the tray out and sprinkle the rest of the shredded cheddar on top of the rolls. Pop them back in the oven for just a few minutes to let the cheese melt.
Serve & Enjoy: Let them cool for a minute or two, then dig in! Serve them warm, and if you’re feeling fancy, add a little dip on the side—ranch, hot sauce, you name it.
Tip:
For the best Cheesy Crescent Chicken Roll-Ups, make sure your chicken filling isn’t too watery. If it’s too runny, the rolls might get soggy instead of baking up crispy and golden. To avoid this, drain any excess liquid from the chicken before mixing it with the soup and broth. And don’t be afraid to play around with the flavors! You can sprinkle a little garlic powder, Italian seasoning, or even a pinch of paprika over the crescent rolls before baking. It adds an extra layer of flavor that’ll make these roll-ups even more irresistible. Oh, and one more thing—if you’re making these ahead, wait to add the extra cheese until right before serving so it melts perfectly.
Frequently Asked Questions:
Can I use leftover rotisserie chicken?
Absolutely! Rotisserie chicken works great for this recipe. It’s already seasoned and super easy to shred, which cuts down on prep time. Just make sure to remove the skin and bones before mixing it into the filling.
Can I make these roll-ups ahead of time?
Yes, you can! You can assemble the roll-ups and store them in the fridge for a few hours before baking. Just cover them with plastic wrap so they don’t dry out. When you’re ready to bake, pop them straight into the oven and add a few extra minutes to the baking time.
What can I serve with these roll-ups?
These are pretty versatile! You can serve them with a simple side salad, some steamed veggies, or even a bowl of tomato soup for dipping. They also make a great appetizer if you’re hosting a party—just slice them in half, and they’re ready to share!

<Remember it later>
Planning to try this recipe soon? Pin it for a quick find later!
<Remember it later>
Planning to try this recipe soon? Pin it for a quick find later!
Cheesy Crescent Chicken Roll-Ups
Ingredients
- 2 c cooked shredded chicken
- 1 can condensed cream of chicken soup
- 1/2 c chicken broth
- 1 roll of crescent rolls
- 1 1/2 c shredded cheddar cheese
Instructions
Preheat & Prep:
- Start by setting your oven to 400°F. Line a baking tray with parchment paper or aluminum foil to make cleanup easier.
Shred the Chicken:
- In a large bowl, use two forks to shred the cooked chicken into bite-sized pieces.
Mix the Filling:
- In a separate bowl, combine the condensed cream of chicken soup with 1/2 cup of chicken broth. Stir until it’s smooth, then add the shredded chicken and mix well. Toss in half of the shredded cheddar cheese and give it another good stir.
Prepare the Crescent Rolls:
- Pop open the crescent roll can and carefully unroll the dough. Lay out each piece on a flat surface with the wide end facing you.
Fill & Roll:
- Spoon a bit of the chicken mixture onto the wide end of each crescent roll. Roll them up, starting at the wide end and working your way to the point, then gently pinch the seams to make sure they stay closed.
Bake:
- Arrange the rolls on your prepared baking tray and slide it into the oven. Pop them in the oven and let them bake for about 25 minutes, until they’re nice and golden brown.
Add More Cheese & Finish:
- Pull the tray out of the oven and sprinkle the remaining cheese over the top of each roll. Put the tray back in the oven for a few more minutes, just until the cheese is melted and bubbly.
Serve & Enjoy:
- Let them cool for a minute or two, then dig in while they’re warm, cheesy, and oh-so-good!
Notes

I’m Bitty, owner of nodashofgluten.com, where I share simple, delicious recipes for all tastes, including gluten-free. Check out my “About Me” page for more info!


