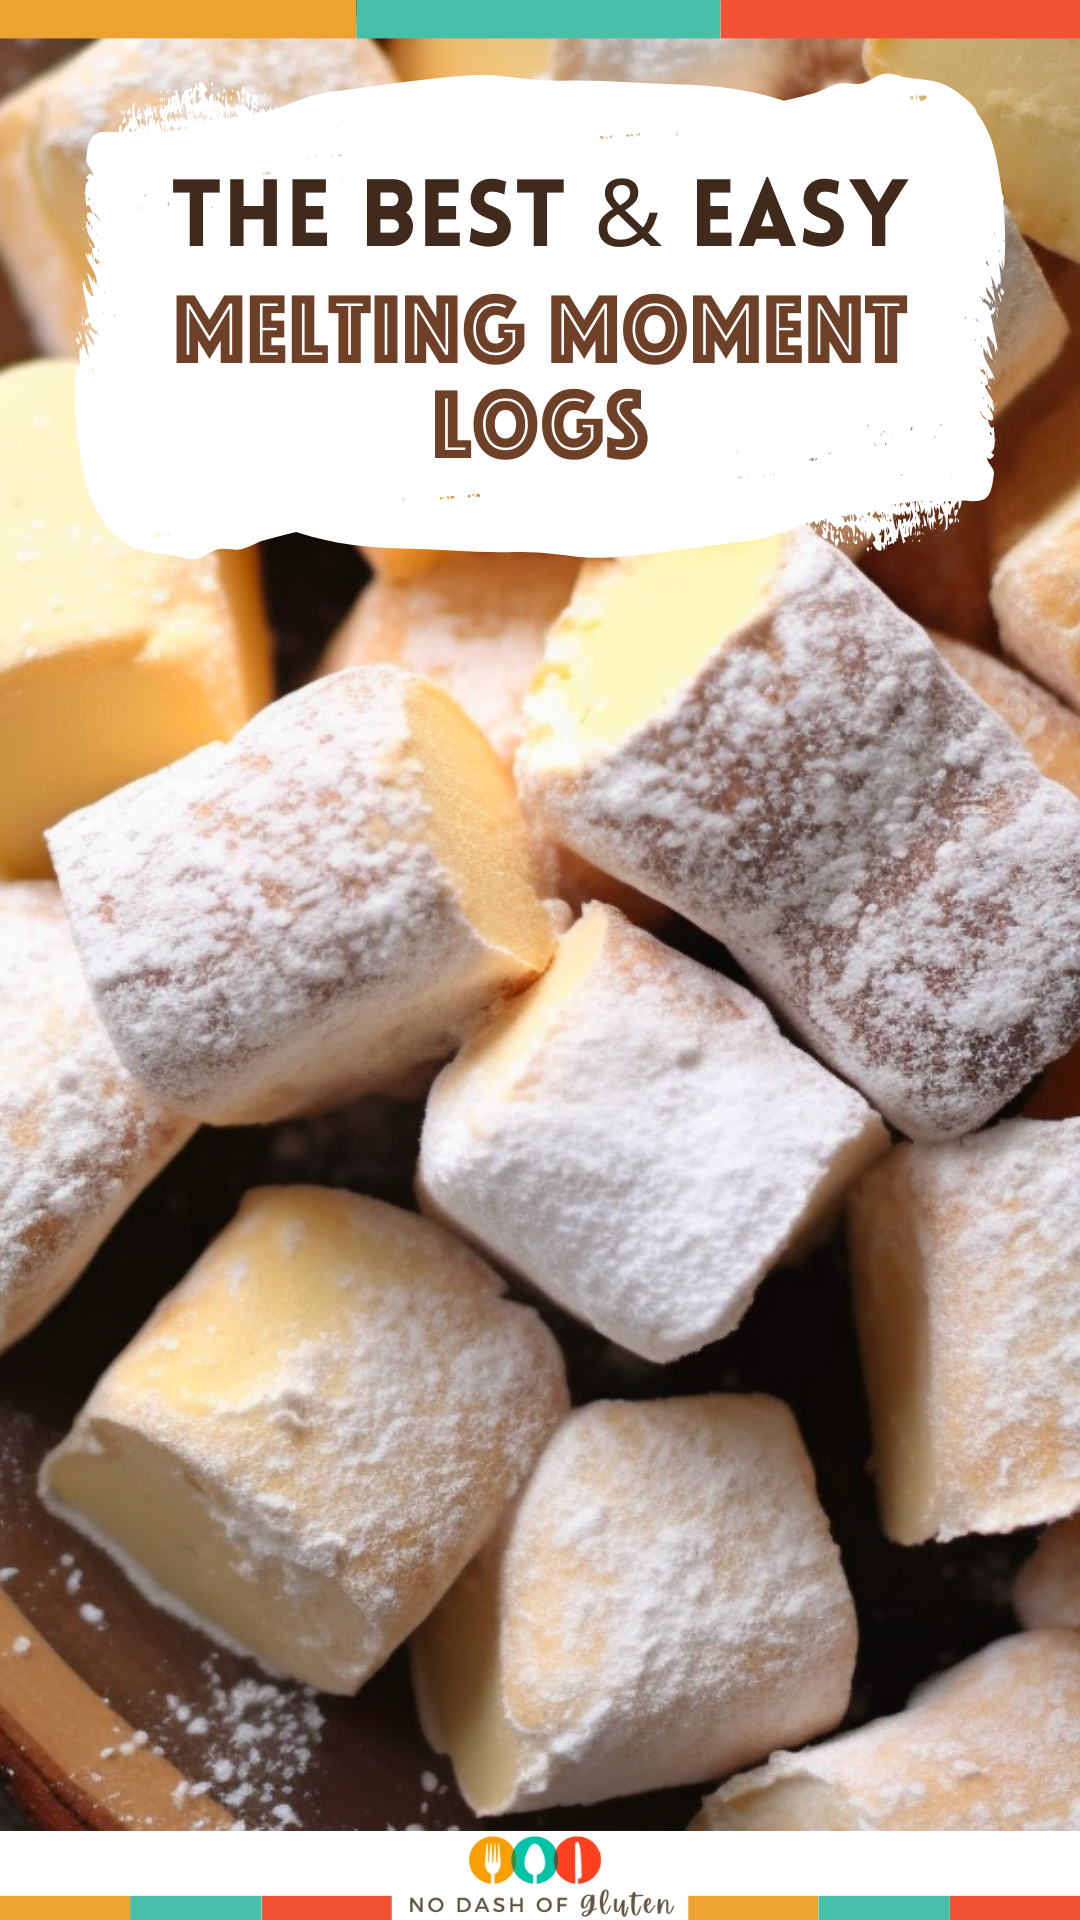
Melting Moment – There’s something truly enchanting about a cookie that lives up to its name and our Melting Moment cookies certainly fit the bill. With every bite these buttery delights dissolve leaving behind a memory on your taste buds. Made with a combination of all-purpose flour, cornstarch and confectioner’s sugar these cookies exemplify the charm of baking.

I still remember the first time I baked Melting Moments. It was a rainy afternoon just perfect, for some baking adventures. As the sweet aroma filled the kitchen it didn’t take long for my husband and our little one to be enticed by the scent. Witnessing their faces light up with each bite that melted in their mouths was a moment I will forever treasure. These cookies have now become a family favorite that is requested at every gathering.
What makes this Melting Moment truly special?
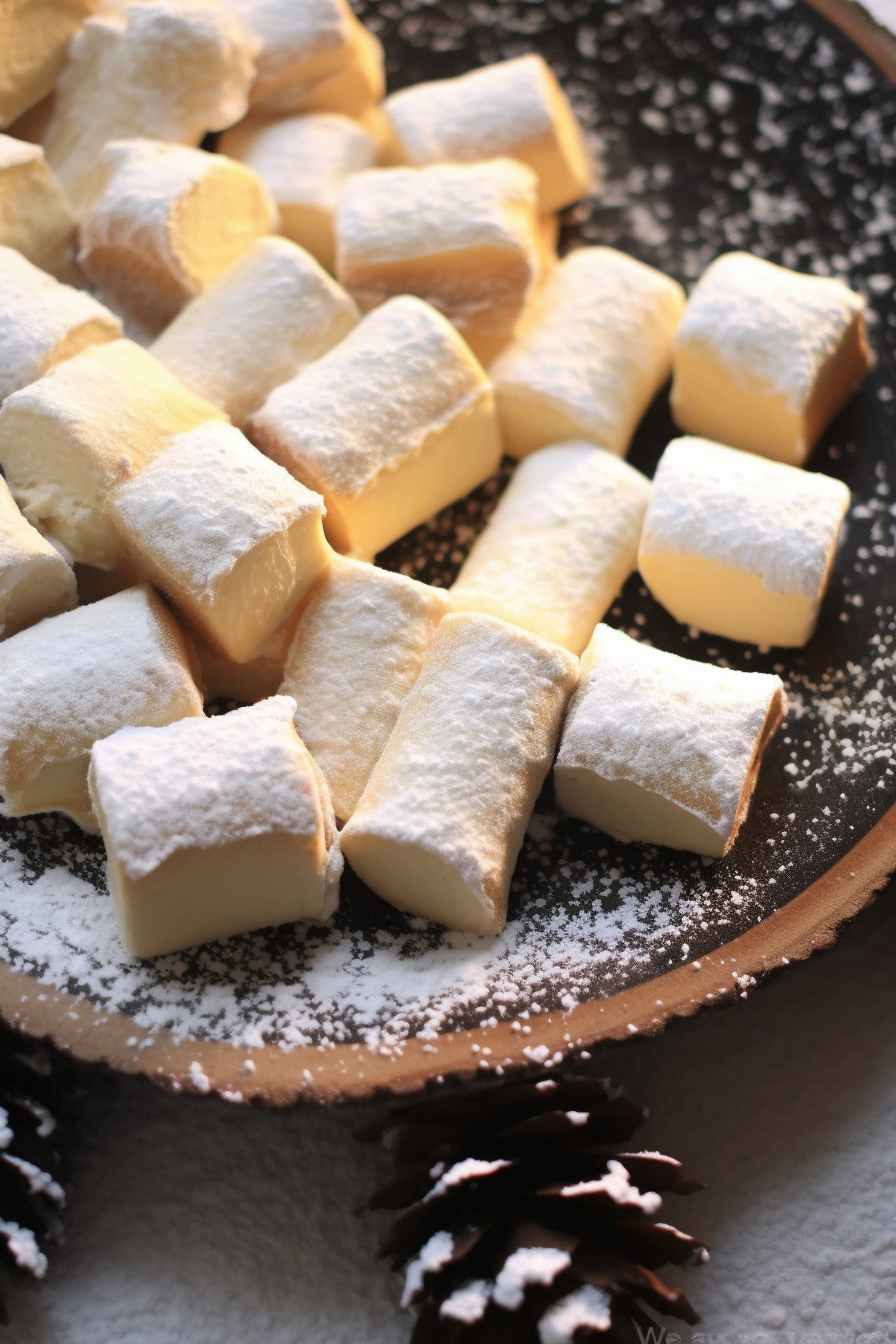
What sets Melting Moment cookies apart? Firstly their delicate texture is unparalleled – they truly melt in your mouth. Moreover their simple elegance makes them suitable for any occasion whether it’s a get-together or a festive celebration. To top it off the recipe is straightforward and enjoyable, for bakers of all skill levels.
What You Need To Make This Melting Moment Recipe?
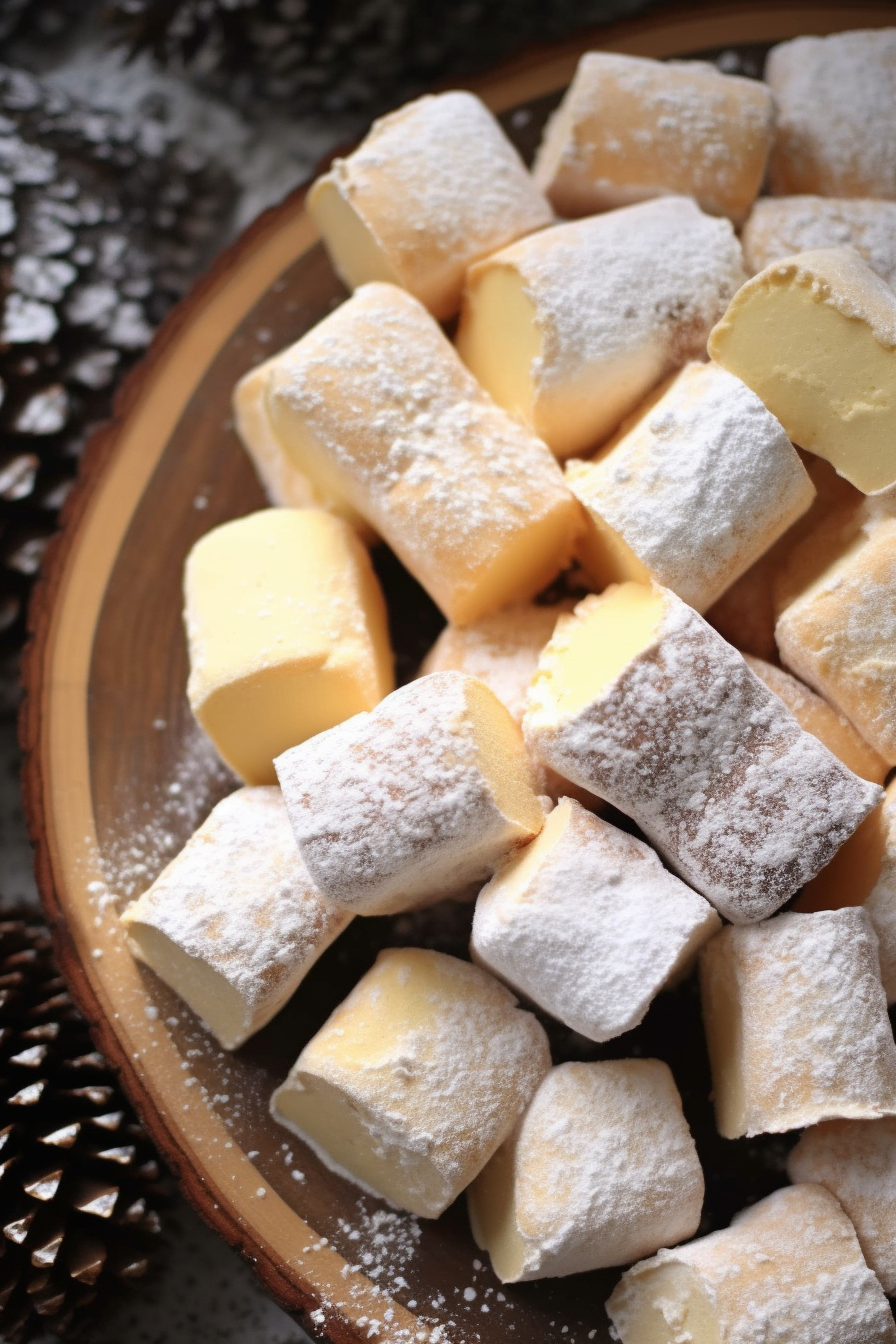
Butter: Butter is more, than an ingredient in our kitchen; it’s the heart and soul of our Melting Moment cookies. We use softened butter not to make mixing easier but to ensure that every cookie carries the promise of a creamy melt-in-your-mouth experience. It’s like wrapping each bite in a blanket of love.
Confectioners’ Sugar: Confectioner’s Sugar is no ordinary sugar; it’s like the fairy dust in our baking world. Finer and dreamier than sugar it blends with the butter to create a texture delicate that sings a sweet lullaby for your taste buds.
Vanilla Extract: Vanilla Extract may be a teaspoon. Oh boy does it make a difference! It offers the comforting hug of a loved one or the familiar scent of home. This tiny splash of vanilla brings warmth and depth elevating the dough from simple to sublime.
All-Purpose Flour: All Purpose Flour acts as the canvas for our cookie masterpiece. It’s the hero that holds everything together creating a structure that’s both sturdy and light ensuring each cookie delivers pure bliss, with every bite.
Cornstarch: Well, let me share our secret behind making these Melting Moment cookies truly live up to their name. Cornstarch is, like an ingredient that transforms dough into a crumbly treat with a delicate texture that seems to speak softly to the heavens.
Salt: Just a pinch but oh so important. It’s like the closing note, in a symphony enhancing the flavors and bringing depth and balance. It serves as a reminder that even the tiniest elements can have an impact.
Steps To Make Melting Moment:
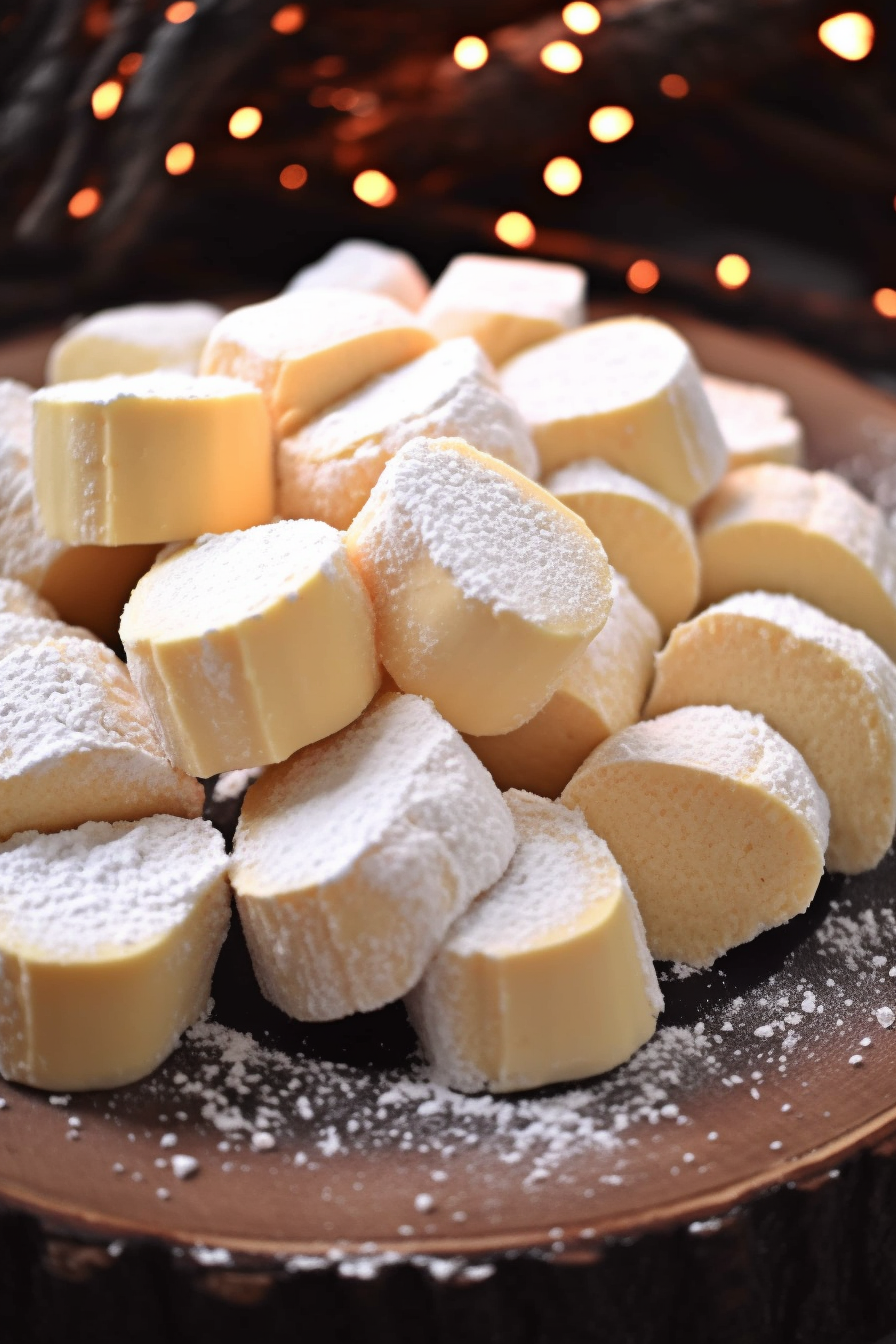
Step 1: Start by creaming the butter and a quarter cup of sugar until it becomes light and fluffy. Then add the essence of vanilla to the mixture stirring gently to blend in love and flavor.
Step 2: Carefully incorporate the flour, cornflour and a touch of salt, into the mixture ensuring it is combined and whispering promises of deliciousness.
Want To Save This Recipe?
Enter your email below and we'll send the recipe straight to your inbox.
Step 3: Divide your dough into three portions shaping each portion into a log that’s about an inch thick. Wrap them snugly in plastic wrap. Allow them to rest in the refrigerator dreaming of transforming into cookies.
Step 4: After their deserved rest line a baking tray with parchment paper. Slice the logs into 1-inch pieces. Arrange them on the tray like stars. Chill them once again.
Step 5: Once you are ready bake them in an oven at 350°F for 8 minutes. They should have a golden color, on the bottom. Allow them to cool slightly before dusting them with a sprinkling of sugar resembling snowfall.
Tip:
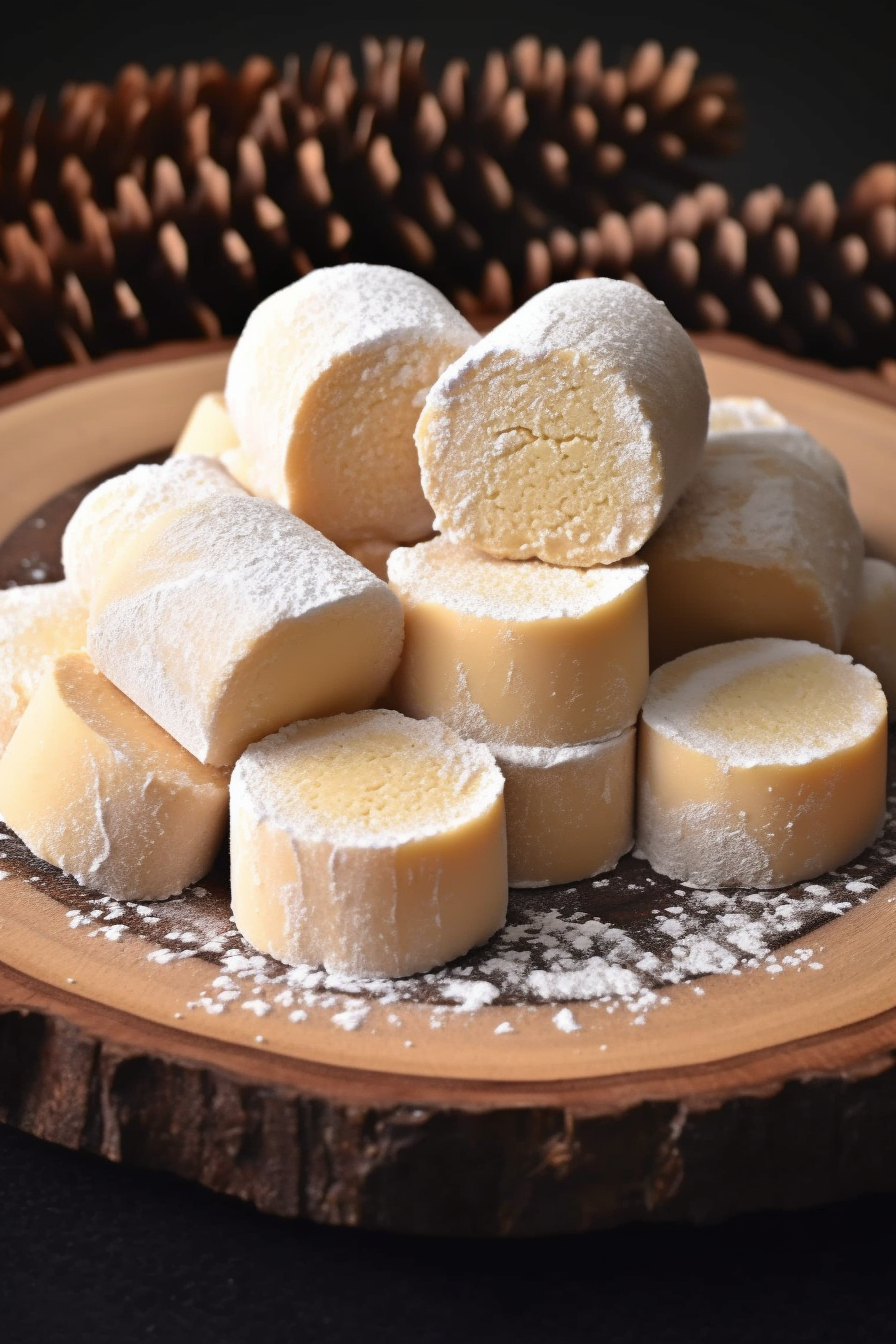
To achieve the perfect texture, for these Melting Moment cookies, the key lies in chilling the dough. It’s not just a step in the recipe; it’s like a magical touch that turns your dough into cookie perfection. Here’s why:
- Prevents Spreading: When you chill the dough it makes the fat (butter) in the cookies solidify. As a result when you bake chilled dough it takes longer for the butter to melt compared to using room-temperature butter. This means your cookies will spread less in the oven keeping their shape intact while offering a tender and melt-in-your-mouth texture.
- Enhances Flavor: The longer you let the dough rest during chilling the time flavors have to blend and develop. With a short chilling time like in this recipe you’ll notice how vanilla and buttery flavors deepen and become more pronounced.
- Improves Texture: Chilling allows moisture absorption by the flour in the dough. As a result it helps achieve a firmer cookie that still retains its wonderful tenderness.
To make sure you get results from this tip remember to be patient, with the process. It may be tempting to rush through this step but always keep in mind that good things come to those who wait – especially when it comes to baking!
Frequently Asked Questions:
Can I freeze the dough for later use?
Sure! You can definitely freeze the dough to use it later on. Just make sure to wrap it. It will stay good in the freezer for about a month.
How long do these cookies stay fresh?
If you store these cookies in an airtight container they should remain fresh and delicious, for up, to a week.
Can I add flavors to this recipe?
Absolutely! You’re welcome to add your flavors and get creative with this recipe. Adding some lemon zest or almond extract could give it a twist.
<Remember it later>
Planning to try this recipe soon? Pin it for a quick find later!
<Remember it later>
Planning to try this recipe soon? Pin it for a quick find later!
Melting Moment
Ingredients
- 1 c butter softened
- 1 1/4 c confectioners' sugar
- 1 tsp vanilla extract
- 1 1/2 c all-purpose flour
- 1/2 c cornstarch
- 1/4 tsp salt
Instructions
Prepare the Dough:
- Start by combining 1 cup of softened butter with ¼ cup of confectioner's sugar until it becomes light and fluffy.
- Add 1 teaspoon of vanilla extract, to the mixture and stir gently.
- Incorporate 1 ½ cups of all-purpose flour, ½ cup of cornstarch and ¼ teaspoon of salt into the mixture until combined.
Shape and Chill:
- Divide the dough into three parts.
- Roll each part into a log approximately 1 inch in diameter.
- Wrap each log with plastic wrap and refrigerate for an hour.
Preparation for Baking:
- Line a baking sheet with parchment paper.
- Retrieve one log from the refrigerator remove its plastic wrap and cut it into slices 1 inch pieces.
- Arrange these slices on the baking sheet leaving some space between each cookie.
- Place the baking sheet in the refrigerator for an additional 30 minutes.
Bake:
- Preheat your oven to 350°F (175°C).
- Bake the cookies for 8 minutes. Until you notice a slight browning on their bottoms.
- Once baked let them cool on the baking sheet for three minutes before transferring them to a wire rack to cool completely.
Final Touches:
- Dust the tops of your cookies with any remaining confectioner's sugar, from earlier.
- Now you can savor these Melting Moment cookies!
Notes

I’m Bitty, owner of nodashofgluten.com, where I share simple, delicious recipes for all tastes, including gluten-free. Check out my “About Me” page for more info!


