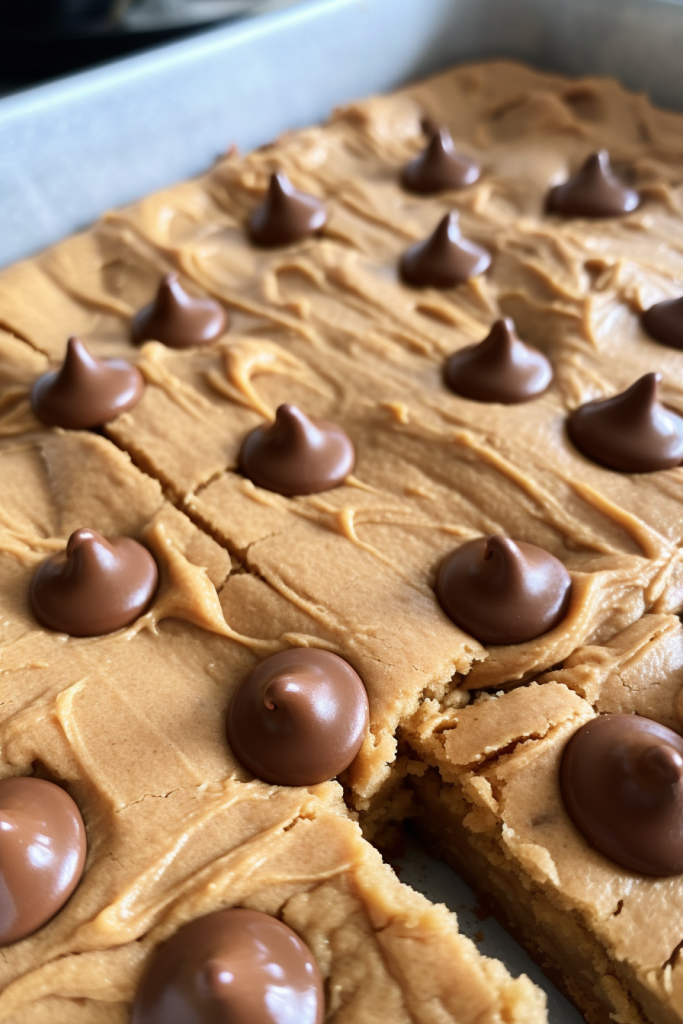
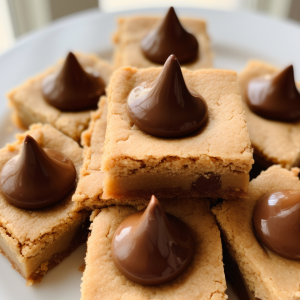
Peanut Butter Blossom Bars – Are you, in the mood for something easy to make? Well, look no further than these Peanut Butter Blossom Bars. They are a treat for those who love dessert and have a passion for peanut butter. This recipe brings together the comforting taste of peanut butter with the timeless charm of Hershey’s Kisses. You can whip up these bars using ingredients like flour, sugars, and milk making them a joy to create and a delight to savor.

The first time I made these Peanut Butter Blossom Bars was on a lazy Sunday afternoon when I was craving something special. As the irresistible scent of cookies filled my kitchen I knew I had discovered something wonderful. When they were ready my husband and our little one couldn’t resist joining me in the kitchen. These bars turned out to be such a hit that they brought smiles to our faces and created memories. Now they have become a treat in our family that we love sharing and enjoying together.
What makes these Peanut Butter Blossom Bars truly stand out?
There are reasons why these Peanut Butter Blossom Bars stand out from the rest. First and foremost their preparation is incredibly easy; you can make them in 35 minutes! This makes them perfect, for satisfying your dessert cravings in no time. Additionally, this recipe is highly adaptable as it caters to both chunky peanut butter preferences – allowing you to adjust the texture the way you like it. Moreover, these bars are perfect, for preparing in advance; they freeze wonderfully. Retain their taste. This means you can savor a bite whenever you want without the inconvenience of making them fresh each time.
What You Need To Make This Peanut Butter Blossom Bars Recipe?

Granulated White Sugar: This is the sweet star of the show! It’s not just about sweetness; granulated sugar gives these bars that irresistible golden-brown crust.
Packed Brown Sugar: Brown sugar is like the best friend who brings depth and a hint of caramel. It’s what makes these bars feel like a warm hug.
Salted Butter: Oh, butter! It’s all about richness and flavor. Remember, room temperature is key – it’s like letting butter put its feet up before the hard work of mixing.
Peanut Butter: Here’s where you call the shots! Creamy peanut butter for a smooth, classic bar, or chunky if you’re all about that texture. It’s your peanut butter world; we’re just baking in it.
Large Egg: The unsung hero, binding everything together. Just one egg makes all the difference.
Milk: A splash of milk keeps everything moist and tender. Think of it as the peacemaker, ensuring everything mixes well.
Vanilla Extract: A teaspoon might not seem like much, but vanilla is the whisper of magic that brings a symphony of flavors.
All Purpose Flour: The foundation. It’s what transforms our ingredients from a tasty mixture to a chewy, soft bar.
Baking Soda: This is our tiny miracle worker, giving our bars that perfect rise and texture.
Want To Save This Recipe?
Enter your email below and we'll send the recipe straight to your inbox.
Salt: Just a bit, to balance the sweetness. It’s like the final note in a well-composed melody.
Hershey’s Kisses: The crown jewel of each bar. They melt just enough to blend with the cookie, creating a chocolatey, peanut-buttery paradise.
Steps To Make Peanut Butter Blossom Bars:
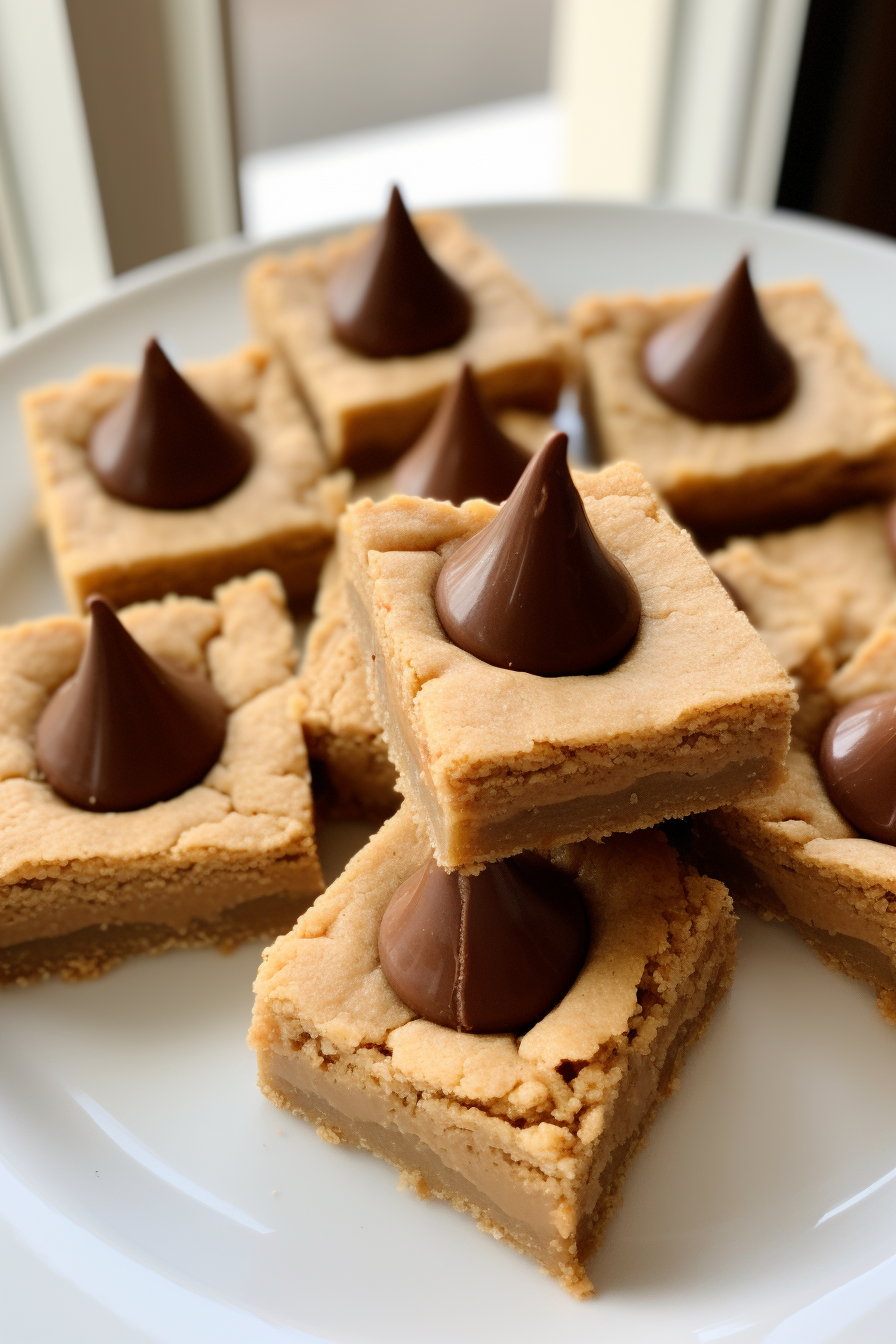
Step 1: To get started preheat your oven to 350F. Grease a 9×13 inch baking pan. In a bowl use a mixer to beat together the sugars, butter and peanut butter until the mixture becomes creamy. Add in the egg, milk, and vanilla extract. Mix well. Gradually incorporate the flour baking soda and salt into the mixture until it forms a dough. Press this dough evenly into the greased pan. Bake, for 19 to 24 minutes or until it turns golden brown and sets.
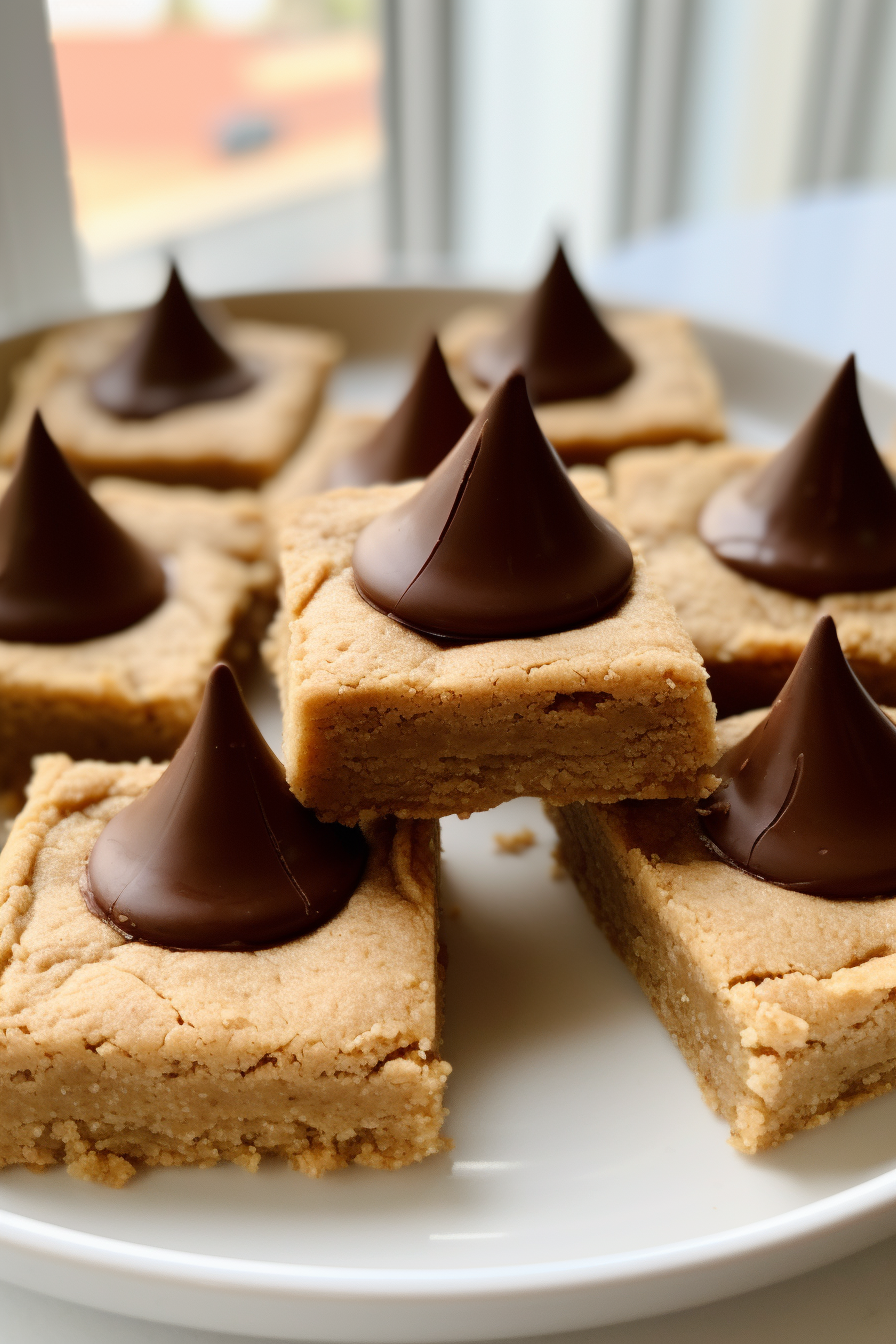
Step 2: Once you take it out of the oven gently press Hershey’s Kisses into the cookie dough. Place the pan in the freezer for a while to allow the kisses to firm up. Once everything has cooled down nicely cut them into 40 bars. These delectable bars can be stored in an airtight container for days. Frozen for, up to 3 months.
Tip:
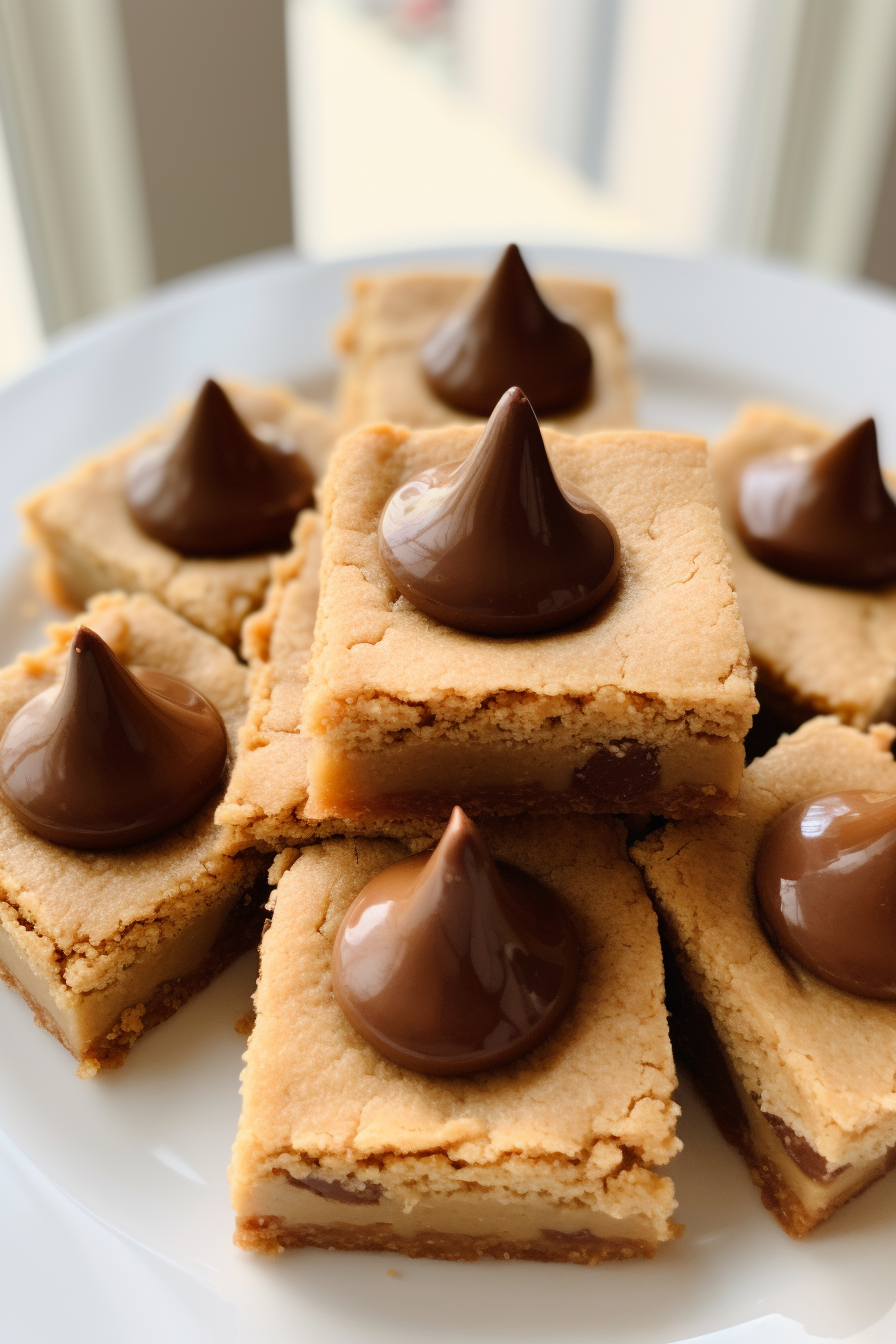
To make sure the Hershey’s Kisses blend seamlessly with the bars without losing their shape there’s a trick. After pressing the Kisses into the cookie dough allow them to sit for a minute. Then gently press down on each Kiss to slightly flatten them. This helps the chocolate begin to melt a touch creating a bond, with the cookie bar beneath. However, here comes the important part. Don’t leave them in the kitchen! Instead, place the pan directly into the freezer. This stops the melting process. Ensures that the Kisses maintain their shape while still beautifully melding with the cookie bar. The end result? Every bite offers a combination of chocolate and peanut butter bliss.
Frequently Asked Questions:
Can I use unsalted butter?
Yes, using unsalted butter is perfectly fine. You can simply add salt to the dough.
How do I store these bars?
To keep them fresh store the bars, in a container at room temperature or cover them with plastic wrap while still in the pan.
Can I make these gluten-free?
Absolutely! Just replace the all-purpose flour, with your gluten-free flour blend.
<Remember it later>
Planning to try this recipe soon? Pin it for a quick find later!
<Remember it later>
Planning to try this recipe soon? Pin it for a quick find later!
Peanut Butter Blossom Bars
Ingredients
- ½ c granulated white sugar
- ½ c packed brown sugar
- ½ c 1 stick salted butter, at room temperature
- ½ c creamy or chunky peanut butter
- 1 large egg
- 2 tbsp milk
- 1 tsp vanilla extract
- 1¾ c all purpose flour
- 1 tsp baking soda
- ½ tsp salt
- 40 Hershey's Kisses unwrapped
Instructions
- Before you begin make sure to preheat your oven to 350F and grease a 9x13-inch pan. Ensure that there is space, in your freezer for later use.
- To start take a bowl. Beat together the white sugar, brown sugar, butter and peanut butter until well combined. Then add in the egg, milk and vanilla extract while continuing to mix.
- Gradually incorporate the flour, baking soda and salt into the mixture until everything is thoroughly combined.
- Next evenly press the dough into the pan. Bake it for about 19 to 24 minutes or until it sets and turns lightly golden.
- Out of the oven immediately press rows of Hershey's Kisses into the dough.
- Now comes a crucial step – place the pan in the freezer until both the cookies are chilled and the kisses become firm.
- Finally remove the pan from the freezer. Cut the dough into 40 bars. You can store them in a container. Keep them frozen, for future enjoyment.
Notes

I’m Bitty, owner of nodashofgluten.com, where I share simple, delicious recipes for all tastes, including gluten-free. Check out my “About Me” page for more info!


