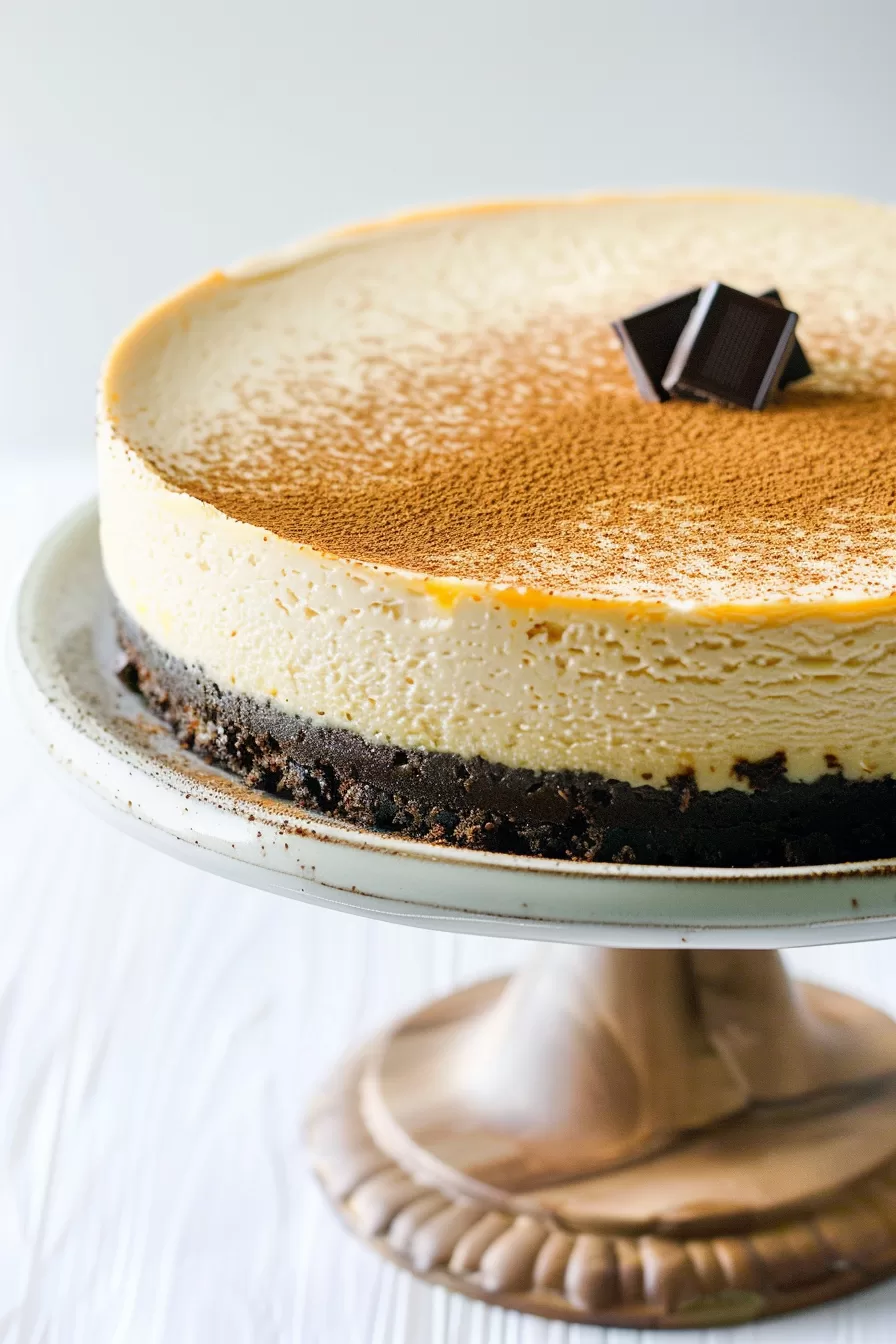
Rich Chocolate Orange Cheesecake
You know those desserts that just make you stop and say, "Oh wow, this is good"? Yeah, this Rich Chocolate Orange Cheesecake is one of those. It’s got this insanely creamy, melt-in-your-mouth texture, with a zing of orange that just brightens up the whole thing. And don’t even get me started on that Oreo crust—it’s crunchy, chocolatey, and totally addictive. It’s the kind of cheesecake that’s perfect for when you want to treat yourself or impress guests without a ton of effort. Trust me, once you taste it, you’ll wonder why you didn’t make it sooner. Plus, it looks like you spent hours in the kitchen, but it’s actually pretty simple to whip up. Total win!
12 Servings
Ingredients
For the crust:
- 30 Oreo cookies crushed (plus a few extra for garnishing, if you’re feeling fancy)
- 4 tbsp unsalted butter melted
For the filling:
- 3 packages cream cheese 8 ounces each, softened to room temp
- 1/3 c granulated sugar
- 5 tbsp all-purpose flour
- 1/4 tsp salt
- Zest of 1 large orange go for the brightest, juiciest one you can find
- A few drops of yellow or orange food coloring totally optional, but fun if you like color
- 3/4 c frozen orange concentrate thawed to room temp
- 1 1/4 c sour cream or Greek yogurt at room temp
- 1 egg room temp
Instructions
- First things first—preheat your oven to 375˚F. Toss your crushed Oreos and melted butter into a blender or food processor and give it a good pulse until it turns into a nice, sandy mixture. Take that crumbly goodness and press it firmly into the bottom of a 9-inch springform pan, pushing it up the sides just a little. Pop it in the oven and bake for about 10 minutes, then pull it out and let it cool off while you prep the filling.
- Now, lower the oven temperature to 300˚F. Grab a big bowl and mix together the cream cheese, flour, sugar, salt, orange zest, and a few drops of food coloring if you’re using it. You want the mixture to be smooth and creamy—no lumps! Once it’s looking good, stir in the thawed orange juice concentrate, sour cream, or Greek yogurt, and finally, the egg. Mix until everything is just combined, but don’t overdo it.
- Here’s a little trick to help keep your cheesecake nice and moist: fill an oven-safe dish with boiling water and place it on the same rack where your cheesecake will bake. This creates a steamy environment and helps prevent cracks. Carefully pour your filling into the cooled crust and gently transfer the pan into the oven. Let it bake for 60 minutes.
- Once the time’s up, switch off the oven, but let the cheesecake stay inside. Prop the oven door open slightly with a wooden spoon and let the cheesecake cool in there for about 45 minutes.
- Once you take the cheesecake out of the oven, give it another 45 minutes to cool at room temperature. After that, transfer it to the fridge for at least 4 hours—overnight is even better if you can wait that long. When you’re ready to serve, top with some extra crushed or sliced Oreos for a little extra flair, slice it up into 12 pieces, and enjoy!
Notes
To make this cheesecake gluten-free, just swap out the Oreo cookies for a gluten-free version—there are plenty of options available nowadays! With that simple change, you’ll still get the same incredible flavor and texture without any gluten worries. The filling is naturally gluten-free, so the recipe is super easy to adapt, and no one will even miss the gluten! You can serve it up to everyone and watch them devour it with zero hesitation.