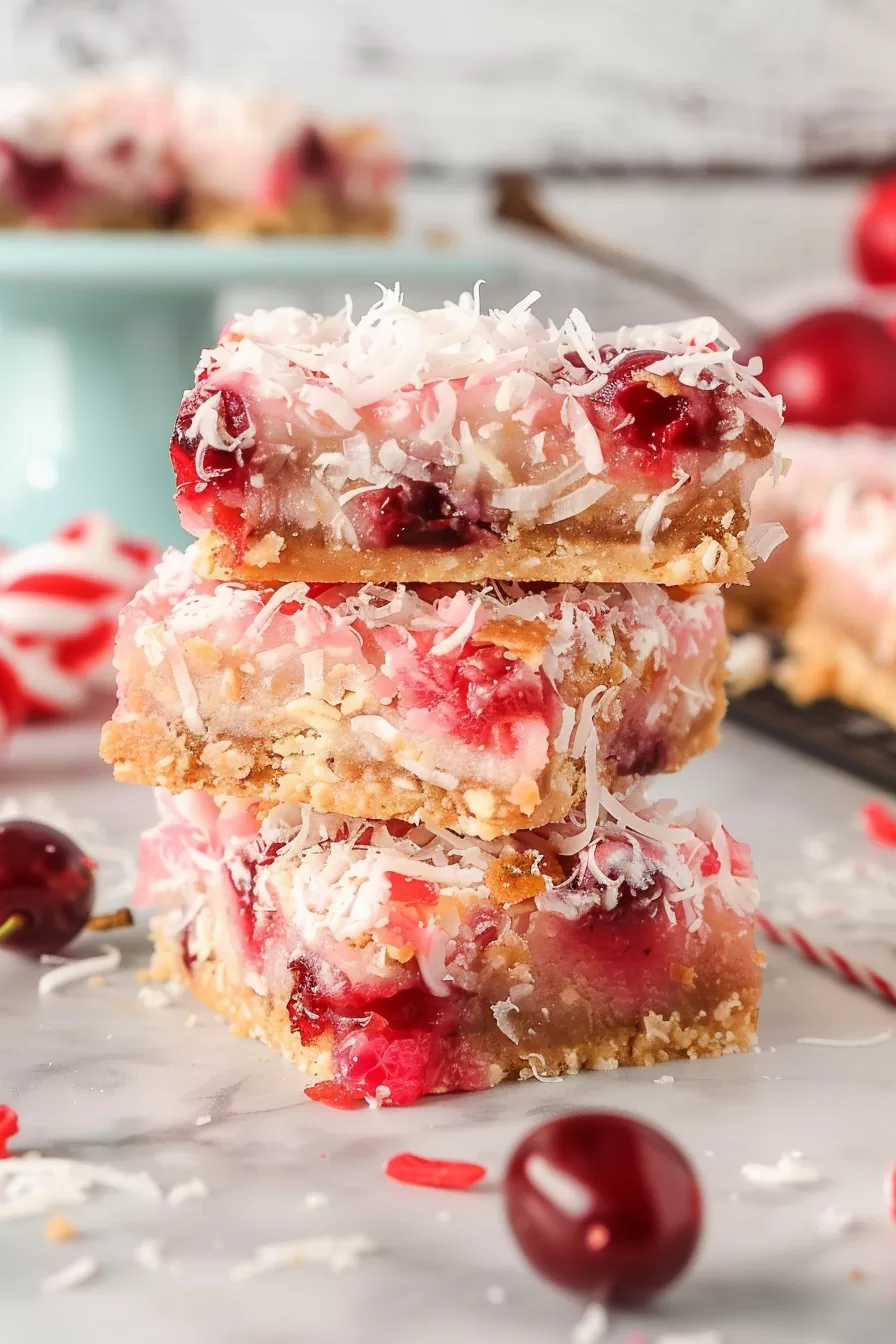
Chewy Cherry Coconut Magic Bars
These Chewy Cherry Coconut Magic Bars are basically everything you love about dessert, packed into one delicious square. Imagine a buttery, crumbly graham cracker crust topped with layers of sweet, chewy coconut, and bright maraschino cherries, all held together by rich sweetened condensed milk. They’re the kind of treat that’s perfect for holidays, get-togethers, or just when you need a little something sweet in your life. And the best part? They’re super easy to make but look and taste like they took way more effort—total win, right?
24 Servings
Ingredients
For the crust:
- 1 ½ c all-purpose flour
- 1 c graham cracker crumbs
- ⅔ c packed brown sugar
- 1 tsp baking powder
- ½ tsp salt
- 1 c butter melted
For the filling:
- 4 c unsweetened finely shredded coconut
- 2 cans 14 oz each sweetened condensed milk
- 2 jars 10 oz each maraschino cherries, drained and chopped
- 2 tsp vanilla extract
- 1 tsp almond extract
Instructions
- First things first—set your oven to 325°F and give your 9x13-inch baking pan a good greasing. You want to make sure nothing sticks later!
- Now, grab a small bowl and mix together the flour, graham cracker crumbs, brown sugar, baking powder, and salt. Once that’s all combined, pour in the melted butter and stir it until it looks like buttery crumbs.
- Take that crumb mixture and press it evenly into the bottom of your prepared pan. Don’t worry if it’s not perfect—just make sure it covers the base.
- In another bowl, mix up all the filling ingredients until everything is well combined. Then, pour that sweet coconut-cherry goodness right over the crust, spreading it out so it's nice and even.
- Pop the pan into the oven and let it bake for about 35 to 40 minutes, or until the edges turn a lovely golden brown.
- Once baked, pull it out and let it cool on a wire rack for about an hour. This part is key for letting everything set up.
- After that, cover the pan and stick it in the fridge for at least four hours (or overnight, if you’ve got the patience) before slicing them into bars.
Notes
Want to make these bars gluten-free? No problem at all! Just swap out the all-purpose flour for your favorite gluten-free flour blend (make sure it’s one that’s good for baking, like a 1-to-1 substitute). And instead of regular graham cracker crumbs, go for gluten-free graham crackers. Crush them up just like you would the regular ones, and you’re good to go! The rest of the ingredients are naturally gluten-free, so you won’t have to worry about making any more changes. You’ll still get all that chewy, buttery goodness, just without the gluten!