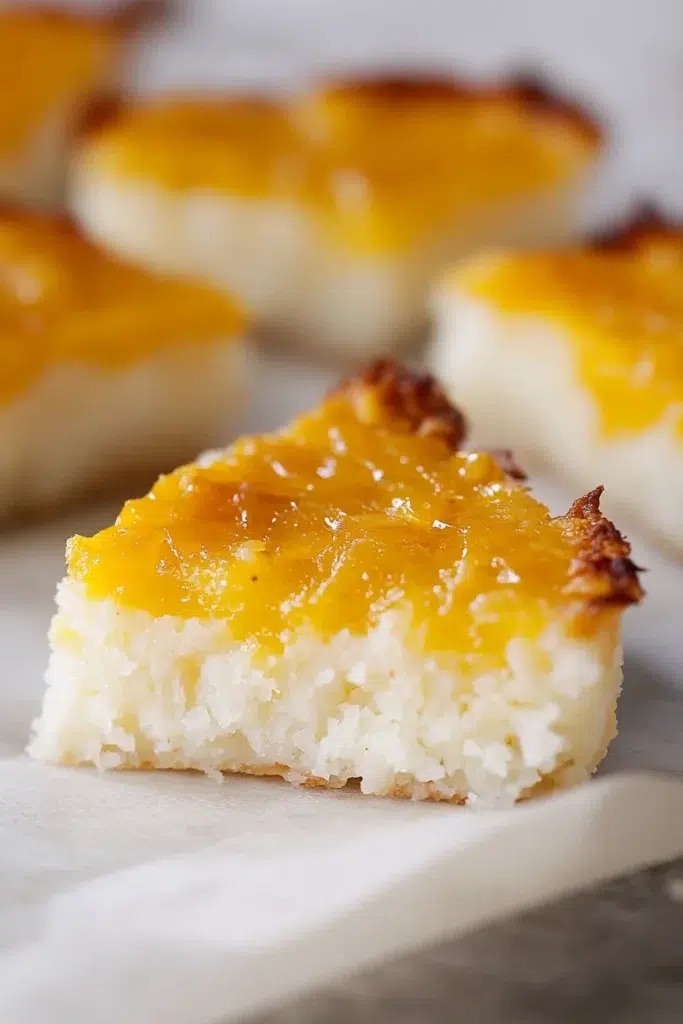
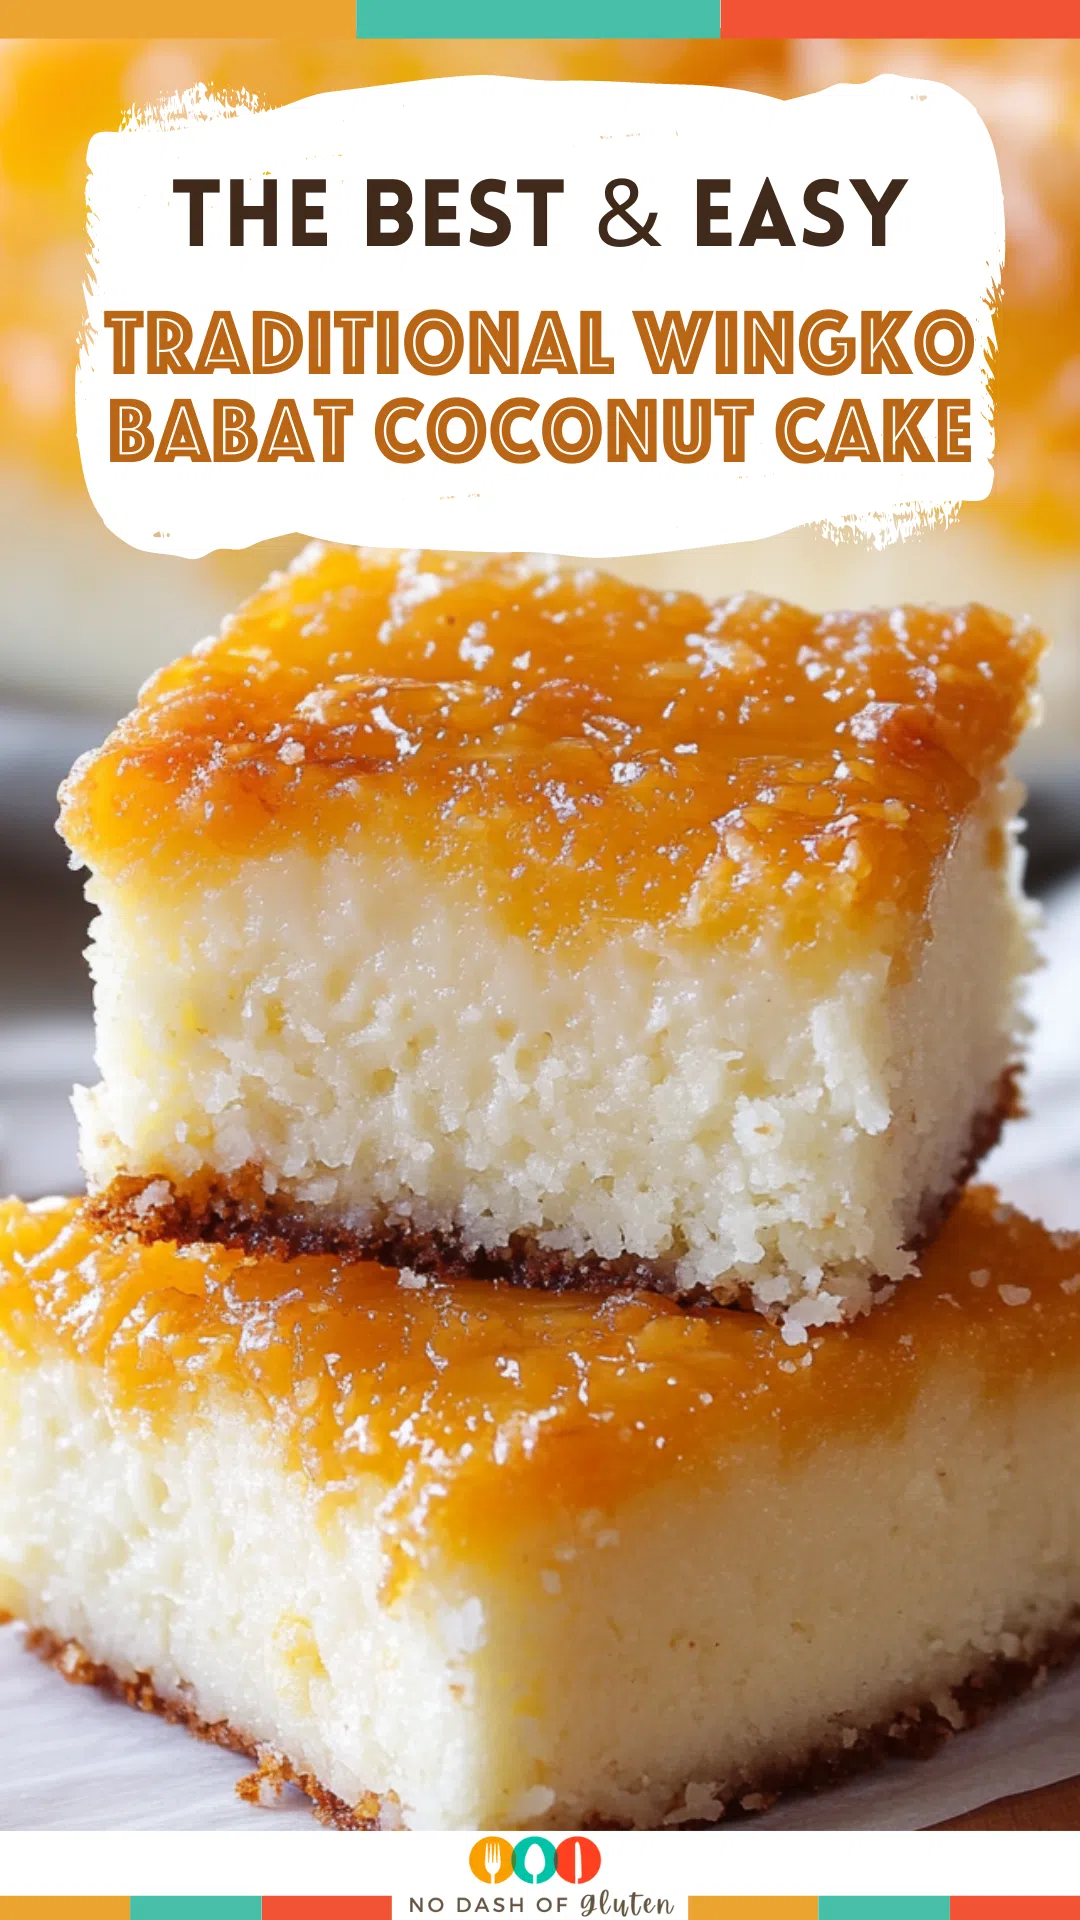
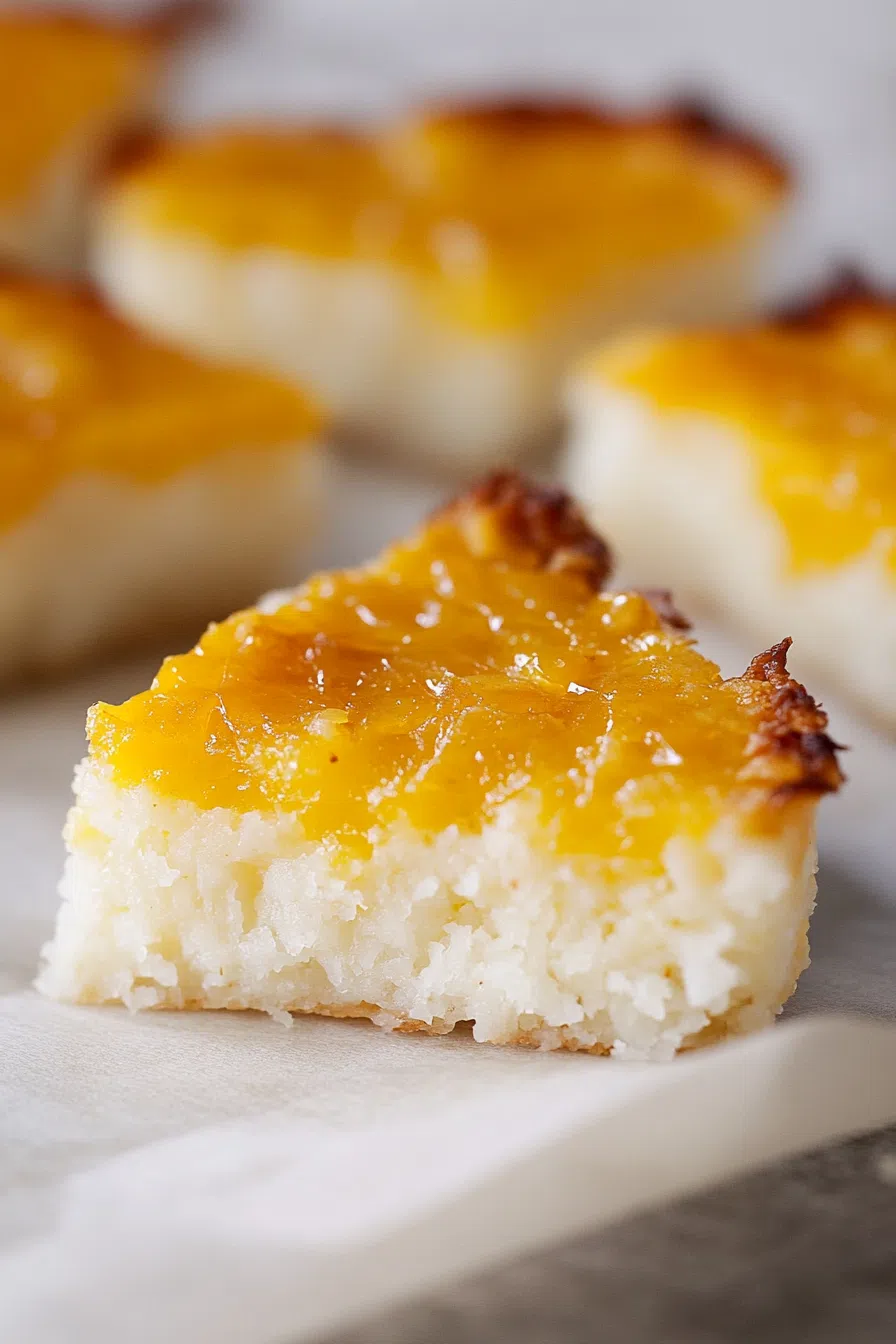
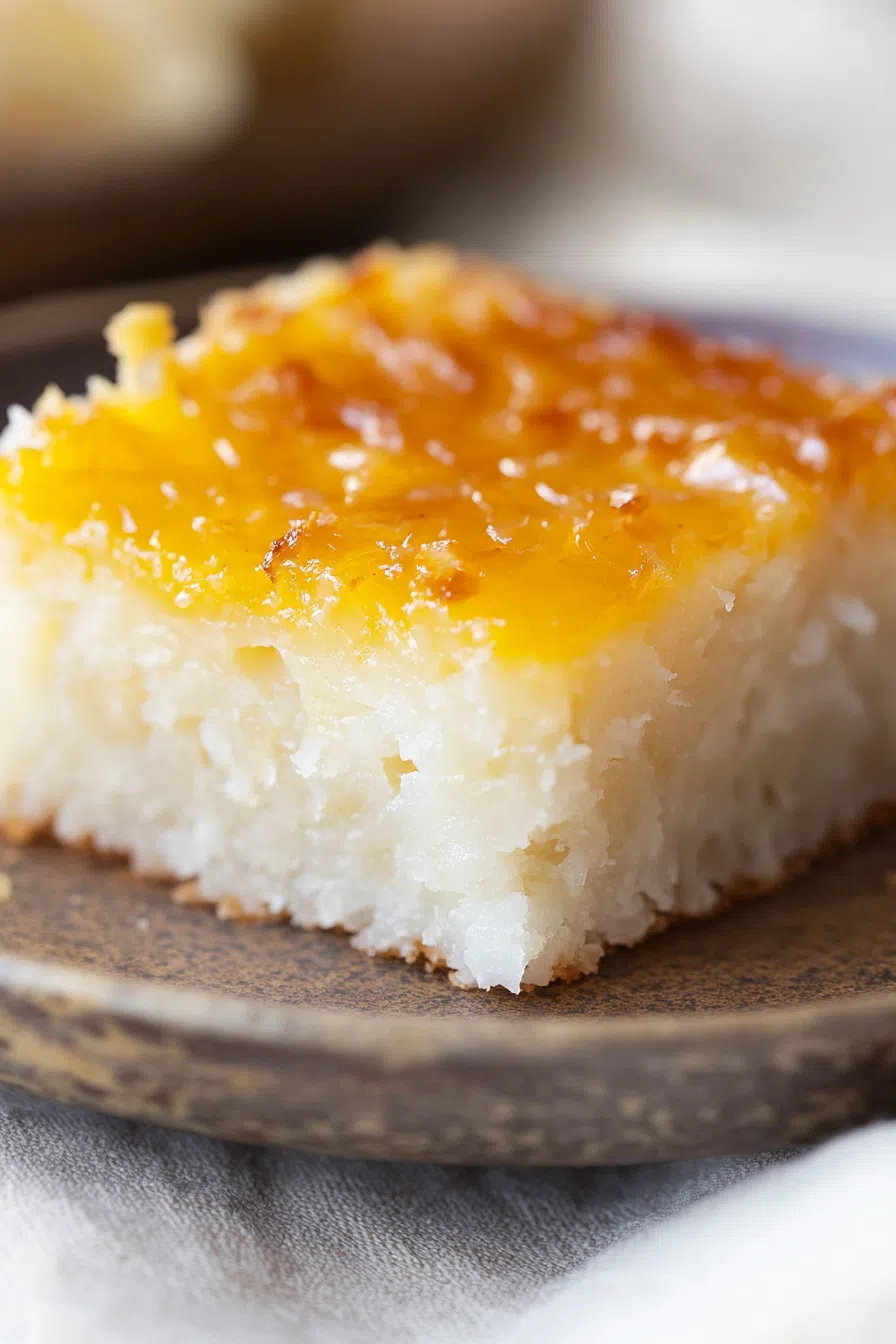
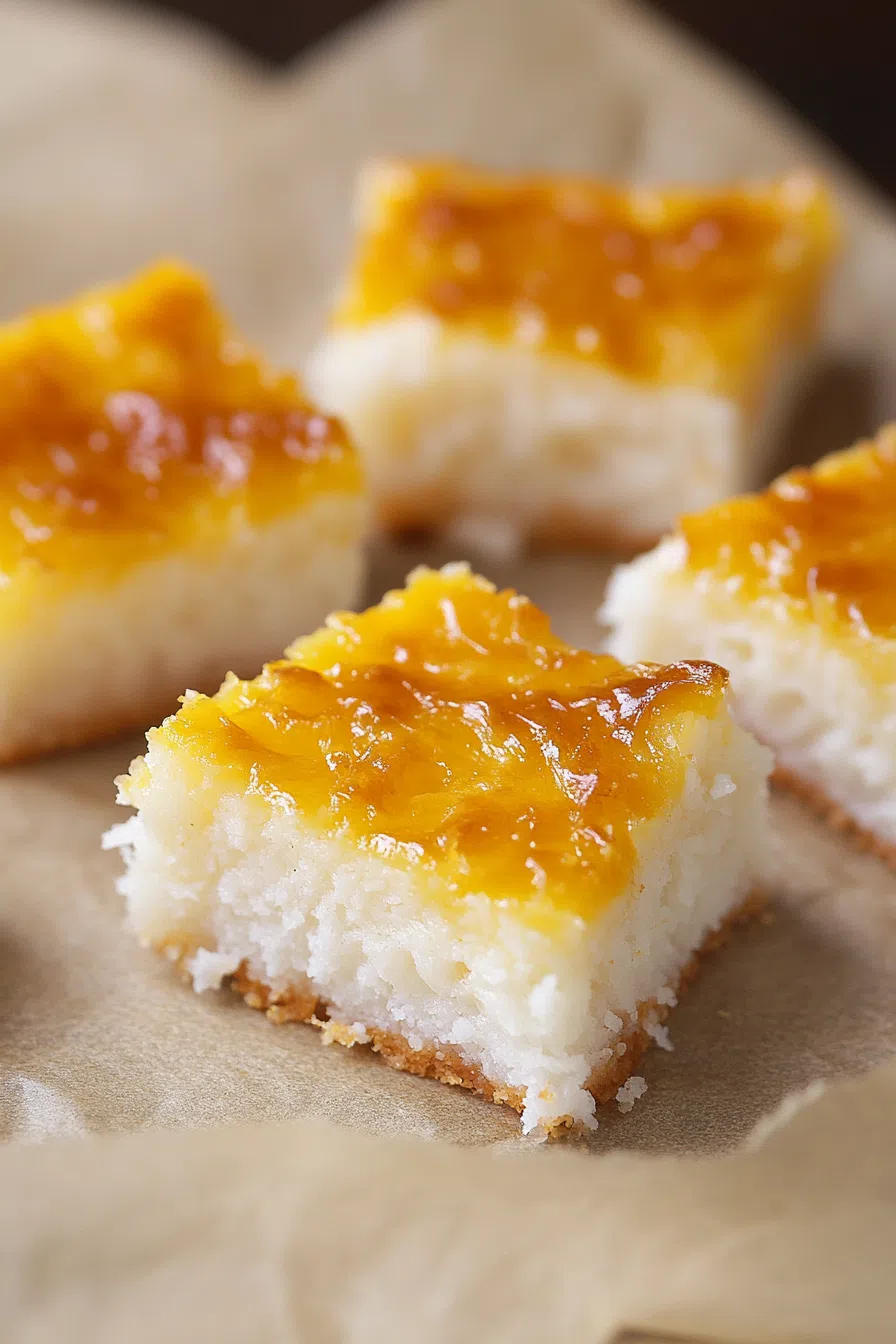
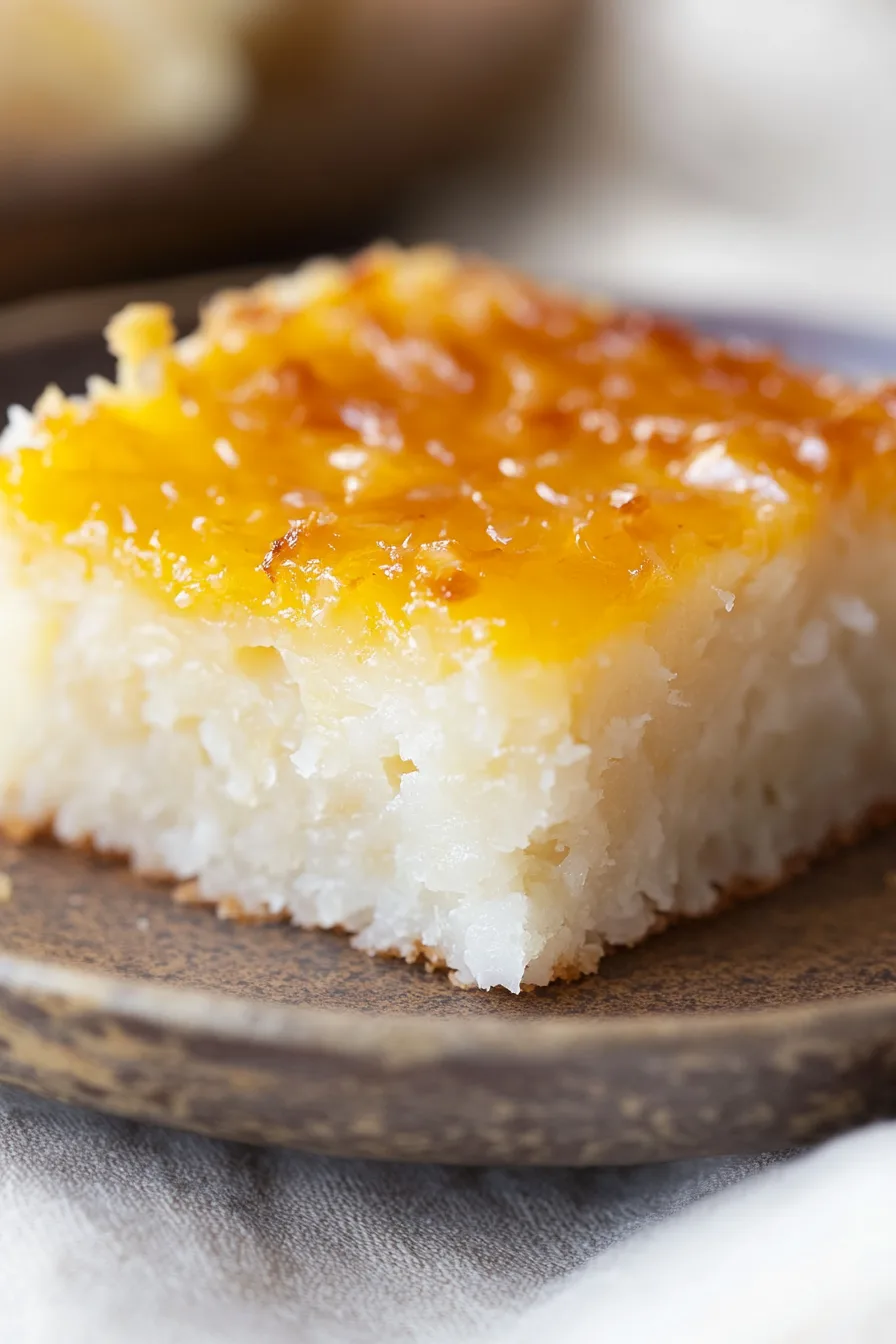
Chewy, coconutty, and naturally gluten-free, Wingko Babat is an Indonesian coconut cake made with simple ingredients and packed with flavor.

Remember it later!
Planning to try this recipe soon? Pin it for a quick find later!
Remember it later!
Planning to try this recipe soon? Pin it for a quick find later!
Let me take you back to a moment that still feels like a postcard memory. I was wandering through this bustling Indonesian market on a sticky, humid evening, unsure of what to try next. Vendors were calling out, laughter was everywhere, and the air smelled like grilled sweetness mixed with tropical humidity. That’s when a kind older man handed me a little square of Wingko Babat, wrapped in a neat banana leaf. I didn’t know what to expect, but the first bite? Oh wow.
It was like coconut had decided to throw a party in my mouth. Chewy, sweet, slightly smoky from being grilled—it was everything I didn’t know I needed. Fast forward to today, and whenever I make this recipe, I’m right back in that market. Of course, my kitchen doesn’t have that lively market buzz, but it fills with the same irresistible smell. I’ve tweaked the process for my convenience (no banana leaves here!), but the essence remains. And honestly? This coconut cake isn’t just a dessert. It’s a trip to Indonesia, without the jet lag.
Here’s a quick peek at what’s inside:
Table of content
Why You’ll Love This Traditional Wingko Babat Coconut Cake Recipe?
- Naturally Gluten-Free: No fancy substitutions needed—glutinous rice flour does all the heavy lifting.
- Rich Coconut Flavor: Full-fat coconut milk and sweetened coconut team up for a tropical dream.
- Chewy and Satisfying: It’s like a tropical brownie but with a unique, dense texture.
- Minimal Ingredients: Six simple pantry staples, and you’re good to go.
- Perfect for Sharing: Slice it into squares or triangles, and you’ve got a crowd-pleasing treat.
Ingredient Notes:
Let’s break it down because these ingredients aren’t just components—they’re the soul of Wingko Babat.
- Eggs: The egg whites give the cake structure, while the yolks brushed on top make it shiny and golden. It’s teamwork at its finest.
- Sugar: Sweetens the cake just enough to let the coconut shine. Want to experiment? Swap half for brown sugar for a deeper flavor.
- Coconut Milk: Full-fat is the only way to go. The creaminess adds richness, and honestly, lite coconut milk just won’t cut it here.
- Shredded Coconut: Adds texture and amplifies the coconut flavor. I’ve tried it with unsweetened coconut, and while it’s still good, it’s not quite the same.
- Glutinous Rice Flour: This is the magic ingredient. It gives the cake that irresistible chewiness. Regular rice flour? Don’t even think about it.
- Vanilla Extract: A splash of vanilla rounds out the flavors and ties everything together.
How To Make Traditional Wingko Babat Coconut Cake?
Wingko Babat might sound fancy, but it’s surprisingly simple. Trust me, if I can make it on a lazy Sunday, so can you.
- Preheat the Oven
Start by setting your oven to 350°F. I like to take this time to gather all my ingredients because let’s be real—there’s nothing worse than realizing you’re out of coconut halfway through. - Whisk the Batter
In a medium bowl, whisk the egg whites and sugar until smooth. Slowly add the coconut milk, shredded coconut, glutinous rice flour, and vanilla extract. Stir until everything’s combined. The batter will look creamy and smell like tropical heaven. - Pour and Bake
Pour the batter into an 8×8-inch baking pan. Spread it out evenly, but don’t stress—it doesn’t have to be perfect. Bake for about 45 minutes, and let your kitchen fill with the smell of coconut goodness. - Brush with Egg Yolks
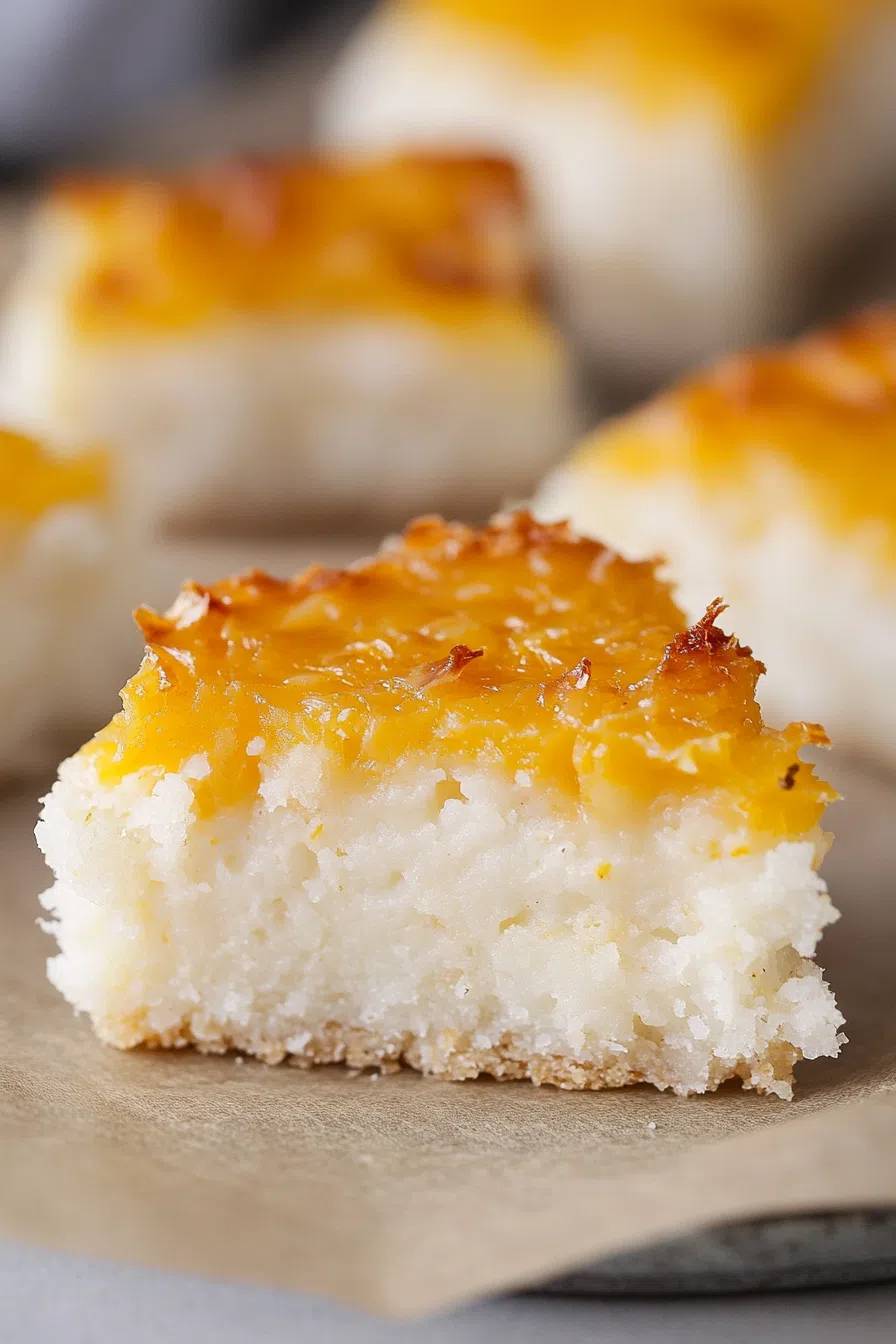
Once the cake is baked, take it out of the oven and gently brush the top with the beaten egg yolks. Switch your oven to broil, slide the pan back in, and keep an eye on it. In 5–10 minutes, you’ll have a golden, glossy top that screams, “Eat me!” - Cool and Chill
Let the cake cool completely on a wire rack. Once it’s cooled, cover it with plastic wrap and refrigerate it overnight. I know, waiting is hard, but this step is key to getting that perfect chewy texture. - Slice and Serve
Slice the cake into squares or triangles—whatever feels right—and enjoy. It’s fantastic chilled, but if you’re like me, you might sneak a room-temperature piece because patience is overrated.
Storage Options:
Wingko Babat is a keeper—literally. Store it in an airtight container in the fridge for up to a week. Want to make it last longer? Freeze individual slices wrapped in plastic wrap and stash them in a freezer bag. Thaw overnight in the fridge, and they’ll taste just as good as day one.
Variations and Substitutions:
Want to switch things up? Here are some ideas:
- Add Pandan: A splash of pandan extract gives it a light green color and a floral aroma.
- Go Fruity: Fold in tiny chunks of fresh pineapple or mango for a tropical twist.
- Less Sweet: Use unsweetened coconut and cut back on the sugar for a more subtle flavor.
- Sesame Seeds: Sprinkle sesame seeds on top before baking for a nutty crunch.
What to Serve with Traditional Wingko Babat Coconut Cake?
Wingko Babat is delicious on its own, but pairing it with something else can make it extra special:
Want To Save This Recipe?
Enter your email below and we'll send the recipe straight to your inbox.
- Hot Tea: Jasmine or green tea balances the sweetness perfectly.
- Coffee: A strong, black coffee is a great contrast to the rich coconut.
- Fresh Fruit: Mango or papaya slices add a refreshing element.
- Ice Cream: A scoop of vanilla or coconut ice cream? Yes, please.
Frequently Asked Questions:
Can I skip the overnight chilling?
Technically, yes, but you’d be missing out on that signature chewy texture. Trust me, it’s worth the wait.
Can I use regular rice flour?
Nope, glutinous rice flour is non-negotiable. It’s what makes Wingko Babat, well, Wingko Babat.
How do I know it’s done baking?
The edges should look set, and the center should feel firm. If you’re unsure, a toothpick inserted in the middle should come out clean.
So, what do you think? Ready to give this chewy, coconut-filled treat a try? Let me know how it turns out—or better yet, tell me how you made it your own!
Remember it later!
Planning to try this recipe soon? Pin it for a quick find later!
Remember it later!
Planning to try this recipe soon? Pin it for a quick find later!
Keep the Flavor Coming – Try These:
Traditional Wingko Babat Coconut Cake
Ingredients
- 2 eggs separated
- 1¼ c granulated sugar
- 2¼ c full-fat canned coconut milk
- 3 c shredded sweetened coconut
- 1½ c glutinous rice flour
- 1 tsp vanilla extract
Instructions
- Preheat your oven to 350°F.
- In a medium bowl. Whisk the egg whites. And sugar. Until well combined. Gradually stir in the coconut milk, shredded coconut, glutinous rice flour, and vanilla extract. Make sure the mixture is smooth. With no lumps.
- Pour the batter into an 8x8-inch baking pan. Ensuring it's evenly spread.
- Bake in the preheated oven. For 45 minutes.
- Carefully remove the pan. And gently brush the top with the egg yolks. Switch your oven to broil. Place the cake back in for 5-10 minutes. Until the top turns golden brown. Keep a close watch. To prevent burning.
- Let the cake cool completely in the pan on a wire rack. Once cooled, cover with plastic wrap. And refrigerate overnight (or at least 8 hours). To allow the cake to set.
- Cut the cake into squares or triangles. And enjoy it chilled from the fridge. Or at room temperature.
Notes

I’m Bitty, owner of nodashofgluten.com, where I share simple, delicious recipes for all tastes, including gluten-free. Check out my “About Me” page for more info!


