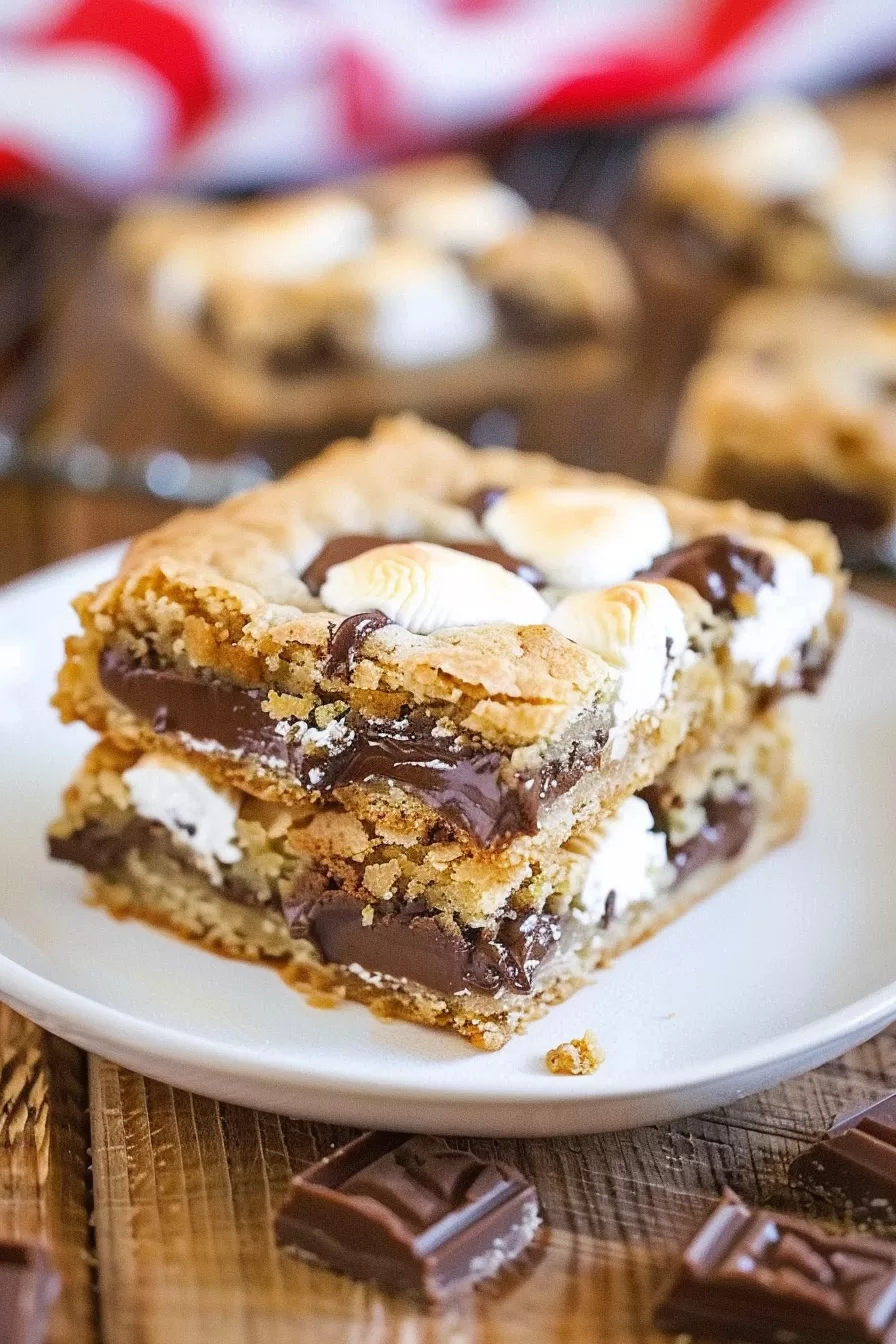
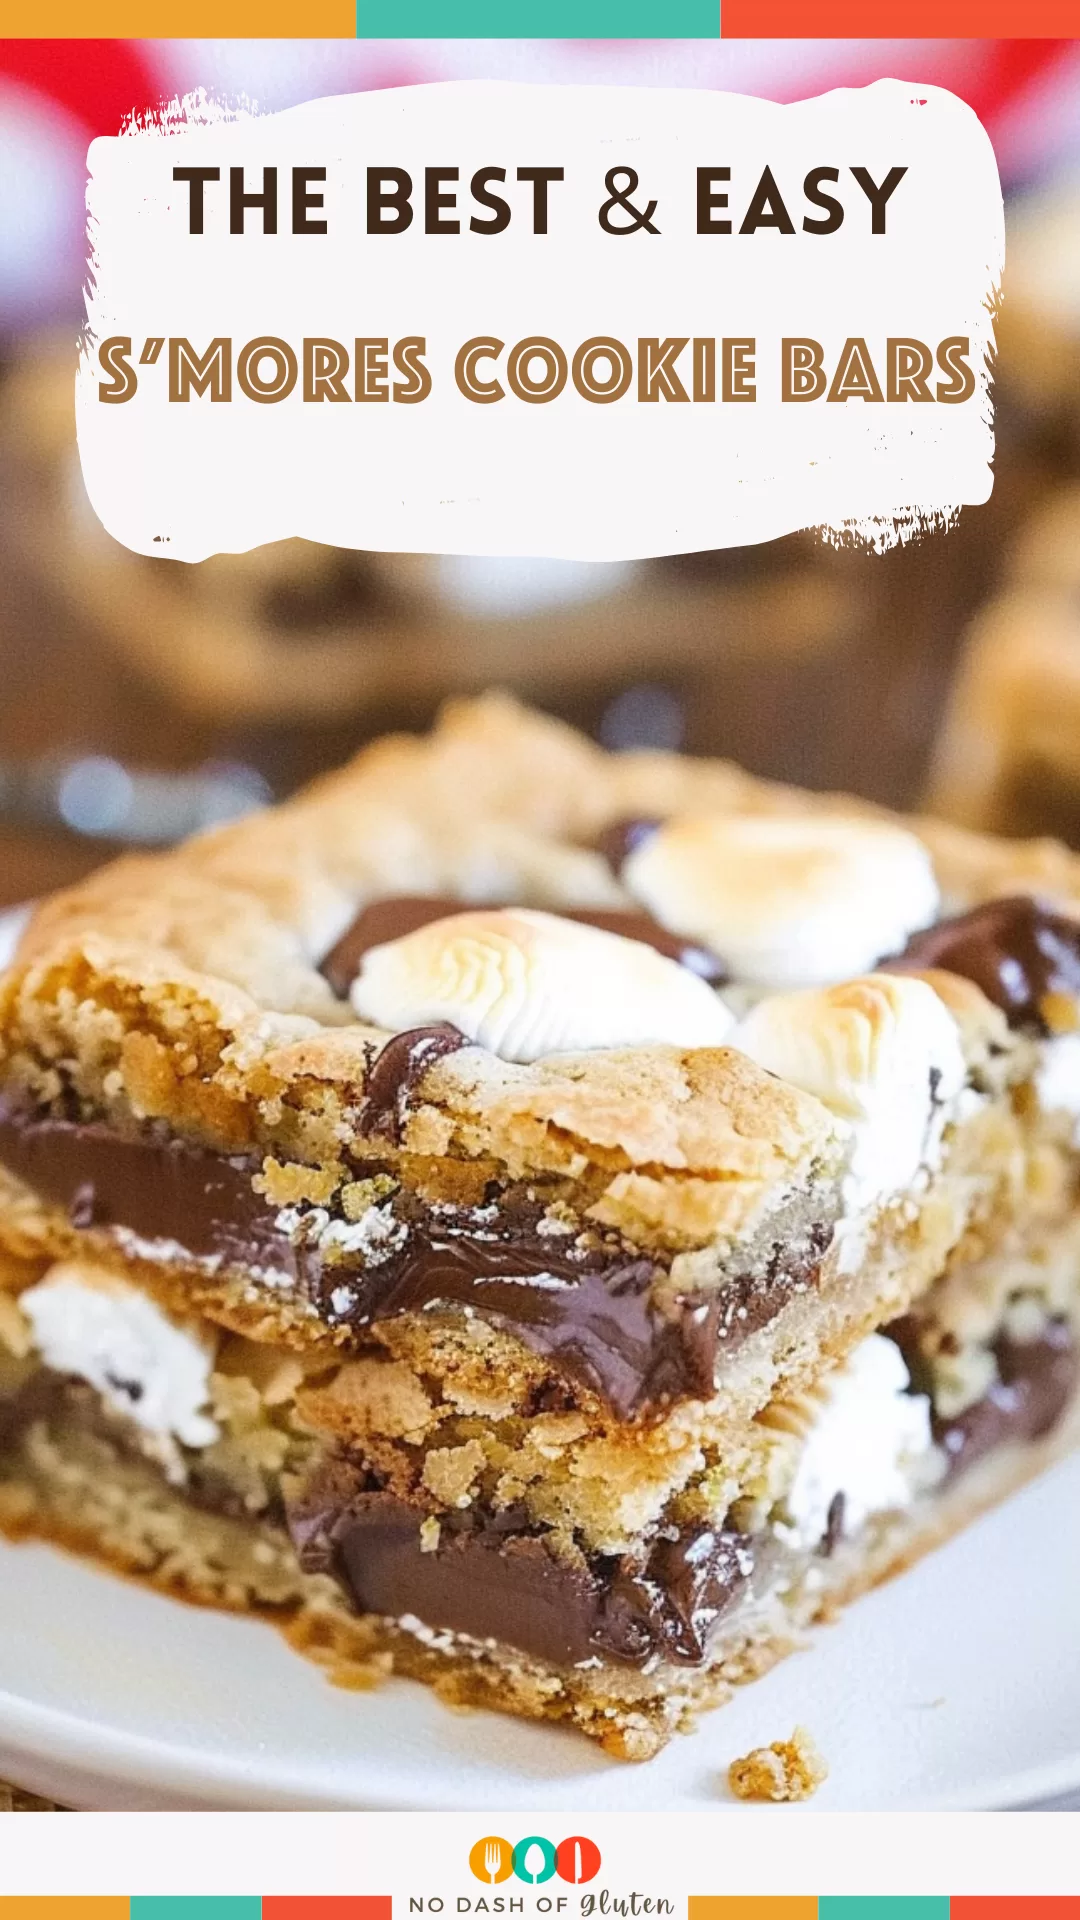
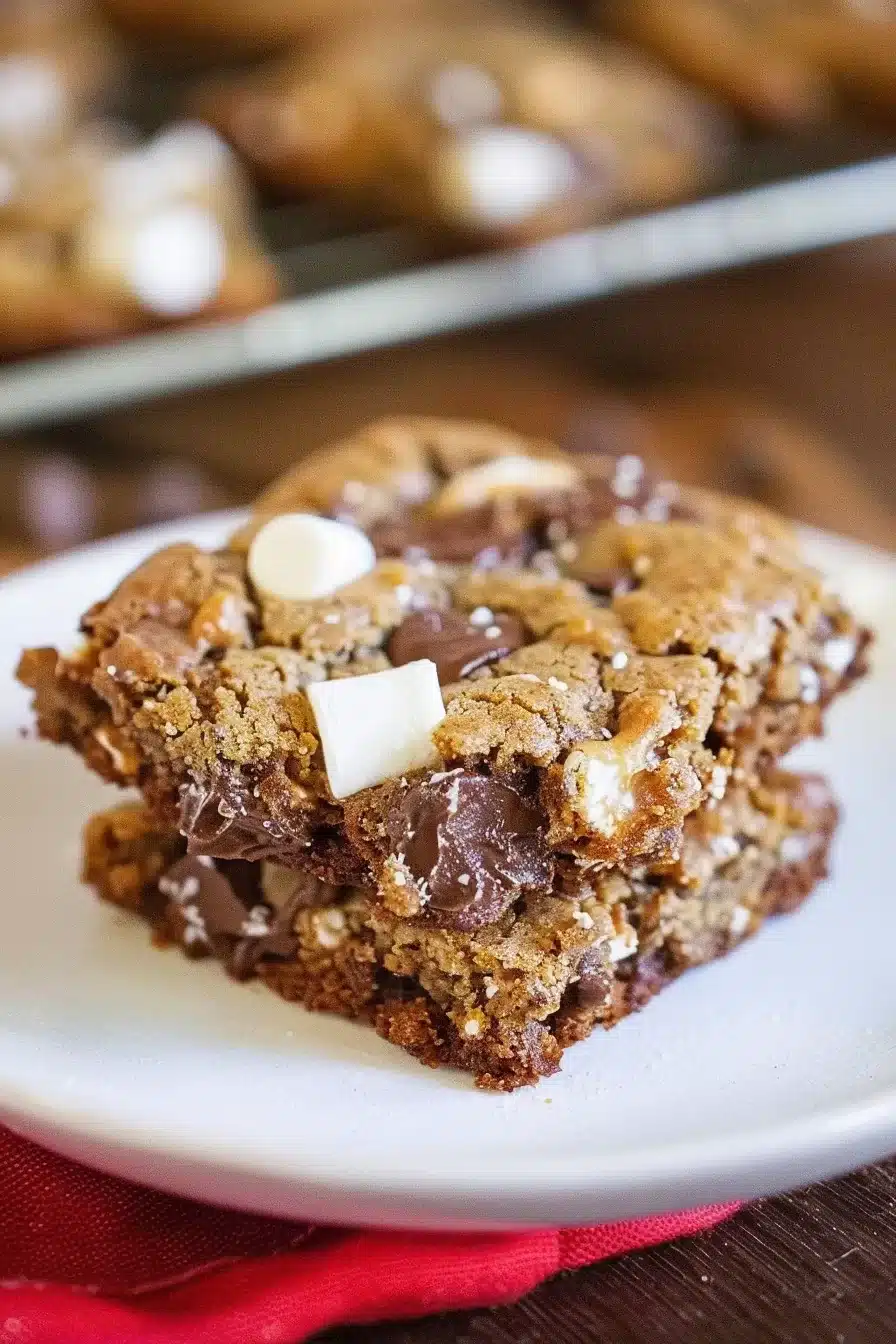
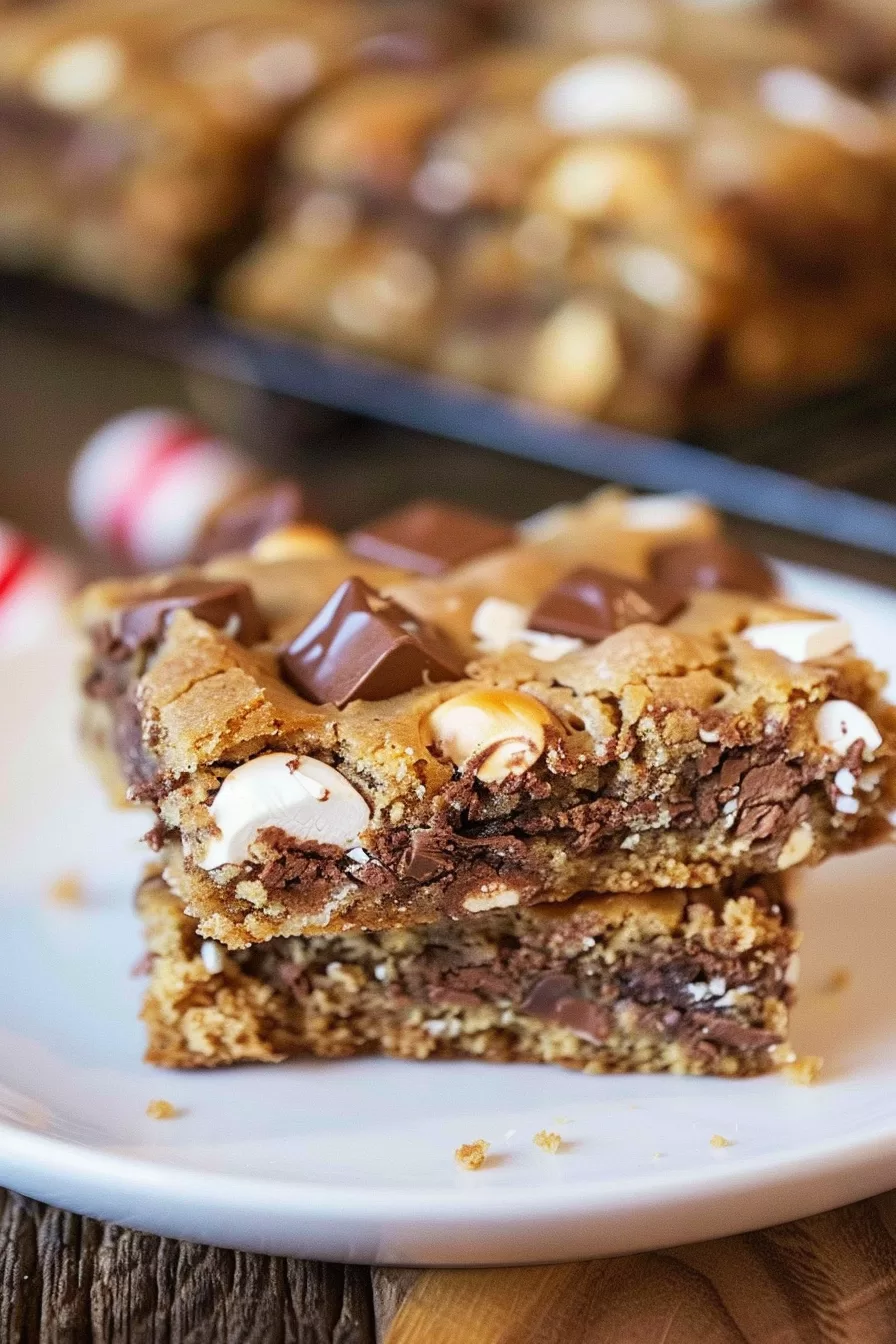
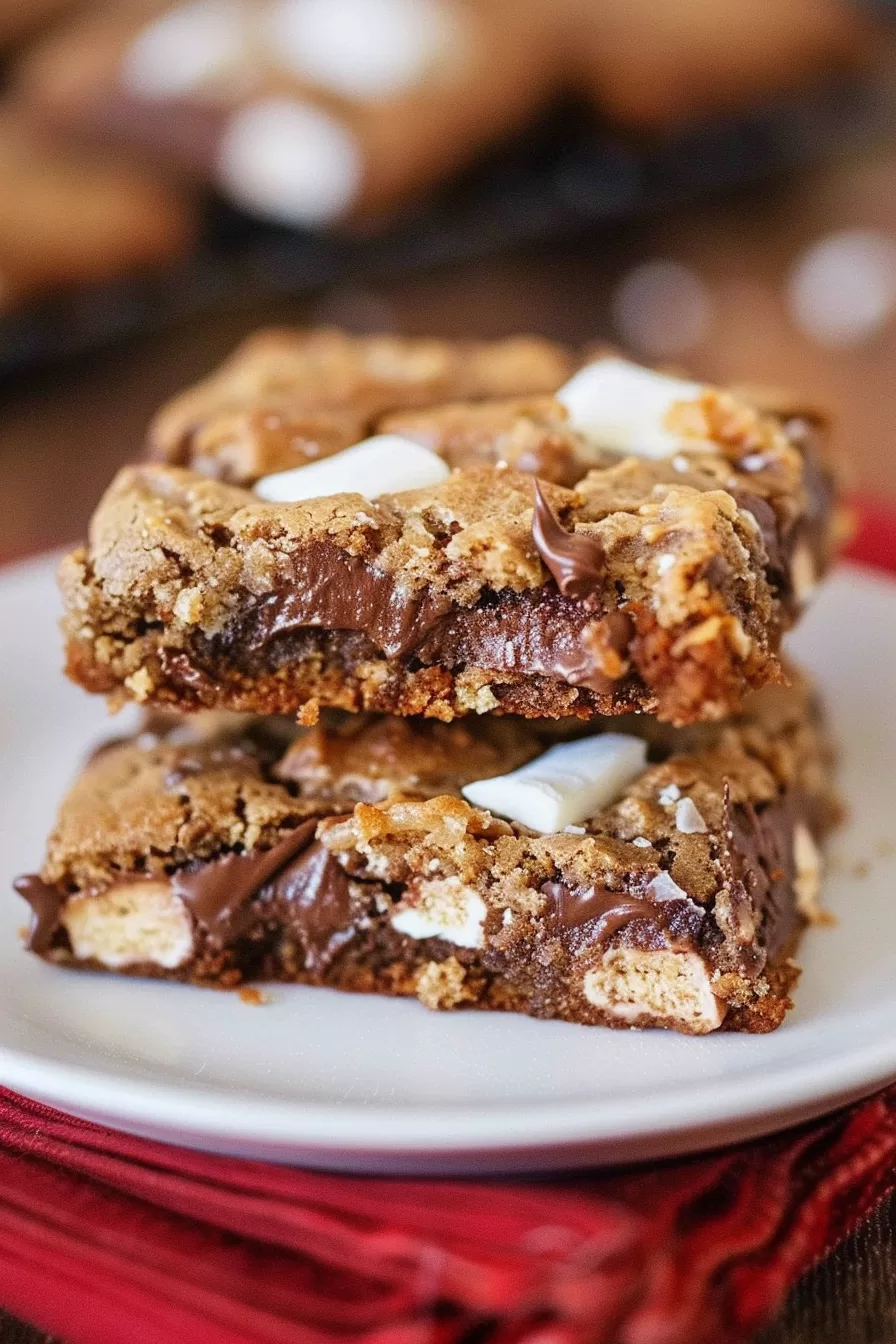
Satisfy your sweet tooth with gooey S’mores Cookie Bars! Layers of graham crackers, chocolate, and marshmallows—no campfire needed.
S’mores will always hold a special place in my heart. I mean, who doesn’t love the whole campfire ritual? Toasting marshmallows, squishing them between chocolate and graham crackers—it’s messy, it’s fun, and it’s so delicious. But if I’m being honest, I haven’t sat around a campfire in years. Life gets busy, and sometimes you just want the flavors without the fuss of starting a fire in your backyard (or explaining to your neighbors why smoke is wafting over their fence).

Remember it later!
Planning to try this recipe soon? Pin it for a quick find later!
Remember it later!
Planning to try this recipe soon? Pin it for a quick find later!
That’s where these S’mores Cookie Bars come in. The first time I made them, it was kind of a spur-of-the-moment thing. I had a box of graham crackers and some mini marshmallows sitting in the pantry, and I thought, Why not? I didn’t expect them to turn out so well, but wow—they nailed that s’mores flavor in the best way possible.
Now, they’re my go-to treat for family gatherings or whenever I need a little taste of summer nostalgia. My kids love them (of course), and I secretly love how easy they are to whip up. Because let’s face it—sometimes we want the campfire vibes without the effort of actually, you know, camping.
Here’s a quick peek at what’s inside:
Table of content
Why You’ll Love This S’mores cookie bars Recipe?
Here’s why these S’mores Cookie Bars are the ultimate dessert:
- Campfire Nostalgia Without the Fire: You get all the classic s’mores flavors—no smoky hair or marshmallow accidents required.
- Perfect Gooey Texture: Thanks to the marshmallows baked right in, every bite is the perfect mix of soft and chewy.
- Crowd-Pleasing: They’re ideal for parties, BBQs, or just a quiet evening with your Netflix queue.
- Quick and Easy: 10 minutes of prep and 30 minutes in the oven. You can’t beat that.
- Simple Ingredients: No fancy stuff—just pantry staples and good old Hershey’s chocolate.
Ingredient Notes:
Let’s break down why these ingredients work so well together:
- Graham Crackers: The base layer that gives these bars their signature s’mores vibe.
- Butter: Adds richness and makes the cookie dough irresistibly soft.
- Sugars: The combo of white and brown sugar gives the dough a hint of caramel flavor.
- Eggs & Vanilla: Classic cookie essentials for binding and flavor.
- Flour, Salt & Baking Soda: These staples give the dough structure without making it too dense.
- Mini Marshmallows: They melt into gooey pockets of happiness—seriously, you’ll love them.
- Hershey’s Milk Chocolate Bars: Because what’s a s’more without Hershey’s, right?
Pro Tip: If you like your bars extra gooey, toss a handful of marshmallows on top before baking. Trust me, it’s worth it.
How To Make S’mores cookie bars?
These bars are so easy to make, you’ll wonder why you haven’t tried them before.
- Preheat and Prep:
Preheat your oven to 375°F. Line a 13×9-inch pan withparchment paper , leaving a little overhang on the sides. It’s a small step, but it makes lifting the bars out so much easier later. - Layer the Graham Crackers:
Arrange graham crackers in a single layer to cover the bottom of the pan. You might need to break a few to make them fit perfectly—it’s like edible Tetris. - Make the Dough:
In a mixing bowl, cream together the butter, granulated sugar, and brown sugar until smooth and fluffy. Beat in the eggs and vanilla until fully combined. In a separate bowl, whisk together the flour, salt, and baking soda, then slowly add it to the wet ingredients. Stir in the chocolate chips and mini marshmallows—this is where the magic happens. - Spread the Dough:
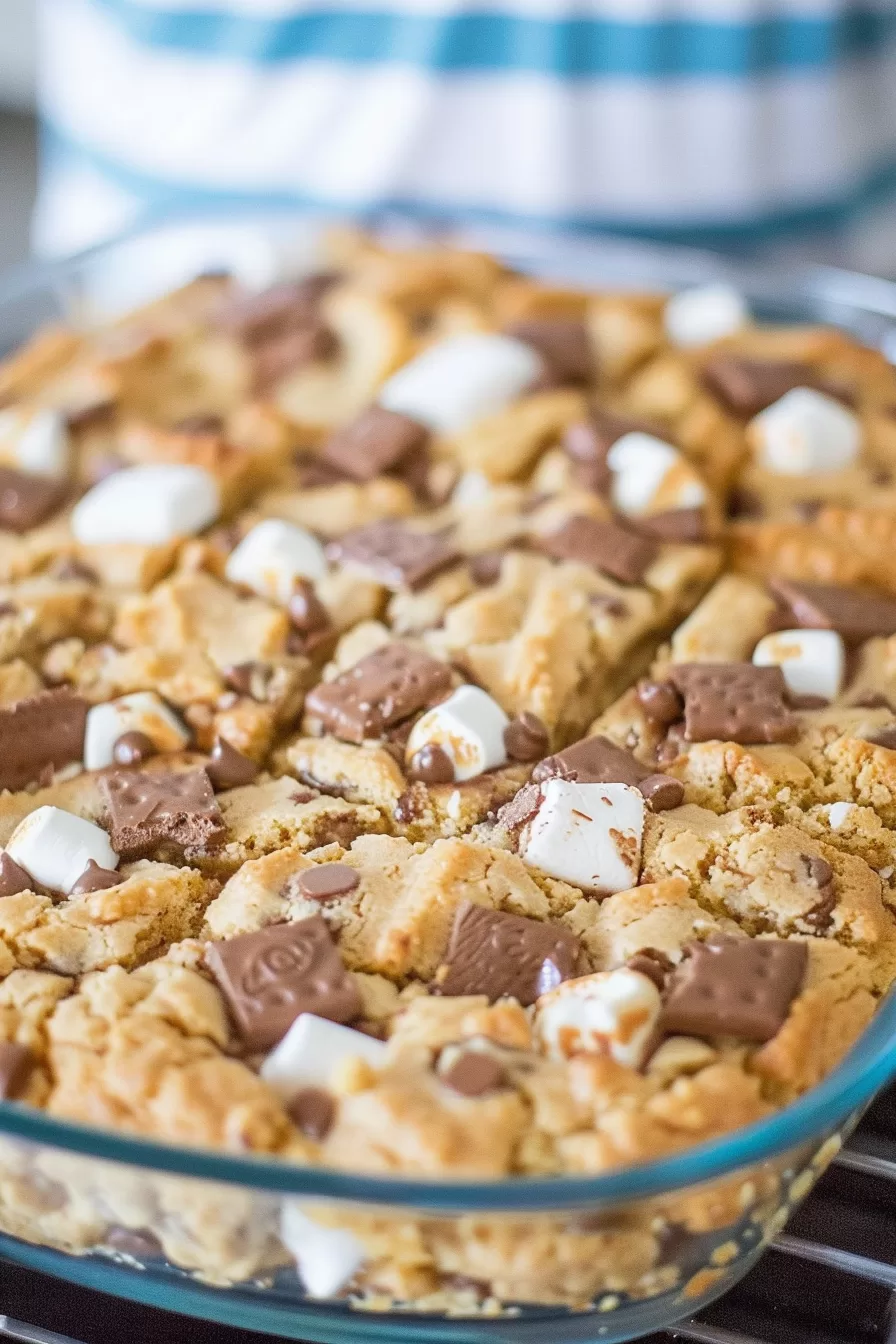
Scoop the dough over the graham cracker layer and spread it out evenly. It’s okay if it looks a little rustic; that’s part of the charm. - Optional Marshmallow Top:
Feeling fancy? Sprinkle a few extra marshmallows on top for that perfectly gooey, toasted look. - Bake:
Pop the pan into the oven and bake for 25–30 minutes. Keep an eye on them—if the edges brown too quickly, cover the pan loosely with foil. - Add the Chocolate Bars:
As soon as the bars come out of the oven, press the Hershey’s squares gently onto the top. They’ll soften just enough to stick but still hold their shape. - Cool and Slice:
Let the bars cool in the pan for about 20–30 minutes. I know it’s hard to wait, but this step makes slicing so much easier. Use theparchment paper to lift them out, slice into squares, and enjoy!
Storage Options:
Here’s how to keep your S’mores Cookie Bars fresh:
Want To Save This Recipe?
Enter your email below and we'll send the recipe straight to your inbox.
- Room Temperature: Store in an airtight container for up to 3 days.
- Fridge: If you like a firmer texture, refrigerate them for up to a week.
- Freezer: Wrap individual bars in plastic wrap and freeze for up to 3 months. Thaw at room temp or enjoy them cold—they’re delicious either way.
Variations and Substitutions:
Want to get creative? Here are some fun twists:
- Chocolate Swaps: Try dark chocolate, white chocolate, or even peanut butter cups for a fun twist.
- Add Peanut Butter: Mix a swirl of peanut butter into the dough or drizzle it on top after baking.
- Vegan Version: Use plant-based butter, egg substitutes, and dairy-free chocolate.
- Extra Crunch: Add chopped nuts or pretzels to the dough for added texture.
What to Serve with S’mores cookie bars?
These bars are amazing on their own, but if you’re looking to level up:
- Vanilla Ice Cream: Warm bars + cold ice cream = heaven.
- Hot Cocoa: Perfect for dunking, especially on a chilly evening.
- Fresh Fruit: Strawberries or raspberries add a nice, tart contrast to the sweetness.
Frequently Asked Questions:
Can I use a smaller pan?
Sure, but the bars will be thicker, so you’ll need to bake them a little longer.
Do I have to use Hershey’s chocolate?
Nope! Any milk chocolate works, but Hershey’s gives it that classic s’mores flavor.
Can I make these ahead of time?
Absolutely! They taste even better the next day once all the flavors meld together.
And there you have it—S’mores Cookie Bars that are gooey, chocolatey, and full of nostalgic vibes. Whether you’re bringing a little summer into your winter or just want a fun treat, these bars are a must-try. So, tell me—what’s your favorite s’mores memory?
Remember it later!
Planning to try this recipe soon? Pin it for a quick find later!
Remember it later!
Planning to try this recipe soon? Pin it for a quick find later!
Keep the Flavor Coming – Try These:
s'mores cookie bars
Ingredients
- 7-8 graham crackers full, unbroken rectangles
- 1 cup 2 sticks unsalted butter, room temperature
- 3/4 cup granulated sugar
- 3/4 cup light brown sugar packed
- 2 large eggs
- 2 teaspoons vanilla extract
- 3 cups all-purpose flour
- 3/4 teaspoon salt
- 3/4 teaspoon baking soda
- 1/2 cup semi-sweet chocolate chips
- 1 cup mini marshmallows
- 2 regular-sized 1.55oz Hershey's Milk Chocolate Bars, broken into squares
Instructions
- Preheat and Prep: Begin by preheating your oven to 375 degrees Fahrenheit. Take a 13x9 inch pan. Line it with parchment paper making sure to leave a 2-inch overhang, on the sides for easy removal later.
- Layer the Graham Crackers: Place graham crackers in a single layer to cover the base of the pan. Break them into sections if needed to ensure an even fit.
- Creaming the Butter and Sugars: In the bowl of a mixer use the paddle attachment to cream room-temperature butter, granulated sugar and packed light brown sugar until they become smooth and fluffy.
- Add Eggs and Vanilla: Add eggs and vanilla extract into the butter-sugar mixture. Make sure to mix until everything is nicely combined.
- Combining Dry Ingredients: In another bowl whisk together all-purpose flour, salt and baking soda. Gradually fold this mixture into the butter mixture while adding chocolate chips and mini marshmallows along the way. Mix until everything is just blended.
- Spreading the Dough: Evenly spread out the cookie dough over the graham cracker layer, in your pan. Press it down firmly to create a surface.
- Optional Marshmallow Topping: For an extra touch of gooeyness you can sprinkle additional mini marshmallows on top of your cookie dough.
- Baking to Perfection: Place the pan into the oven. Bake it for around 25 to 30 minutes. Keep a watch, on the bars. If you notice that the top is browning faster while the center is baking cover it with foil.
- Chocolate Bar Finale: Once the bars turn a golden brown and a toothpick inserted into the center comes out clean take them out of the oven. While they are still warm gently press broken squares of Hershey's Milk Chocolate Bar onto the top.
- Cool and Serve: Allow some time for cooling and serving. Let the bars cool in the pan, for 20 30 minutes. This waiting period allows all those delightful flavors to meld together while allowing the chocolate to set. Lift them out of the pan using the overhanging parchment paper then cut them into squares and savor every bite!
Notes

I’m Bitty, owner of nodashofgluten.com, where I share simple, delicious recipes for all tastes, including gluten-free. Check out my “About Me” page for more info!


