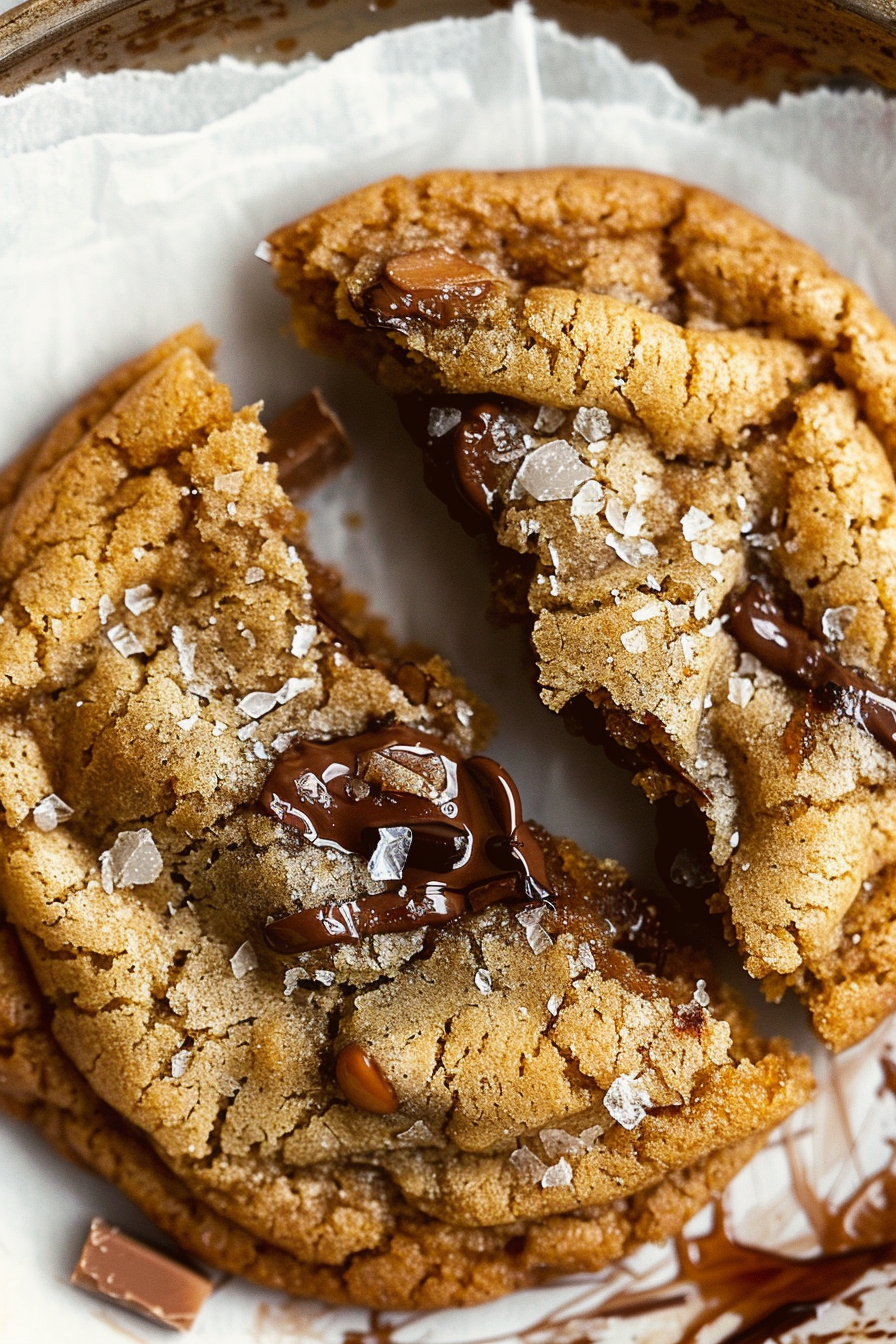
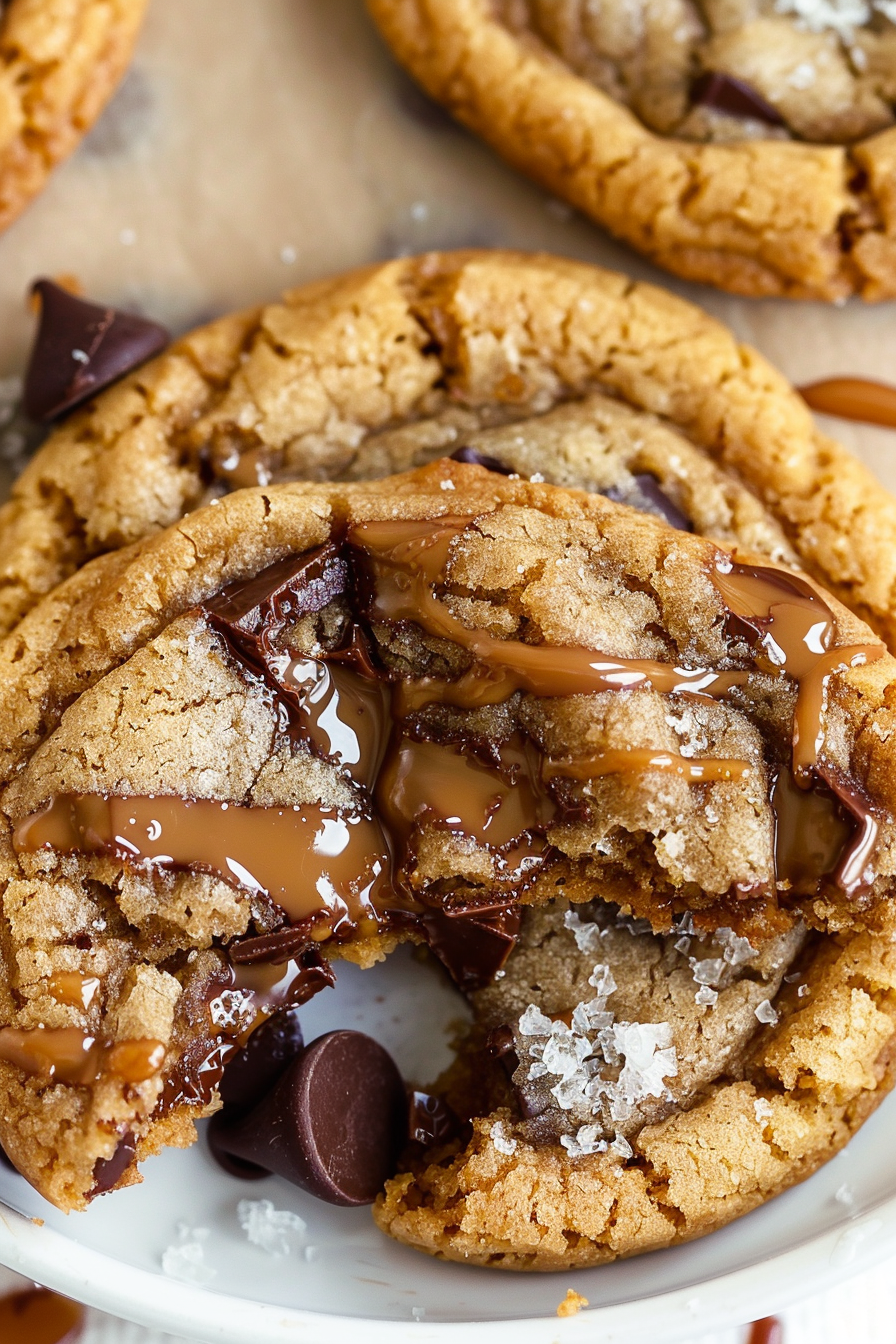
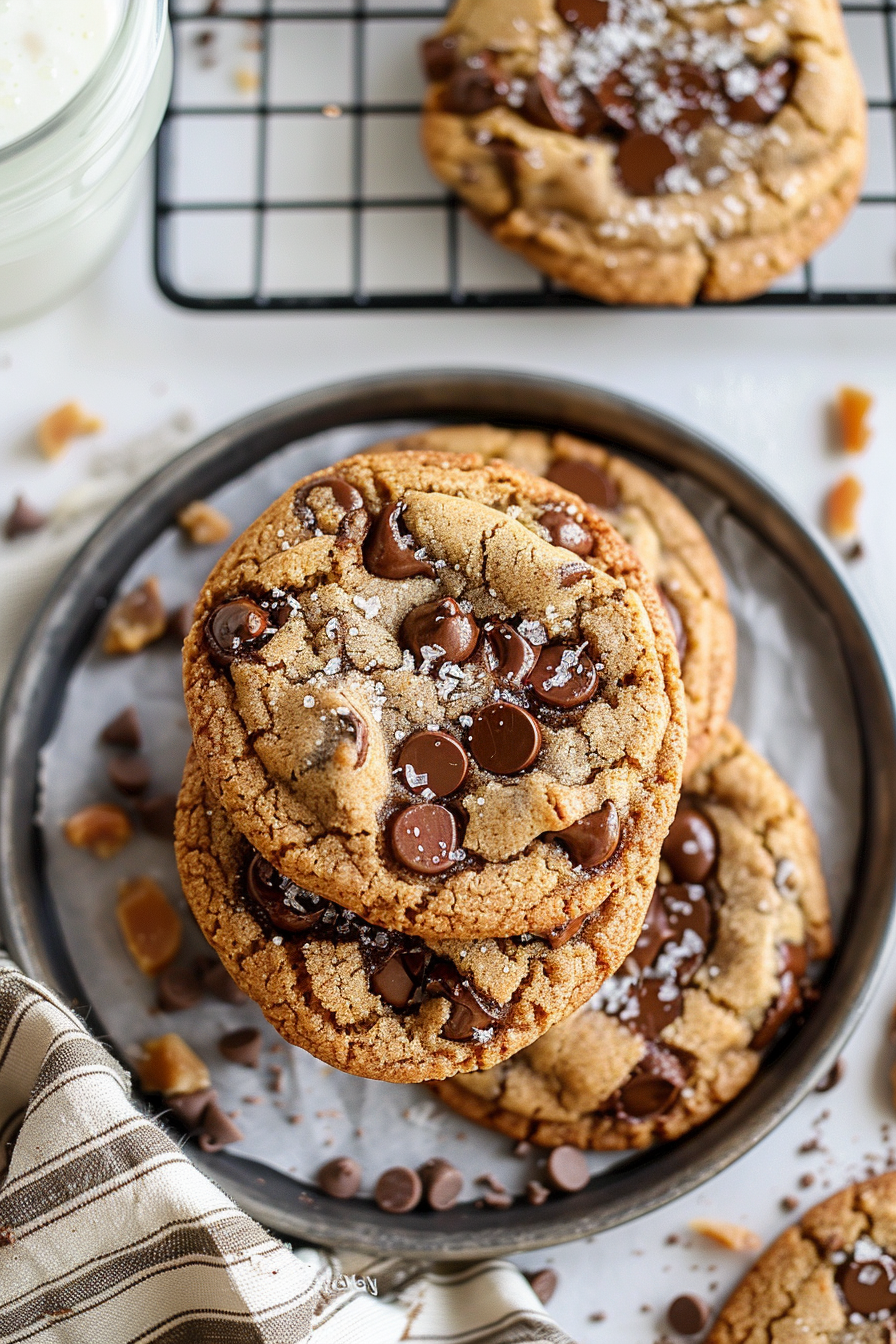
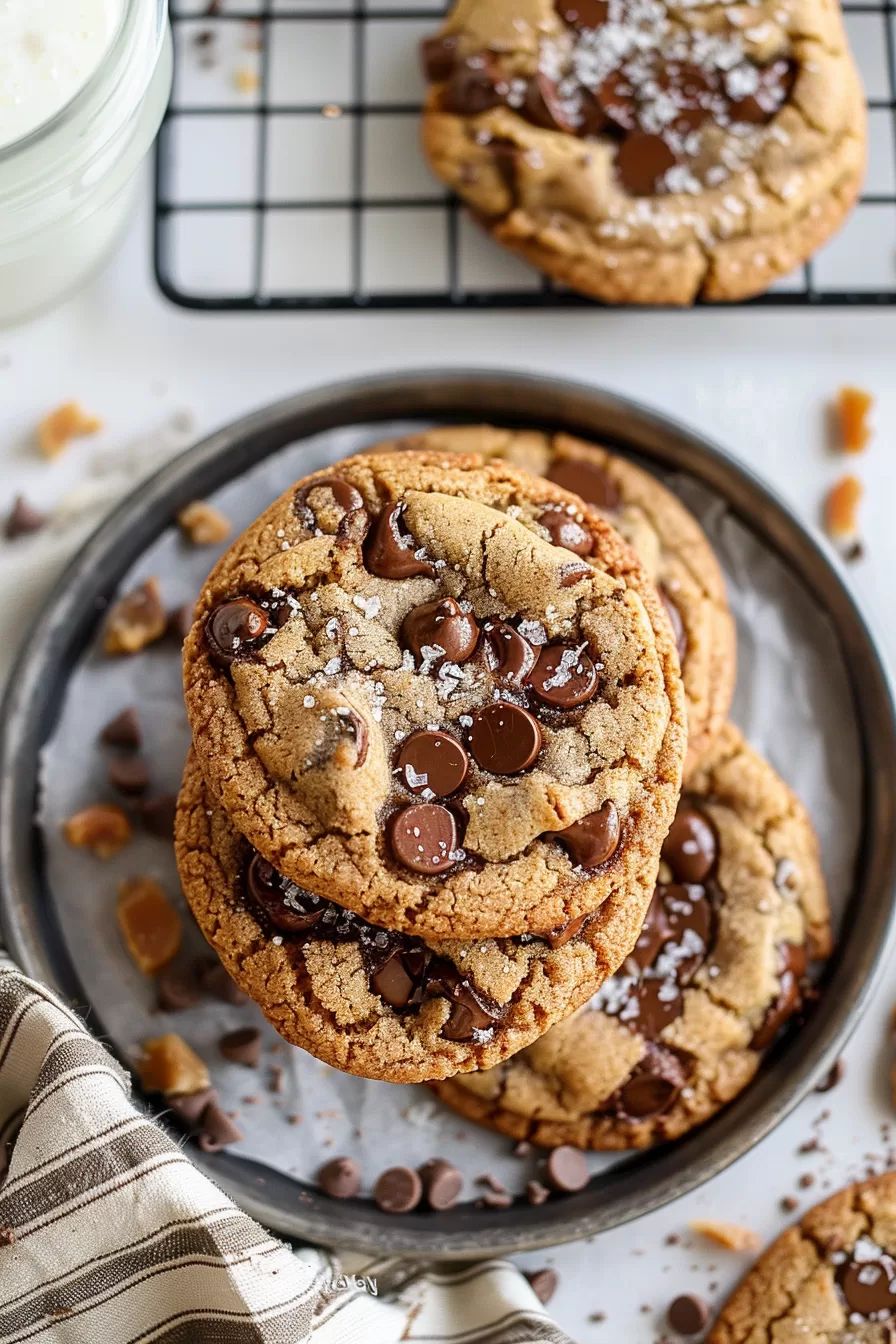
Rich Browned Butter Toffee Cookies – Looking for the perfect indulgent treat? These Rich Browned Butter Toffee Cookies. Are a heavenly combination of nutty browned butter, and semisweet chocolate chunks. And crunchy toffee bits. With both all-purpose and bread flour. For extra chewiness. And a dash of espresso powder. To deepen the flavor. These cookies are irresistible! Chill the dough for 24 hours. To let the flavors meld together. For a rich, flavorful cookie experience. Perfect for any occasion. Or just when you need a sweet treat!

Remember it later!
Planning to try this recipe soon? Pin it for a quick find later!
Remember it later!
Planning to try this recipe soon? Pin it for a quick find later!
The first time I made these Rich Browned Butter Toffee Cookies. My whole kitchen was filled with the irresistible aroma of browned butter. And caramelized toffee. It was like walking. Into a candy shop. I remember baking them. With my husband and kids hovering nearby. Impatiently waiting for the cookies to cool. When they finally took that first bite. The combination of crispy edges, and chewy centers. And the sweet-salty finish. Won them over completely. Now, these cookies have become a family favorite. And a must-have. For our holiday cookie tray!
Here’s a quick peek at what’s inside:
Table of content
What makes this Rich Browned Butter Toffee Cookies truly stand out?
These cookies stand out. Because of the rich nutty flavor. From the browned butter. The perfect balance between sweet and salty. And the irresistible crunch of toffee. The addition of both all-purpose and bread flour. Gives the cookies a unique chewy texture. While the espresso powder. Adds depth to the chocolate flavor. Without overpowering it. The 24-hour chill time. Helps all the flavors meld together. Resulting in an even more decadent. And delicious cookie.
What You Need To Make This Rich Browned Butter Toffee Cookies Recipe?
Unsalted Butter: This is where the magic happens! Browning the butter adds a deep, nutty flavor. That makes these cookies unforgettable. Make sure you don’t rush this step; the golden brown bits that form. Are pure flavor bombs. And they give the cookies a toasty richness. You won’t get from just melting butter.
Granulated & Dark Brown Sugar: A mix of these two sugars is key. For that perfect chewy texture. The granulated sugar helps the cookies get those crisp edges. While the dark brown sugar brings moisture. And a molasses-like depth. Together, they create that ideal balance of sweet and rich.
All-Purpose & Bread Flour: Why two flours? It’s all about texture! The all-purpose flour gives structure. While the bread flour. Adds a bit of chewiness. You can use only all-purpose. If that’s what you have. But the bread flour. Is a little secret weapon. For getting that bakery-style cookie texture.
Semisweet Chocolate: Forget regular chocolate chips! Chopping your own semisweet chocolate. Gives you uneven chunks. Which means some bites have melty puddles of chocolate. And others have just a hint. It’s a little extra effort. That really makes a difference.
Homemade Toffee Bits: If you’re feeling adventurous. Making your own toffee. Is a fun way to customize the flavor. But store-bought toffee bits work perfectly too! These bits melt into the cookies. Giving you a lovely crunch in every bite. Balancing the soft, gooey center. With a little snap of sweetness.
Flaky Sea Salt: This is the finishing touch. That brings it all together. A sprinkle of flaky sea salt on top. Right after baking. Elevates the sweetness. And balances the richness of the chocolate and toffee. Plus, who can resist? That contrast of sweet and salty?
Steps To Make Rich Browned Butter Toffee Cookies:
Step 1: Start by melting two sticks of unsalted butter. In a stainless steel pan. Over medium heat. Swirl the pan occasionally. As the butter bubbles. And crackles. Once the sounds calm down. Watch for a nutty aroma. And amber-colored bits. At the bottom. That’s when it’s ready! Pour the browned butter. Including those flavorful brown bits. Into a bowl. Add the sugars. And stir until combined. Then let it cool.
Step 2: In a separate bowl. Mix both flours, baking soda, salt, espresso powder (if using), and baking powder. Once the butter mixture has cooled. Whisk in the eggs, yolk, and vanilla. Gradually fold in the dry ingredients. Until the dough comes together. Toss in the chopped chocolate. And toffee bits.
Step 3: Wrap the dough in plastic. And refrigerate it. For at least 24 hours—trust me. It’s worth the wait. When you’re ready to bake. Let the dough sit. At room temperature. Until it’s scoopable. About an hour. Preheat your oven to 350°F. Line your baking sheets with parchment. And scoop the dough. Into 3-tablespoon-sized balls.
Step 4: Bake for 12-14 minutes. Until golden brown. And don’t forget. A sprinkle of flaky sea salt. Once they’re out of the oven. For that extra finishing touch. Let them cool. For a few minutes. Before transferring to a wire rack.
Want To Save This Recipe?
Enter your email below and we'll send the recipe straight to your inbox.
Tip:
For that perfect balance of rich, buttery goodness. And chewy texture. The key is in the chilling process. Letting the dough rest. For 24-72 hours. Enhances the flavors. And gives the cookie its signature chew. If you want that toffee to really shine. Add a little extra sprinkle of toffee bits on top. Just before baking. And remember. That dash of espresso powder. Might seem optional. But it deepens the chocolate flavor. In a magical way. Without making the cookies taste like coffee. Trust me. It’s a small step. With a big impact!
Frequently Asked Questions:
Can I use only all-purpose flour instead of bread flour?
Yes. But using bread flour. Adds extra chewiness. If you substitute with all-purpose. The cookies will still taste great. But may be a bit less chewy.
Do I really need to chill the dough for 24 hours?
Chilling the dough enhances the flavor. And texture. But if you’re in a rush. You can bake them after chilling. For at least 1 hour.
Can I make the dough in advance and freeze it?
Absolutely! Scoop the dough into balls. Freeze them. And store them in an airtight container. For up to 6 weeks. Just bake them straight from frozen. Adding an extra minute or two. To the baking time.
Remember it later!
Planning to try this recipe soon? Pin it for a quick find later!
Remember it later!
Planning to try this recipe soon? Pin it for a quick find later!
Keep the Flavor Coming – Try These:
Rich Browned Butter Toffee Cookies
Ingredients
- 2 sticks 227g unsalted butter
- 1/2 c 100g granulated sugar
- 1 c 200g lightly packed dark brown sugar
- 1 1/2 c 190g all-purpose flour
- 1 c 127g bread flour
- 1 tsp baking soda
- 1 tsp fine sea salt
- 1 tsp instant espresso powder optional
- 1/2 tsp baking powder
- 2 large eggs plus 1 egg yolk at room temperature
- 2 tsp vanilla extract
- 10 oz 283g semisweet chocolate, chopped
- 1 c homemade toffee bits or Heath brand
- Flaky sea salt for finishing
Instructions
- In a medium sauté pan. Over medium heat. Melt the butter. Stirring occasionally. It will foam. And make crackling noises. Once the noise dies down. And you smell a nutty aroma. With brown bits. Forming at the bottom. Remove from heat. Pour the butter into a bowl. Keeping the flavorful brown bits.
- Stir in the granulated and brown sugar. Into the hot butter. Let the mixture cool. To room temperature.
- In another bowl. Mix the flours, baking soda, salt, espresso powder (if using), and baking powder.
- Once the butter mixture has cooled. Whisk in the eggs, yolk, and vanilla. Slowly add the flour mixture. Stirring with a spatula. Fold in the chocolate chunks. And toffee bits. Wrap the dough. In plastic wrap. And refrigerate for 24-72 hours.
- When ready. Let the dough sit. At room temperature. For about an hour. Until soft enough to scoop.
- Preheat the oven to 350°F. And line baking sheets. With parchment paper.
- Scoop the dough. Into 3-tablespoon balls. And place them. On the baking sheets.
- (Optional: Freeze the portioned dough. And store in an airtight container. For up to 6 weeks.)
- Bake for 12-14 minutes. Until golden brown. Remove. And sprinkle flaky sea salt on top. Let cool for 2 minutes. Then transfer to wire racks.
- Store cookies in an airtight container. At room temperature. For up to 3 days.
Notes

I’m Bitty, owner of nodashofgluten.com, where I share simple, delicious recipes for all tastes, including gluten-free. Check out my “About Me” page for more info!


