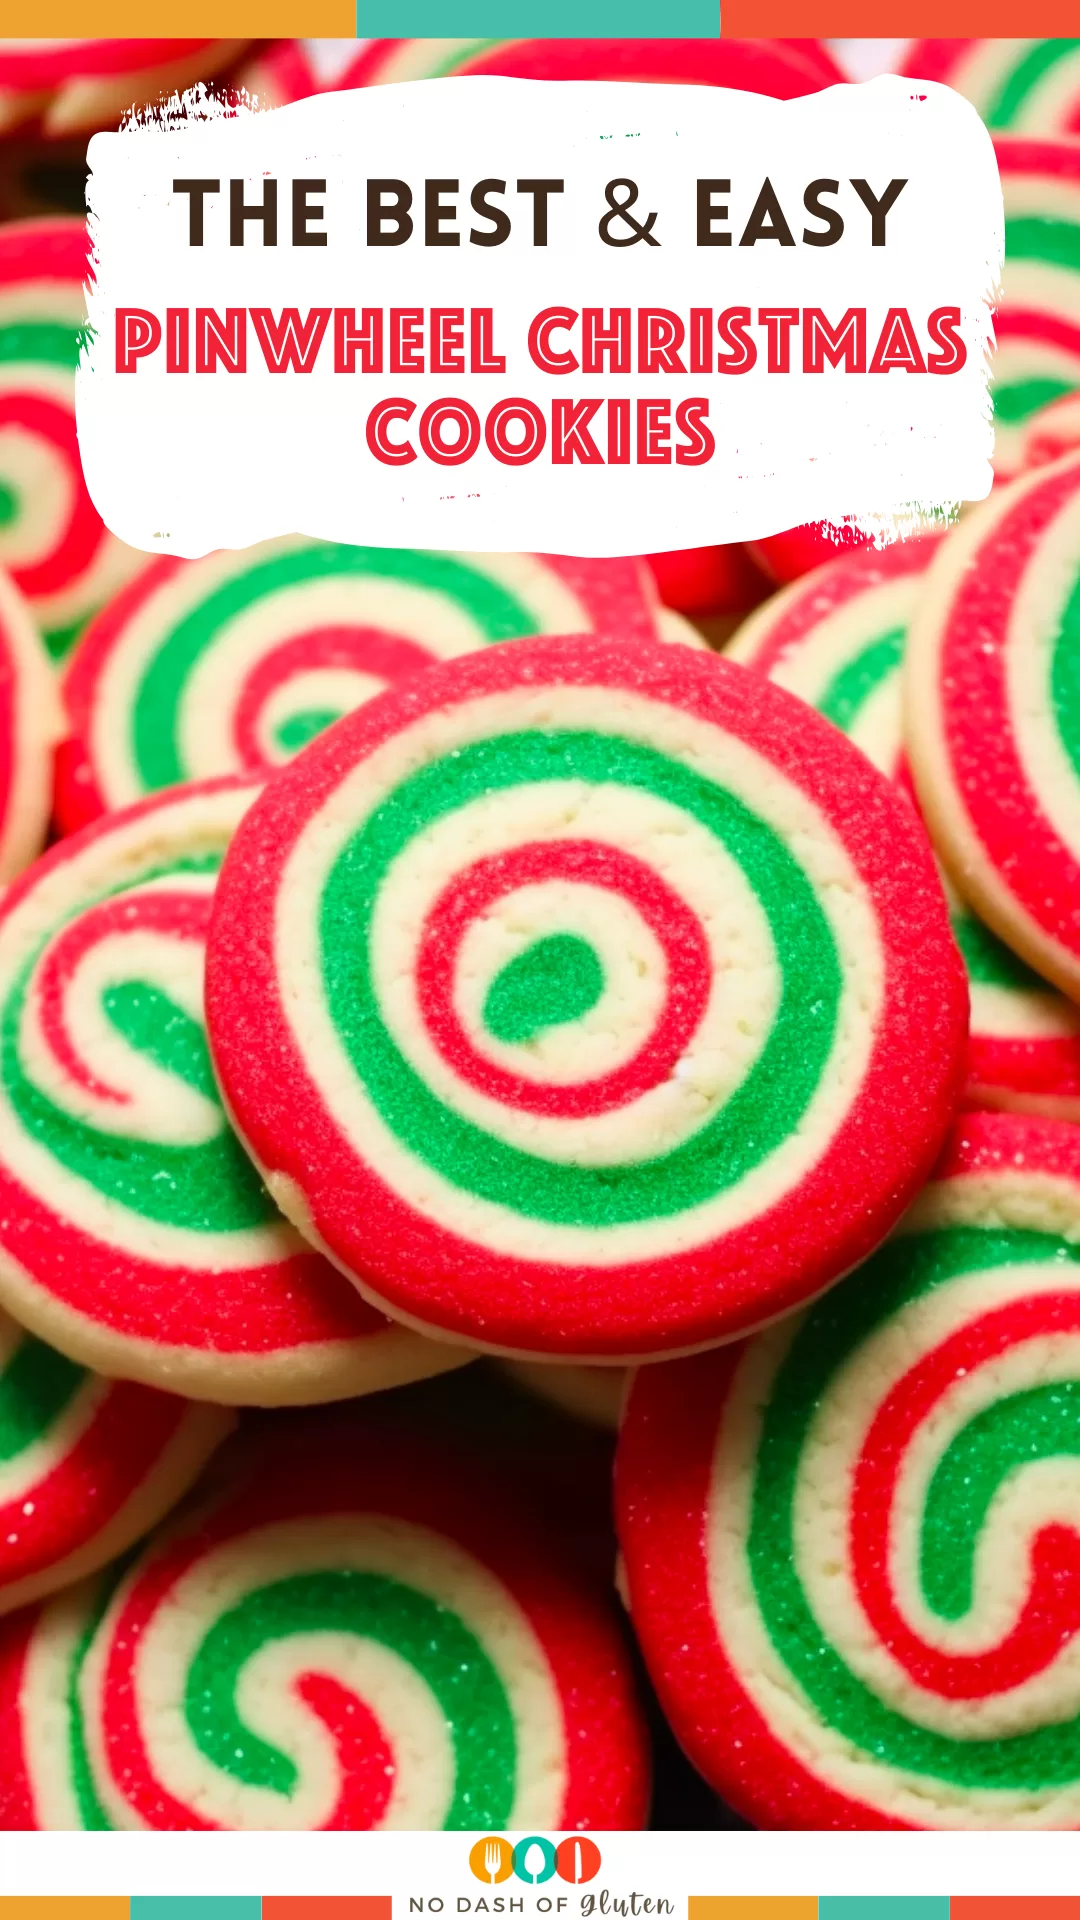
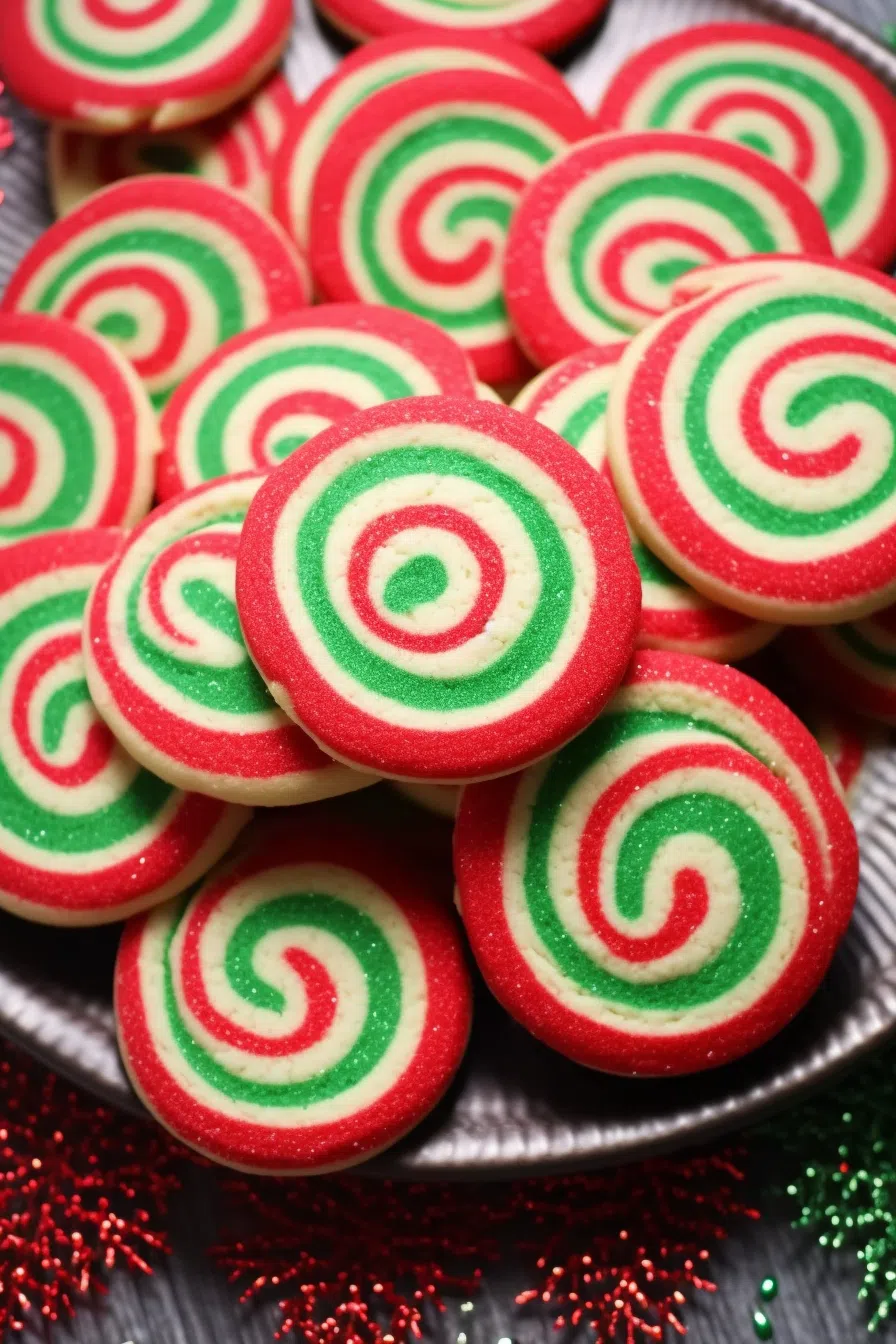
Soft, buttery dough with vanilla and festive red and green swirls make these Pinwheel Christmas Cookies the ultimate holiday treat.


You know, it’s funny. I didn’t even like sugar cookies growing up. Nope. I was more of a chocolate chip kid—extra chips, please. But then one year, my Aunt Patty brought a tin of these colorful little swirly cookies to our Christmas Eve gathering. You could spot them a mile away, nestled between the fudge and the peanut brittle, looking all fancy like they belonged in some glossy magazine.
One bite and I was hooked. They were buttery, not too sweet, and let’s be honest… they were just so fun to look at. Fast forward a few years (okay, more than a few), and now these Pinwheel Christmas Cookies are a non-negotiable part of my holiday baking lineup. I’ve made them with my kids, my nieces, and even my grumpy neighbor who said they “looked complicated.” Spoiler alert: they’re not.
Why You’ll Love This Pinwheel Christmas Cookies Recipe?
Listen, I get it. Baking can feel like a chore when your to-do list is already longer than Santa’s. But these cookies? They’re a vibe.
- They’re ridiculously pretty. Like, take-a-pic-before-you-eat-it pretty.
- They taste like Christmas. Buttery, soft, with a hint of vanilla. Pure holiday magic.
- Make-ahead magic. You can totally make the dough ahead of time and bake when you’re ready.
- Crowd-pleaser status. Every time I bring these to a party, people freak out in a good way.
Ingredient Notes:
I’m not gonna throw a bunch of fancy terms at you. Here’s what you need and why you need it.
- All-Purpose Flour: Good old regular flour. No need to get fancy here.
- Baking Powder: Gives the cookies a little boost so they’re not dense.
- Salt: Just a pinch. Trust me, it matters.
- Unsalted Butter: Room temp! Soft enough to press a finger into, but not melting all over your counter.
- Sugar: Classic granulated. No swapping for brown sugar unless you wanna rewrite the recipe (which you can, but let’s stick to this one for now).
- Egg: Helps hold things together.
- Vanilla Extract: Because duh.
- Red and Green Food Coloring: Liquid works best here. If you want pastel swirls, go wild with your colors. Blue and white for a Frozen theme? Go for it.
How To Make Pinwheel Christmas Cookies?
Step 1: Mix Your Dry Ingredients
Flour, baking powder, salt. Easy peasy. Mix ‘em up in a bowl and set it aside. (If you’re like me, you’ll forget where you put it in five minutes.)
Step 2: Cream the Butter and Sugar
Beat softened butter and sugar until fluffy. We’re talking cloud-like. Then add your egg and vanilla. If you forget to crack the egg first, welcome to the club.
Step 3: Combine Wet and Dry
Slowly mix the dry stuff into the wet. Don’t rush. Pretend you’re making magic here because, honestly, you are.
Step 4: Divide and Conquer
Split the dough into three parts. One stays plain, one gets red food coloring, and the other goes green. Or purple. I’m not your boss.
Step 5: Chill Baby, Chill
Flatten each chunk into a disc, wrap in plastic, and pop them in the fridge for about an hour. It’s the perfect time for a dance break or sneaking one of those holiday chocolates you’ve been hiding.
Step 6: Roll It Out
Want To Save This Recipe?
Roll each color between
Step 7: Roll Again
Roll the whole stack into a log. Not too tight, not too loose. Like wrapping a burrito that’s gonna turn into cookies. Wrap it back up and chill again for an hour. More cocoa break time!
Step 8: Slice and Bake
Slice into 1/4-inch rounds and lay ‘em on a parchment-lined baking sheet. Bake at 350°F for 12-15 minutes. You want ‘em just turning golden on the edges.
Step 9: Cool and Snack
Cool on the pan for a few, then move to a rack. Or shove one in your mouth while they’re warm. Again, no judgment.
Storage Options:
- Room Temp: Airtight container, up to 5 days.
- Freeze the Dough: Yup, freeze the log for later. Thaw slightly, slice, bake.
- Freeze the Cookies: Baked cookies freeze great for about a month. Wrap ‘em well.
Variations and Substitutions:
- Colors: Blue and white, pink and red, whatever suits your mood or holiday.
- Flavors: Swap vanilla for peppermint or almond extract.
- Gluten-Free: Use a good 1:1 gluten-free flour blend. I’ve done it. Works like a charm.
What to Serve with Pinwheel Christmas Cookies?
These cookies are social butterflies. Serve them with:
- Hot cocoa (with extra marshmallows, obviously)
- Mulled wine (because adults need treats too)
- A cup of coffee while you’re wrapping gifts at midnight
- As stocking stuffers—wrap ‘em up cute!
Frequently Asked Questions:
My swirls are wonky!
Totally normal. Wonky swirls mean you made them with love.
Can I freeze the dough?
Heck yes! Wrap the log tight in plastic wrap, freeze, then thaw slightly before slicing.
Do I have to use food coloring?
Nope. Go natural or skip the color entirely if that’s your thing.
That’s it! Pinwheel Christmas Cookies that bring a little extra magic to your holiday season. Try them out, and if you do, drop me a comment or tag me on Insta! I wanna see your swirly masterpieces.
Keep the Flavor Coming – Try These:


Pinwheel Christmas Cookies
Ingredients
- 2 c all-purpose flour plus more for dusting
- 1/2 tsp baking powder
- 1/4 tsp salt
- 12 tbsp unsalted butter room temperature
- 3/4 c sugar
- 1 egg
- 1 tsp vanilla extract
- 1/2 to 1 tsp liquid red food coloring to your color preference
- 1/2 to 1 tsp liquid green food coloring to your color preference
Instructions
- Start by preparing the dry ingredients. In a bowl combine 2 cups of flour, 1/2 teaspoon of baking powder and 1/4 teaspoon of salt.
- Next cream together 12 tablespoons of butter and 3/4 cup of sugar until the mixture becomes fluffy. Then add 1 egg and 1 teaspoon of vanilla extract, to the mixture and mix well.
- Gradually fold the dry ingredient mixture into the butter mixture. Take your time with this step.
- To add some color to the dough divide it into thirds. Mix food coloring into one part and green food coloring into another part. Leave the part plain without any coloring added.
- After that flatten each piece of dough to form a shape. Wrap each square in plastic wrap. Refrigerate them for an hour.
- Once chilled roll out each piece of dough between parchment paper until they form approximately 10-inch squares in size.
- Stack the plain and green layers on top of each other while trimming any edges as needed.
- Create a log shape by rolling up all three layers. Wrap it tightly in wrap again. Chill, for another hour.
- Preheat your oven to 350°F (175°C). Slice the dough log into 1/4-inch slices and place them on a baking sheet lined with parchment paper or a silicone mat.
- Bake them for around 12 to 15 minutes until they turn brown. Allow the cookies to cool briefly on the baking sheet before transferring them to a wire rack to cool completely.
Notes
I’m Bitty, owner of nodashofgluten.com, where I share simple, delicious recipes for all tastes, including gluten-free. Check out my “About Me” page for more info!