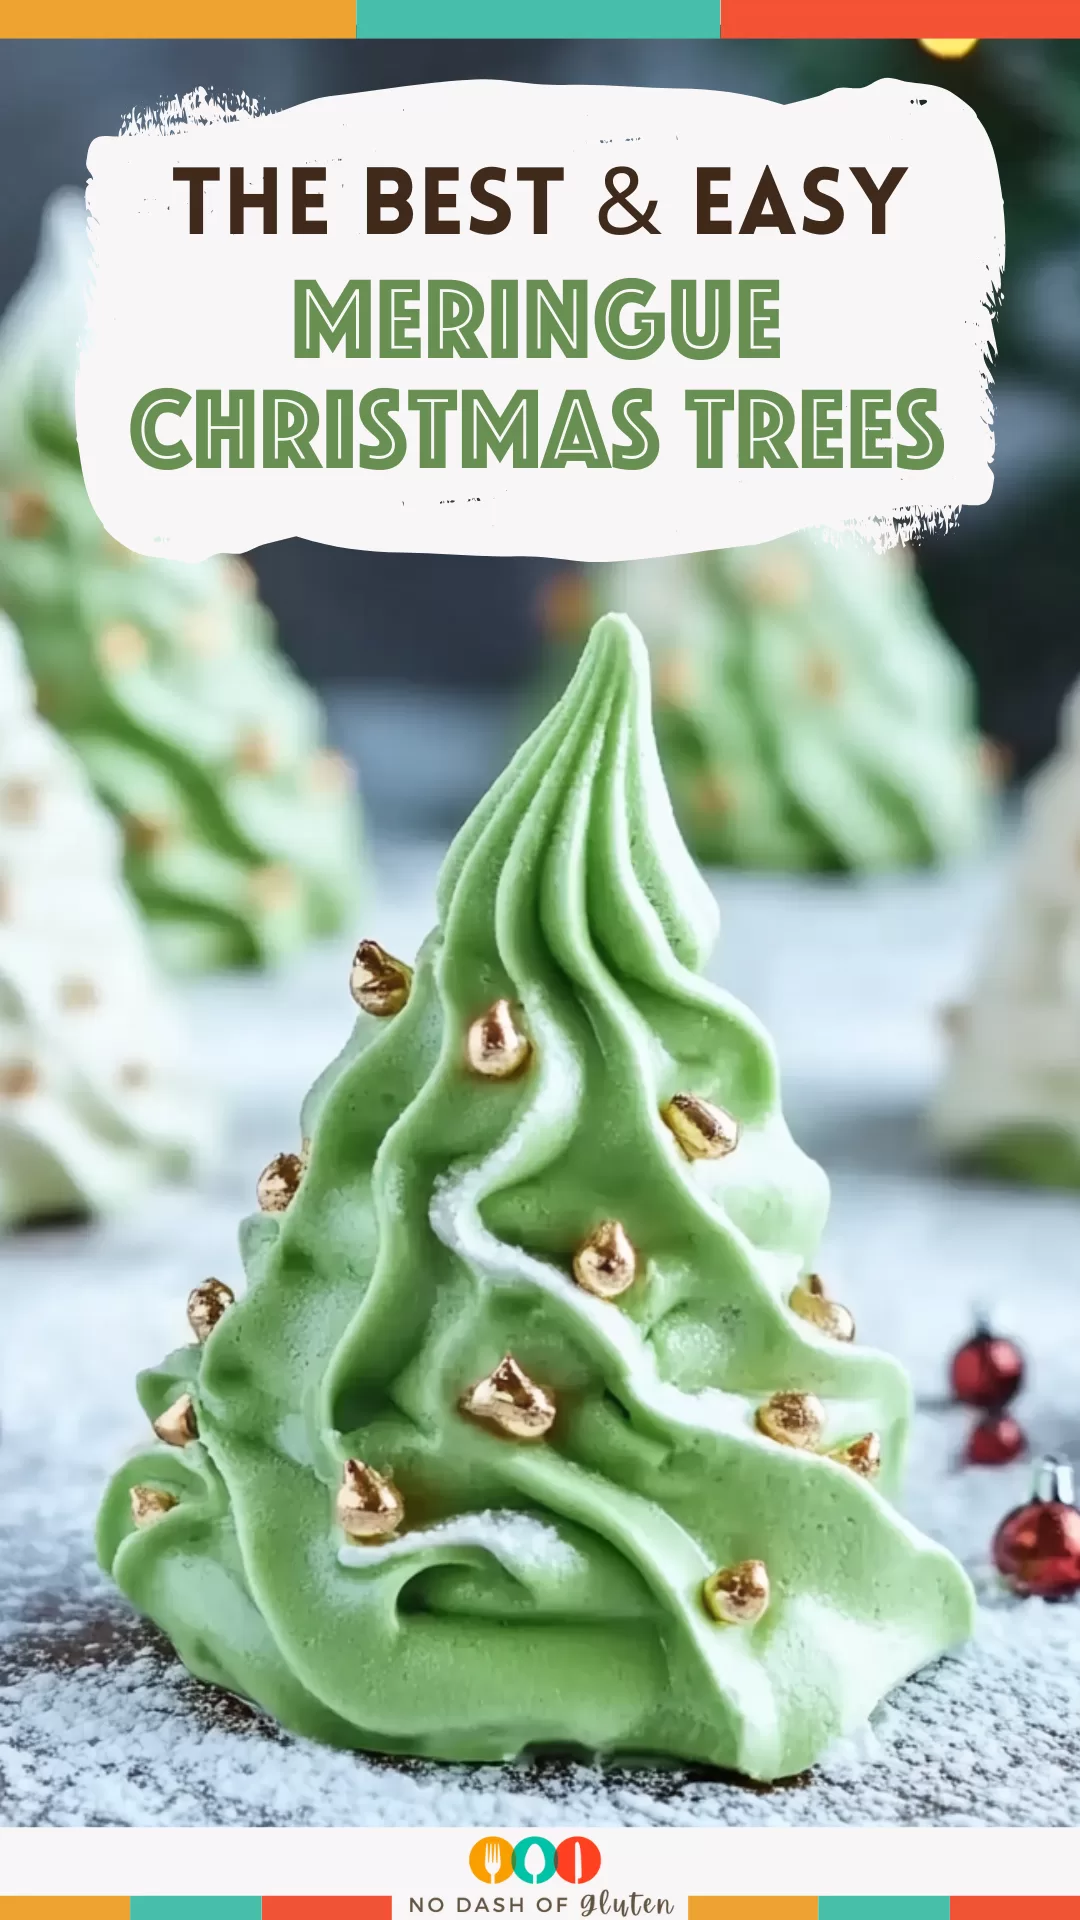
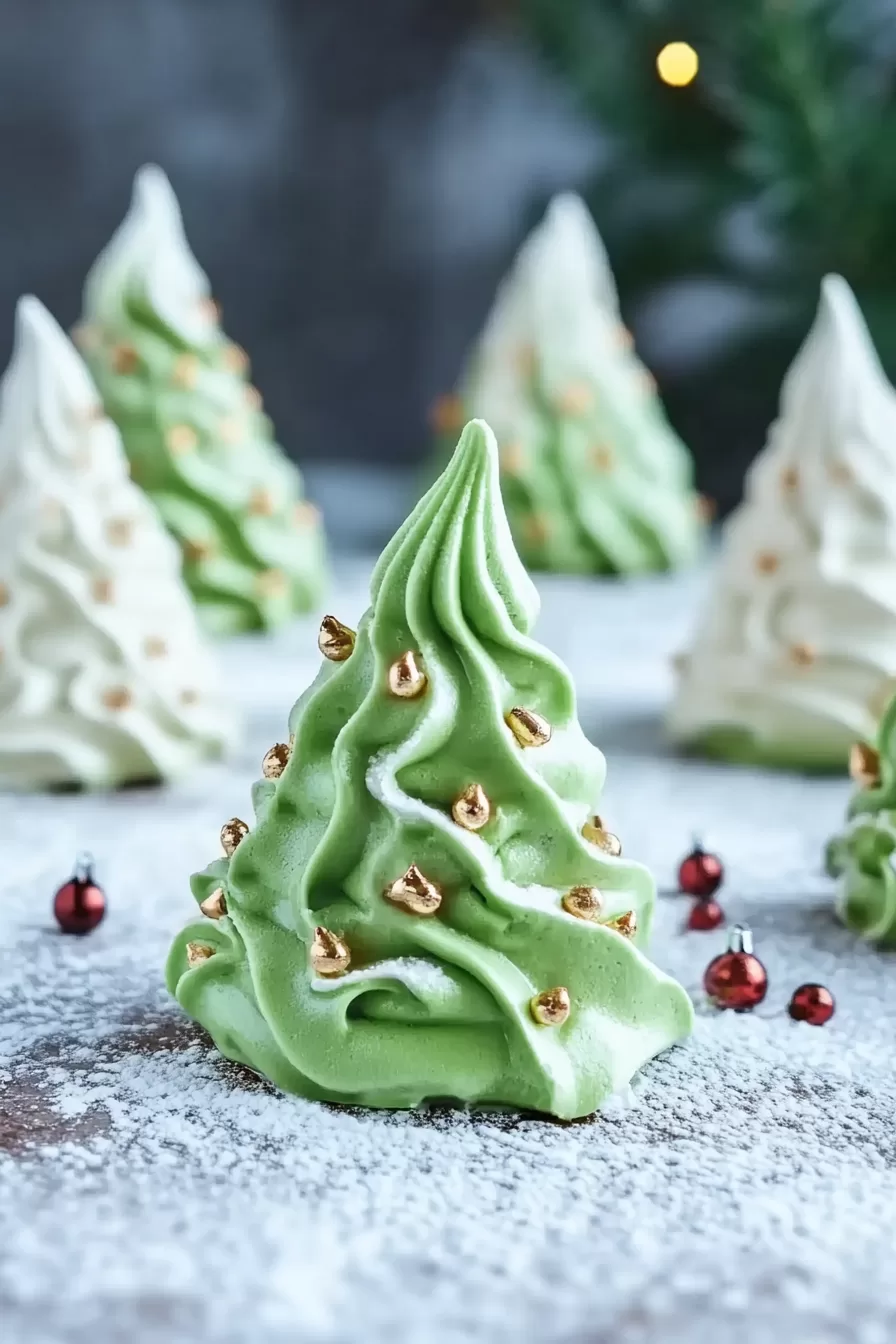
Whip up these adorable Meringue Christmas Trees with egg whites, sugar, green food coloring, and festive sprinkles. A holiday hit for all ages!
Let me tell you, these little Meringue Christmas Trees didn’t start off as the perfectly piped beauties you see now. Nope, my first attempt? It was a hot mess. Think lopsided blobs that looked more like melting snowmen than Christmas trees. But hey, every recipe has a learning curve, right?
It all started on one of those classic December afternoons—you know, where the house smells like cinnamon, the kids are trying to “help” (aka sneaking sprinkles), and the holiday chaos is in full swing. I wanted to make something festive but different from the usual cookies and fudge. That’s when I remembered seeing cute meringue trees on Pinterest. I thought, How hard could it be? (Spoiler: harder than I expected).

Remember it later!
Planning to try this recipe soon? Pin it for a quick find later!
Remember it later!
Planning to try this recipe soon? Pin it for a quick find later!
My first batch flopped because I was impatient. I skipped letting the egg whites come to room temperature—rookie mistake—and my piping skills? Let’s just say they needed serious work. But the second batch? A game-changer. My kids went wild decorating them, and by the end of the day, we had an edible Christmas forest.
Now, these trees are a holiday tradition in our house. They’re light, sweet, and honestly just fun to make. And the best part? Even if they’re not perfect, they still look magical on the dessert table.
Here’s a quick peek at what’s inside:
Table of content
Why You’ll Love This Meringue Christmas Trees Recipe?
- Festive and Fun: These meringue trees bring instant holiday vibes to any gathering.
- Light as Air: They’re crispy, melt-in-your-mouth treats that won’t leave you feeling stuffed.
- Kid-Friendly: Decorating these is the perfect holiday activity for little hands. Just be prepared for a sprinkle explosion.
- Customizable: Make them green, white, or even pastel for a winter wonderland look.
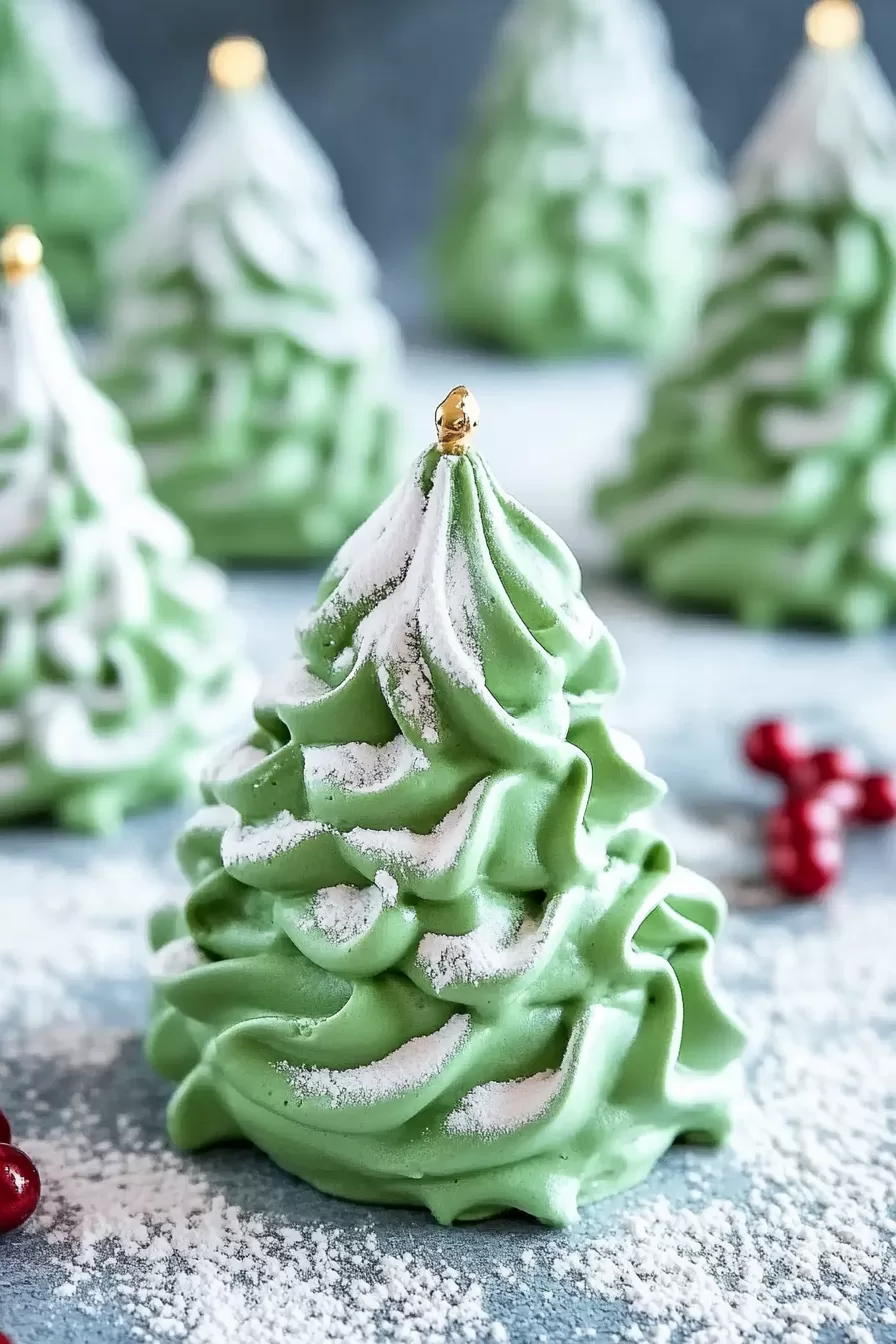
Ingredient Notes:
Let’s get real about the ingredients—it’s all about simplicity and little tricks to get it just right.
- Egg Whites: These are your MVPs. If even a tiny bit of yolk sneaks in, your meringue won’t fluff up. Been there, cried over that.
- Caster Sugar: The fine texture dissolves easily, giving you that glossy, smooth finish. Regular sugar can work, but it’s a little more stubborn.
- Cream of Tartar: This tiny pinch is like a secret weapon—it stabilizes the egg whites, so they don’t collapse on you.
- Vanilla or Peppermint Extract: Vanilla gives a classic sweetness, while peppermint adds a fresh, wintry twist. Can’t decide? Do a batch of each!
- Green Food Coloring Gel: Gel is your best friend here—it’s vibrant and doesn’t mess with the consistency like liquid coloring can.
- Sprinkles: Think of these as your tree’s ornaments. Go bold with colors or keep it simple with gold and silver for a “frosted” look.
How To Make Meringue Christmas Trees?
Alright, let’s make some magic. These little trees are easier than you think—just follow the steps, and you’ll be golden.
- Preheat and Prep
Start by preheating your oven to 100°C/210°F. Line two baking sheets withparchment paper or silicone mats. If you’re like me and always running out of parchment, silicone mats are a lifesaver—they’re reusable and non-stick. - Whip the Egg Whites
Grab a large bowl (clean and grease-free—no shortcuts here). Use a handheld or stand mixer to whip the egg whites until soft peaks form. It takes about 3–4 minutes, so don’t rush it. This step always makes me feel like a fancy baker, even though I’m just watching egg whites transform into fluffy clouds. - Add Sugar and Cream of Tartar
Slowly add half the caster sugar, the cream of tartar, and your extract of choice. Whisk it all together, then gradually add the rest of the sugar. Keep whisking until stiff peaks form—when you lift the whisk, the meringue should stand tall without flopping. - Color Your Trees
Stir in a few drops of green food coloring gel. Go slowly—you can always add more, but you can’t take it out! You’re looking for a cheerful green, not radioactive slime (learned that the hard way). - Pipe the Trees
Scoop the meringue into a piping bag fitted with a star nozzle. Pipe tall, swirly shapes onto the lined baking sheets, leaving a bit of space between each. This part is so satisfying—it’s like creating a little edible forest! - Decorate
Sprinkle time! Add your “ornaments” while the meringue is still soft. My kids love this step, though I usually have to wrestle the sprinkle jar away from them at some point. - Bake and Cool
Bake for 1 hour, then turn off the oven and let the trees cool inside. This prevents cracks and keeps them looking picture-perfect. If you’re patient enough to leave them overnight, even better.
Storage Options:
Meringue trees are surprisingly low-maintenance:
- Room Temp: Store them in an airtight container for up to two weeks. Just keep them in a cool, dry spot—humidity will ruin their crunch.
- Gifting: Pop them into clear treat bags with festive ribbons. They’re the cutest edible gift ever!
Variations and Substitutions:
Want to switch things up? Here are a few ideas:
- Different Colors: Go white for a snowy look or pastel pink for a whimsical holiday twist.
- Flavored Meringues: Add a touch of almond, orange, or even cinnamon extract for something unexpected.
- Glitter Glam: Use edible glitter or sugar pearls to make your trees sparkle like frosty mornings.
- Vegan Swap: Use aquafaba (chickpea water) instead of egg whites. It’s a game-changer for plant-based meringue!
What to Serve with Meringue Christmas Trees?
These sweet treats pair perfectly with:
Want To Save This Recipe?
Enter your email below and we'll send the recipe straight to your inbox.
- Hot Chocolate: Dunking one of these into a mug of cocoa? Pure bliss.
- Holiday Cookies: Add them to a festive cookie platter for a show-stopping dessert spread.
- Cheesecake: Use the trees as adorable toppers for a creamy holiday cheesecake.
- Eggnog: The richness of eggnog balances the light sweetness of the meringues.
Frequently Asked Questions:
Why aren’t my egg whites whipping properly?
There might be grease or yolk in the bowl. Make sure everything is squeaky clean—grease is the enemy of fluffy meringue!
Can I make these ahead of time?
Absolutely! They store beautifully for up to two weeks, so you can make them well in advance.
What if my meringues crack?
No worries—they’ll still taste amazing. Cracks usually happen if they cool too quickly, so let them chill in the oven after baking.
These Meringue Christmas Trees are the perfect mix of fun, festive, and delicious. Whether you’re making them with kids, gifting them, or just treating yourself, they’re guaranteed to bring a little extra holiday magic to your season. So, what are you waiting for? Go whip up some Christmas magic—I can’t wait to hear how they turn out!
Remember it later!
Planning to try this recipe soon? Pin it for a quick find later!
Remember it later!
Planning to try this recipe soon? Pin it for a quick find later!
Keep the Flavor Coming – Try These:
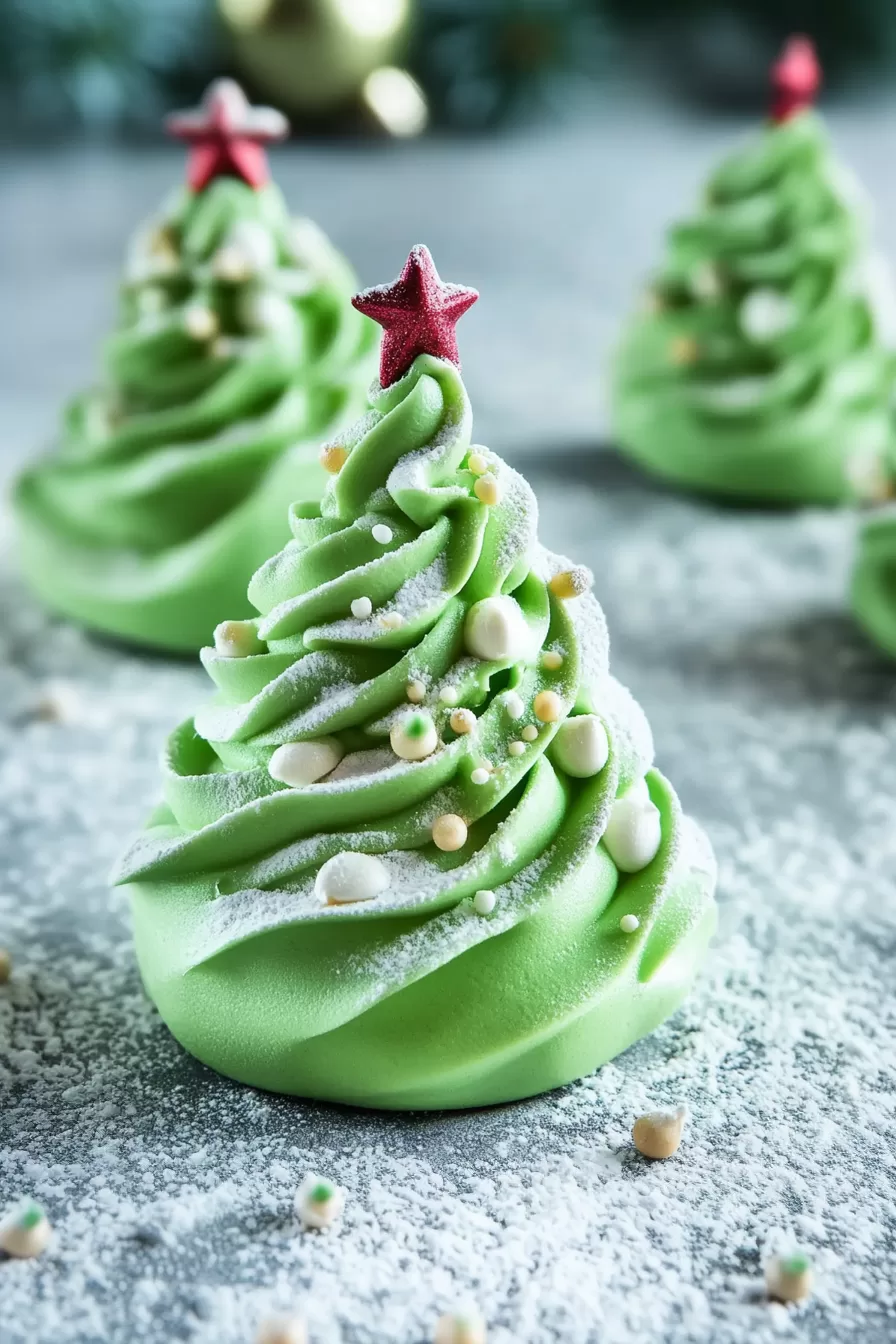
Meringue Christmas Trees
Ingredients
- 4 medium egg whites
- 200 g caster sugar or superfine sugar
- ¼ tsp cream of tartar
- ¼ tsp vanilla extract or peppermint extract
- Green food coloring gel
- Red green, and white sprinkles
Instructions
Prepare the Baking Equipment
- Preheat the oven to 100°C/210°F. Line two baking sheets with parchment paper or silicone baking mats. Ensure your equipment is clean and free of grease to prevent issues with the meringue.
Whip the Egg Whites
- Place the egg whites in a large, clean mixing bowl. Using a handheld mixer or a stand mixer fitted with the whisk attachment, beat the egg whites on medium speed until they form soft peaks, approximately 3–4 minutes.
Incorporate Sugar and Stabilizers
- Gradually add half of the caster sugar, cream of tartar, and vanilla or peppermint extract while whisking. Continue whisking until fully combined.
Achieve Stiff Peaks
- Add the remaining sugar in small increments and continue to whisk on medium-high speed until the mixture forms stiff, glossy peaks. This process may take an additional 6–8 minutes. To test, rub a small amount of the mixture between your fingers; it should feel smooth, not grainy. If it remains grainy, whisk for another minute.
Add Food Coloring
- Incorporate a few drops of green food coloring gel and gently fold it into the meringue mixture until evenly distributed. Be cautious not to overmix, as it may deflate the batter.
Pipe the Meringue Trees
- Transfer the mixture to a piping bag fitted with a 1cm star nozzle. Pipe swirls onto the prepared baking sheets to form tree shapes, leaving 2–4 cm of space between each.
Decorate
- Sprinkle the meringue trees with red, green, and white sprinkles, mimicking ornaments on a Christmas tree.
Bake the Meringues
- Place the baking sheets in the preheated oven and bake for 1 hour. After baking, turn off the oven but leave the meringues inside to cool completely. This gradual cooling process helps prevent cracks. For best results, allow the meringues to cool overnight in the oven.
Remove and Serve
- Once fully cooled, carefully peel the meringues off the parchment paper or mats. Serve immediately or store for later use.
Notes

I’m Bitty, owner of nodashofgluten.com, where I share simple, delicious recipes for all tastes, including gluten-free. Check out my “About Me” page for more info!


