
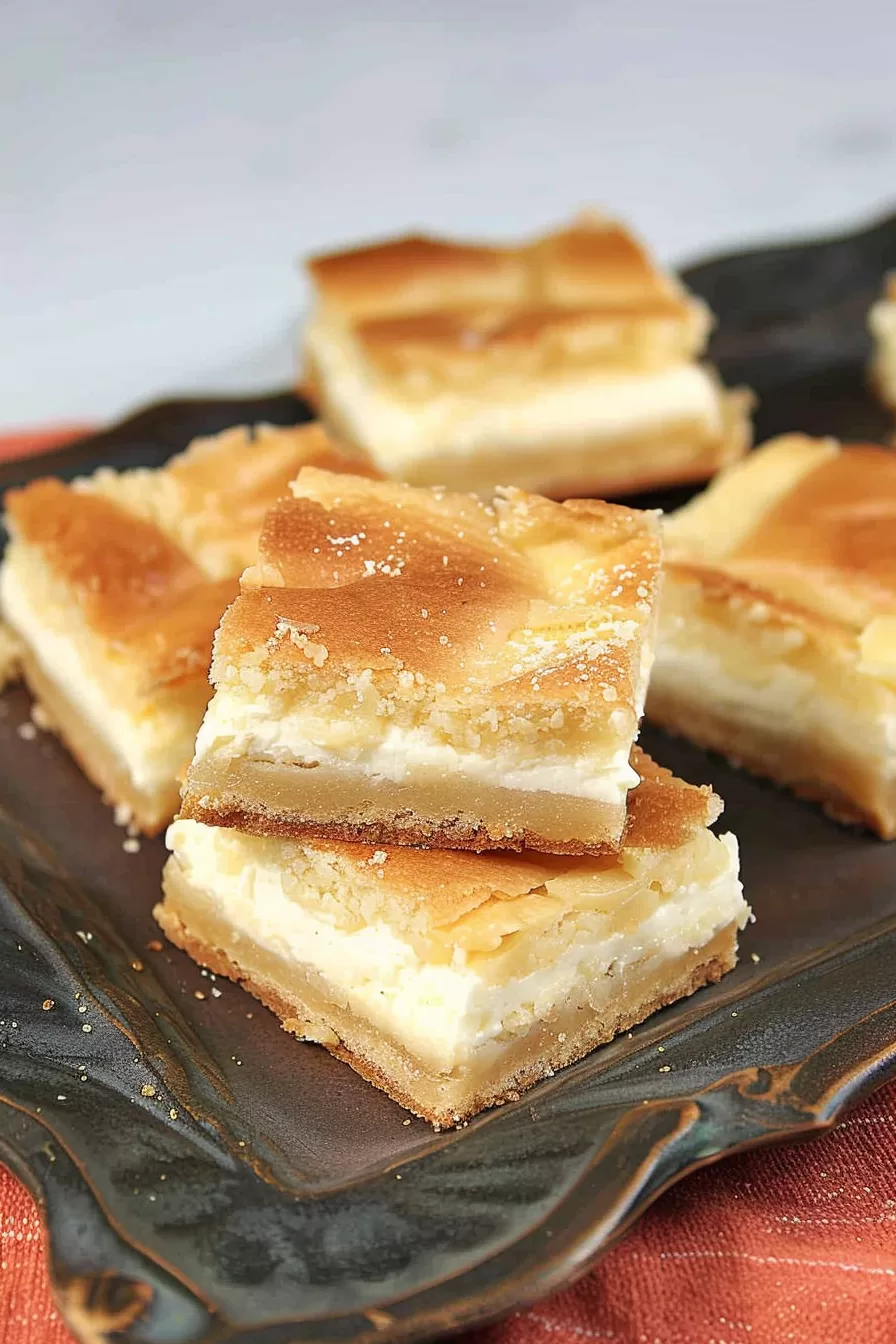
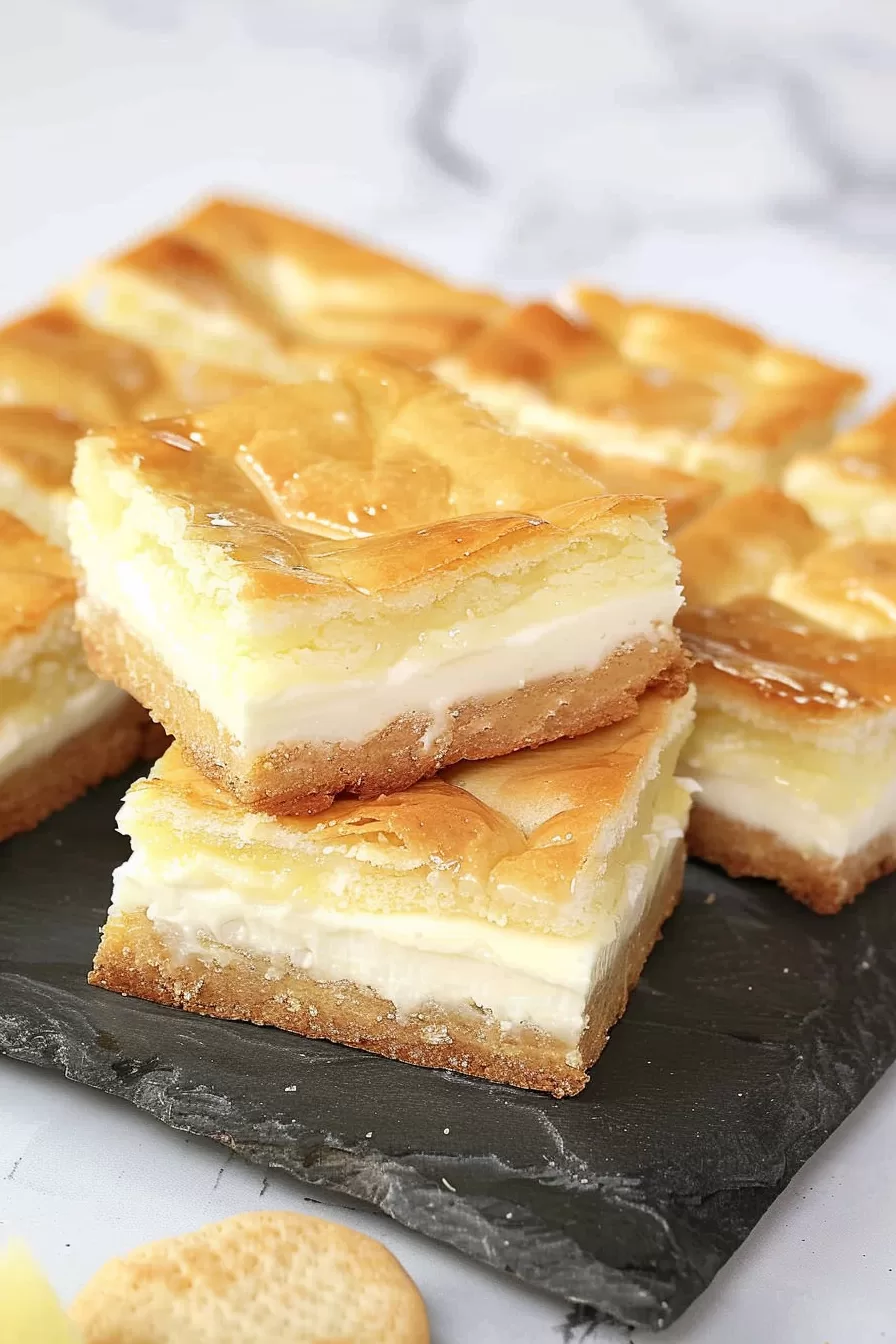
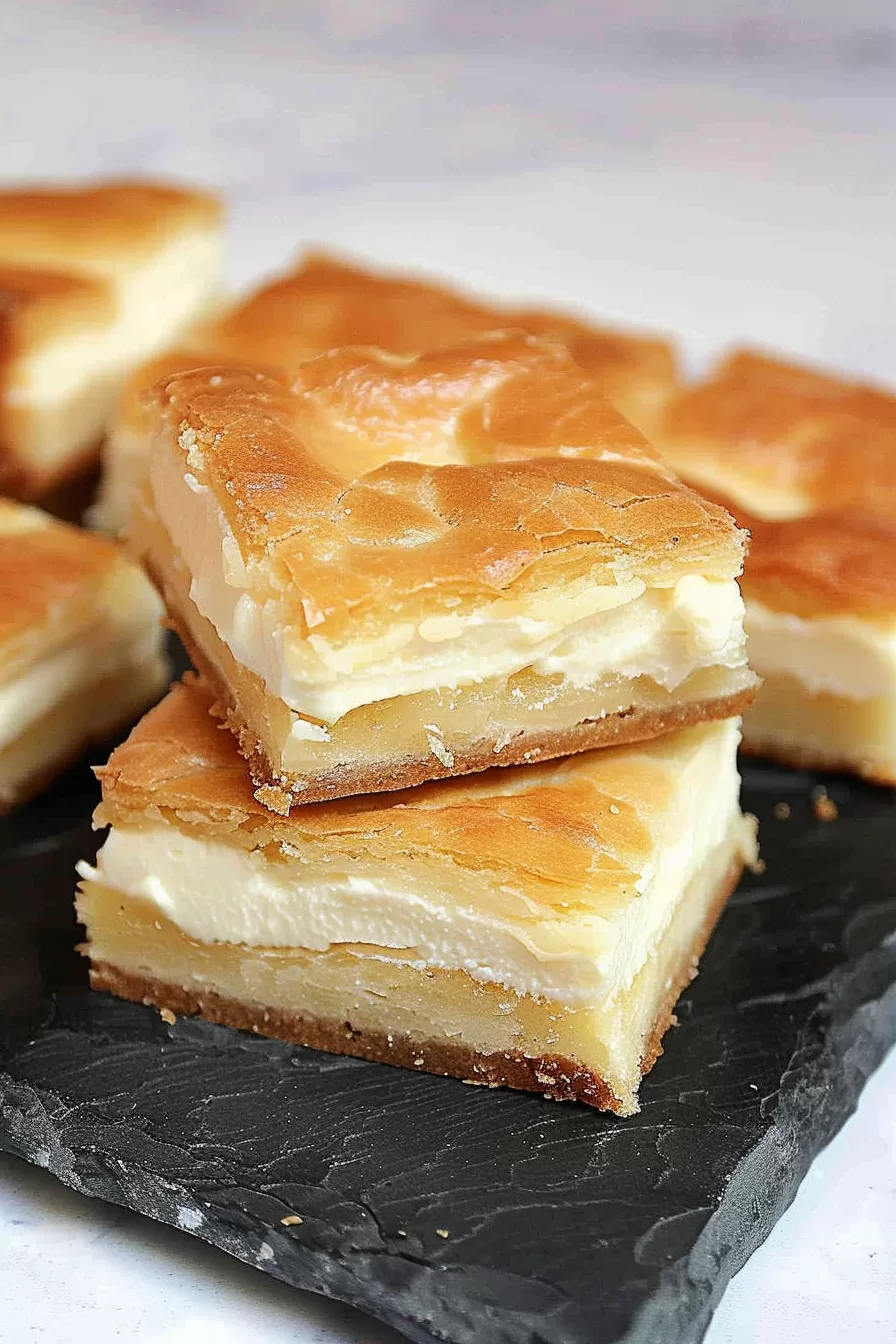
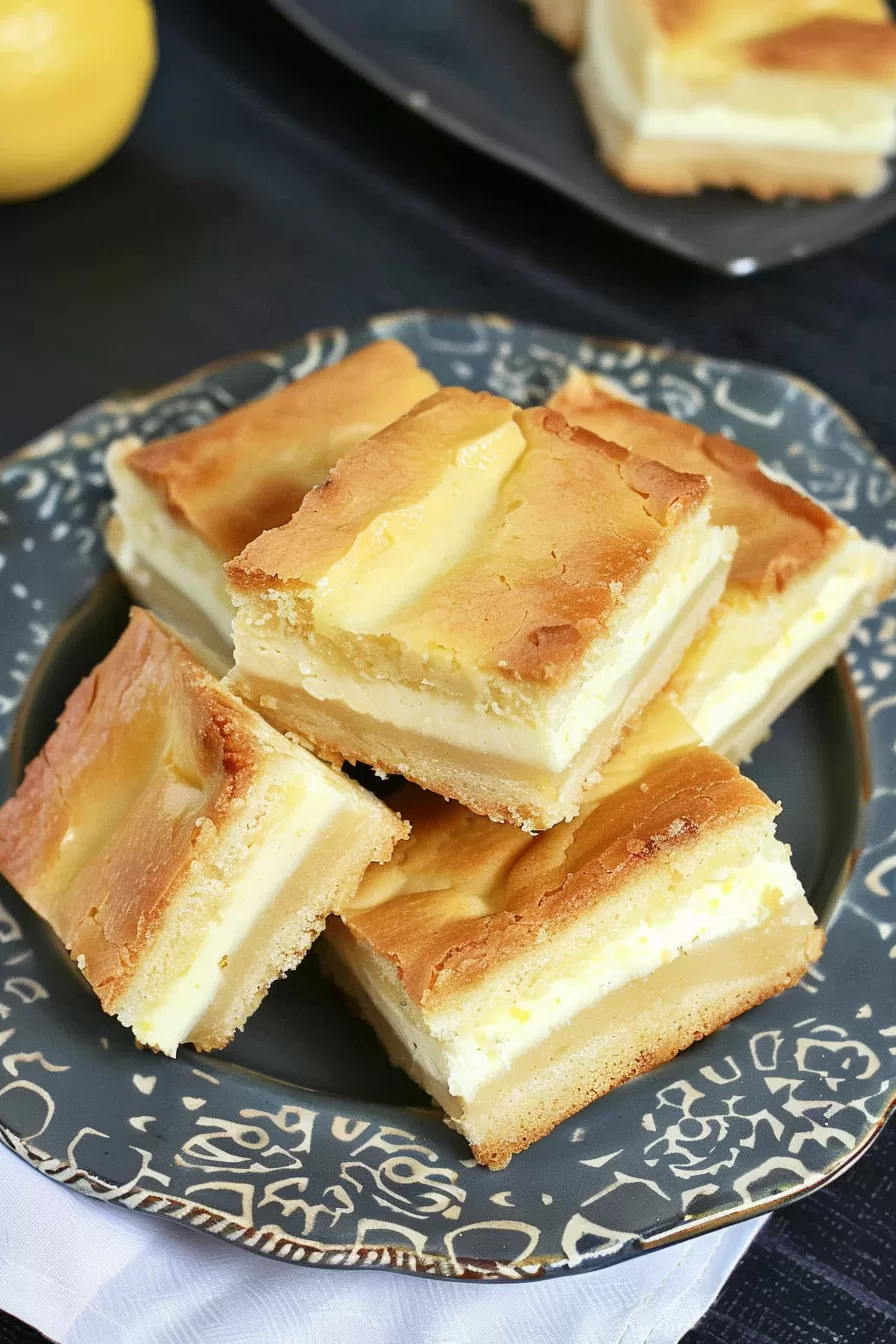
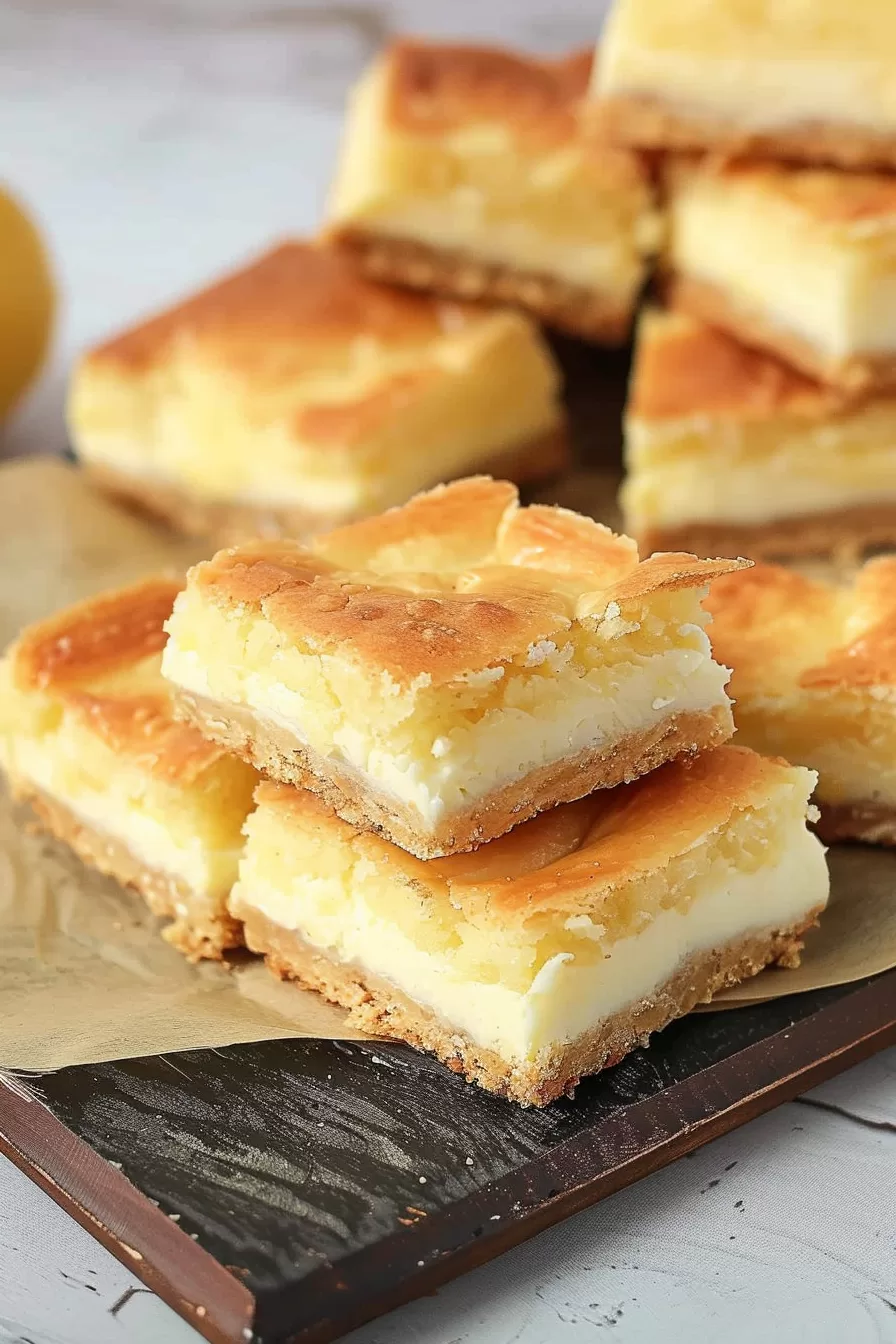
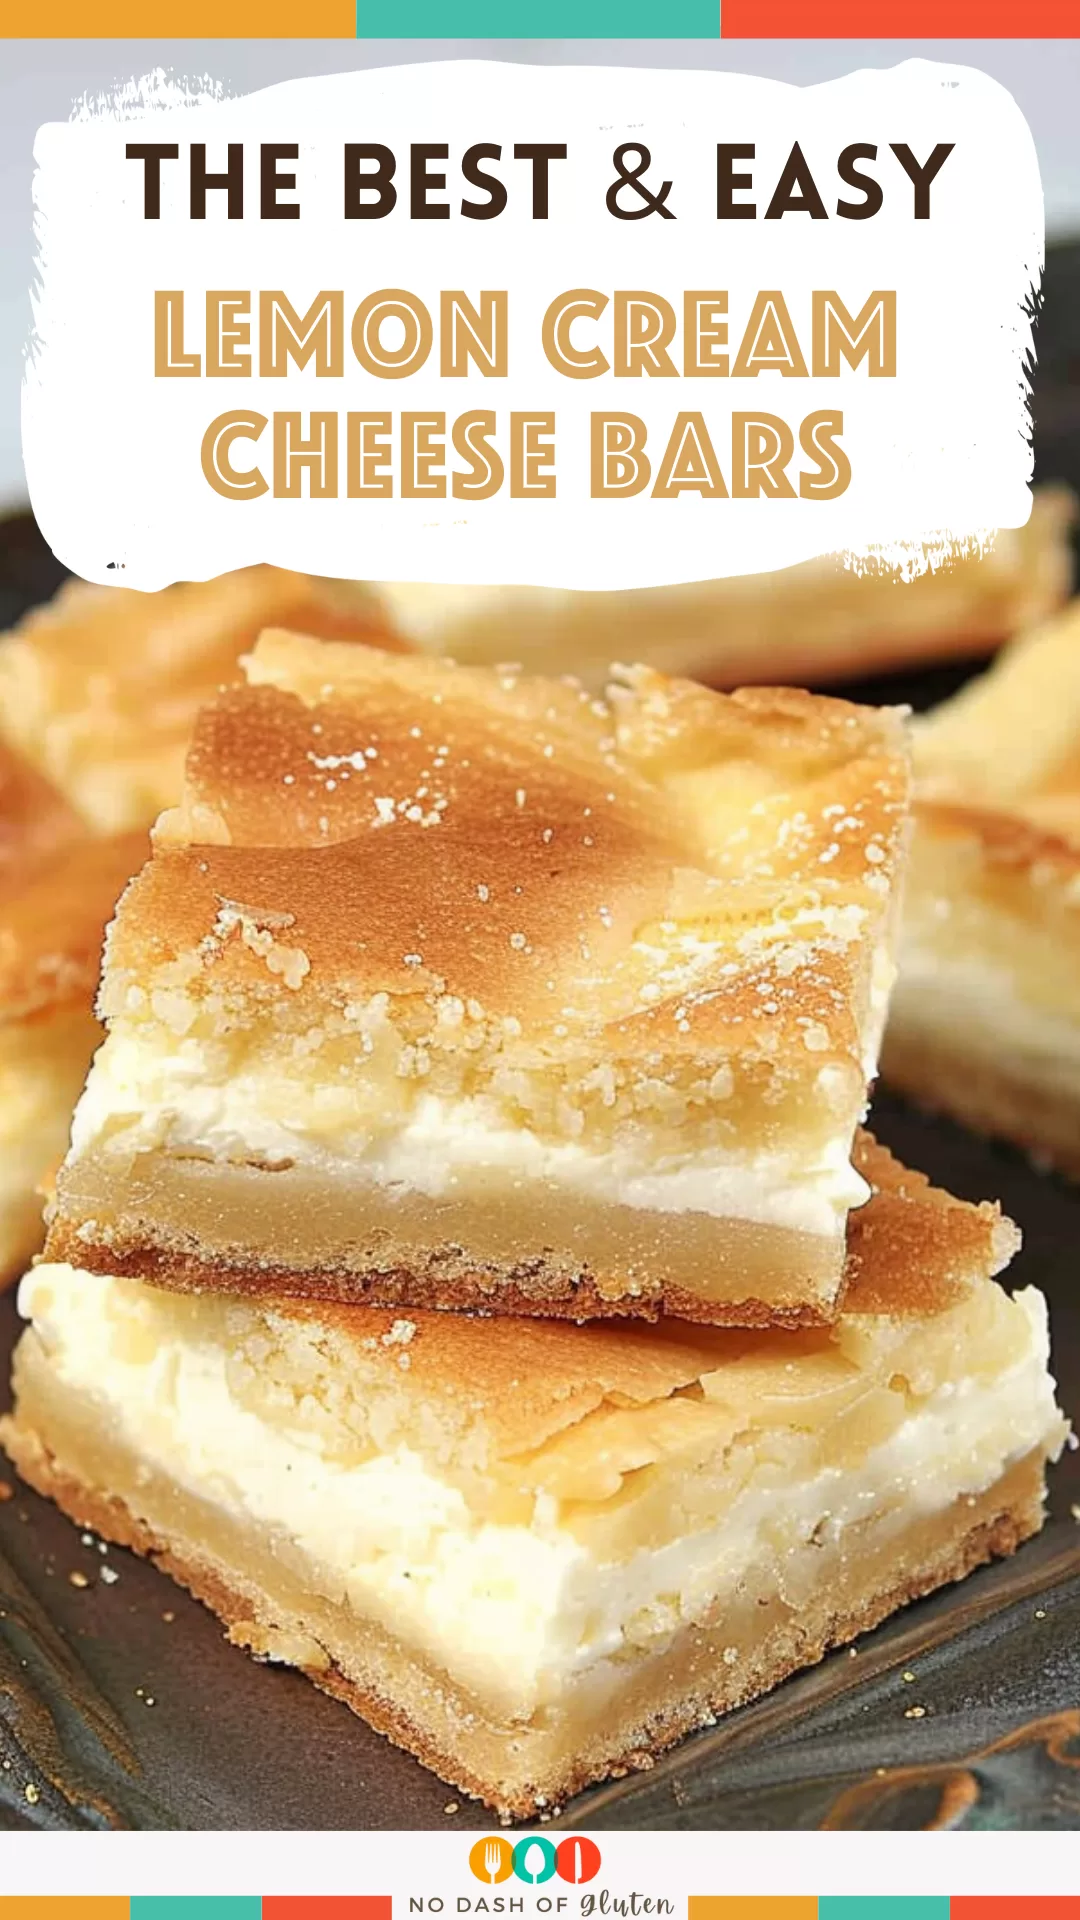
These lemon cream cheese bars are a buttery, flaky dessert with a creamy lemon filling, made with crescent roll dough and fresh lemons. So simple, yet so impressive!
I have this habit—maybe you can relate—where I promise to bring dessert to a get-together, but somehow, dessert completely slips my mind until the day of. That’s exactly how these lemon cream cheese bars came into my life.
It was one of those “Oh no, I need to make something right now or I’m showing up empty-handed” moments. The fridge wasn’t exactly stocked with gourmet options either—there was a half-used block of cream cheese, a lone tube of crescent roll dough (you know, the one shoved behind the eggs?), and a couple of lemons hanging out in the fruit drawer. Not exactly promising, but… I was feeling lucky.


So, I threw it all together. Cream cheese, lemon zest, sugar—sandwiched between two layers of dough. It smelled amazing coming out of the oven, but I didn’t really expect much. But, you guys… it was one of those happy kitchen accidents where everyone kept going back for “just one more piece.” My mom even asked for the recipe, which felt like a huge win since she’s the queen of lemon bars.
Now, this dessert has become my emergency go-to for potlucks, last-minute invites, and those “I deserve something sweet” nights (which happen a lot, honestly).
Why You’ll Love This Lemon Cream Cheese Bars Recipe?
- Effortless: Minimal ingredients, barely any prep, and no fancy tools required.
- Sweet + Tangy: The combo of fresh lemon and creamy filling? Absolute magic.
- Perfect for Any Occasion: Potlucks, brunch, or just because.
- Flaky, Buttery Layers: Crescent roll dough for the win—zero effort, maximum payoff.
- Crowd-Pleaser: Seriously, they vanish faster than I can cut them.
Ingredient Notes:
This recipe is proof that basic ingredients can create something amazing when they come together just right.
- Crescent Roll Dough: Your shortcut hero! It turns flaky and golden, no stress required.
- Cream Cheese: Full-fat works best here—rich, creamy, and dreamy when softened.
- Lemons: Fresh is non-negotiable. The juice gives the bars that tang, while the zest adds a burst of lemony aroma.
- Granulated Sugar: Sweetens the filling and adds a sparkly, caramelized topping.
- Vanilla Extract: Rounds out the tang with a touch of warmth.
- Butter: Melted and brushed over the top—it’s what makes the sugar glisten.
Pro Tip: If you want extra tang, add a bit of lemon zest to the top after baking.
How To Make Lemon Cream Cheese Bars?
Alright, let’s get baking! These bars are so easy, and I’m breaking it down step by step so you can totally nail it.
Step 1. Prep Your Baking Dish
Preheat your oven to 350°F (175°C). Grease a 9×9-inch baking dish with nonstick spray. (Or butter, if you’re in the mood to be extra.)
Step 2. Lay the Crescent Roll Dough
Unroll the crescent roll dough and divide it in half. Place one half in the bottom of your dish. If the seams split a bit, don’t stress—just press them back together. Think of it as “rustic charm.”
Step 3. Make the Filling
In a mixing bowl, blend the softened cream cheese, sugar, lemon juice, zest, and vanilla extract until smooth. No lumps allowed here—just creamy perfection. If your cream cheese is still a bit cold, zap it in the microwave for 10-15 seconds.
And yes, licking the spoon is absolutely encouraged.
Step 4. Assemble the Bars
Spread that luscious cream cheese mixture evenly over the dough. Make sure it reaches the edges—every bite deserves that creamy, lemony goodness.
Now, gently lay the second half of crescent roll dough over the top. Stretch it if needed and pinch those seams shut again.
Step 5. Bake It!
Pop it in the oven and bake for 25-30 minutes. You’re looking for golden brown perfection, with the edges slightly puffed and the top just crisping up.
Step 6. Buttery Sugar Topping
Once out of the oven, immediately brush the melted butter all over the top. Then, sprinkle the remaining sugar for that glistening, slightly crunchy finish.
Trust me, this step makes the bars.
Want To Save This Recipe?
Step 7. Chill and Slice
Let the bars cool completely. And I mean completely—it helps the filling set. Then refrigerate for at least 6 hours (overnight is even better). Once chilled, slice into squares and prepare for compliments.
Storage Options:
- Fridge: Store in an airtight container for up to 5 days.
- Freezer: Wrap individual bars tightly in plastic wrap and freeze for up to 2 months. Thaw in the fridge before serving.
- Room Temp: These are best served chilled, but they’re fine at room temp for a few hours if you’re serving a crowd.
Variations and Substitutions:
Feeling creative? Try switching things up a bit:
- Berry Lemon Bars: Add a layer of raspberry or blueberry jam before the cream cheese mixture.
- Lime Cream Cheese Bars: Swap lemon for lime juice and zest. Hello, summer vibes!
- Gluten-Free: Use gluten-free crescent dough—yes, it exists!
- Extra Tangy: Add a tablespoon of Greek yogurt to the filling for extra creaminess.
- Dusting Sugar: Skip the granulated sugar on top and finish with powdered sugar for a softer, bakery-style finish.
What to Serve with Lemon Cream Cheese Bars?
These bars can totally steal the show on their own, but if you want to create a full dessert spread:
- Fresh Berries: Strawberries, blueberries, or raspberries add a fresh contrast.
- Whipped Cream: Light, fluffy, and pairs perfectly with the tangy filling.
- Vanilla Ice Cream: Creamy meets citrusy—it’s a dream team.
- Iced Tea or Lemonade: Keep the lemon theme going strong!
Frequently Asked Questions:
Why are my bars too soft?
They probably need more fridge time! Chilling is what helps the cream cheese set, so give it a full 6 hours if you can (overnight’s even better).
Can I double this recipe?
Absolutely! Just use a 9×13 pan and double all the ingredients. Baking time may be a little longer—just keep an eye on the golden top.
Can I make these ahead for a party?
Totally! They’re actually better after a night in the fridge since the flavors have more time to mingle.
These lemon cream cheese bars aren’t just a dessert—they’re a whole mood. Bright, creamy, tangy, and just so easy to make. Whether you’re whipping them up for a dinner party, brunch, or just a random Tuesday, they never disappoint.
Give them a try, and when you do—please tag me in your photos! I’d love to see how they turn out in your kitchen.
Keep the Flavor Coming – Try These:
Lemony Cream Cheese Dessert Bars
Ingredients
- 8 oz. cream cheese full fat and softened
- 1 tube of crescent roll dough
- 2 lemons juiced and zested
- ½ c. + 1 tablespoon granulated sugar
- 2 tablespoons butter unsalted and melted
- 1 teaspoon vanilla extract
Instructions
- Preheat your oven to 350°F (175°C).
- Grease a baking pan using a nonstick spray.
- Take the crescent roll dough. Divide it in half. Put one-half into the pan. Press the seams together.
- In a bowl combine softened cream cheese, lemon juice, lemon zest, ½ cup sugar and vanilla extract. Mix everything until it becomes smooth.
- Spread the mixture of cream cheese over the dough, in the pan.
- Take the half of the dough. Place it on top. Press the seams together. Stretch if necessary.
- Bake, for 25 to 30 minutes. Until it turns golden brown.
- Drizzle melted butter over the top, brush it to cover and sprinkle with the remaining sugar.
- Allow it to cool down then refrigerate for 6 hours.
- Slice them up. Savor these Lemony Cream Cheese Dessert Bars!
Notes
I’m Bitty, owner of nodashofgluten.com, where I share simple, delicious recipes for all tastes, including gluten-free. Check out my “About Me” page for more info!

2 Responses
What size pan do you use?????
13×9-in. baking pan