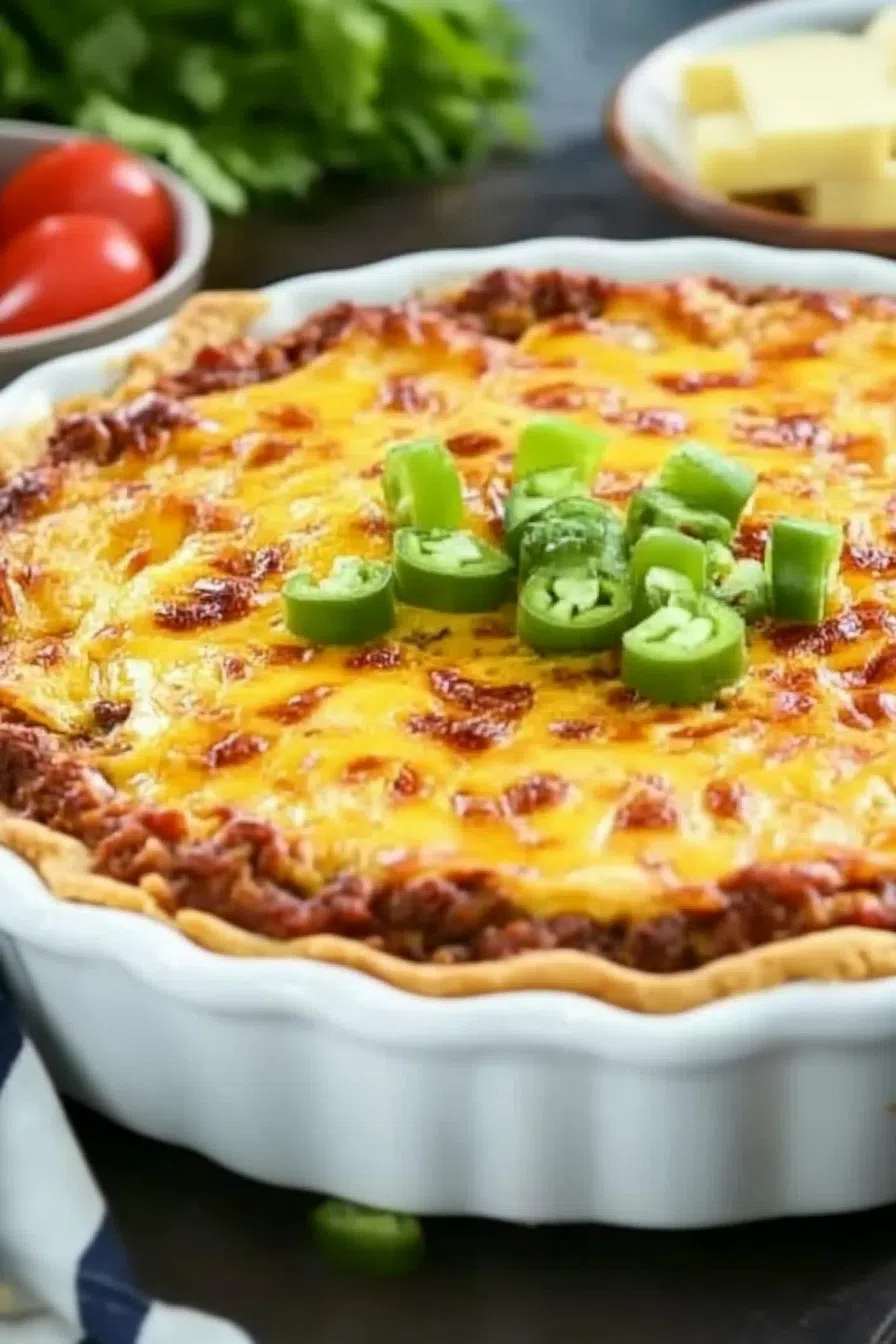
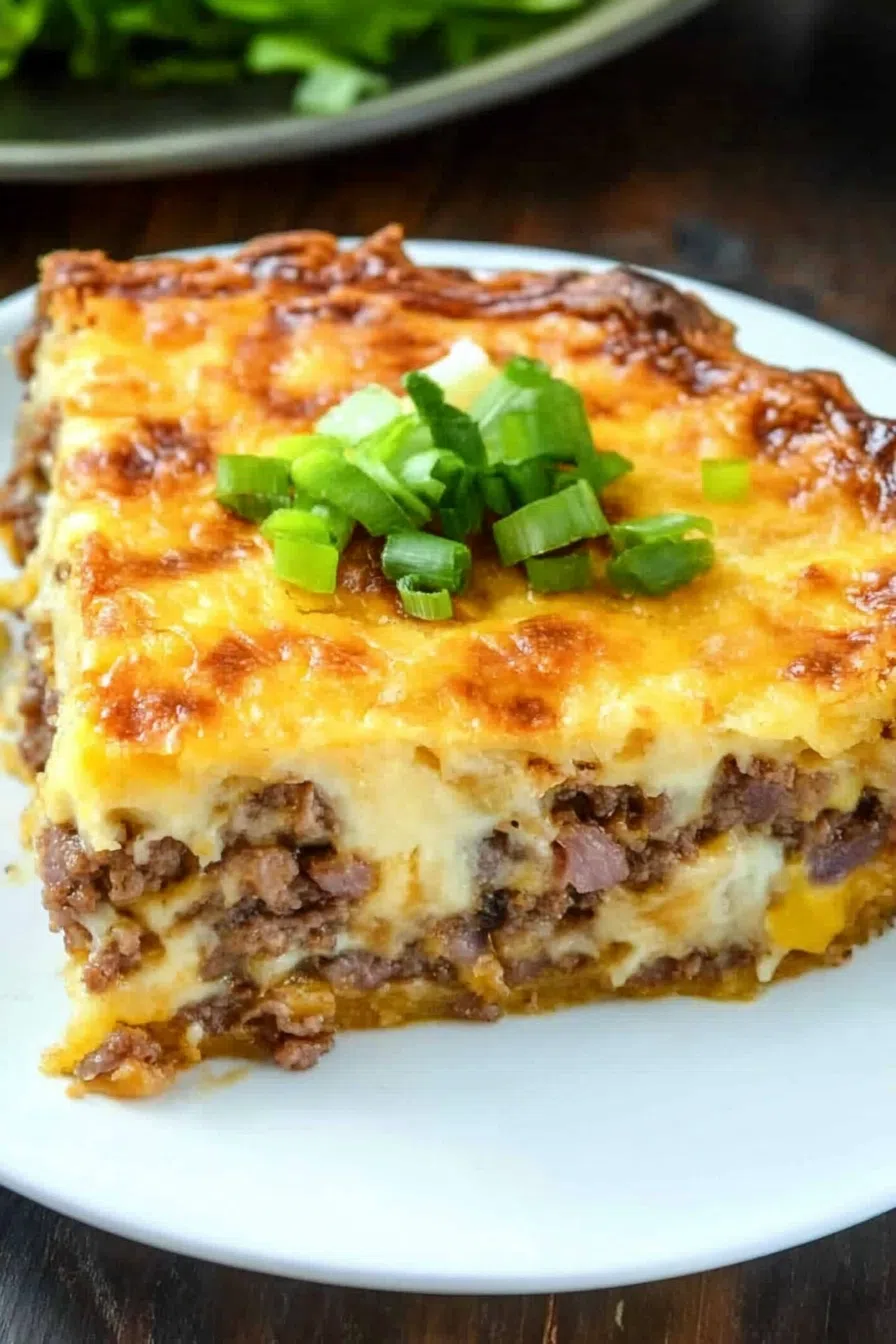
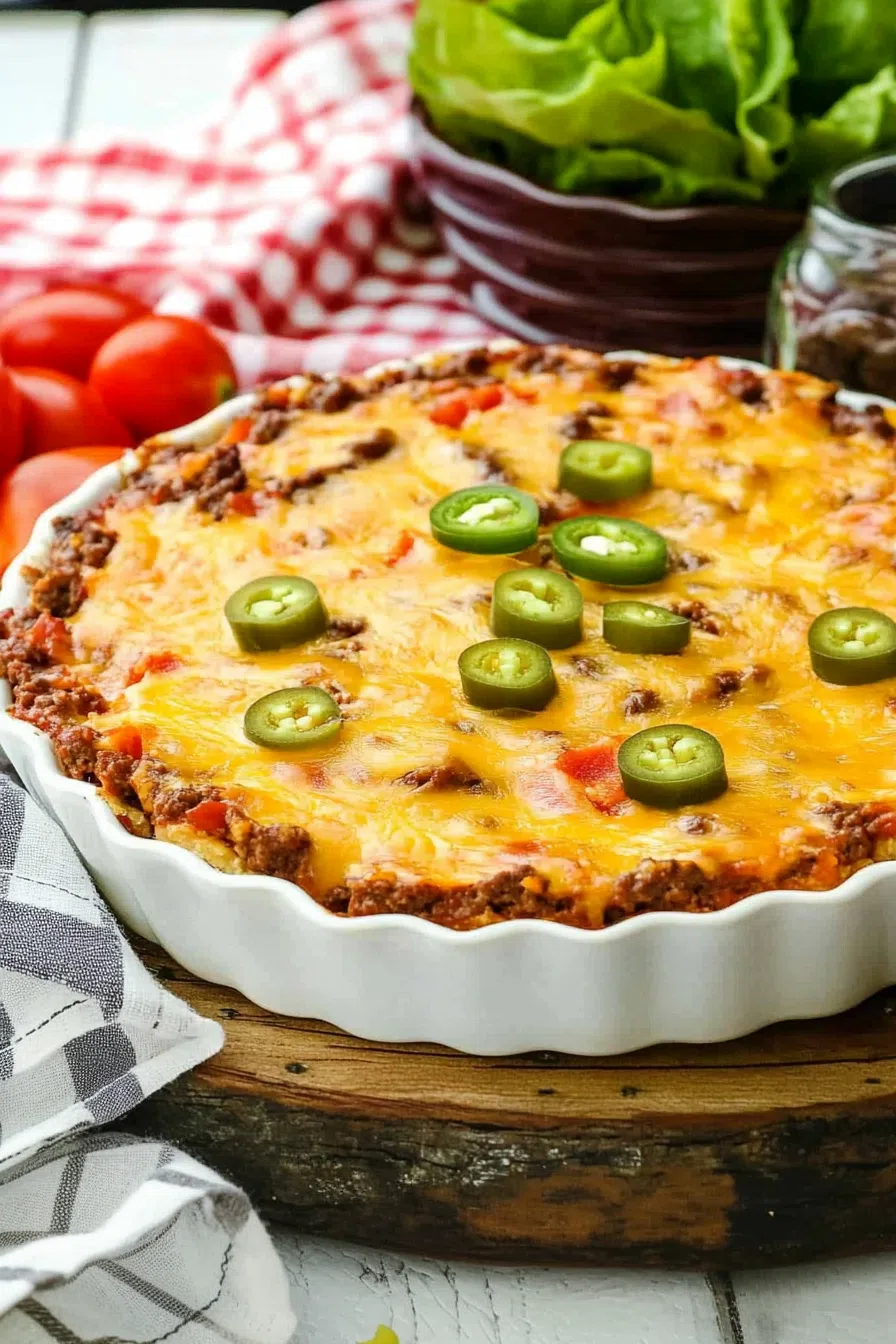
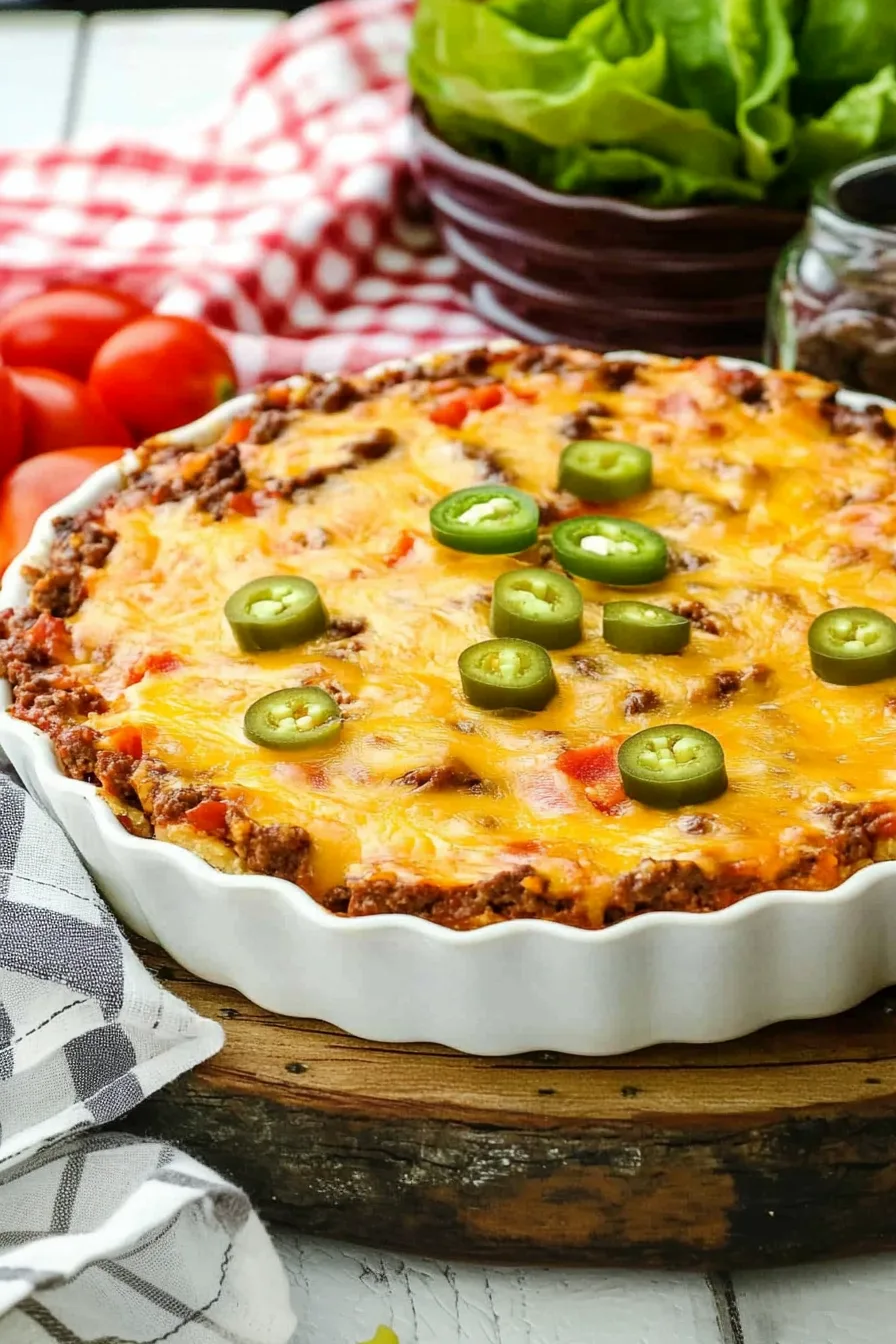
Classic Bisquick Cheeseburger Pie – If you’re craving a hearty, comforting meal. That’s easy to prepare. Look no further than this Classic Bisquick Cheeseburger Pie. This recipe combines all the flavors of a juicy cheeseburger. Into a simple, satisfying pie. With ground beef, sharp cheddar cheese, and a Bisquick crust. This dish is perfect. For a quick weeknight dinner. Or a cozy family meal. Ready in under an hour. It’s a nostalgic favorite. That will have everyone. Coming back for seconds.

Remember it later!
Planning to try this recipe soon? Pin it for a quick find later!
Remember it later!
Planning to try this recipe soon? Pin it for a quick find later!
The first time I made this Classic Bisquick Cheeseburger Pie. I was looking for a way. To bring the flavors of a cheeseburger. To the dinner table. Without firing up the grill. My husband. Who’s a huge fan of cheeseburgers. Was skeptical at first. But quickly changed his mind. After the first bite. Our child loved the cheesy topping. And the soft, flavorful crust. It was an instant hit. And now it’s a regular request. In our household. Especially on busy nights. When we need something filling. And delicious. With minimal effort.
Here’s a quick peek at what’s inside:
Table of content
What makes this Classic Bisquick Cheeseburger Pie truly stands out?
This recipe stands out. For its simplicity. And comforting flavors. The Bisquick crust. Is incredibly easy to prepare. And adds a delightful, fluffy texture to the dish. The combination of seasoned ground beef, onions, garlic, and Worcestershire sauce. Creates a rich and savory filling. While the sharp cheddar cheese on top. Brings everything together. With its melty, gooey goodness. Whether you’re feeding a family. Or cooking for a crowd. This cheeseburger pie is a guaranteed crowd-pleaser. That’s as easy to make. As it is to enjoy.
What You Need To Make This Classic Bisquick Cheeseburger Pie Recipe?
Ground Beef: Use 80/20 ground beef. For a perfect balance of flavor. And moisture. It ensures the filling is juicy. Without being greasy.
Bisquick: This pantry staple. Makes the crust quick. And easy to prepare. Giving the pie a light, fluffy base. That complements the hearty filling.
Extra-Sharp Cheddar Cheese: The bold flavor of extra-sharp cheddar. Adds a punch of cheesy goodness. That enhances the overall flavor of the pie. Feel free to use your favorite cheese blend. If you prefer.
Worcestershire Sauce: This ingredient adds depth. And umami to the beef mixture. Making it taste more like a classic cheeseburger.
Steps To Make Classic Bisquick Cheeseburger Pie:
Step 1: Preheat Oven: Begin by preheating your oven. To 400°F (200°C). Lightly spray a 9-inch pie plate. With nonstick cooking spray. To prevent sticking.
Step 2: Cook the Beef Mixture: In a large skillet. Heat the ground beef, chopped onion, minced garlic, Worcestershire sauce, salt, and pepper. Over medium heat. Cook until the beef is browned. And fully cooked. With no pink remaining. This should take about 10 minutes. Drain any excess fat. And transfer the cooked beef mixture. To the prepared pie plate. Spreading it out evenly.
Step 3: Prepare Crust: In a small mixing bowl. Whisk together the Bisquick, whole milk, and eggs. Until smooth. And well combined. Pour this mixture over the beef. In the pie plate. Ensuring it covers the meat evenly.
Step 4: Add the Cheese and Bake: Sprinkle the grated cheddar cheese evenly. Over the top of the pie. Place the pie plate. In the preheated oven. And bake for 30-40 minutes. Or until the top is golden brown. And the cheese is melted. And bubbly.
Want To Save This Recipe?
Enter your email below and we'll send the recipe straight to your inbox.
Step 5: Let It Rest: Once baked. Remove the pie. From the oven. And allow it to rest. For about 10 minutes. Before slicing and serving. This resting time. Helps the pie set. And makes it easier to cut.
Tip:
For the best flavor. Let the cooked beef mixture cool slightly. Before pouring the Bisquick crust over it. This helps the crust set more evenly. And prevents the cheese. From sinking too much into the filling. If you want an extra crispy top. Broil the pie. For the last 2-3 minutes of baking. Keeping a close eye on it. To avoid burning. To add a little more depth of flavor. Mix some chopped pickles. Or a dash of hot sauce. Into the beef mixture before baking.
Frequently Asked Questions:
Can I use a different type of cheese?
Absolutely! While extra-sharp cheddar is recommended. For its bold flavor. You can substitute it. With other cheeses like mozzarella, and Monterey Jack. Or a blend of your favorites.
Can I make this pie ahead of time?
Yes. You can prepare the pie up to the baking step. And refrigerate it. For a few hours before baking. Just add a few extra minutes. To the baking time. If you’re baking it straight from the fridge.
How do I store leftovers?
Store any leftovers in an airtight container. In the refrigerator for up to 3 days. To reheat. Simply warm slices in the oven. Or microwave. Until heated through.
Remember it later!
Planning to try this recipe soon? Pin it for a quick find later!
Remember it later!
Planning to try this recipe soon? Pin it for a quick find later!
Keep the Flavor Coming – Try These:
Classic Bisquick Cheeseburger Pie
Ingredients
- 1 lb of 80/20 ground beef
- 1 large onion finely chopped
- 2 cloves of garlic minced
- 1 tbsp of Worcestershire sauce
- 1 tsp of salt
- 1/2 tsp of black pepper
Crust:
- 1/2 c of Bisquick mix
- 1 c of whole milk
- 2 large eggs
Topping:
- 1 c of grated extra-sharp cheddar cheese
Instructions
- Preheat your oven to 400°F (200°C). And lightly grease a 9-inch pie plate. With nonstick cooking spray.
- In a large skillet. Cook the ground beef. With chopped onion, minced garlic, Worcestershire sauce, salt, and pepper. Over medium heat. Stir and cook. Until the beef is browned. And fully cooked. With no pink remaining. Which should take about 10 minutes. Drain any excess fat. Then transfer the cooked beef mixture. Into the prepared pie plate.
- In a small bowl. Whisk together the ingredients. For the crust. Pour this mixture evenly. Over the beef in the pie plate. Sprinkle the grated cheddar cheese evenly on top. Bake in the preheated oven. For 30-40 minutes. Or until the top. Is golden brown. Once done, remove the pie. From the oven. And let it rest. For 10 minutes before serving.
Notes

I’m Bitty, owner of nodashofgluten.com, where I share simple, delicious recipes for all tastes, including gluten-free. Check out my “About Me” page for more info!


