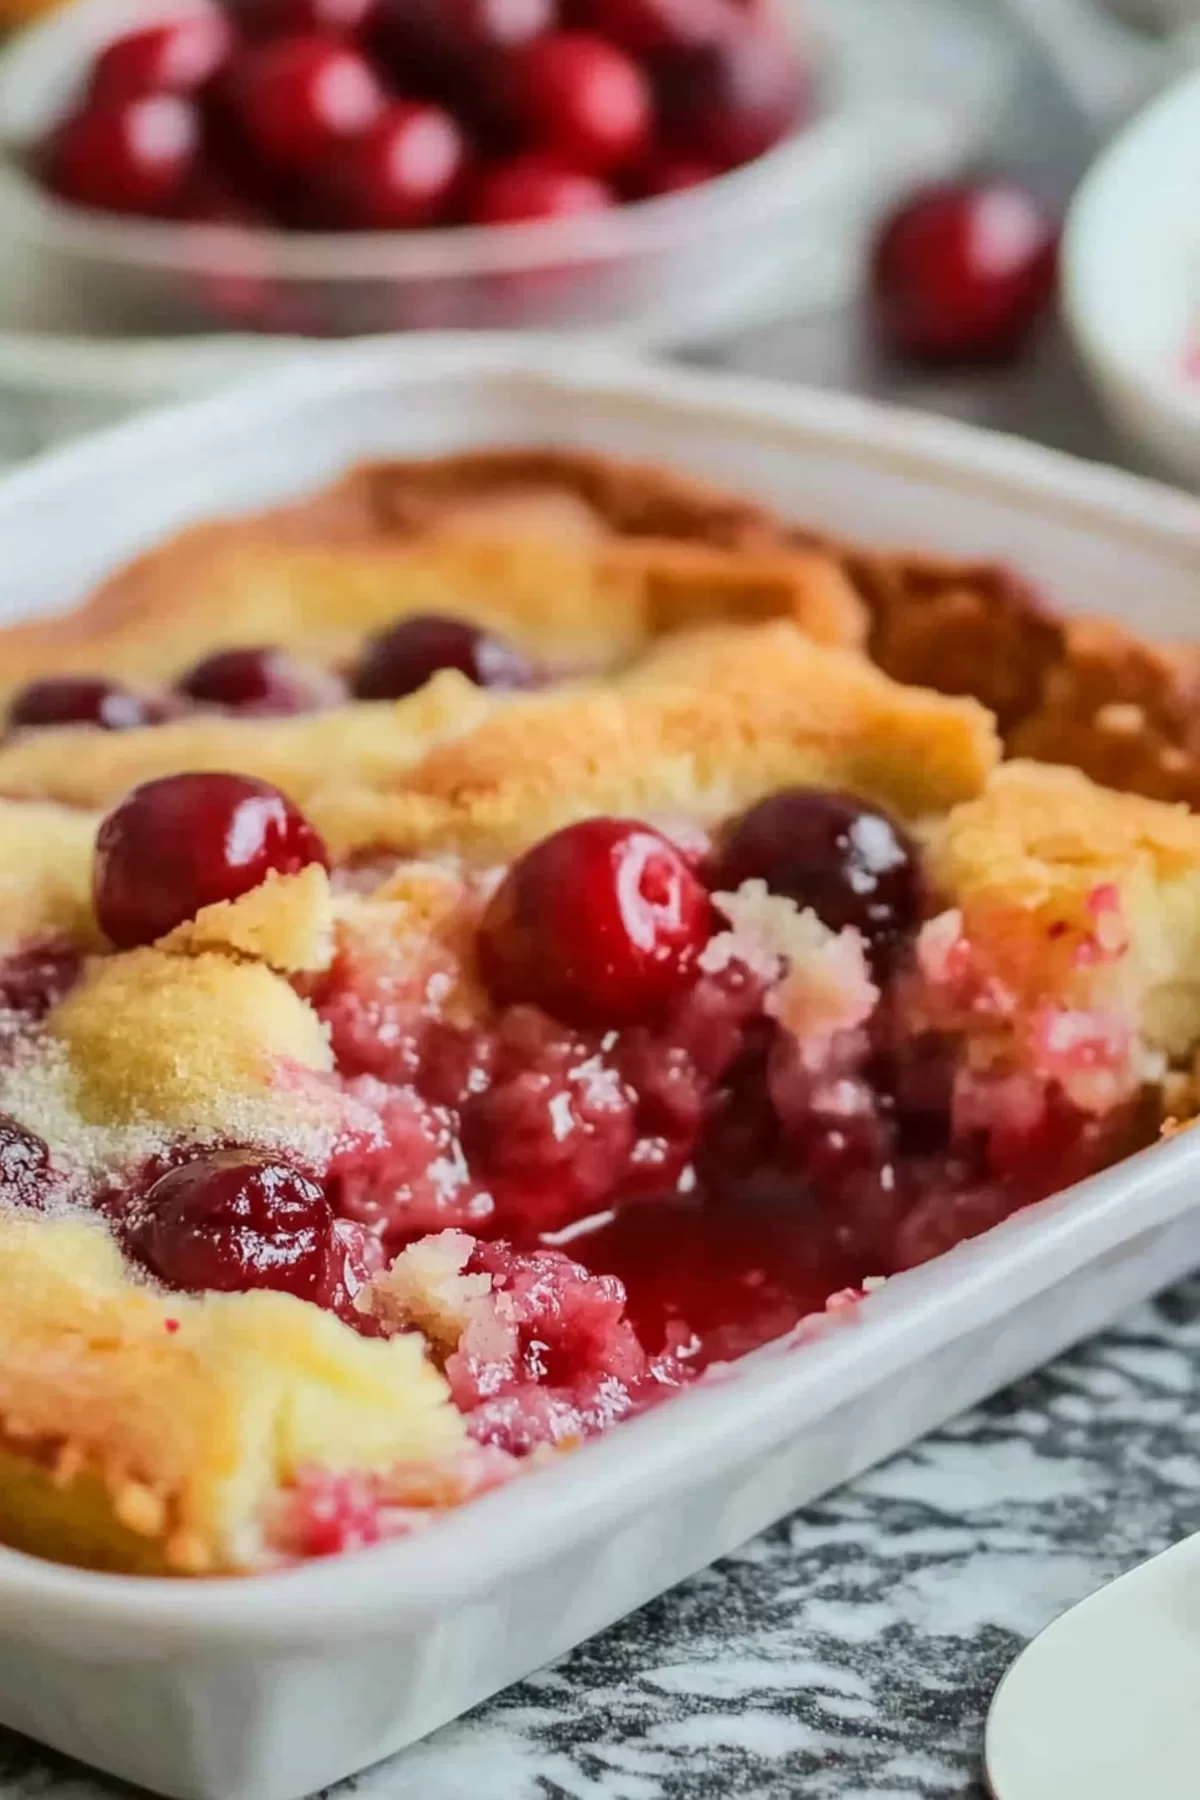
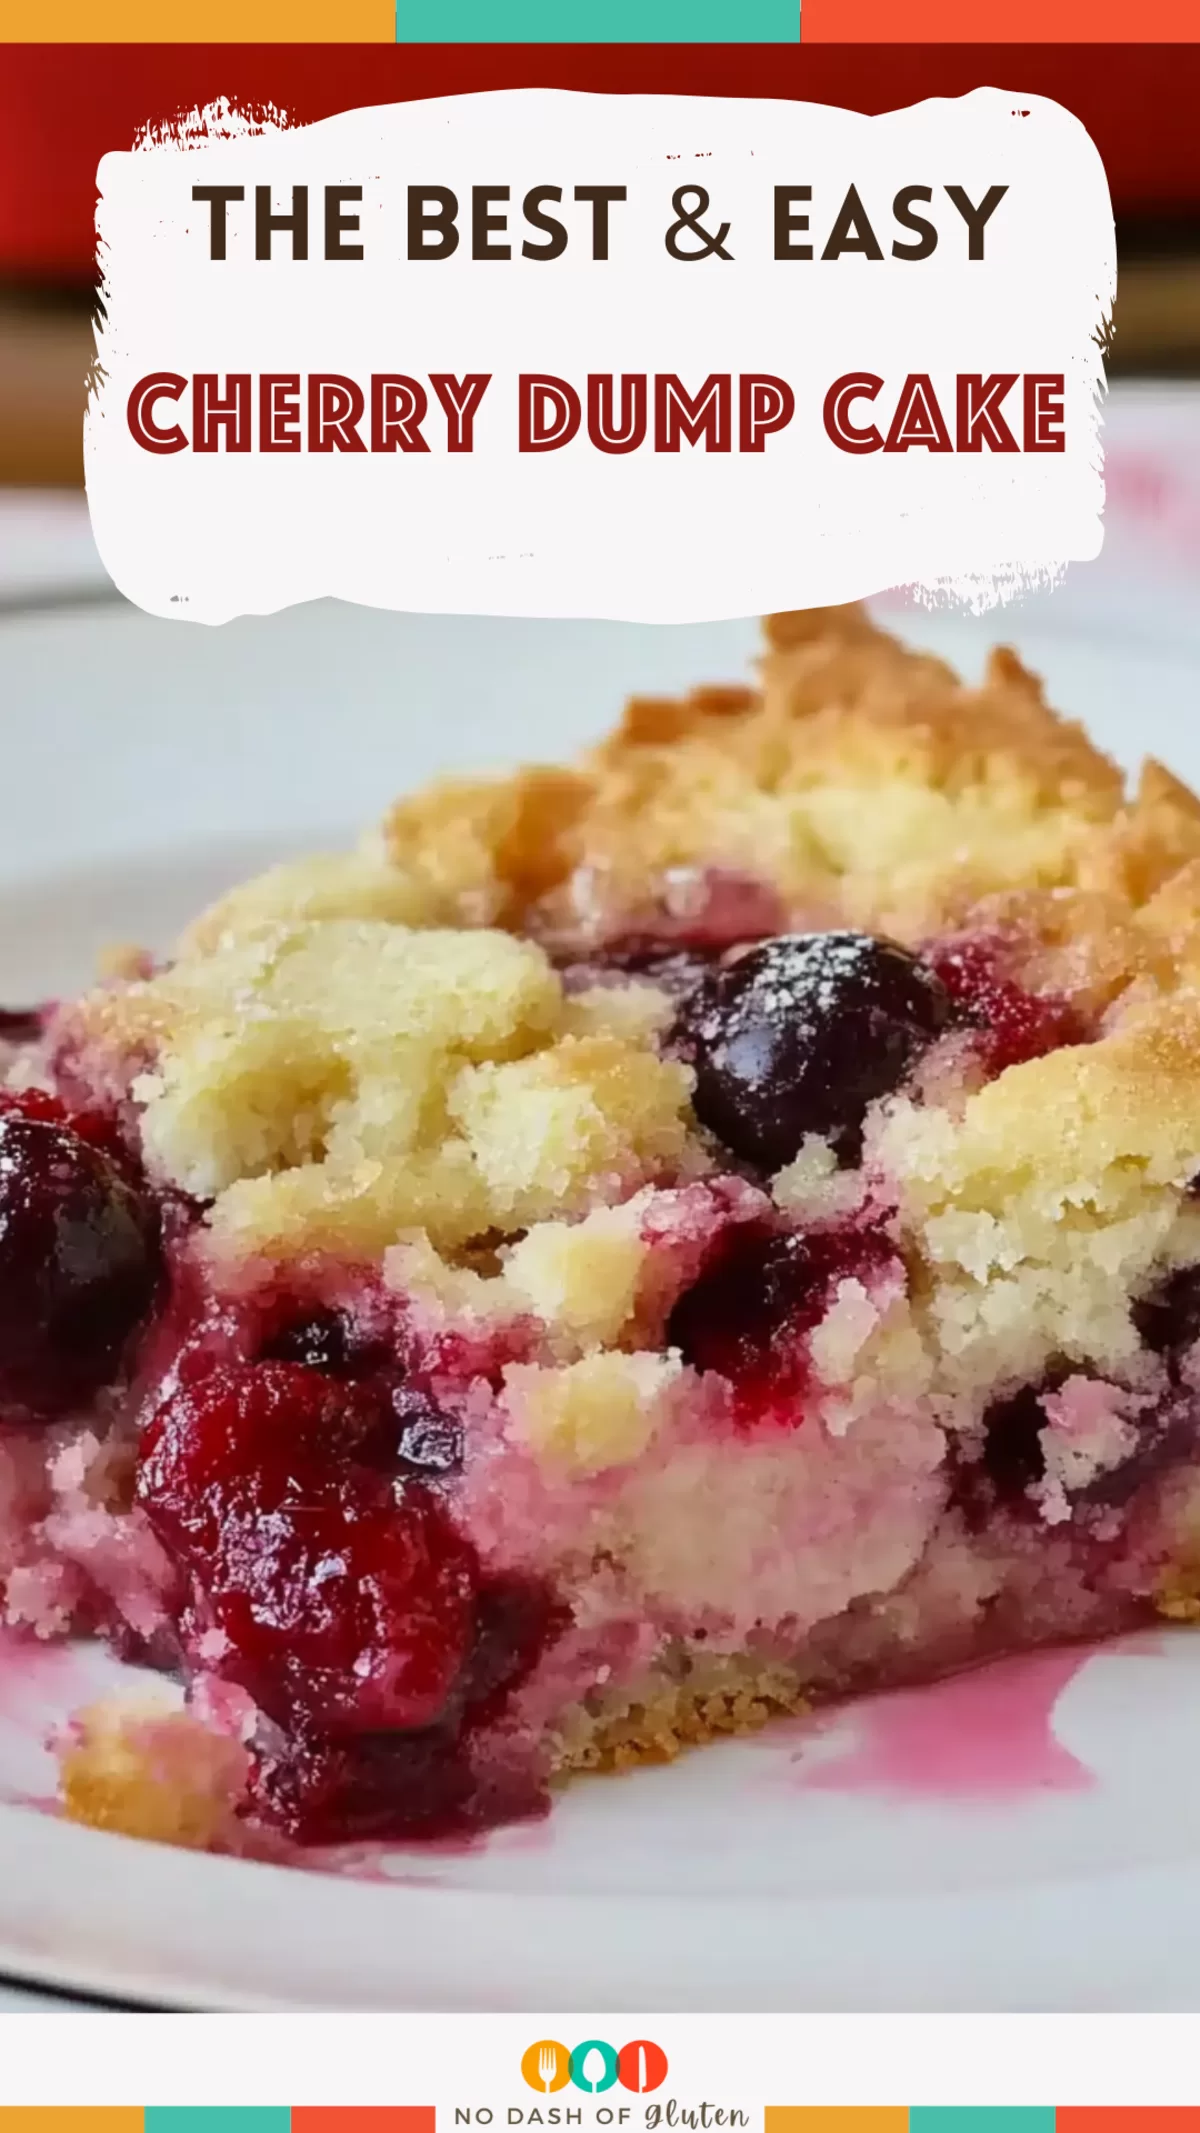
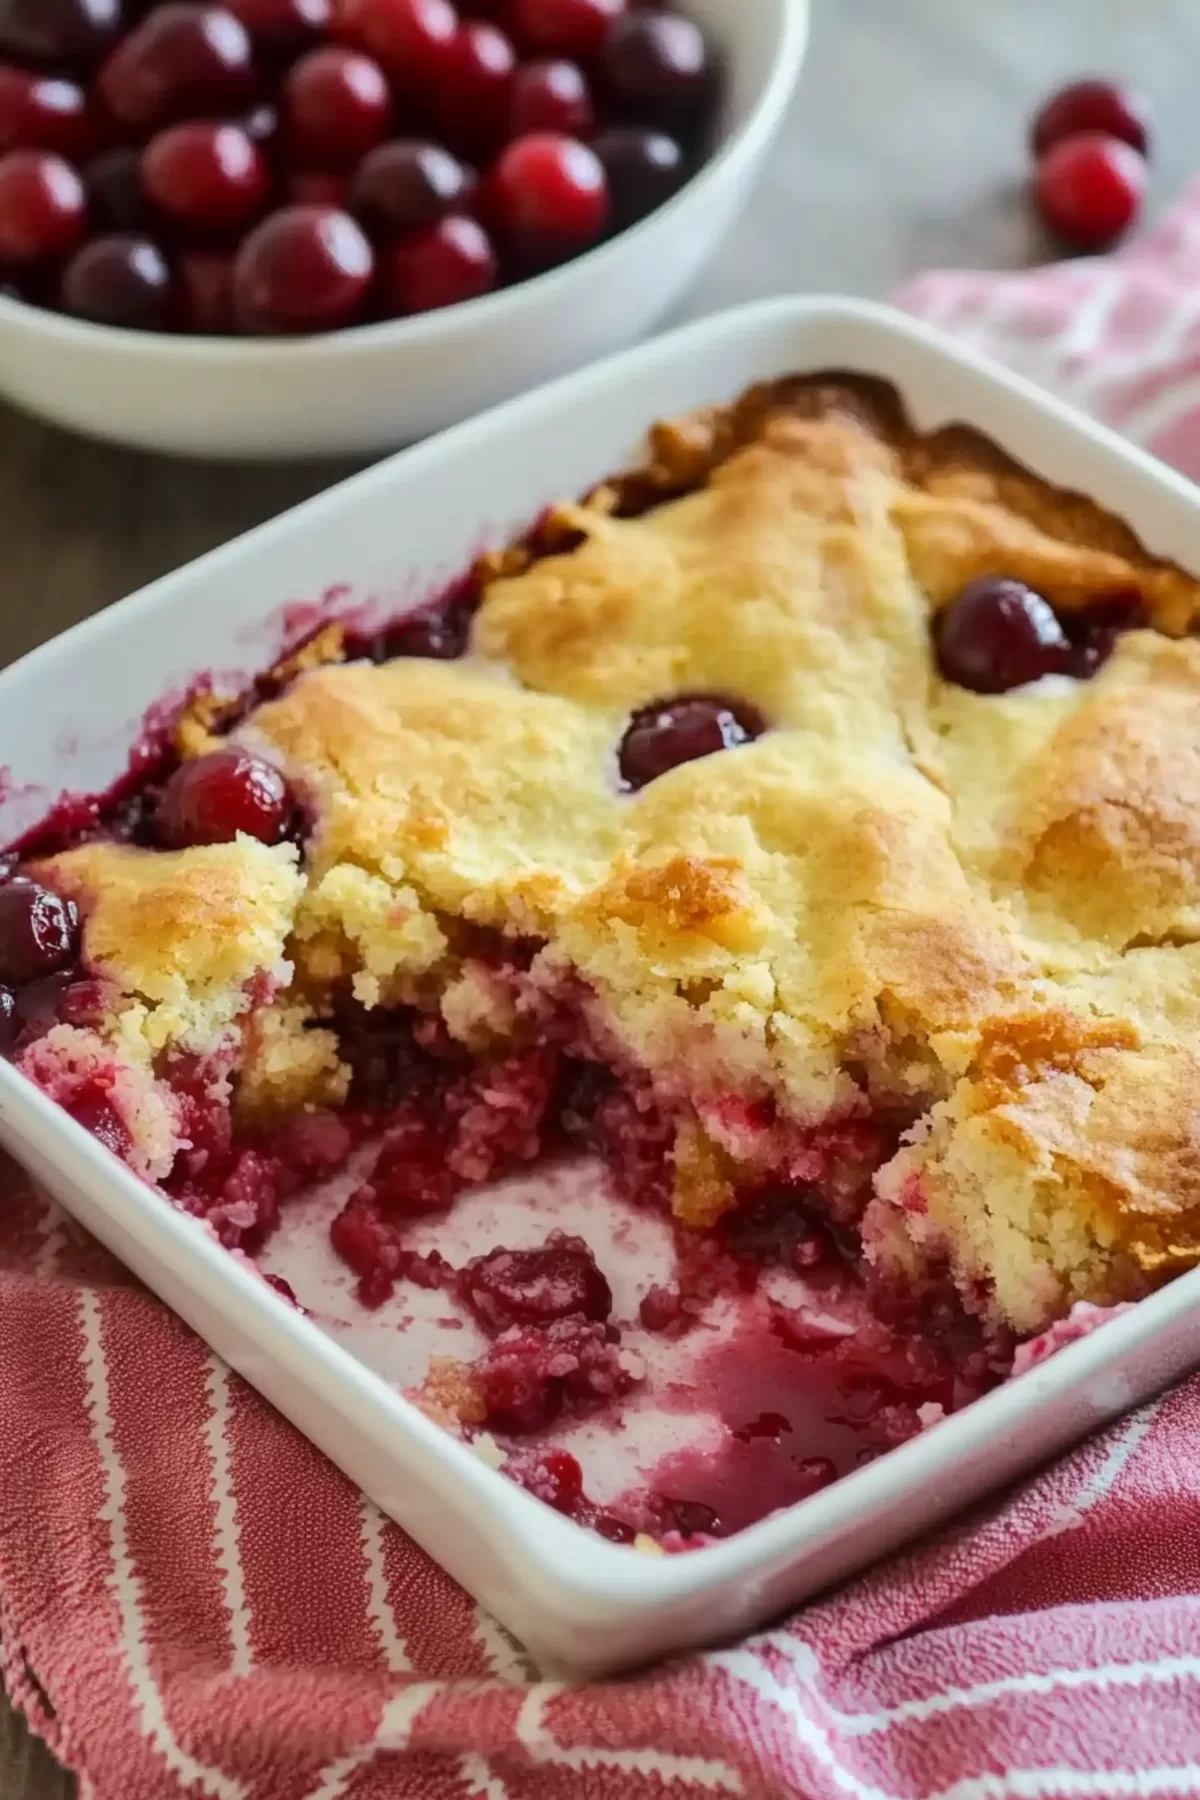
Cherry Dump Cake – Let’s start with a confession: the first time I heard the phrase dump cake, I thought, “That sounds…unappetizing.” I mean, who thought that was a good name? But my mother-in-law (who, by the way, makes the best desserts) swore by this Cherry Dump Cake. She whipped it up for a family dinner, and honestly, I wasn’t expecting much. But one bite—just one—and I was hooked.
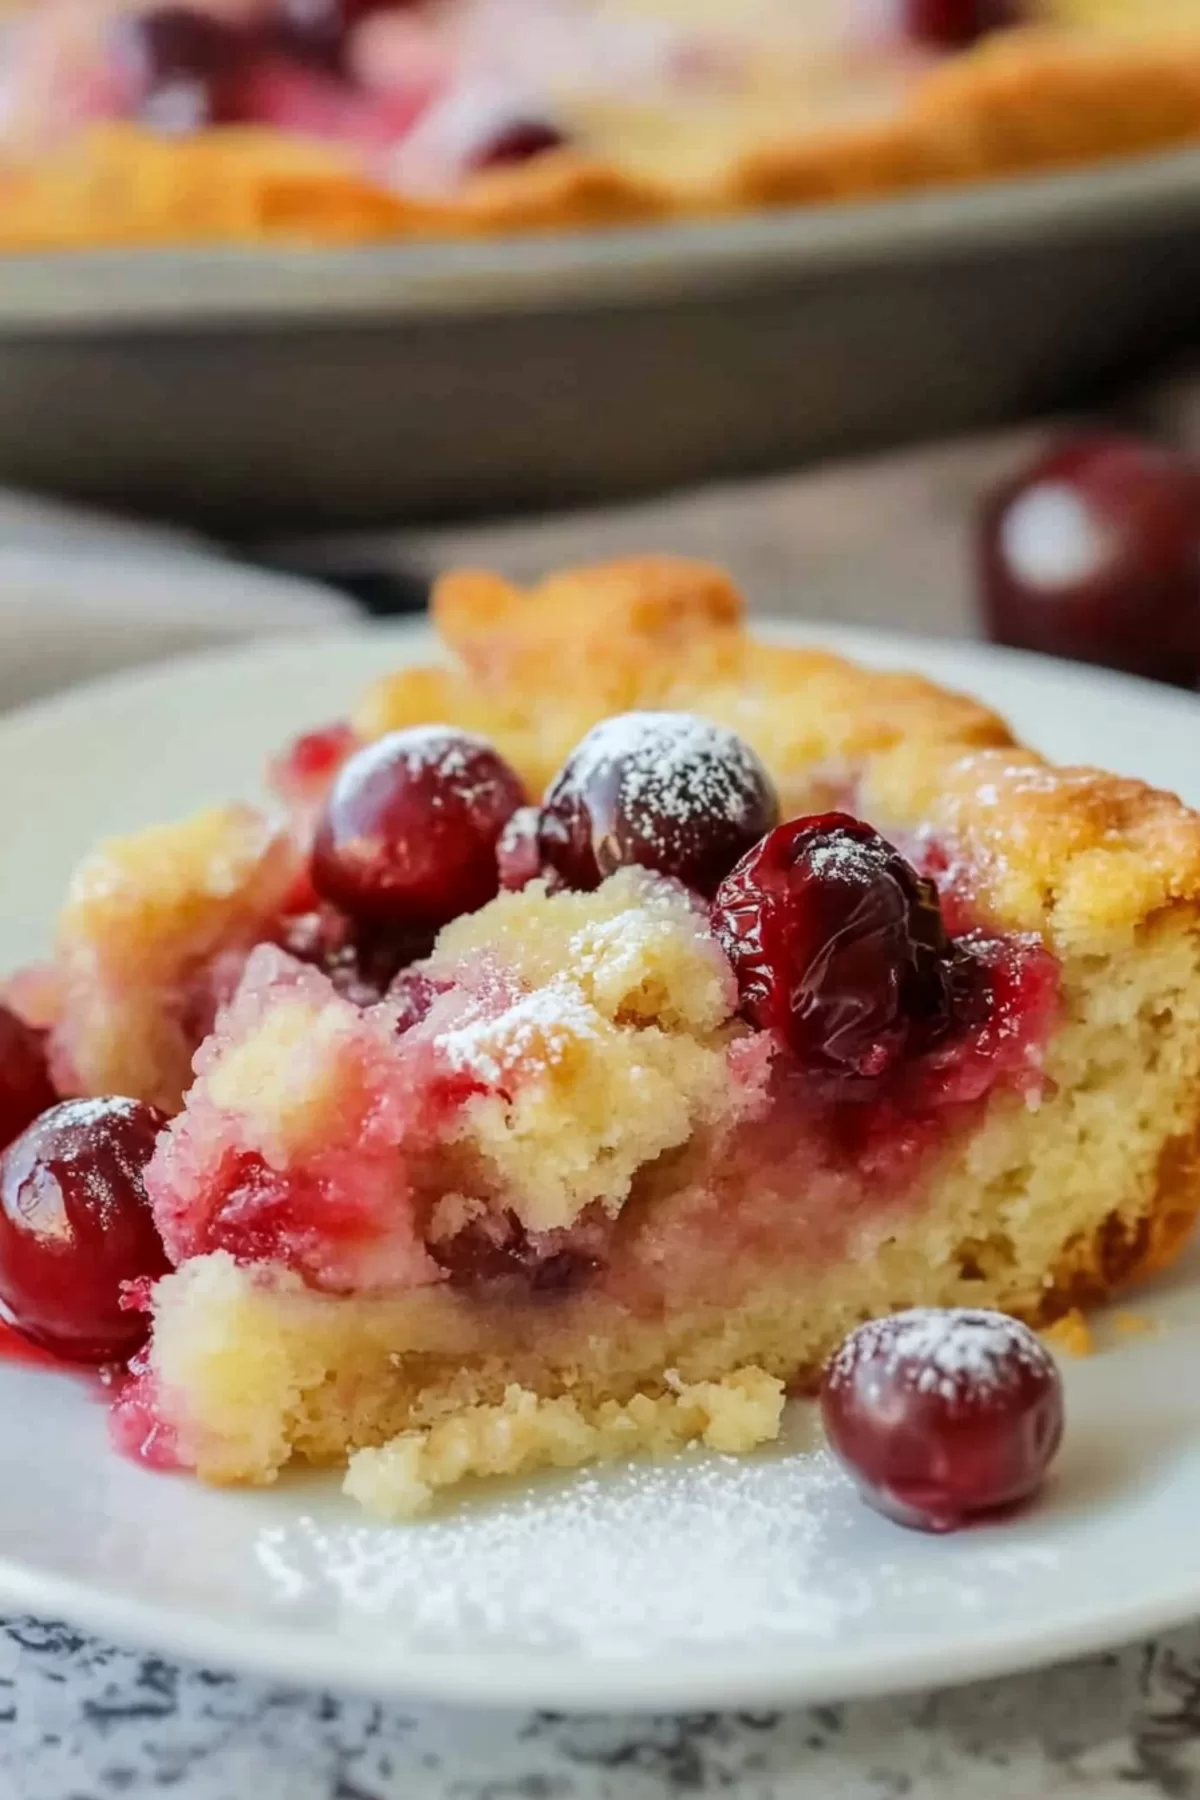
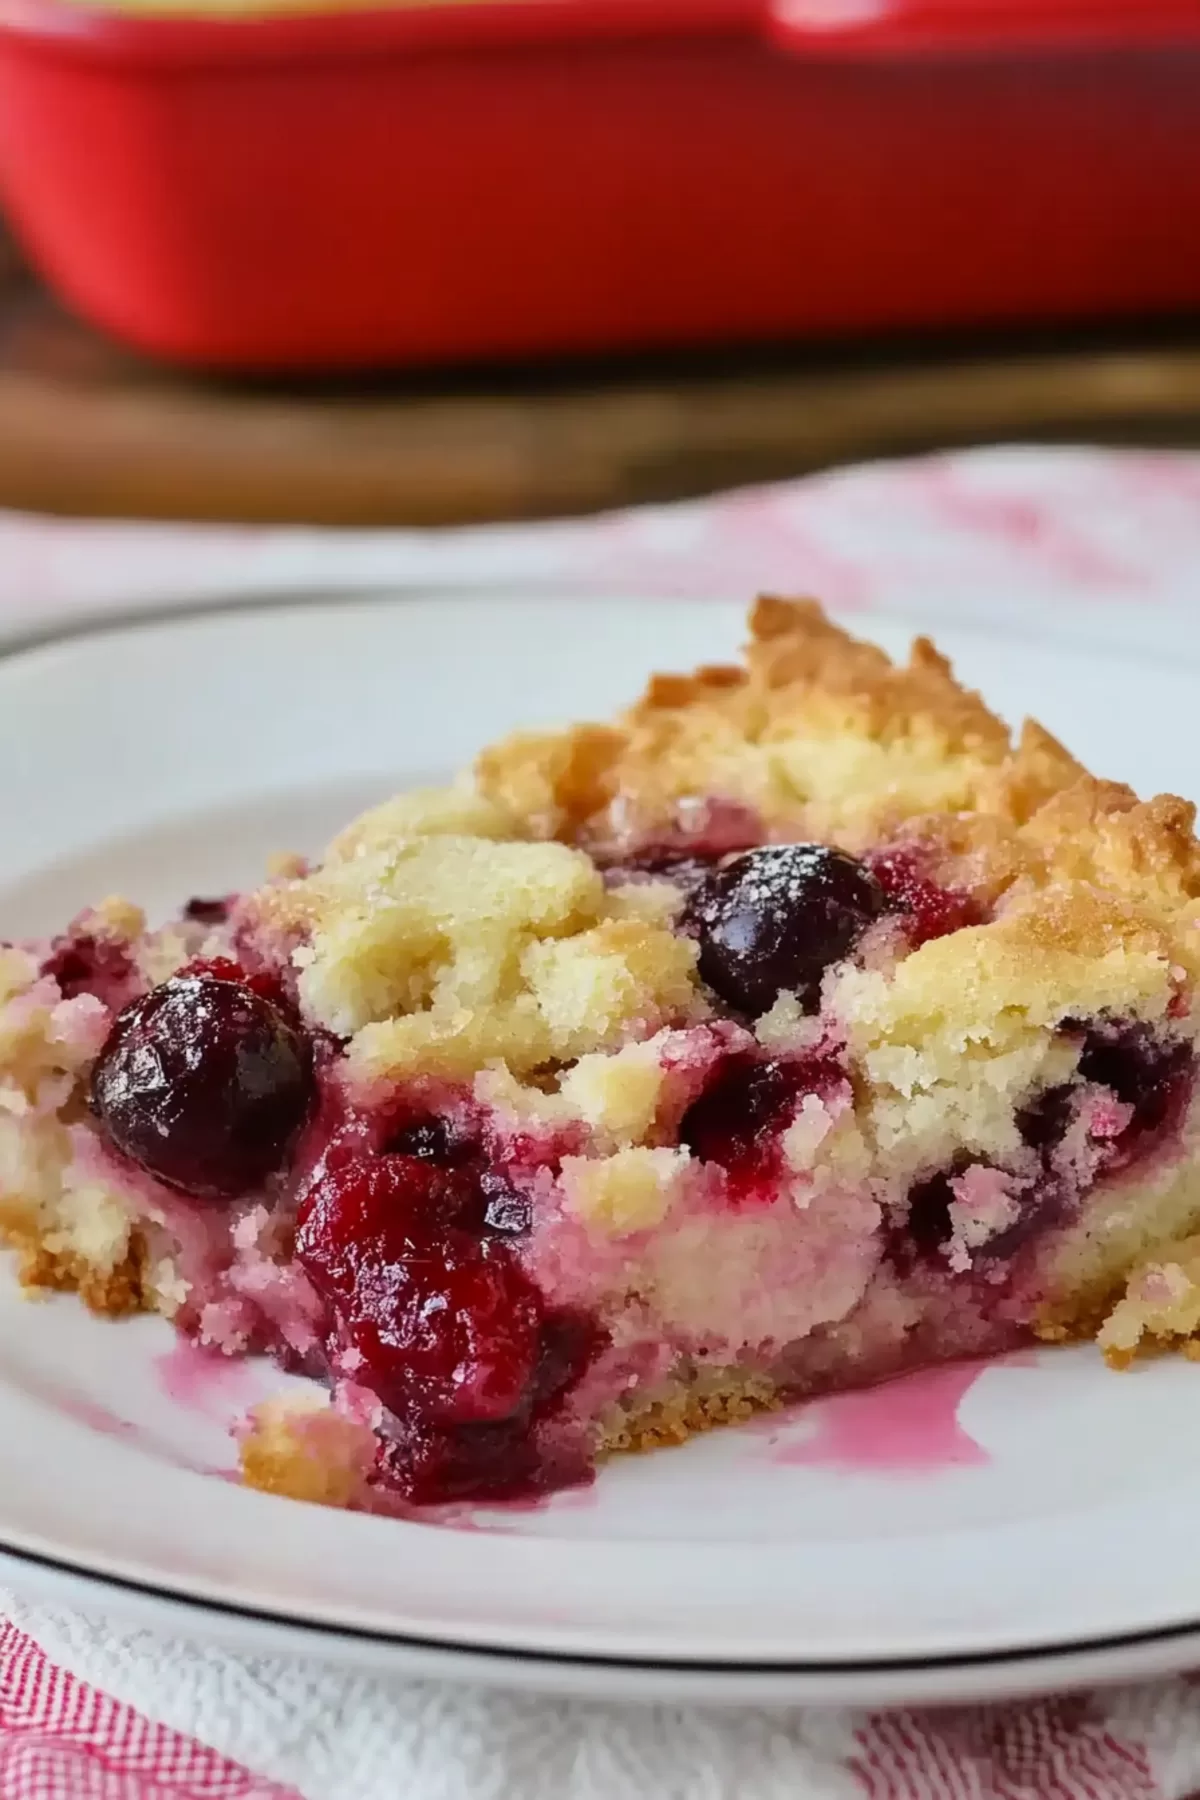
It was warm, gooey, and perfectly buttery, with just enough crunch from the pecans to make it feel extra special. You know that kind of dessert where everyone’s sneaking back to the kitchen for “just one more bite”? Yeah, it’s that good.

Remember it later!
Planning to try this recipe soon? Pin it for a quick find later!
Remember it later!
Planning to try this recipe soon? Pin it for a quick find later!
When she finally shared the recipe with me, I couldn’t believe how simple it was. Like, ridiculously simple. Open some cans, mix a couple of things, and bam—dessert magic. Now, this cake has become my go-to when I need something quick but want people to think I worked way harder than I actually did. And let’s be real—it’s even better with a big scoop of vanilla ice cream melting on top.
Here’s a quick peek at what’s inside:
Table of content
Why You’ll Love This Cherry Dump Cake Recipe?
So, why does this Cherry Dump Cake get so much love? Let me break it down:
- It’s Beyond Easy: Seriously, if you can open a can and crumble cake mix, you’ve got this. No fancy skills required.
- Texture Heaven: Juicy, tart cherries on the bottom, buttery, golden cake on top, and crunchy pecans sprinkled throughout—it’s the perfect mix.
- A Crowd Favorite: This dessert gets devoured every time. Whether it’s a family dinner, potluck, or just a Tuesday night, everyone loves it.
- Customizable: You can tweak it to match your mood or what you’ve got in the pantry (more on that later).
- Best Warm: Fresh out of the oven with a scoop of ice cream? It’s like a warm hug in dessert form.
Ingredient Notes:
This recipe keeps it simple, but every ingredient plays a key role. Here’s the lowdown:
- Cherry Pie Filling: The star of the show. It’s sweet, tart, and perfectly gooey. You can also swap it for other fruit fillings (peach is amazing).
- White Cake Mix: The base for that buttery, golden topping. Yellow cake mix works too, but white keeps the flavors light and sweet.
- Butter: Melted butter mixes with the cake mix to create those crispy, crumbly bits on top. It’s indulgent and totally worth it.
- Pecans: They add crunch and a little nuttiness. Not a fan? Leave them out or try walnuts instead.
How To Make Cherry Dump Cake?
This might be the easiest dessert you’ll ever make. Here’s how to do it:
- Preheat Your Oven
First, preheat your oven to 350°F. Trust me, you’ll want the oven ready because this cake comes together fast. - Layer the Cherry Filling
Spread the cherry pie filling evenly across the bottom of a 9×13-inch baking pan. This is your juicy, fruity foundation. Make sure it’s spread out so every bite gets a hit of cherries. - Mix the Topping
In a bowl, combine the white cake mix and melted butter. Stir until it forms a crumbly, slightly sticky mixture. Don’t worry if it looks clumpy—that’s what you want. - Assemble the Cake
Crumble the cake mix mixture over the cherries, using your fingers to break it into small pieces. Sprinkle the chopped pecans on top for that perfect crunch. - Bake to Perfection
Pop the pan in the oven and bake for 35–40 minutes. You’ll know it’s ready when the top is golden brown and the cherry filling is bubbling around the edges. Let it cool slightly before serving (if you can wait).
Storage Options:
If you have leftovers (unlikely, but let’s pretend), here’s how to keep them fresh:
- Refrigerator: Cover the pan with foil or transfer the cake to an airtight container. It’ll keep for up to 4 days. To reheat, pop it in the microwave for a warm, gooey treat.
- Freezer: You can freeze individual portions in freezer-safe containers for up to 2 months. Thaw overnight in the fridge and warm in the oven or microwave before serving.
Variations and Substitutions:
This recipe is super versatile. Here are some fun ways to change it up:
- Fruit Filling: Swap cherry for blueberry, apple, or peach pie filling. You can even mix two flavors for a fun twist.
- Cake Mix: Yellow cake mix adds a richer flavor, while spice cake mix gives it a cozy, autumn vibe.
- Nuts or No Nuts: Not into pecans? Try walnuts, slivered almonds, or skip them altogether.
- Extra Toppings: Shredded coconut or white chocolate chips sprinkled on top before baking add a little something extra.
Want To Save This Recipe?
Enter your email below and we'll send the recipe straight to your inbox.
What to Serve with Cherry Dump Cake?
This dessert is delicious on its own, but pairing it with something extra takes it over the top:
- Vanilla Ice Cream: The cold, creamy ice cream melting into the warm cake is just chef’s kiss.
- Whipped Cream: A fluffy dollop makes it feel fancy.
- Coffee or Tea: A hot drink balances the sweetness and makes it feel even cozier.
- Caramel Sauce: Drizzle a little on top for a decadent touch.
Frequently Asked Questions:
Can I make this cake ahead of time?
Yep! You can assemble it a few hours ahead and bake it just before serving. Just don’t mix the butter and cake mix until you’re ready to bake so the topping stays fresh.
Can I use fresh fruit instead of pie filling?
Absolutely! You’ll need to cook the fruit down with sugar and a bit of cornstarch to get that same thick, gooey consistency.
Alright, now it’s your turn. Are you ready to make this Cherry Dump Cake and wow everyone at the table? I’d love to hear how it turns out—or what fun twists you try. Let’s chat in the comments!
Remember it later!
Planning to try this recipe soon? Pin it for a quick find later!
Remember it later!
Planning to try this recipe soon? Pin it for a quick find later!
Keep the Flavor Coming – Try These:
Ingredients
- 2 21-ounce cans cherry pie filling
- 1 15.25-ounce package white cake mix
- ¼ cup butter melted
- ½ cup coarsely chopped pecans
Instructions
Preheat the Oven
- Preheat your oven to 350°F (175°C) to ensure even baking.
Prepare the Baking Dish
- Spread the cherry pie filling evenly across the bottom of a 9x13-inch baking pan. Ensure the filling is evenly distributed for consistent flavor in every bite.
Mix the Topping
- In a medium bowl, combine the white cake mix and melted butter. Stir until the mixture becomes clumpy and resembles coarse crumbs.
Assemble the Cake
- Sprinkle the prepared cake mix mixture evenly over the cherry pie filling, covering the entire surface. Distribute the chopped pecans evenly over the top for added crunch and flavor.
Bake the Cake
- Place the baking dish in the preheated oven and bake for 35–40 minutes, or until the topping is golden brown and the cherry filling is bubbling around the edges.
Cool and Serve
- Remove the cake from the oven and allow it to cool for 10–15 minutes before serving. Serve warm, optionally with a scoop of vanilla ice cream or a dollop of whipped cream.
Notes

I’m Bitty, owner of nodashofgluten.com, where I share simple, delicious recipes for all tastes, including gluten-free. Check out my “About Me” page for more info!






2 Responses
How many servings? Would it make 12 servings?
Hi Nancy! Yes, this recipe will make about 12 servings, depending on how large or small you cut the pieces. Doubling the recipe should also work well, but be sure to check it towards the end of baking for doneness since a larger pan might affect the cooking time slightly. Enjoy making this delicious dessert! 😊