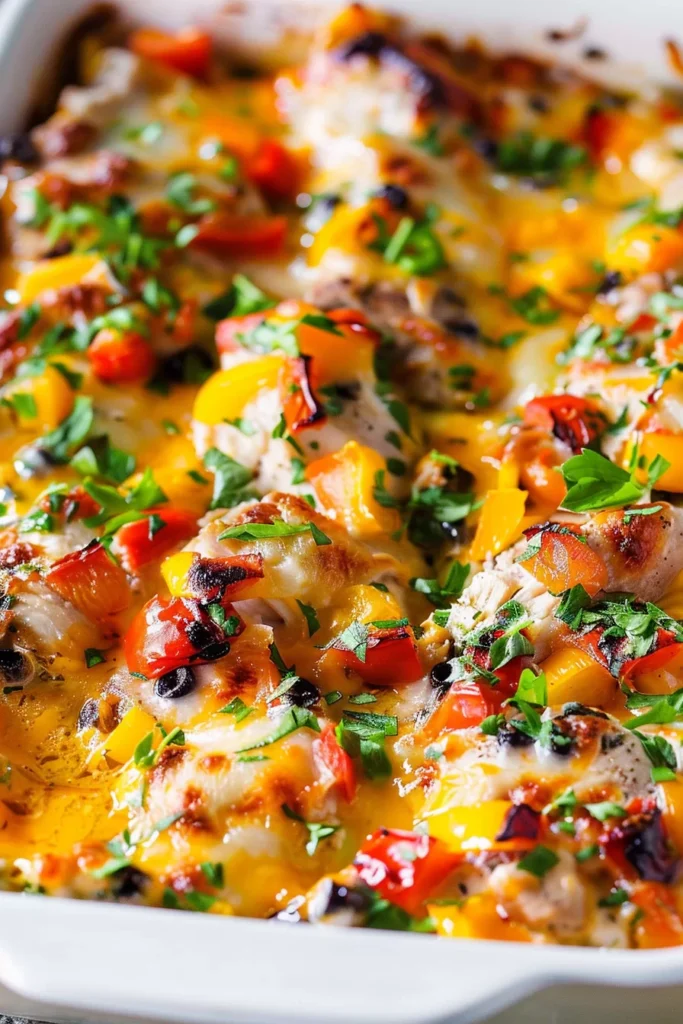
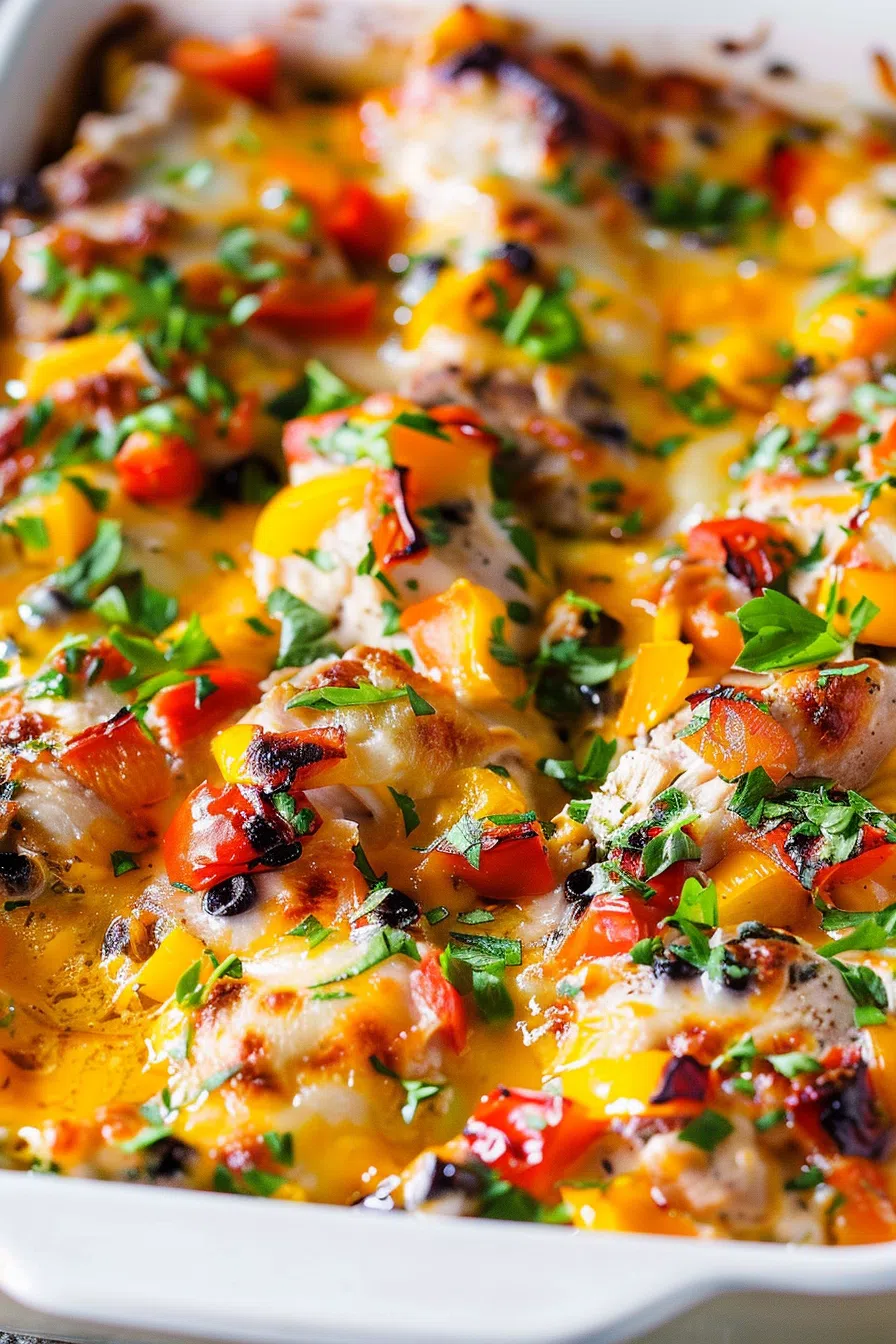
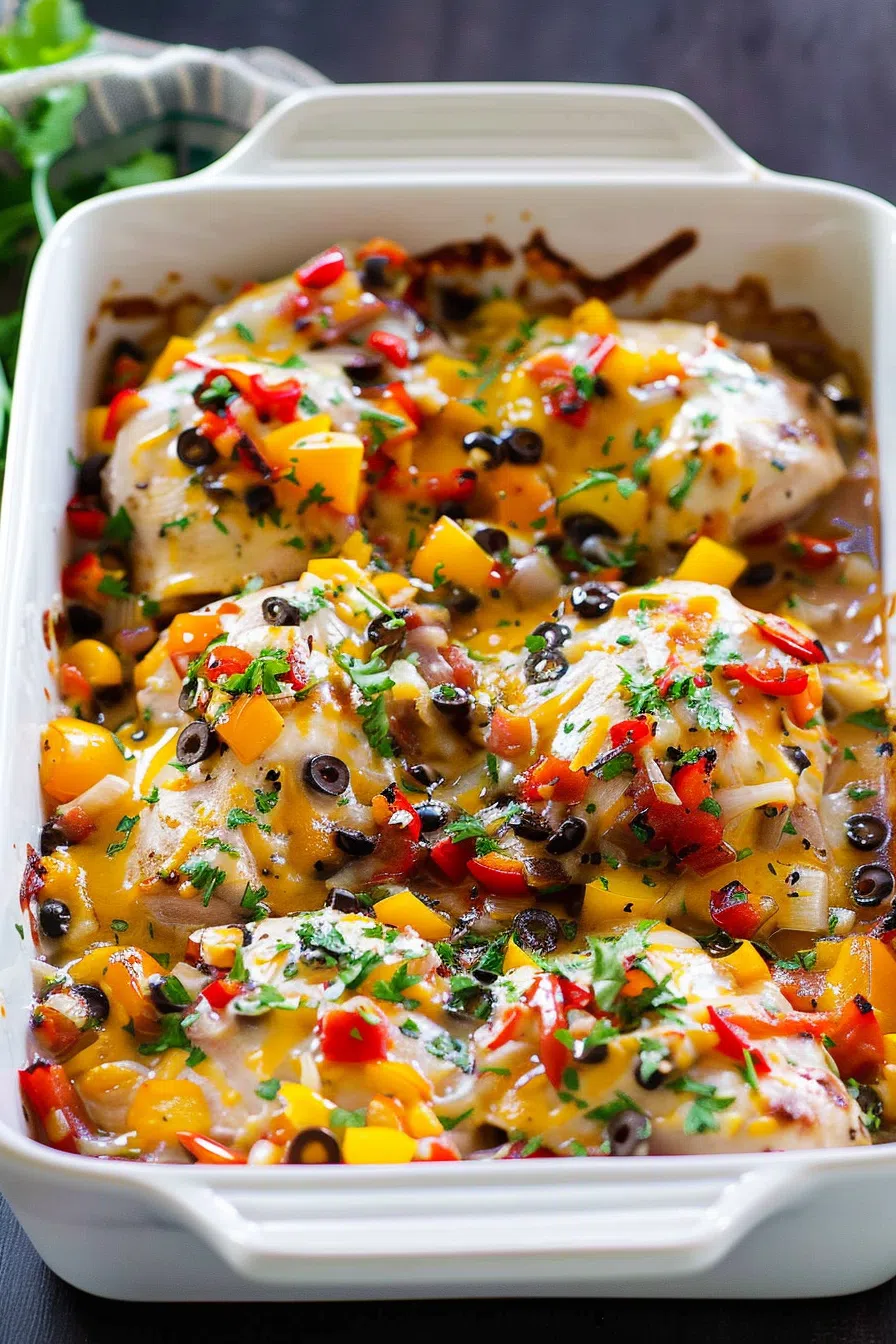
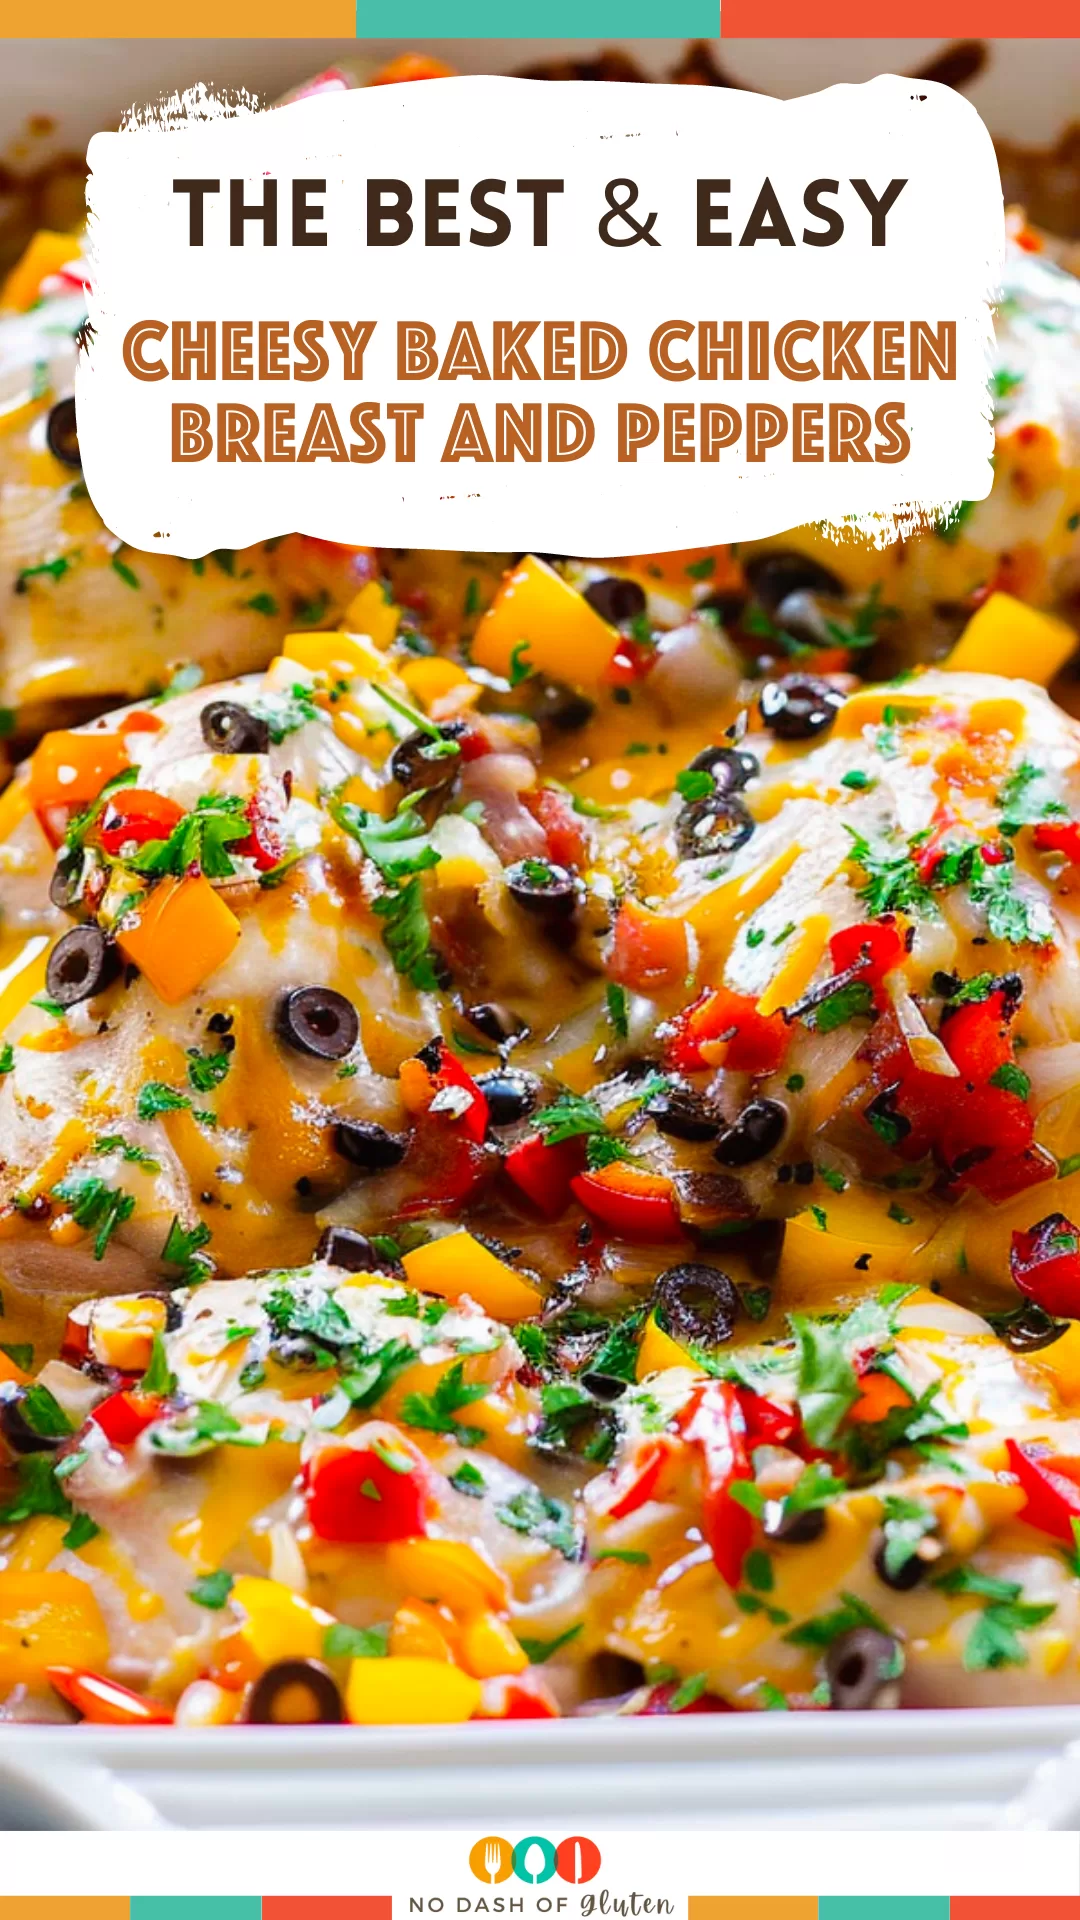
This cheesy baked chicken breast and peppers recipe uses chicken breasts, pickled pepper rings, mozzarella, and pepper jack cheese.
So the first time I made this dish, I wasn’t trying to be clever. It was one of those nights—you know the kind. You open the fridge, hoping something will whisper, “Hey, I’ve got dinner handled.” What I actually saw was two chicken breasts, half a jar of pickled peppers leftover from…something? And an embarrassing collection of half-used cheese bags.
I almost ordered takeout. Almost.

Remember it later!
Planning to try this recipe soon? Pin it for a quick find later!
Remember it later!
Planning to try this recipe soon? Pin it for a quick find later!
Instead, I seasoned the chicken, dumped the peppers on top, added all the cheese I could find, and baked it. I remember thinking, “Well, worst case, I put it on toast and call it a melt.” What came out of the oven was so much better than it had any right to be. Cheesy. Juicy. Bright from the peppers. I immediately texted a friend: “You have to try this. I just made the best lazy chicken dinner of my life.”
Now it’s my weeknight fallback. The kind of meal that tastes like I planned it—even though I definitely didn’t.
Here’s a quick peek at what’s inside:
Table of content
Why You’ll Love This Cheesy Baked Chicken Breast And Peppers Recipe?
Let’s just say this upfront: this dish isn’t trying to be fancy. It’s trying to be good. Really good.
This Cheesy Baked Chicken Breast and Peppers recipe delivers major comfort in under 30 minutes. You get juicy, well-seasoned chicken baked under layers of melty mozzarella and spicy pepper jack. The pickled peppers? Oh, they’re the unsung heroes—cutting through all the richness with their zippy little bite. It’s that perfect storm of creamy + tangy + just a little heat.
And you don’t have to babysit it. No sauce to stir, no meat to sear, no fancy equipment. Just season, layer, bake, and suddenly your kitchen smells like a hug.
Ingredient Notes:
No fluff. These ingredients are what they are—simple, smart, and maybe already in your kitchen.
-
Chicken breasts (4 medium or 2 large halved): Sliced thinner means faster cook time and more cheesy coverage. Win-win.
-
Olive oil (2 tsp): Keeps things moist and helps seasoning stick.
-
Paprika + Italian seasoning + garlic powder: This combo makes the chicken taste like it’s been marinating for hours. (It hasn’t.)
-
Salt + black pepper: Don’t skip. Seriously. You’ll taste the difference.
-
Pickled pepper rings (1 cup): I used banana peppers the first time, but any jarred pickled peppers work. It adds that little zing that cuts the cheese in the best way.
-
Mozzarella + pepper jack cheese (½ cup each): Melts like a dream. The mozzarella is creamy, the pepper jack brings a little fire.
-
Chopped parsley (optional): For flair. And color. And to make your Instagram shot pop.
How To Make Cheesy Baked Chicken Breast And Peppers?
Step 1: Preheat your oven
400°F. Trust the process.
Step 2: Get your baking dish ready
Spray or grease a 9×13 dish. I’ve skipped this before and had to soak it for two days. Don’t be like me.
Step 3: Chicken time
Lay the chicken breasts flat in the dish. Drizzle with olive oil. Then sprinkle all the spices like you’re seasoning with joy. Don’t overthink it—just aim for even-ish coverage.
Step 4: Add the peppers
Layer the pickled pepper rings over each piece. They’ll soften and mingle with the cheese later. Think of them like spicy little flavor confetti.
Step 5: Cheese it up
Mozzarella first. Then pepper jack. I usually “measure” by grabbing a big handful. You do you.
Step 6: Bake it
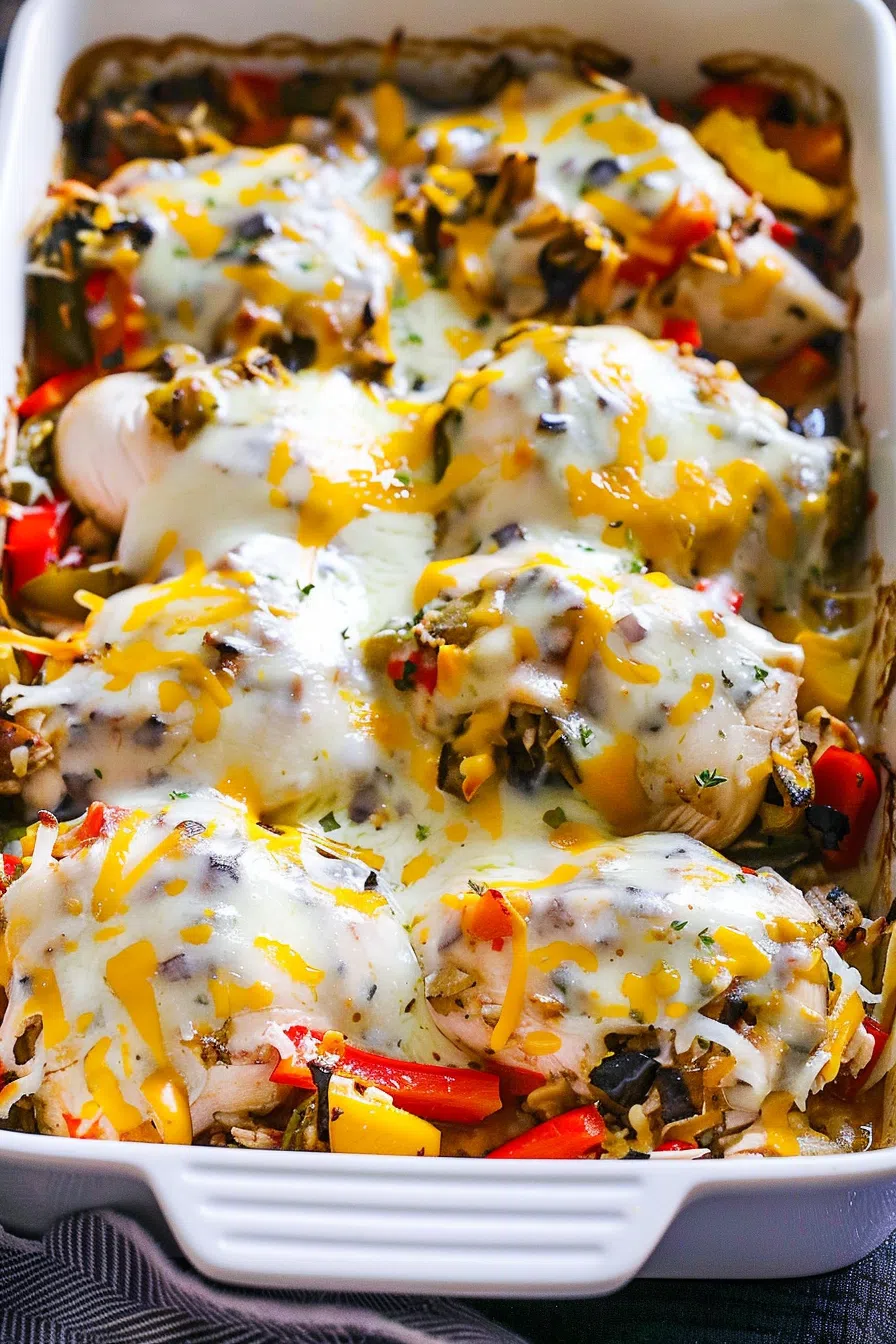
Pop it in the oven for 20–25 minutes. You want the cheese melted and bubbly, and the chicken cooked through (165°F if you’re checking).
Want To Save This Recipe?
Enter your email below and we'll send the recipe straight to your inbox.
Step 7: Let it rest
Pull it out, let it sit for 5 minutes. This is your window to plate a side dish or… just stare at it and try not to eat it straight from the pan.
Storage Options:
I never do. But if you’re a person of restraint, this keeps well in the fridge for 3 days. Reheat in the oven or toaster oven so the cheese gets melty again. Microwaving works too, but be warned: it turns into “delicious mess” mode real quick.
I’ve also chopped up leftovers and thrown them into wraps or scrambled them with eggs the next morning. Chef’s kiss.
Variations and Substitutions:
-
Use thighs instead of breasts: Juicier and more forgiving.
-
No pepper jack? Sharp cheddar or Monterey Jack work great.
-
Add fresh bell peppers or onions: Layer under the cheese for extra veggie vibes.
-
Want it spicy? Toss in sliced jalapeños or a few red pepper flakes.
-
Low-carb twist: Serve it over cauliflower rice or eat it solo with a fork like a rebel.
What to Serve with Cheesy Baked Chicken Breast And Peppers?
You’ve got options. Here are my favorites:
-
Garlic bread: For scooping up all that melted cheese and juice. Do it.
-
Rice or orzo: Plain works fine. It’s just here to soak up the sauce.
-
Steamed broccoli or roasted green beans: Something green. For balance.
-
A glass of white wine or sweet tea: Depending on the vibe.
Frequently Asked Questions:
Can I make it ahead of time?
Totally. Assemble everything up to the cheese layer, cover, and stick it in the fridge. When you’re ready, bake as usual—just maybe add 5 extra minutes if it’s cold going in.
Do the pickled peppers make it too spicy?
Nope. They’re more tangy than hot. But if you’re sensitive, go easy—or sub in mild banana rings.
Can I freeze it?
Technically yes, but the texture changes. The cheese and peppers can get a bit funky when reheated from frozen.
This Cheesy Baked Chicken Breast and Peppers recipe is the kind of meal that quietly sneaks its way into your regular rotation. It’s quick, it’s satisfying, and it feels way fancier than the effort you actually put into it.
Make it on a weeknight. Make it for a lazy Sunday dinner. Heck, make it in your pajamas with a podcast playing and call it self-care. That’s what I do.
And if you try it? Let me know what you think! Did you change anything up? Go extra on the cheese? Add hot sauce and call it spicy comfort? I’d love to hear how it went—kitchen wins and “oops” moments included.
Remember it later!
Planning to try this recipe soon? Pin it for a quick find later!
Remember it later!
Planning to try this recipe soon? Pin it for a quick find later!
Keep the Flavor Coming – Try These:

Cheesy Baked Chicken Breast And Peppers
Ingredients
- 4 medium-sized chicken breasts alternatively, 2 large chicken breasts, halved lengthwise
- 2 tsp of olive oil
- 1 tsp of paprika
- 1 tsp of Italian seasoning
- 1/2 tsp of garlic powder
- 1/2 tsp of salt
- 1/2 tsp of black pepper
- 1 c of pickled pepper rings
- 1/2 c of shredded mozzarella cheese
- 1/2 c of shredded pepper jack cheese
- Finely chopped parsley for garnish
Instructions
- Begin by preheating your oven to 400°F (200°C). Prepare a 9x13-inch baking dish. By greasing it with oil or cooking spray.
- Place the chicken breasts in the dish. Drizzle them with oil. Evenly sprinkle paprika, Italian seasoning, garlic powder, salt, and black pepper, over them.
- Spread the pickled pepper rings on top of the chicken. Then evenly distribute both mozzarella and pepper jack cheese on top.
- Place the dish in the oven. Bake for around 20 to 25 minutes. Until the chicken is cooked through (reaching a temperature of 165°F). And the cheese is golden and bubbly.
- Once done. Remove the dish from the oven. Sprinkle freshly chopped parsley on top for decoration. Serve hot. Preferably paired with a side, like cauliflower rice for a meal. Enjoy!
Notes

I’m Bitty, owner of nodashofgluten.com, where I share simple, delicious recipes for all tastes, including gluten-free. Check out my “About Me” page for more info!


