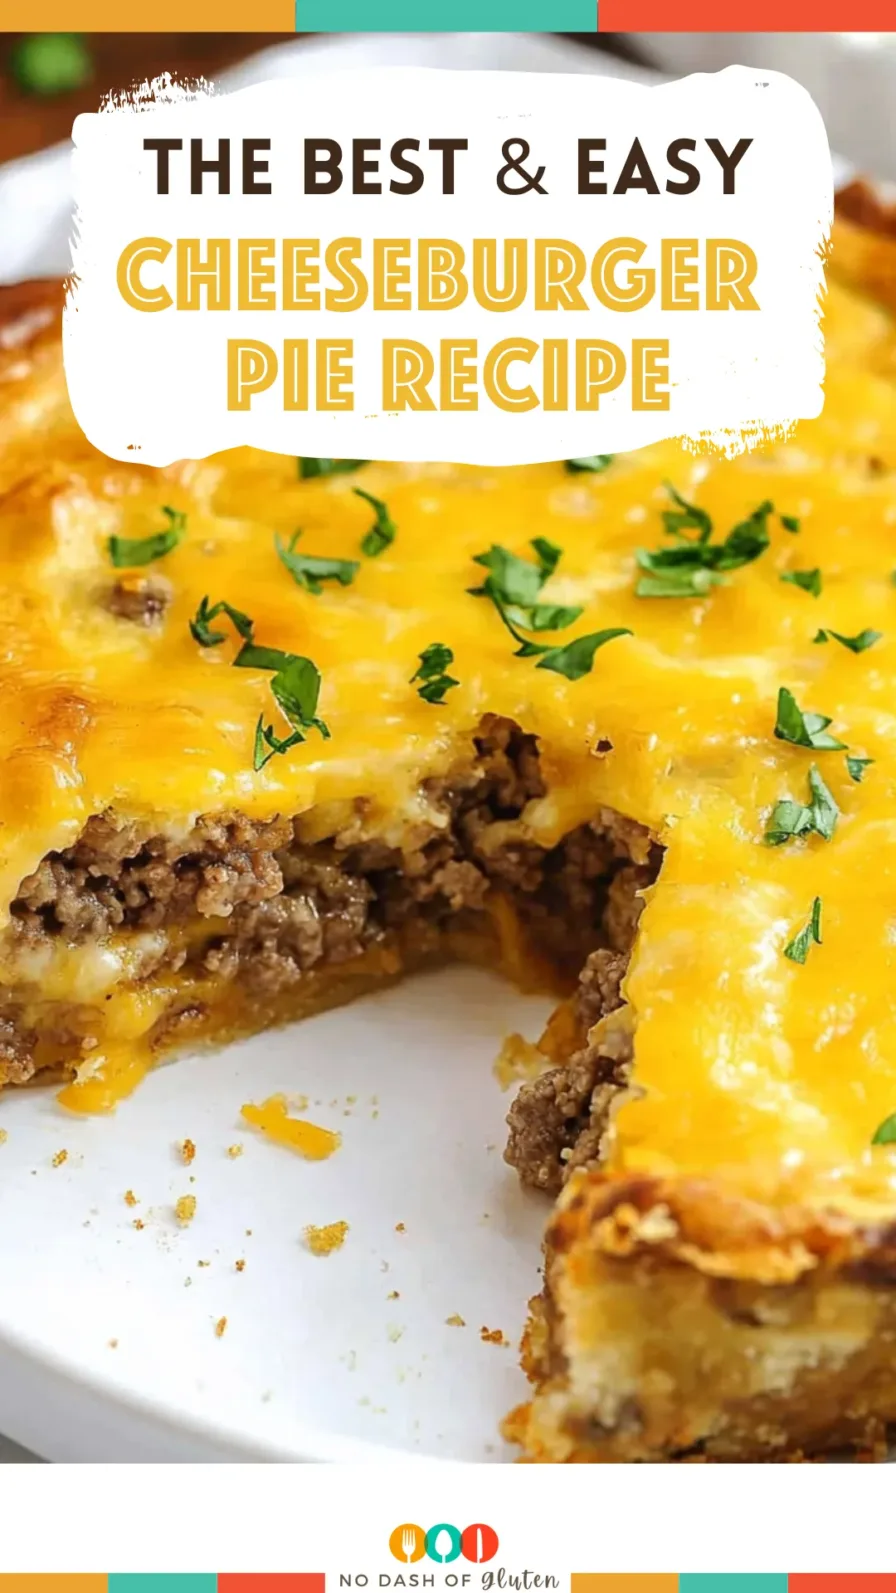
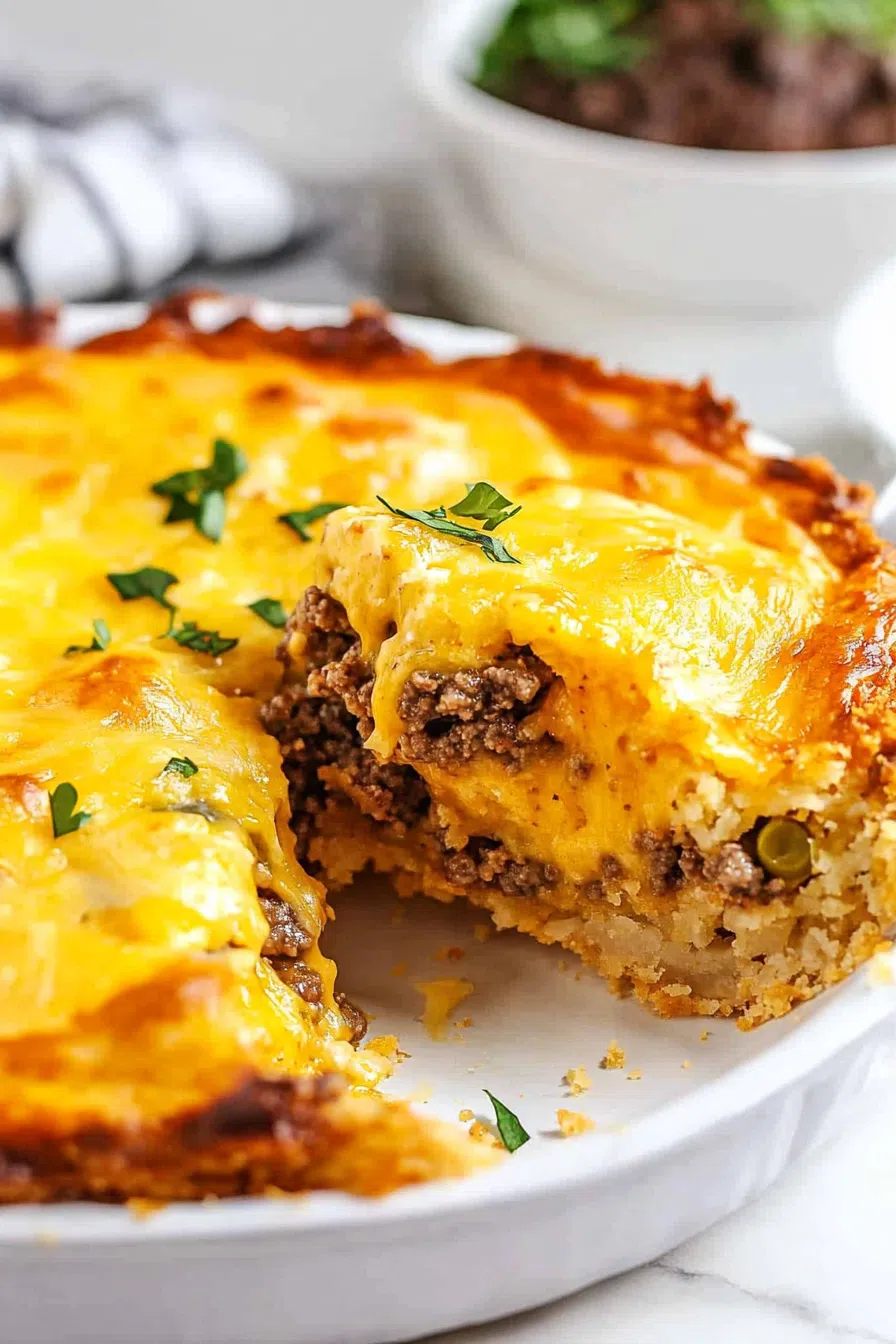
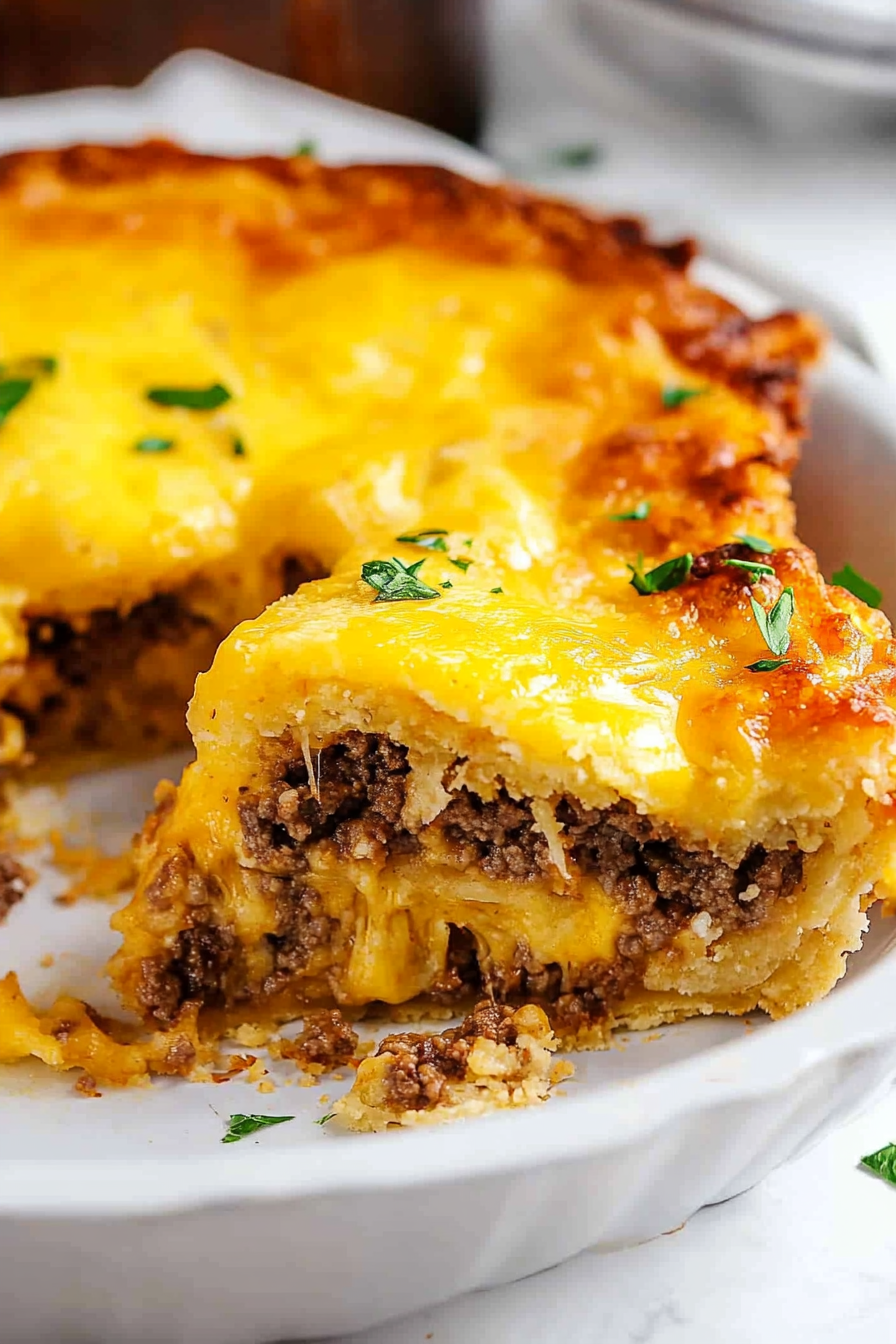
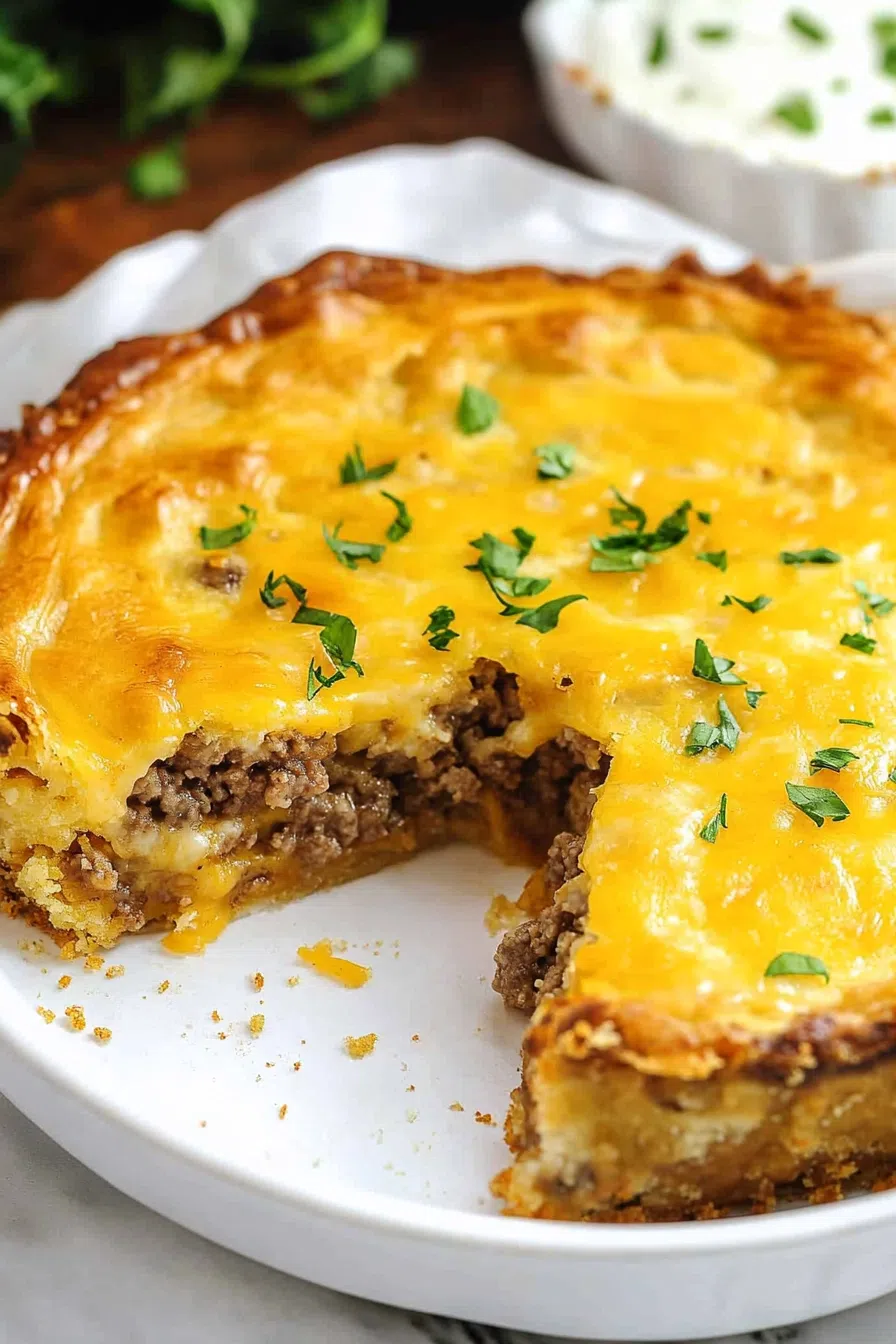
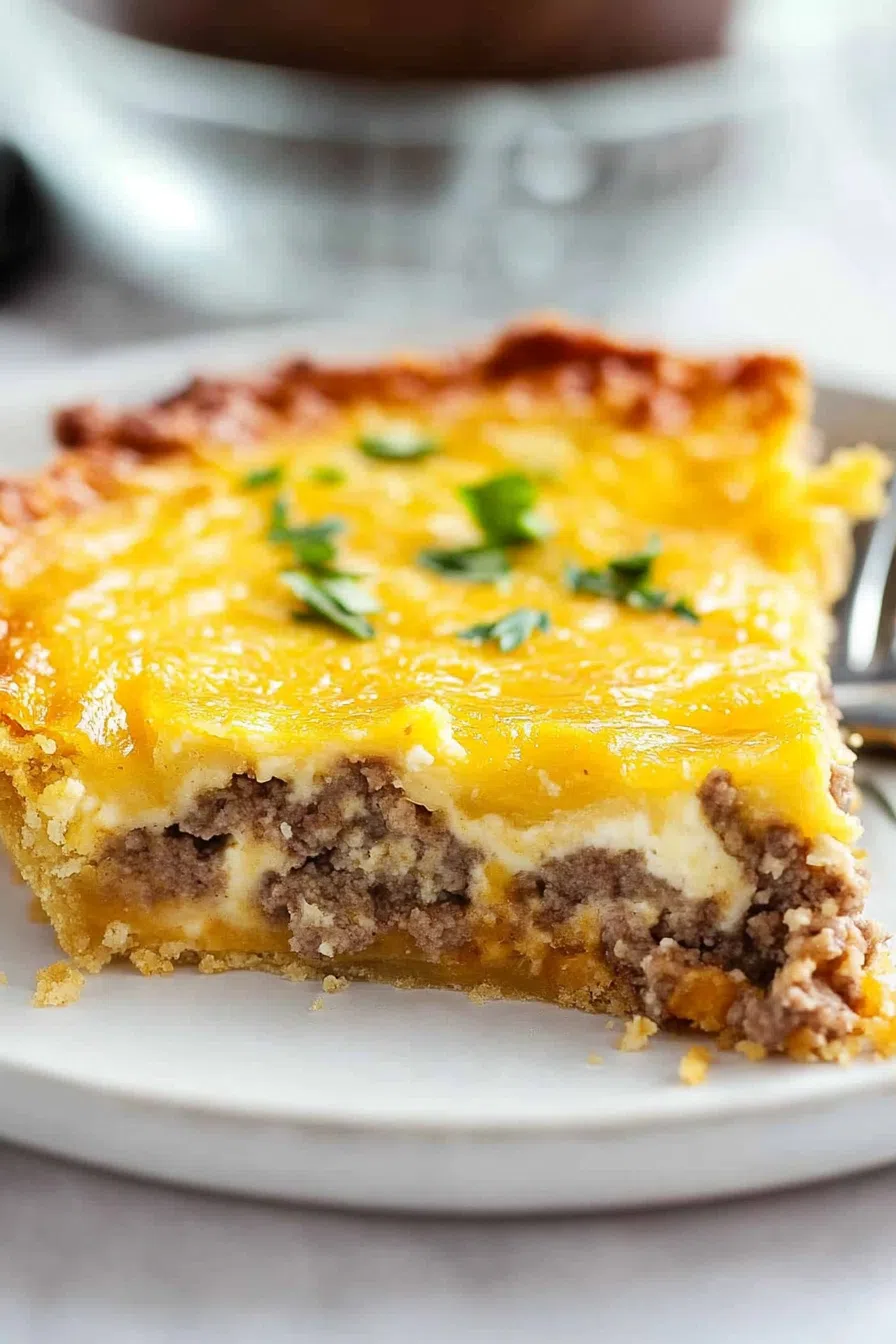
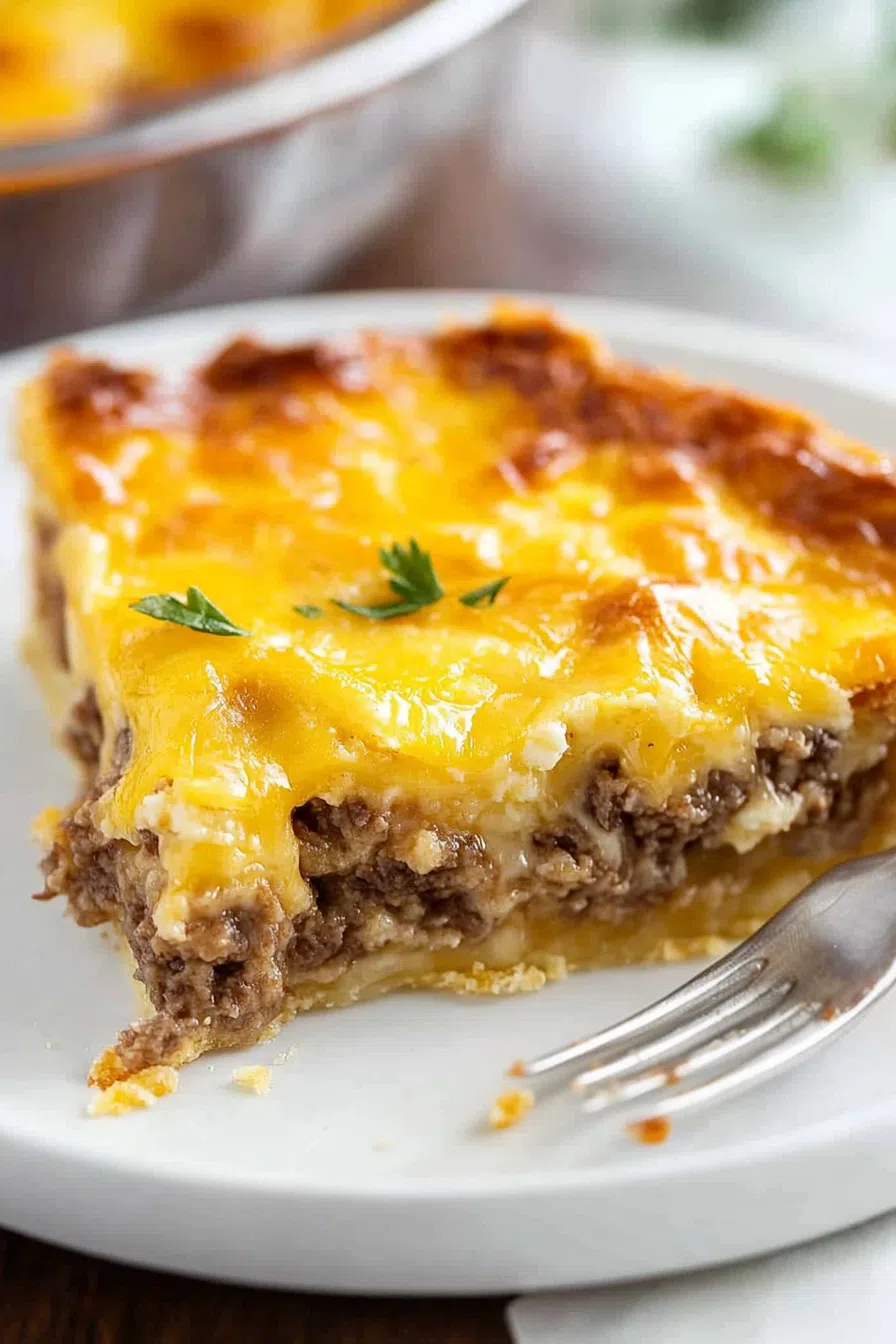
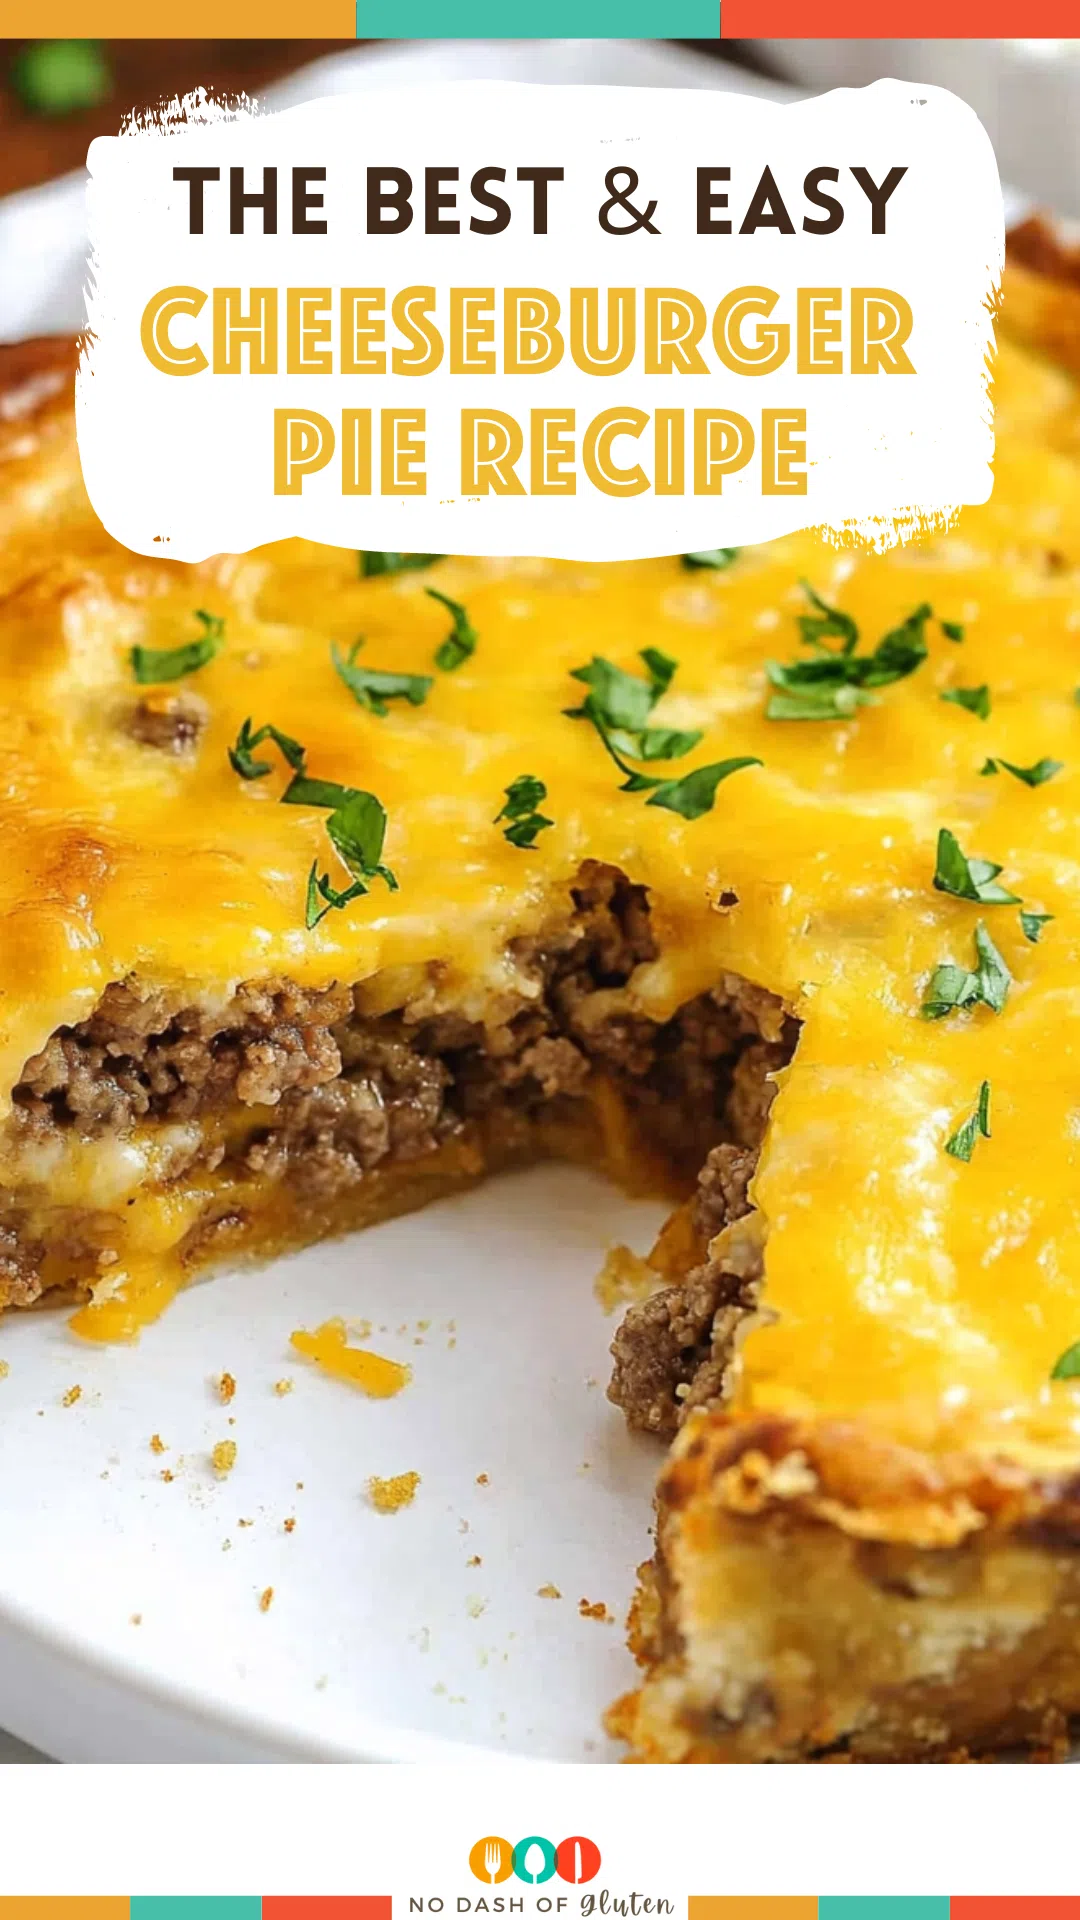
Bisquick Impossible Cheeseburger Pie – This Cheeseburger Pie Recipe is a comforting, family-friendly dish. That brings all the flavors of a classic cheeseburger. Into a hearty pie form. Made with lean ground beef, chopped onions, Cheddar cheese, and a simple Bisquick mixture. This dish is as easy to make. As it is satisfying. Perfect for a quick dinner. That everyone will love!

Remember it later!
Planning to try this recipe soon? Pin it for a quick find later!
Remember it later!
Planning to try this recipe soon? Pin it for a quick find later!
The first time I made this Bisquick Cheeseburger Pie. I was looking for a simple yet delicious dinner option. That would please everyone at the table. My husband and child. Both are big fans of cheeseburgers. Were instantly intrigued. When the aroma of the baking pie filled the kitchen. They couldn’t wait to dig in. The first bite was met with big smiles. And requests for seconds. It quickly became a go-to dish. In our household. Especially on busy weeknights. When we want something comforting. And quick.
Here’s a quick peek at what’s inside:
Table of content
What makes this Bisquick Cheeseburger Pie truly special?
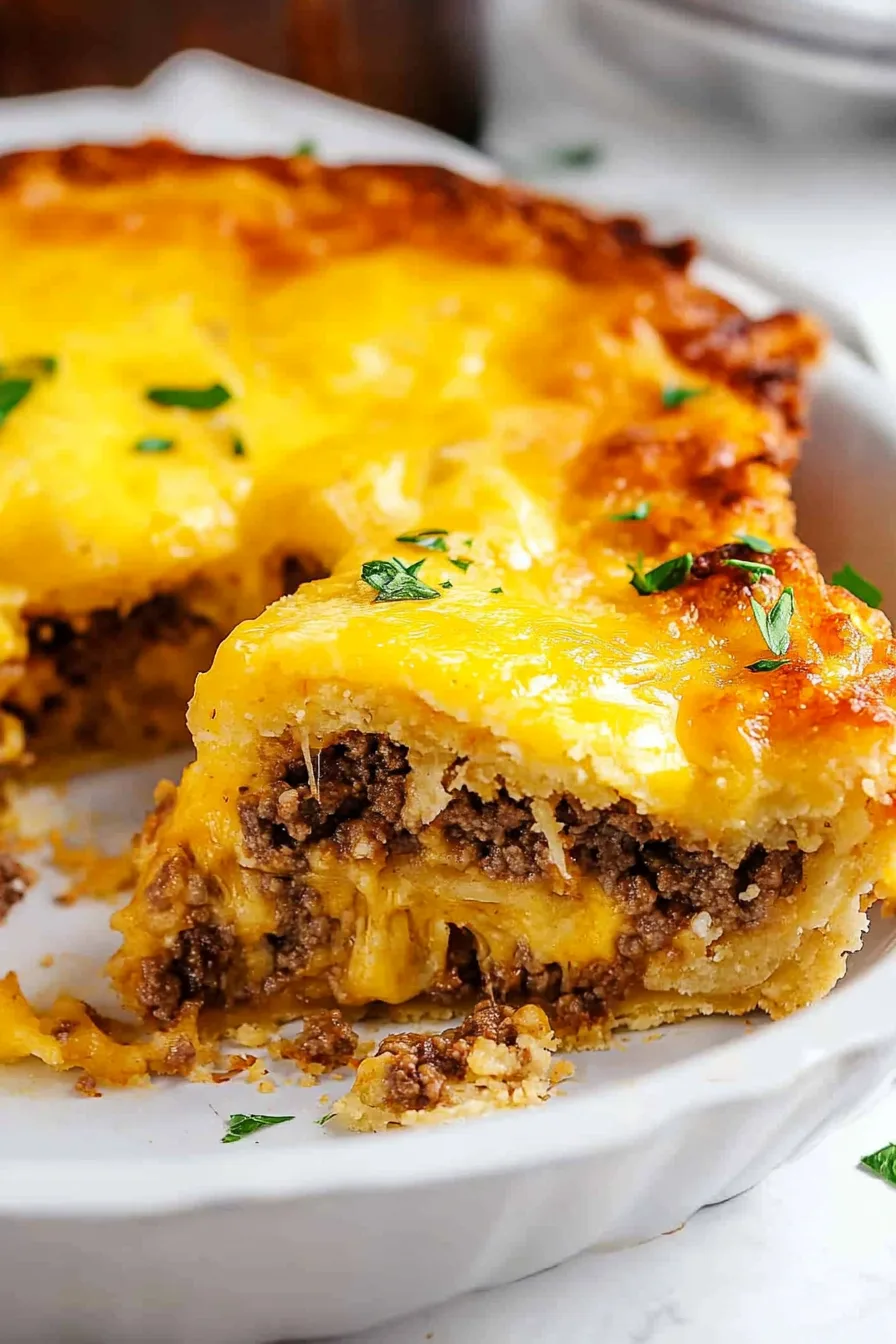
This impossible Bisquick Cheeseburger Pie Recipe is a fantastic blend of convenience. And flavor. It combines the classic taste of a cheeseburger. With the ease of a pie. Making it perfect for busy weeknights. The use of Bisquick mix simplifies the crust. While the melted Cheddar cheese on top. Gives it that irresistible gooeyness. It’s a one-dish meal. That’s both kid-friendly. And satisfying for adults.
Why is it Called Impossible Pie?
Alright, so here’s a little history lesson, just in case you’re curious. “Impossible Pie” made its debut on Bisquick boxes back in the groovy 1970s, and people went wild for it. I guess no one really knows why it’s called “impossible,” though. Maybe because it seems like magic – you pour this mix in, and it just… makes a crust. Seriously, I’m as stumped as you are.
The “impossible” part is all about that one-batter wonder. You don’t have to fuss with rolling out dough or making a separate crust. Instead, you simply mix everything together, and as it bakes, the batter does its own thing—separating into a soft, almost-custardy “filling” and a thicker, slightly firmer “crust” at the bottom. It’s not that classic flaky pastry, so don’t expect a golden pie shell like Grandma’s apple pie. But honestly? That’s part of the charm. The result is a savory, sliceable pie that’s comforting, a little quirky, and always a crowd-pleaser.
Impossible pies have stuck around for decades, winning over everyone from picky eaters to busy parents. There’s a reason why generations keep coming back for more: kids of all ages (including grown-up ones) love it, and it’s just so easy.
Or maybe it’s “impossible” because you can’t mess it up? My friend tried making it once after forgetting the cheese, and it was still pretty good (I mean, bless her for trying). Either way, this pie has stuck around, and honestly? I’m here for it.
What do You Need To Make This impossible Bisquick Cheeseburger Pie Recipe?
Ground Beef: Using lean ground beef ensures the pie is flavorful. Without being too greasy. You can opt for even leaner beef or turkey if you prefer.
Onion: Chopped onions add a nice sweetness. And depth of flavor. If you’re not an onion fan. You can reduce the amount. Or substitute with onion powder.
Milk: Helps to create a smooth. And creamy texture in the Bisquick mixture. Ensuring a soft yet sturdy pie.
Bisquick Mix: This mix is the magic ingredient that forms the pie’s crust, making the recipe quick and easy. If you don’t have a box on hand, don’t worry—you can make your own! A simple combo of flour, baking powder, salt, and butter or shortening does the trick. This homemade Bisquick substitute from Allrecipes is easy to whip up in minutes and stores well, too.
Eggs: Eggs bind the Bisquick mixture together. Giving the pie its structure.
Cheddar Cheese: Adds that classic cheeseburger flavor. You can experiment with other cheeses like mozzarella or pepper jack. For a different twist.
Salt: Enhances all the flavors. Adjust to your taste.
Steps To Make Cheeseburger Pie Recipe:
Step 1: Begin by heating your oven to 400°F. Give a 9-inch glass pie pan a good spray with cooking spray. To ensure nothing sticks.
Step 2: Over medium heat. Brown the ground beef and onion in a skillet, stirring. Until the meat is crumbly. And no pink remains. About 8 to 10 minutes.
Step 3: In a small bowl. Whisk together the milk, Bisquick, and eggs until smooth.
Step 4: Drain any excess grease from your skillet. Then scoop the beef mixture. Into your prepared pan. Evenly sprinkle the salt and shredded Cheddar on top. Before carefully pouring the Bisquick blend over everything.
Want To Save This Recipe?
Enter your email below and we'll send the recipe straight to your inbox.
Step 5: Slide into the oven. And bake for about 25 minutes. Until the top is golden. And a knife inserted in the center comes out clean.
Step 6: Let it sit for a few minutes before slicing. To allow everything to set nicely.
Tip:
For the perfect Bisquick Cheeseburger Pie. Consider cooking the ground beef. Until it’s just browned. But not overly crispy. This ensures it remains juicy. And tender once baked. If you’re looking for a deeper flavor. Consider sautéing the onions. Until they’re caramelized before adding the beef. This little tweak adds a robust, savory undertone. That complements the cheese beautifully.
Storage Options:
Alright, let’s talk leftovers. If you’re lucky enough to have any Bisquick Cheeseburger Pie left (good luck – my family devours this in one sitting!), here’s how you can save a slice for later:
- Refrigerator: Just pop the pie in an airtight container or wrap it with cling film, as tightly as you can! It’ll stay good in the fridge for up to three days. When you’re ready to dig in again, a quick zap in the microwave works wonders, or you can throw it in the oven at 350°F for about 10–15 minutes. If you’re not sure which method is best, this guide to defrosting and reheating casseroles from The Southern Living walks you through the best methods and common mistakes, super practical and easy to follow.
- Freezer: Now, if you’re planning to freeze it, I’d say wrap individual slices (way easier to grab and reheat). Use plastic wrap and then a freezer bag to keep any freezer funk at bay. When you’re craving it again, just thaw in the fridge overnight and reheat. Pro tip: don’t microwave from frozen – unless rubbery pie is your thing.
Feeding a Crowd or Making Individual Servings
If you ever want to switch things up, this recipe is super flexible:
- For a Crowd: Double the recipe and bake it in a 9×13-inch baking dish. No need to juggle two pies—just one big, cheesy, beefy slab for everyone to dig into.
- For Individual Servings: Muffin tins to the rescue! Grease your tin, then layer a scant tablespoon of Bisquick batter, about ¼ cup beef filling, and another tablespoon of batter in each cup. Bake them for about 30 minutes, let them cool for 5, and then (trust me) resist eating them for another 10 minutes so you don’t scorch your mouth. Mini pies, maximum fun.
No matter how you slice (or scoop) it, there’s a way to make this pie fit any occasion—leftovers or not.
Impossible hamburger pie variations and substitution ideas
Let’s be real – recipes are guidelines. We all love to mix it up a bit! Here’s how I like to change up this Cheeseburger Pie (and believe me, I’ve made it more times than I care to admit):
- Ground Turkey or Chicken: If you’re trying to keep it light or just out of beef, this works great. Ground turkey’s a bit leaner, so maybe toss a dab of oil in the pan so it doesn’t stick. But don’t blame me if it doesn’t taste quite like a cheeseburger!
- Different Cheeses: I stick with Cheddar mostly, but hey, if you’ve got mozzarella hanging around, go for it. And if you want a little kick? Pepper jack. Trust me.
- Add-ons: Diced tomatoes, a few chopped pickles, or bell peppers – throw ‘em in if that’s your style. Once, I tried adding mushrooms, and… well, let’s say my kid wasn’t thrilled.
- Gluten-Free: I know it’s a thing, so yes, you can totally swap in a gluten-free Bisquick mix. Make sure everything else is GF too. No one likes a gluten surprise.
Frequently Asked Questions:
Can I use a different type of meat instead of ground beef?
Absolutely! Ground turkey or chicken works well. If you’re looking for a leaner option. Just be aware that different meats may slightly alter the cooking time.
Can I make this pie ahead of time?
Yes. You can prepare the pie in advance. And refrigerate it before baking. When ready to bake. Just pop it in the oven. And add a few extra minutes to the cooking time. To account for the cold ingredients.
What can I serve with Cheeseburger Pie?
This pie pairs wonderfully with a fresh green salad, steamed vegetables, or even some crispy fries. For that full cheeseburger experience.
Remember it later!
Planning to try this recipe soon? Pin it for a quick find later!
Remember it later!
Planning to try this recipe soon? Pin it for a quick find later!
Keep the Flavor Coming – Try These:
Cheeseburger Pie Recipe
Ingredients
- Non-stick cooking spray
- 1 lb. lean ground beef minimum 80% lean
- 1 large onion diced
- 1 c of milk
- ½ c Bisquick® mix
- 2 large eggs
- ½ tsp of salt
- 1 c of shredded Cheddar cheese
Equipment
- 9-inch glass pie pan
- Mixing bowl
- Skillet
- Whisk
- Measuring cups & spoons
- Spatula or wooden spoon
Instructions
- Heat your oven to 400 degrees F. And prep a 9-inch glass pie pan. With a light coating of cooking spray.
- Over medium heat. Brown the ground beef. And onion in a skillet. Stirring until the meat is thoroughly cooked and crumbly. Which should take about 8 to 10 minutes.
- As the beef cooks. In a separate bowl, whisk together the milk, Bisquick, and eggs. Until smooth.
- Once the beef is cooked. Drain any excess fat. And spread the mixture. Into the greased pie pan. Mix in the salt. Evenly sprinkle the Cheddar cheese on top. And then gently pour the Bisquick batter over everything.
- Place in the oven. And bake for about 25 minutes. Or until a knife inserted into the center of the pie comes out clean.
Notes
Nutrition

I’m Bitty, owner of nodashofgluten.com, where I share simple, delicious recipes for all tastes, including gluten-free. Check out my “About Me” page for more info!


