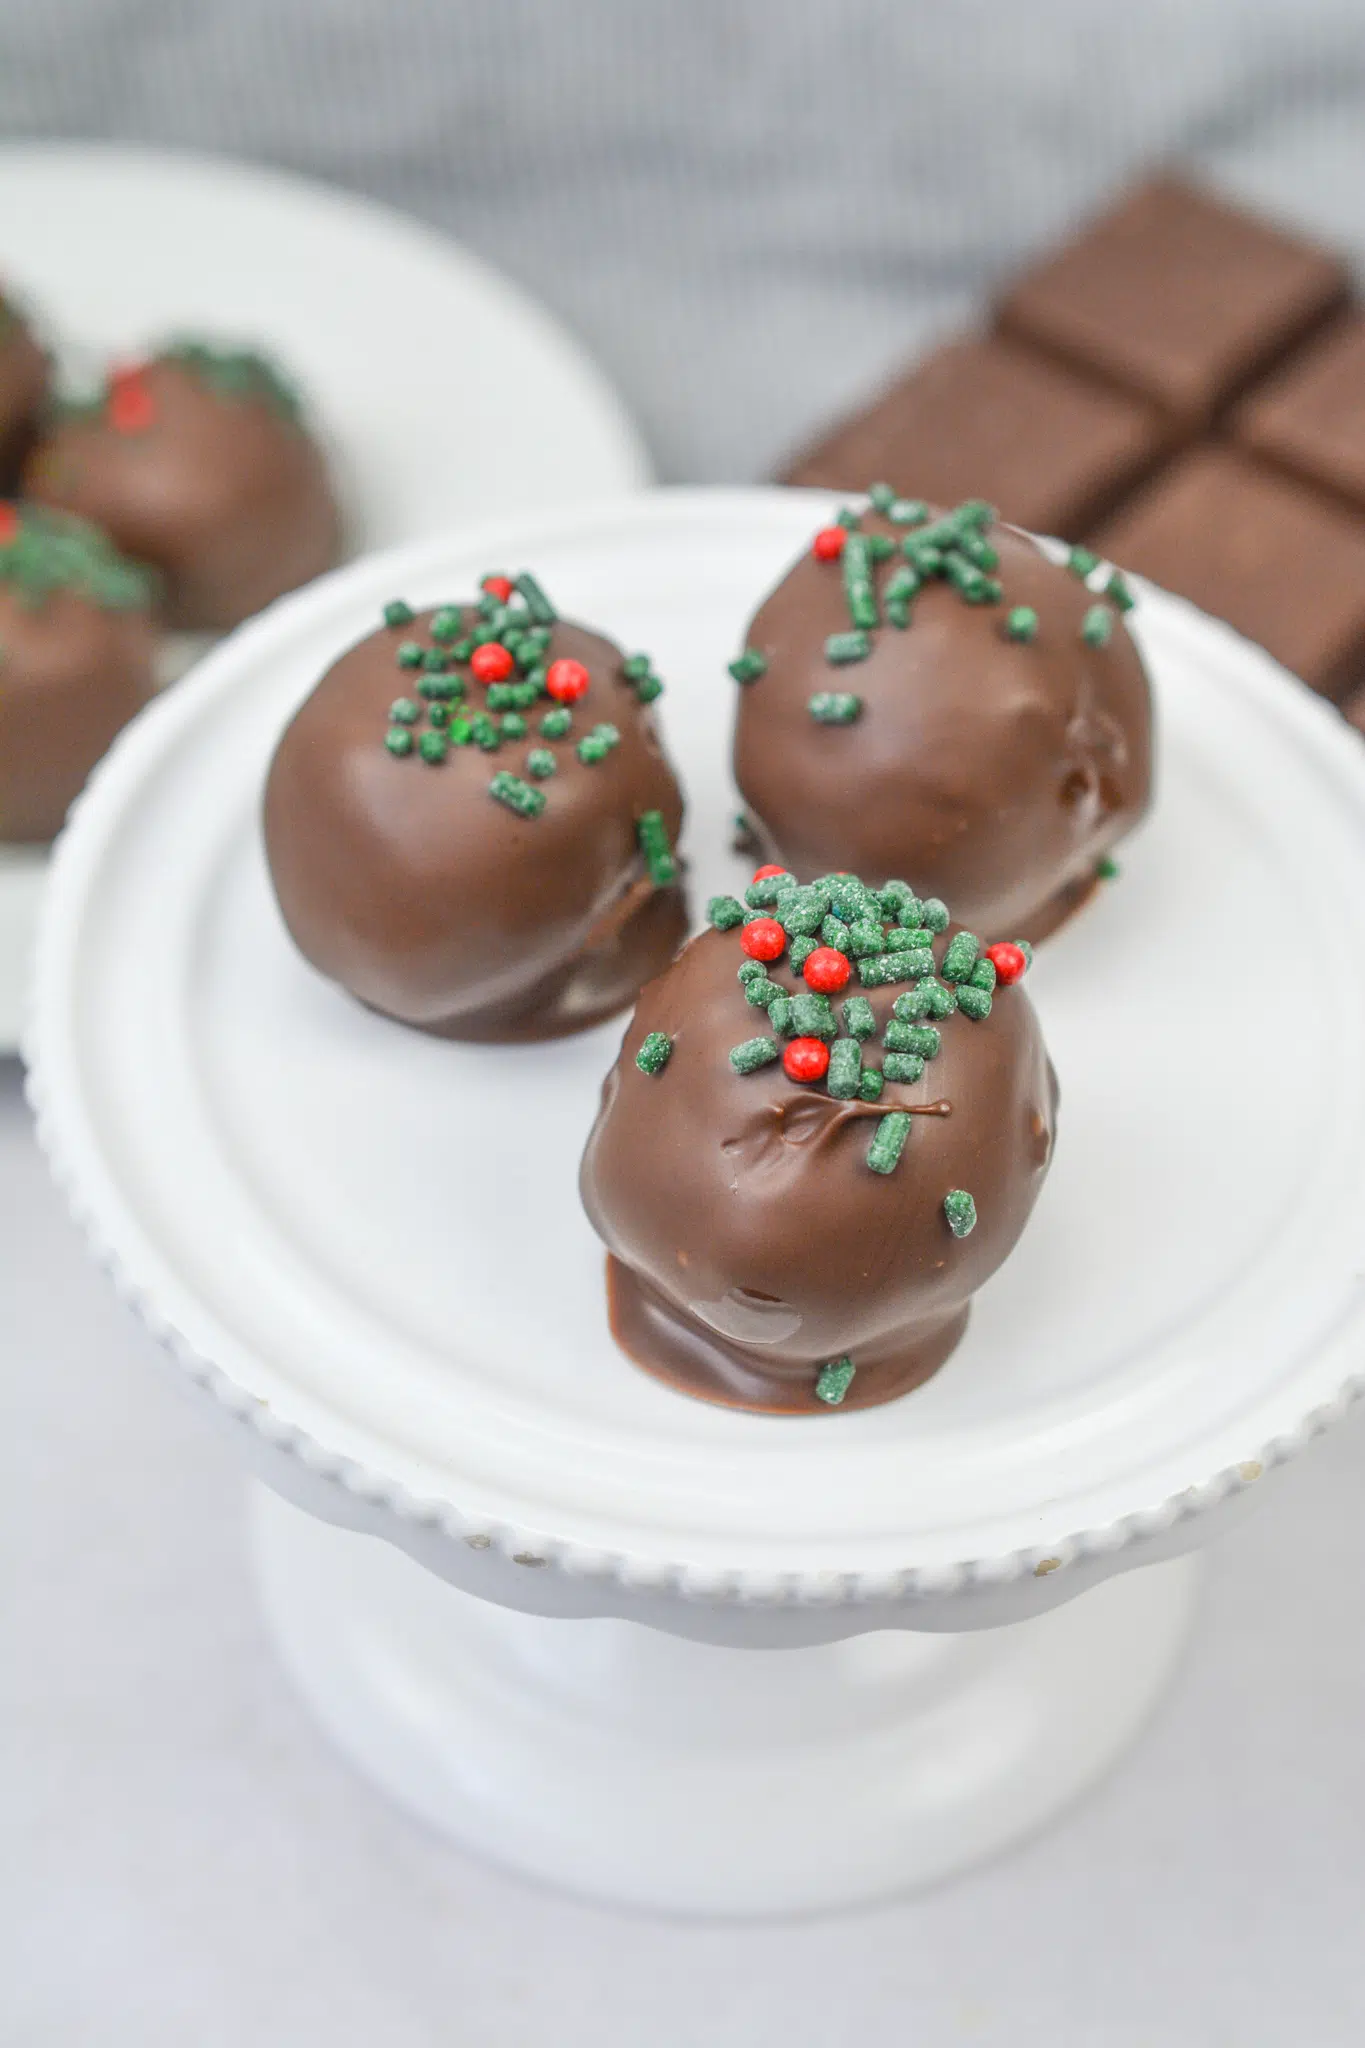
What’s better than a quick, no-bake treat? Butterfinger Balls! Crushed Butterfingers, peanut butter, powdered sugar, and chocolate almond bark come together to make the ultimate sweet snack. Perfect for parties, holidays, or just because.
These Butterfinger Balls are perfect for any football viewing party or holiday celebration. The combination of Butterfingers and peanut butter is one of my all-time weak spots. In other words, I have no self-control over them! They’re like Buckeye Balls with more kicks to them!
Let me tell you a little secret: these Butterfinger Balls are my go-to “I forgot to plan dessert” recipe. It all started a couple of years ago when I showed up to a friend’s potluck empty-handed (oops). I could’ve stopped at the store for something prepackaged, but instead, I raided my pantry and whipped these up in record time.
I remember frantically crushing Butterfingers with a rolling pin—pro tip: put them in a Ziploc bag unless you enjoy chasing candy bits across the counter—and hoping for the best. By some miracle, they turned out amazing. Like, people asking for the recipe before they’ve even finished eating amazing.

Remember it later!
Planning to try this recipe soon? Pin it for a quick find later!
Remember it later!
Planning to try this recipe soon? Pin it for a quick find later!
Now they’ve become a tradition. Anytime I make them, I think of that chaotic afternoon and laugh at how unprepared I was. Isn’t it funny how the most random moments end up turning into sweet memories?
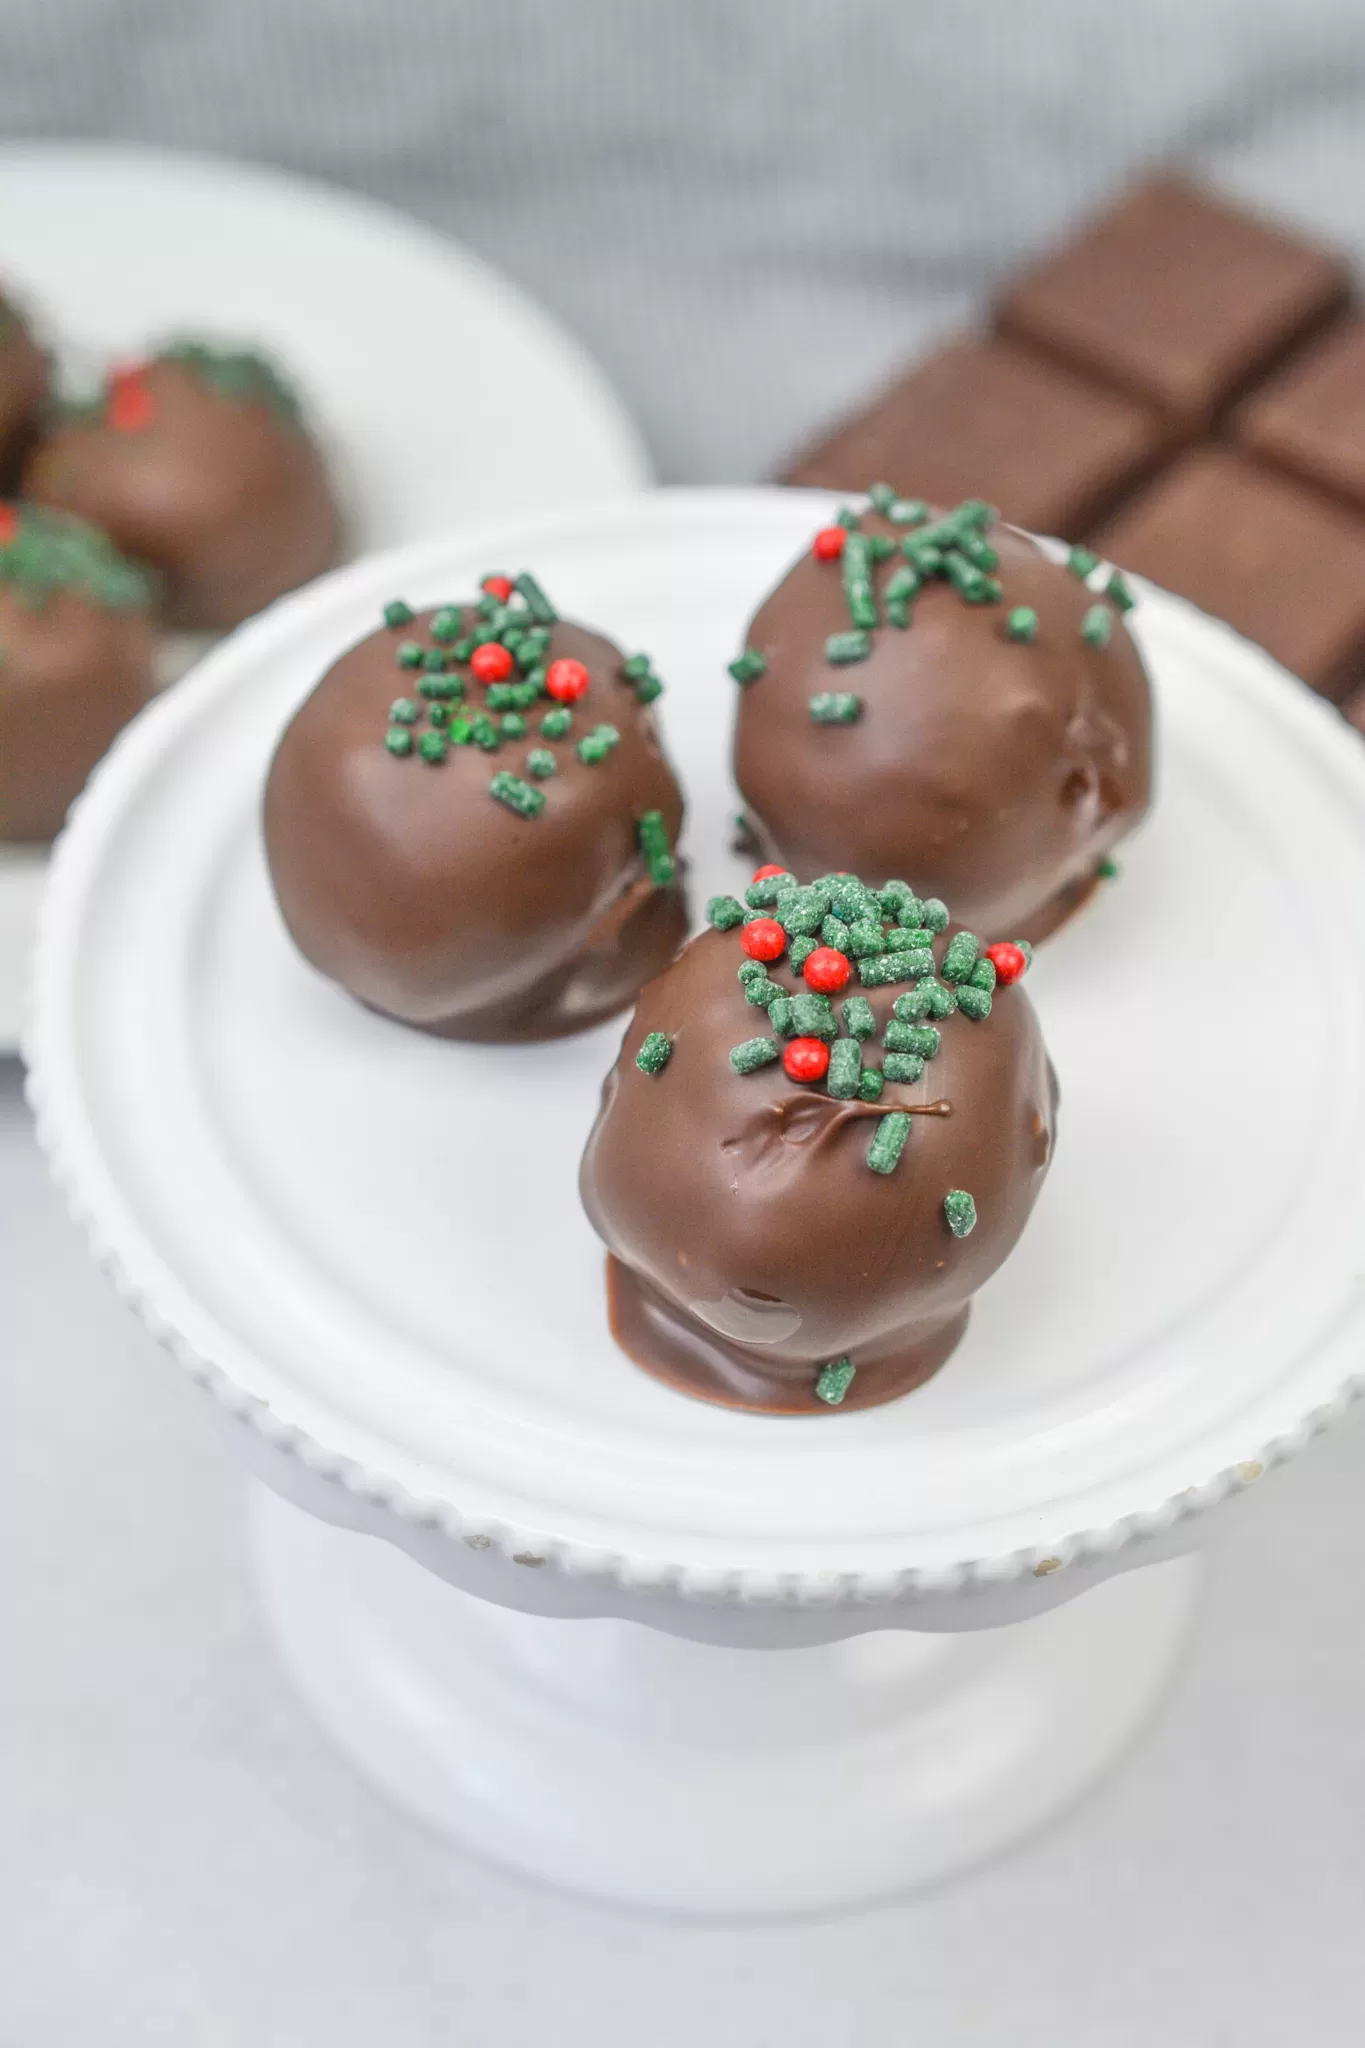
Here’s a quick peek at what’s inside:
Table of content
Why You’ll Love This Butterfinger Balls Recipe
In these bite-sized treats, I used crunchy peanut butter. If you want a smoother texture and don’t care for peanut “chunks,” go for the creamy variety. Although, I prefer mine with chunks.
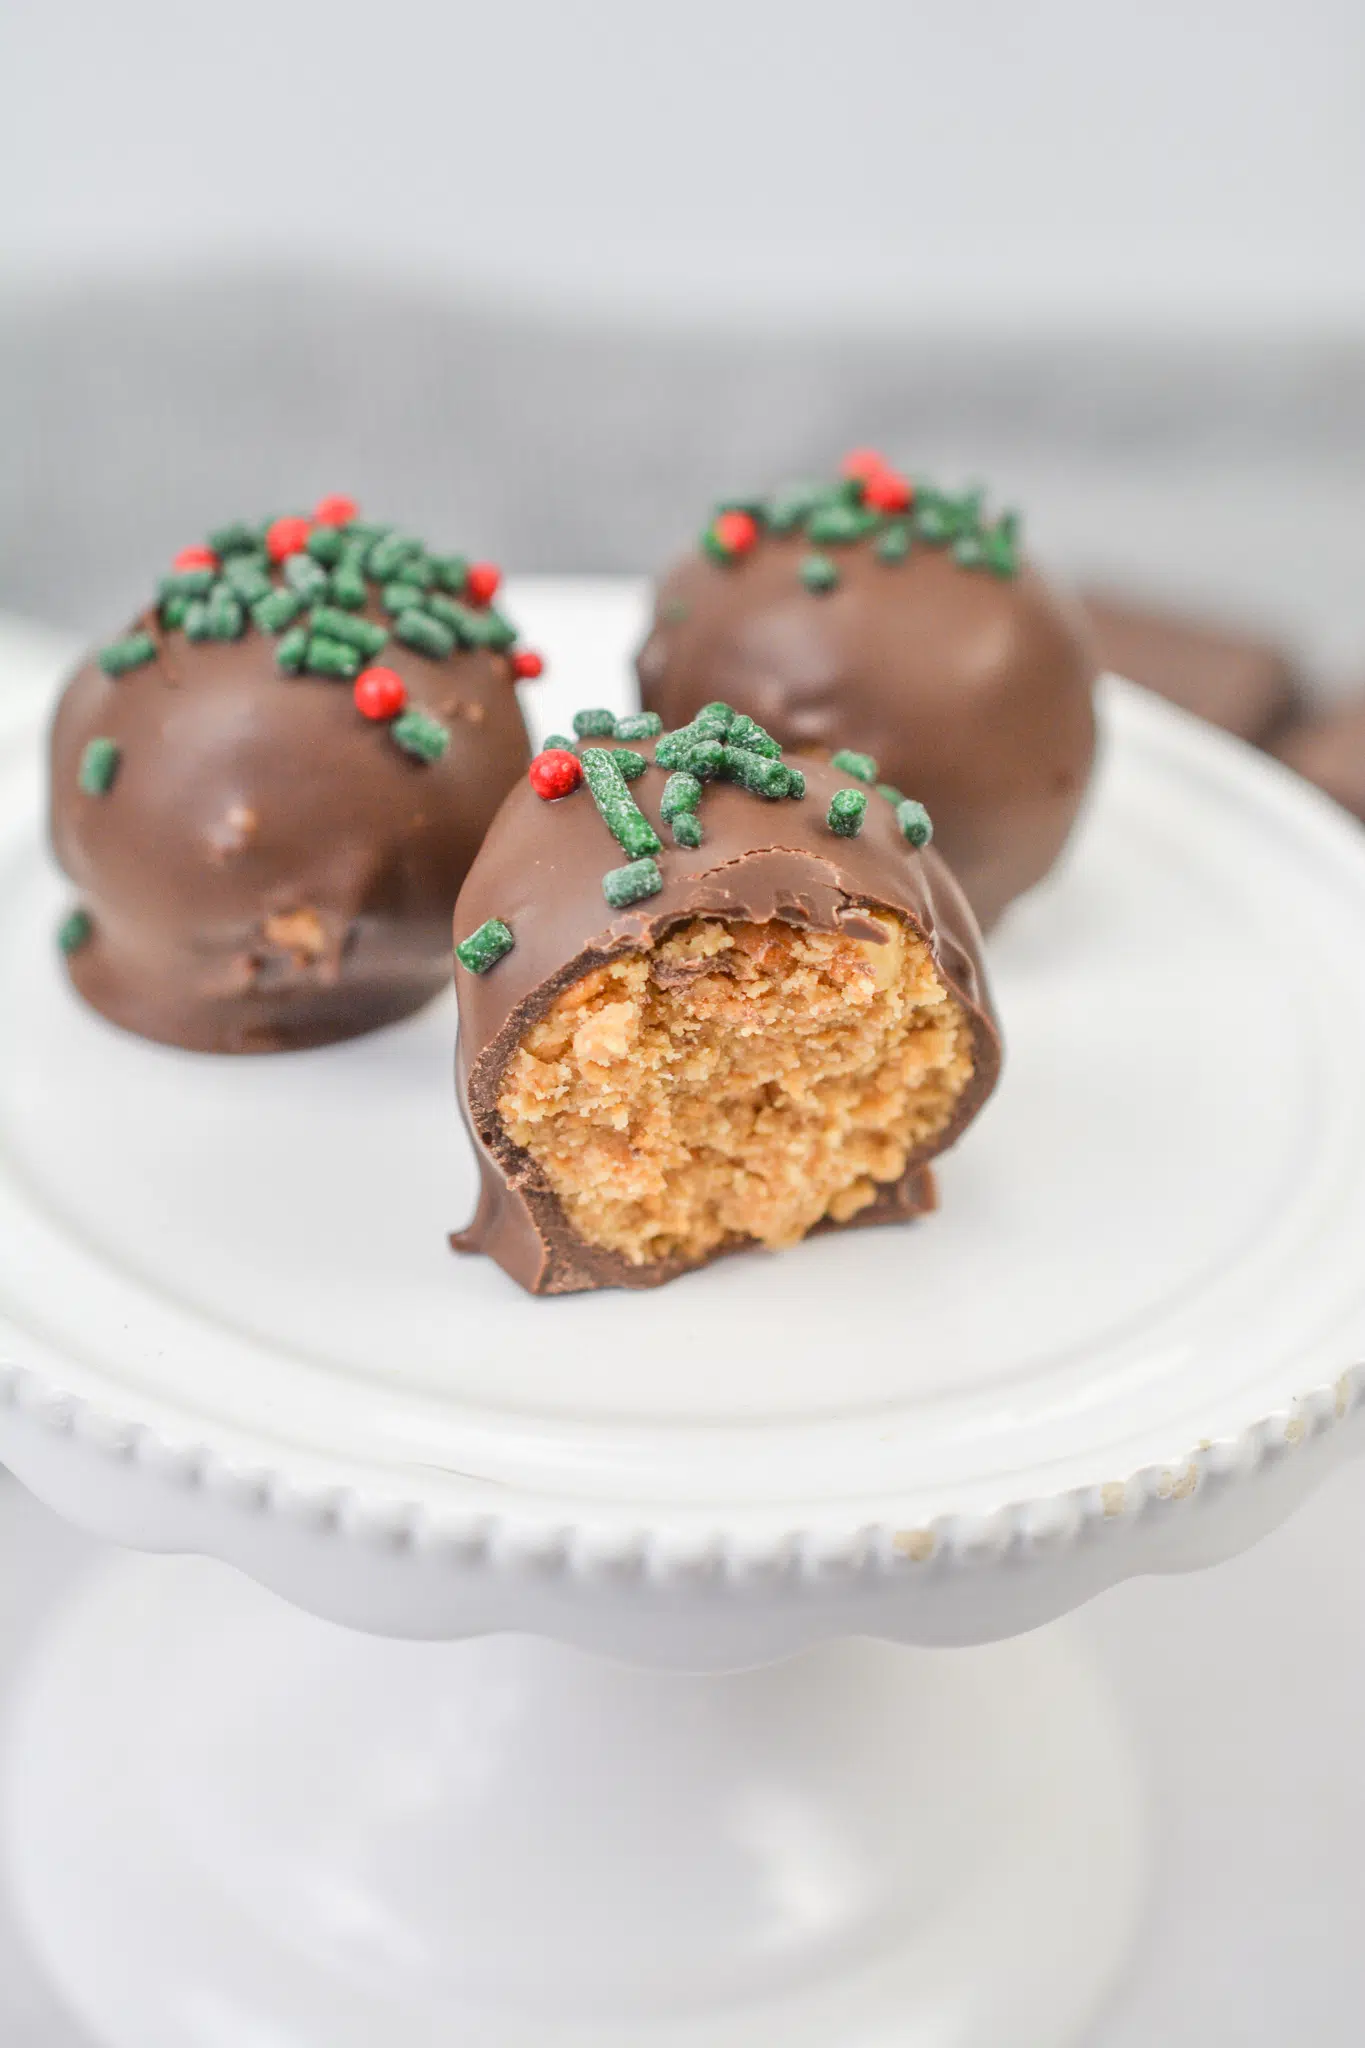
These Butterfinger Balls taste great either warm or cold and can be made in advance and stored in an airtight container until ready to serve.
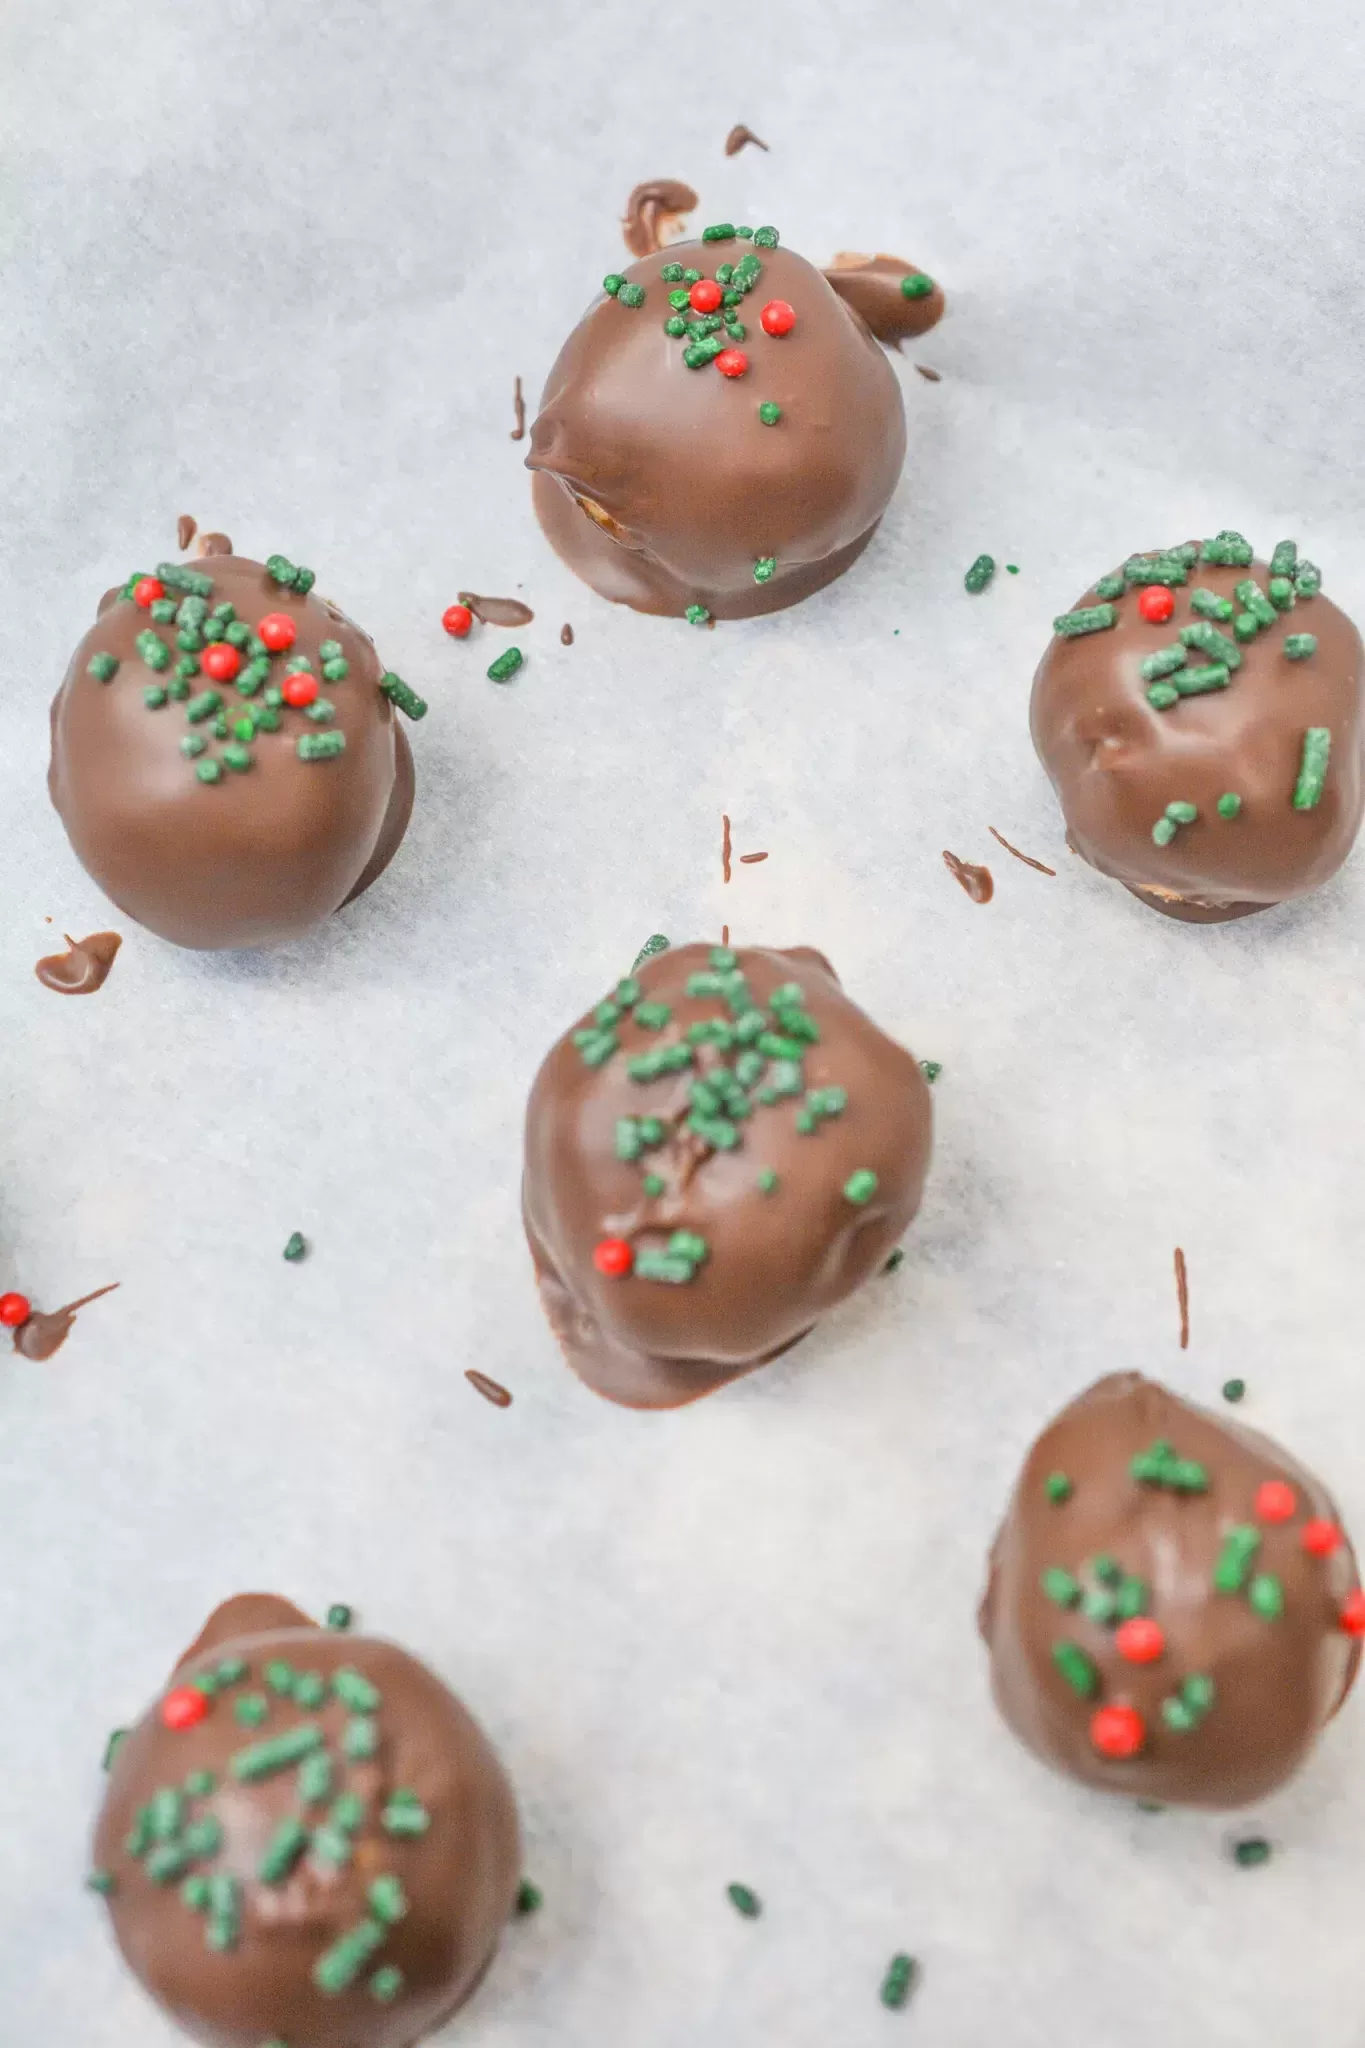
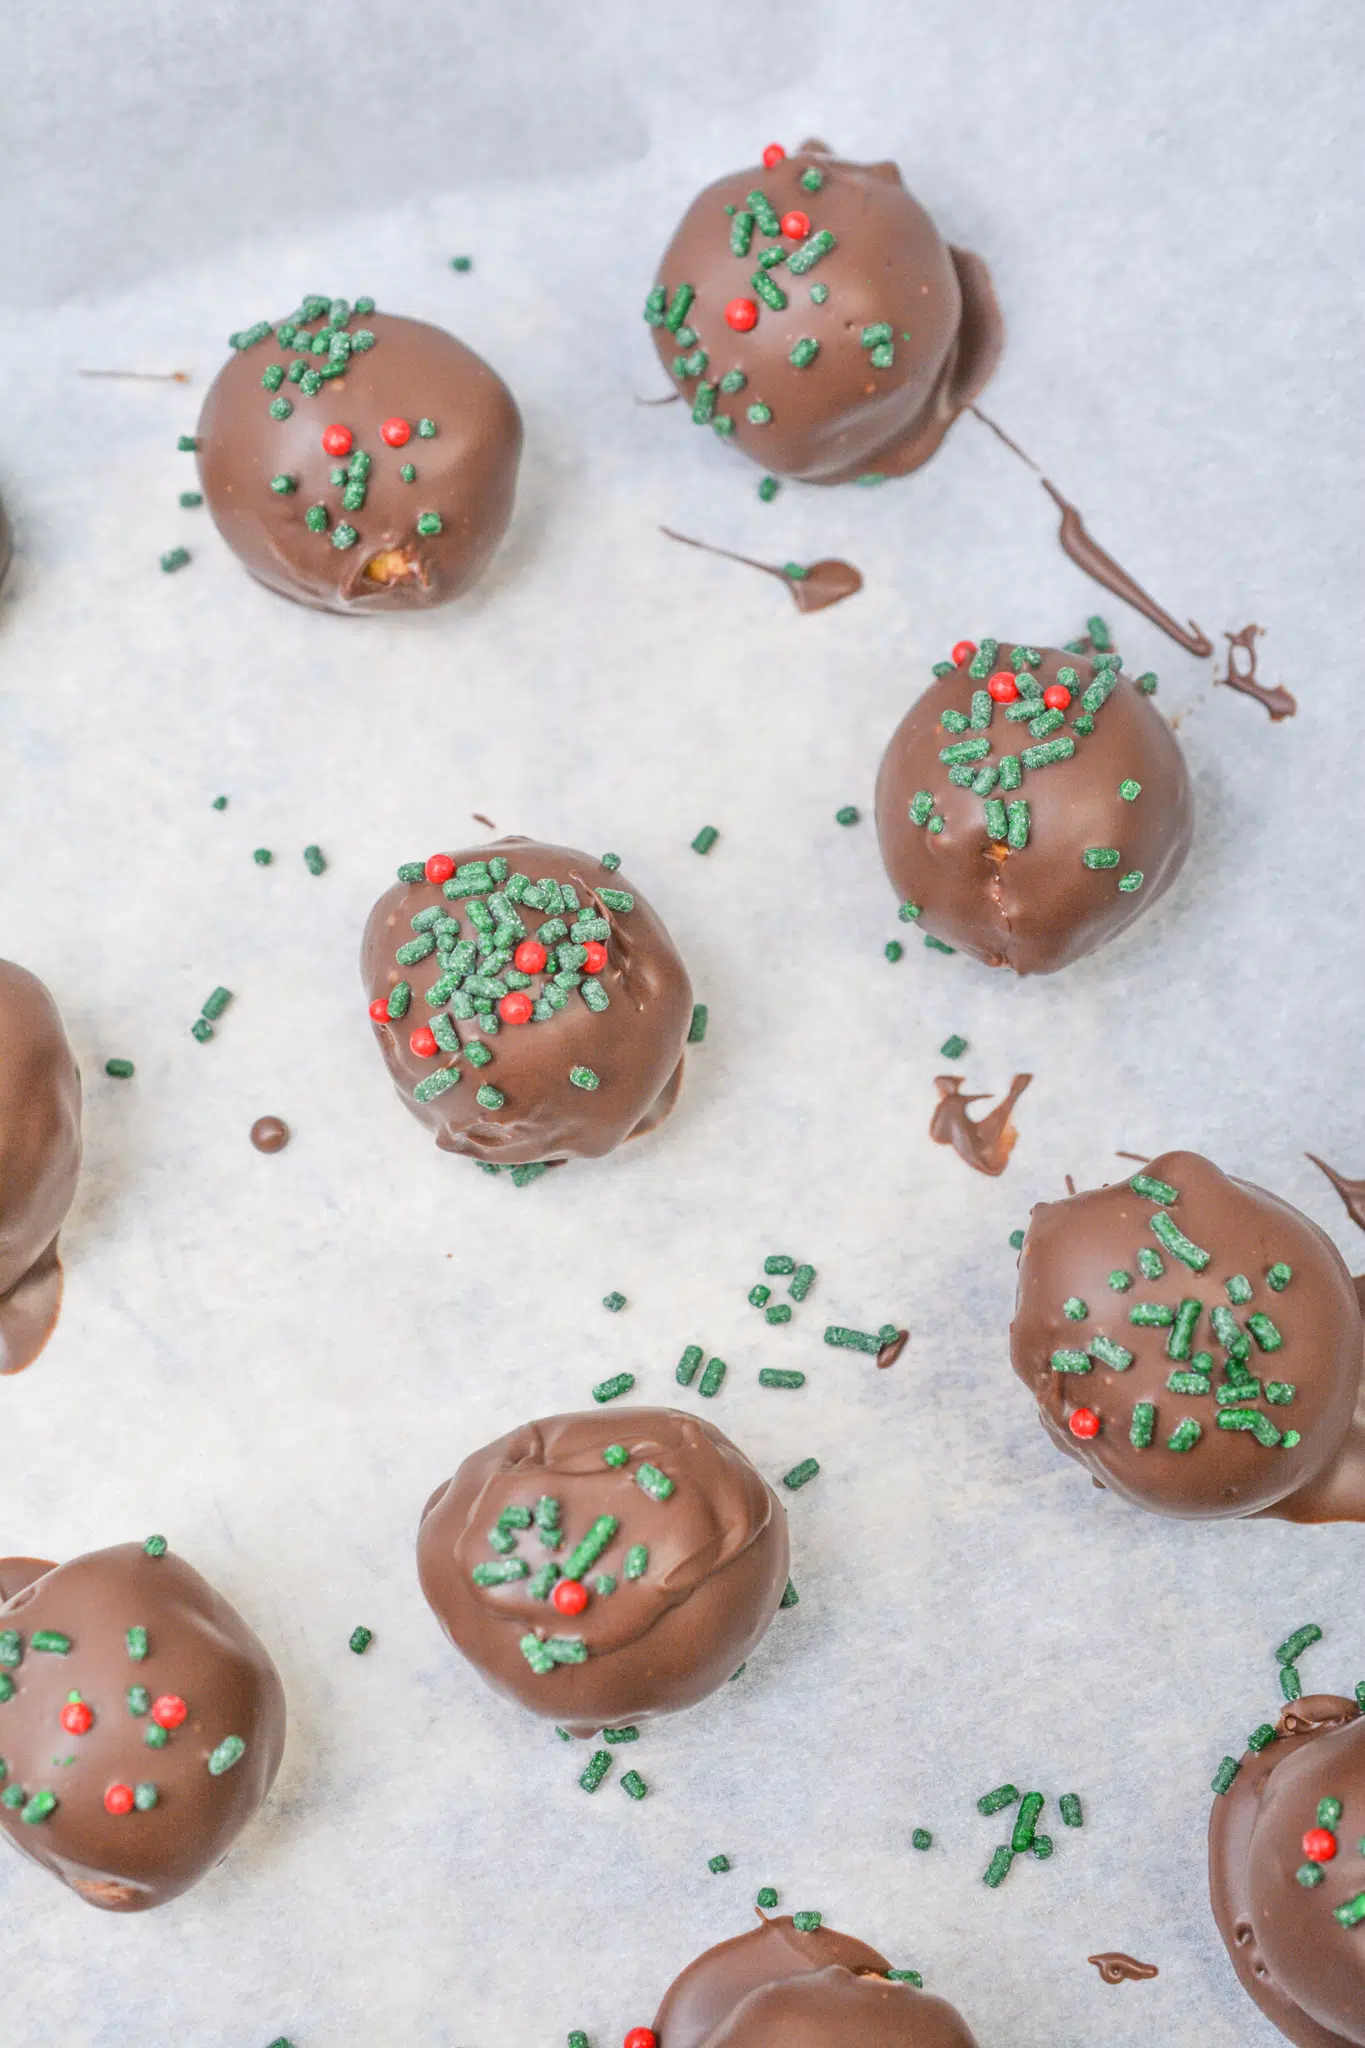
You can even sprinkle these Butterfinger Balls with your favorite sprinkle colors to suit the occasion!
- So Easy, It’s Ridiculous: Seriously, if you can stir and roll, you can make these. No fancy equipment or special skills needed. Perfect for when you need a dessert, like, yesterday.
- Totally Irresistible: They’re peanut buttery, chocolatey, and just the right amount of crunchy. Think Buckeyes, but with a Butterfinger upgrade. Have you ever met someone who doesn’t like Butterfingers? Exactly.
- Make Them Your Own: You can swap out the chocolate, add sprinkles, or even use different candy bits. Want to match a holiday or party theme? Go wild with colored candy melts or festive sprinkles.
- Prep Ahead and Chill: These are practically begging to be made in advance. Toss them in the fridge for up to a month or freeze them for three months (if they last that long). Perfect for avoiding that last-minute dessert scramble.
- Dietary Friendly Swaps: Gluten-free? Easy. Just swap the graham crackers for a gluten-free version, and you’re good to go.
Ingredient Notes
Every ingredient in these Butterfinger Balls does its job perfectly—and you can tweak them depending on your mood or what’s in your pantry.
- Butterfinger Bars: The MVP. Crush them finely if you want a smooth consistency, or leave a few chunks for extra crunch. Can’t find Butterfinger bits? Use full-sized bars, or try something like Heath bars if you’re feeling adventurous.
- Graham Cracker Crumbs: These are the glue that holds everything together. If you’re gluten-free, no worries—use gluten-free graham crackers or even chocolate wafers for a different vibe.
- Powdered Sugar: It’s all about the sweetness here. Make sure to sift it unless you want surprise sugar lumps (been there, done that).
- Crunchy Peanut Butter: I’m team crunchy all the way, but creamy works too if you prefer a smoother texture. Allergies? Sunflower seed butter is a great alternative.
- Melted Butter: Go with unsalted for the best results. And trust me, skip the margarine—it’ll throw off the texture.
- Chocolate Almond Bark: This is your ticket to a smooth, glossy coating. No almond bark? No problem. Melt some chocolate chips, candy melts, or even a fancy chocolate bar. Just make sure to temper it if you want that pro-level shine.
So there you have it. Easy ingredients, easy steps, and endless possibilities to make these your own. What about you—got any fun twists you’d try with this recipe? Let me know—I’m always looking for an excuse to make another batch!
To make this recipe gluten-free (you should use these ingredients instead):
- Use gluten-free Graham cracker crumbs. Other gluten-free alternatives are chocolate wafers if you want something dark or chocolatey or vanilla wafers for something more subtle.
- The majority of Butterfinger products are free of gluten. But keep in mind that the Butterfinger Crisp contains gluten.
How To Make Butterfinger Balls
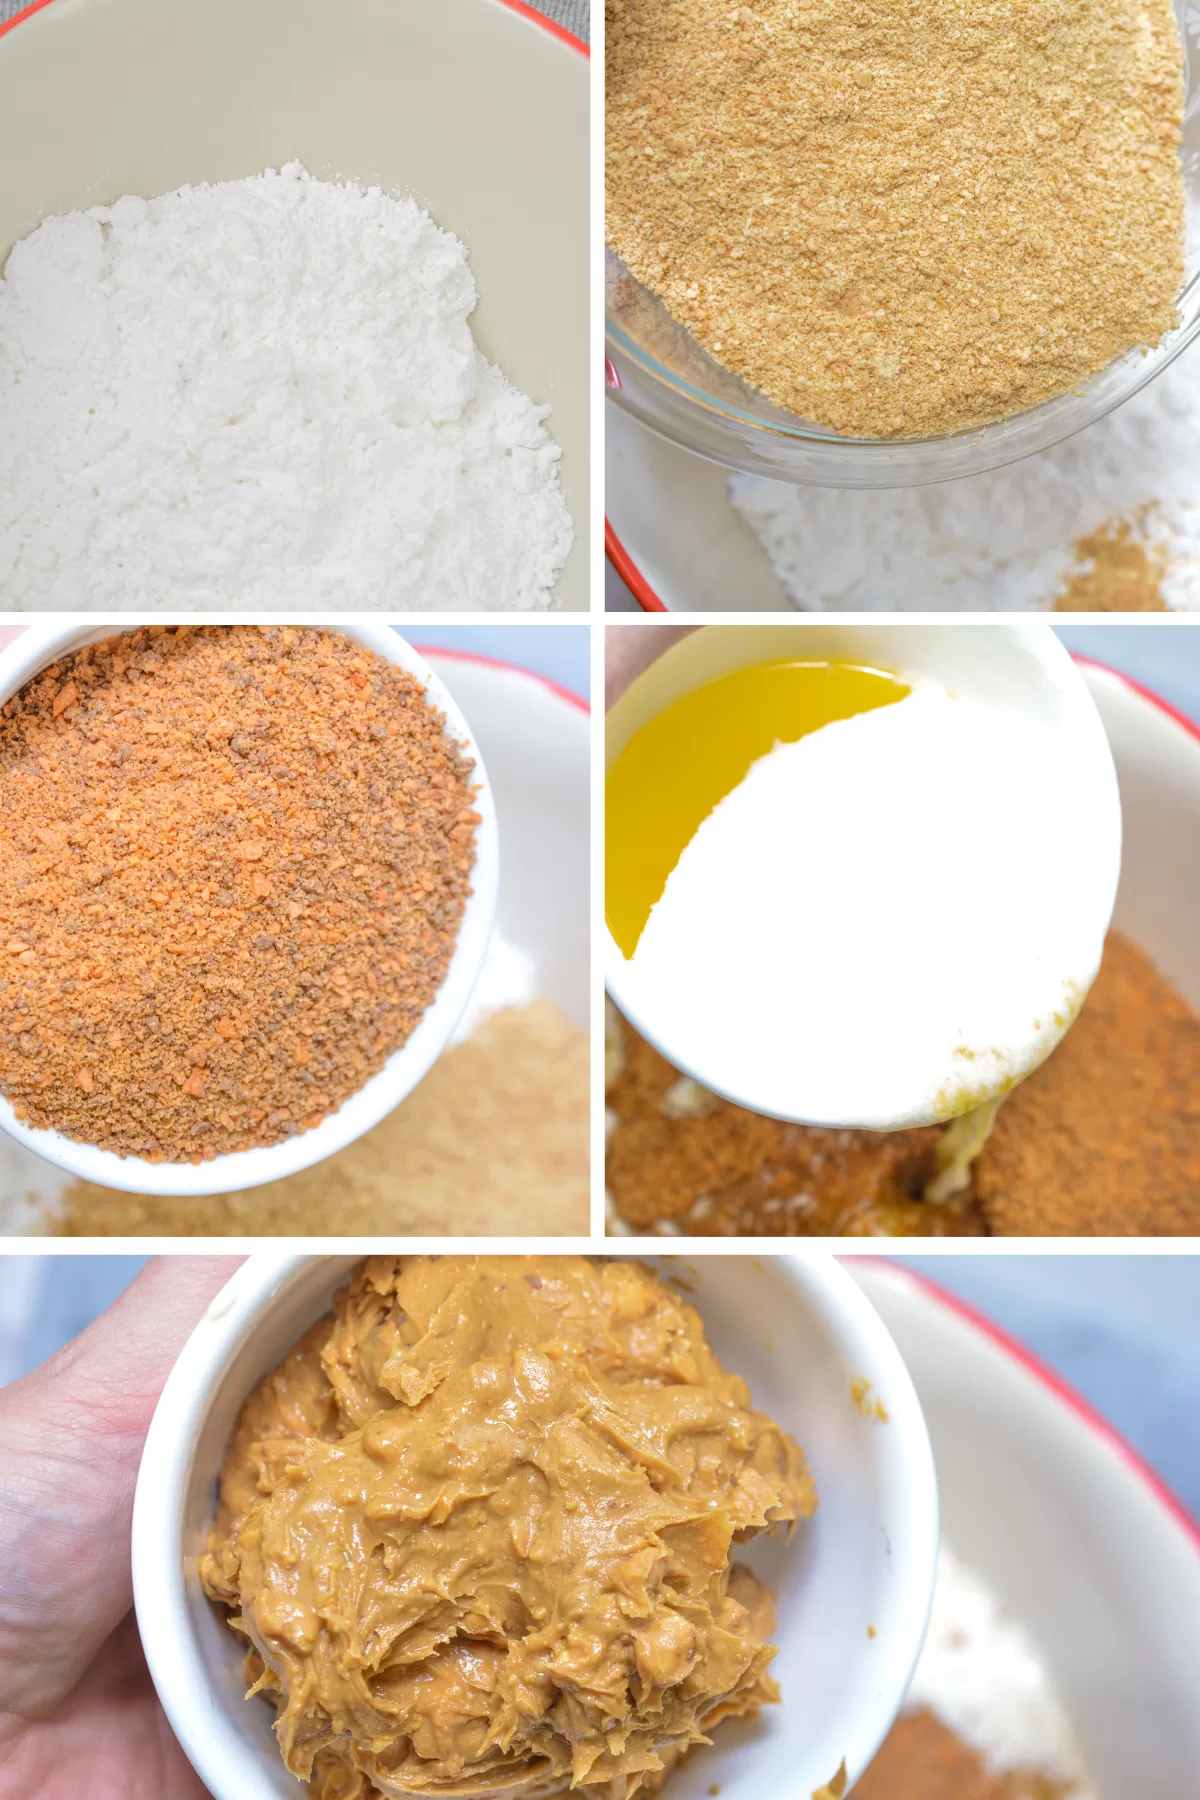
Step 1: Combine the powdered sugar, graham cracker crumbs, Butterfinger bits, melted butter, and peanut butter in a large bowl until well-mixed.
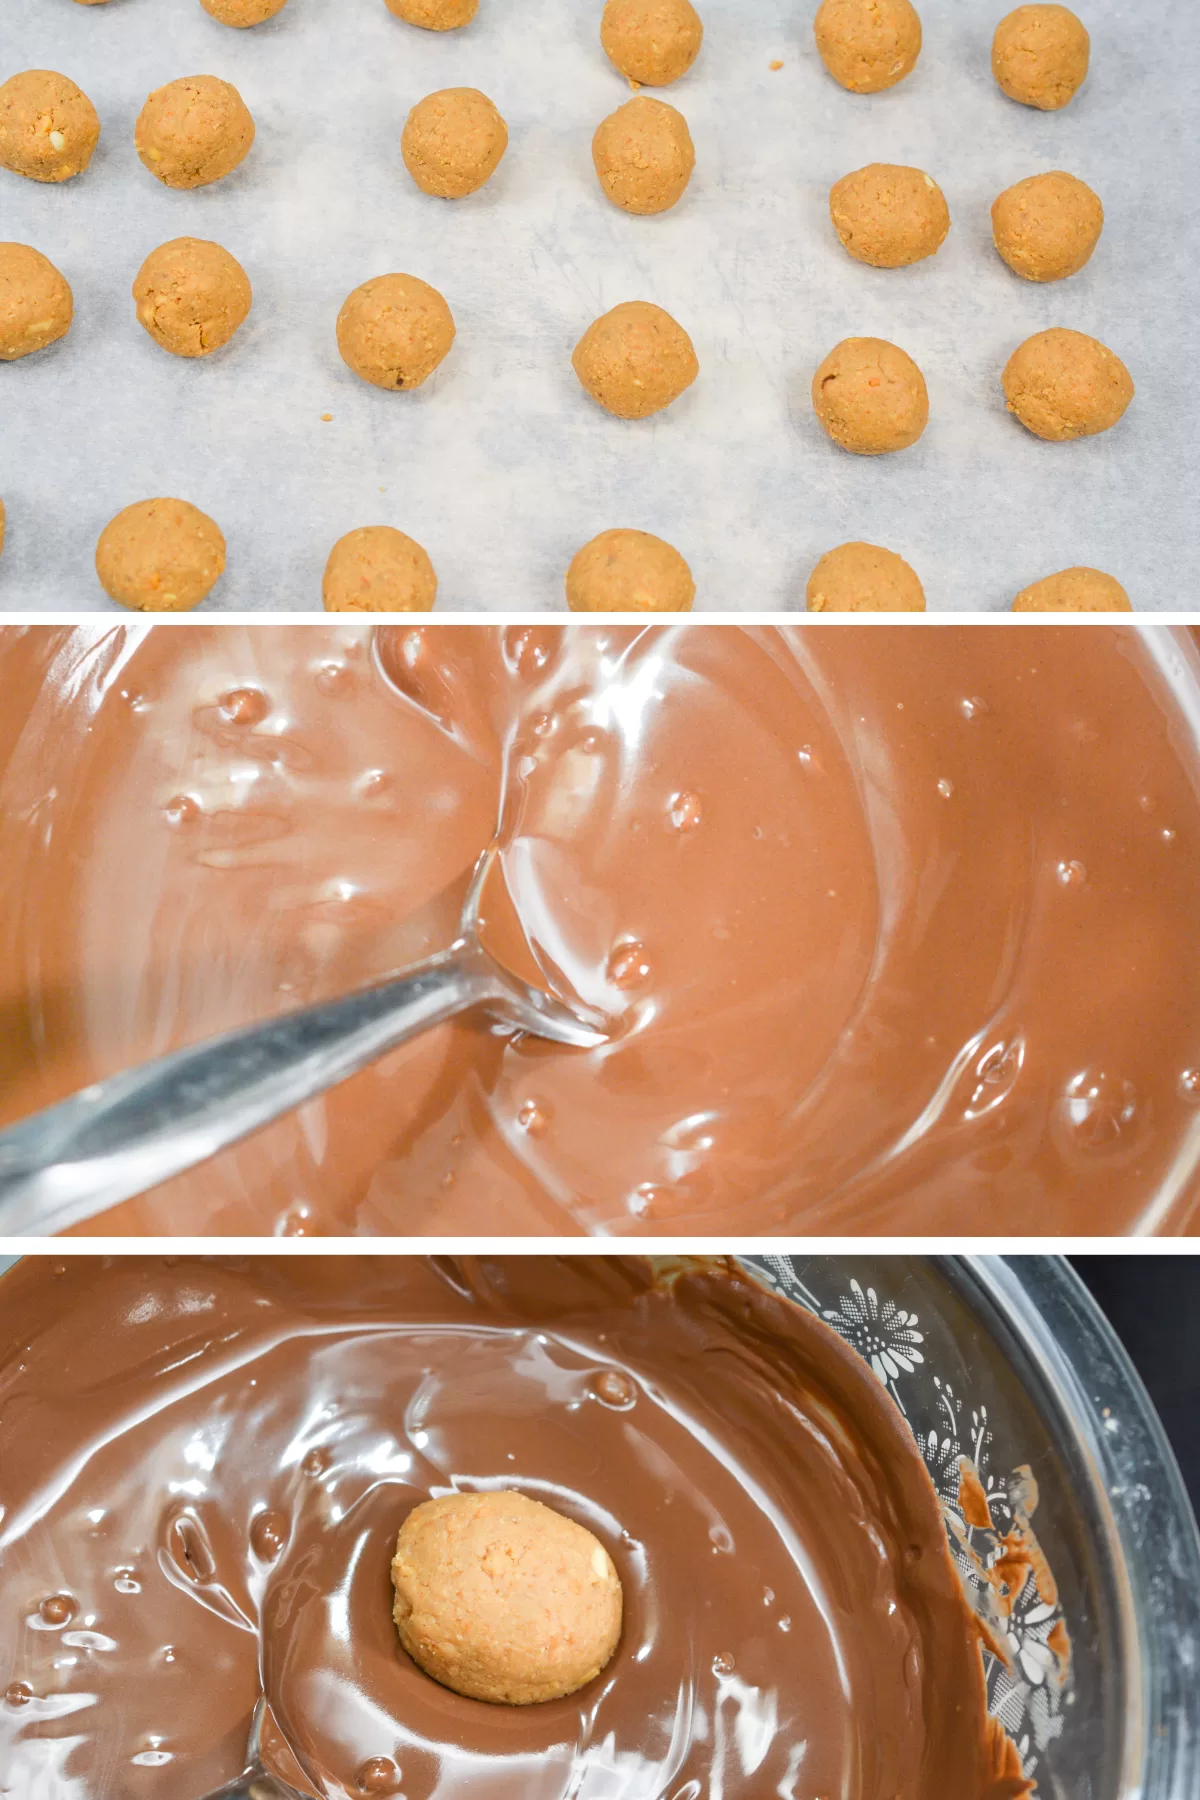
Step 2: Form the peanut butter mixture into 1-inch balls.
Step 3: Coat each ball in melted chocolate candy coating. Coat each ball in melted chocolate candy coating.
Step 4: The chocolate candies should be set up on
Want To Save This Recipe?
Enter your email below and we'll send the recipe straight to your inbox.
These Butterfinger Balls are a must-have for anyone who loves Butterfingers!
Storage Options
These little bites of heaven are surprisingly easy to store, making them a go-to for parties or sweet cravings. The consistency of the mixture should be firm but pliable after combining all the ingredients—it should hold its shape when rolled into balls but not stick to your hands. Once you’ve got them dipped and set, here’s how to keep them fresh:
- On the Counter: If you’re planning to gobble these up within a day or two (and let’s be honest, who can resist?), storing them in an airtight container at room temperature works perfectly. They’ll stay nice and chewy without getting too hard.
- In the Fridge: Want to prepare them a bit ahead? Pop them in the fridge, and they’ll last for about a month when stored properly. Just be sure they’re in an airtight container to avoid that weird “fridge taste” sneaking in.
- Freezer-Friendly: These beauties can also be frozen for up to three months! To freeze, layer them in a container with wax paper or parchment between each layer to prevent sticking. When you’re ready to enjoy them, simply let them thaw in the fridge or on the counter. You can make these well in advance and surprise guests (or yourself) with homemade candy, no stress required.
Variations and Substitutions
Feeling creative? This recipe is the perfect canvas for experimenting, and you can easily adapt it based on what you’ve got in the pantry or what flavors you’re craving. Plus, if you’re wondering about those elusive Butterfinger bits, you can crush full-sized bars or even substitute with similar candy pieces for a fun twist.
- Switch the Peanut Butter: Not a fan of crunchy? Go with creamy peanut butter for a smoother texture. Or, if you’re feeling adventurous, try almond or cashew butter—it adds a slightly nutty undertone that’s absolutely delish.
- Change the Chocolate: While chocolate almond bark is a classic, you can swap it with dark chocolate, white chocolate, or even colored candy melts for festive vibes. To get that silky smooth coating, temper the chocolate or use a double boiler for controlled melting.
- Mix Up the Fillings: Can’t find Butterfinger bits? Try crushed toffee bars, Reese’s Pieces, or even mini M&M’s. For a gluten-free version, use gluten-free graham crackers or chocolate wafers as your base—it’s just as tasty and safe for sensitive tummies.
- Skip the Balls: Feeling lazy? (No judgment—we all have those days!) You can press the mixture into a cake pan and pour melted chocolate on top. Slice into squares once set, and voilà—Butterfinger Bars!
What to Serve or Pair with Butterfinger Balls
Butterfinger Balls are stars on their own, but they play well with others. Whether you’re hosting a party or just looking to jazz up dessert, pairing them with complementary flavors will make you look like the ultimate dessert pro. Oh, and in case you’re wondering, they’ll last for weeks when stored properly—so feel free to make them ahead and stash them for pairing emergencies.
- With Ice Cream: Pair these with vanilla or chocolate ice cream for a decadent dessert that’s chef’s kiss. Crumble a few Butterfinger Balls on top of your sundae for a crunchy, chocolatey topping.
- On a Dessert Platter: Create a stunning platter with other bite-sized treats like truffles, fudge, or Buckeye Balls. If you’ve got extra Butterfinger bits, sprinkle them over the platter for a touch of flair.
- With Coffee or Hot Cocoa: Serve these alongside a cup of joe or a steaming mug of hot chocolate. The rich flavors of the Butterfinger Balls balance perfectly with a warm, slightly bitter drink.
- With a Savory Contrast: If you’re all about balancing sweet with salty, try serving these alongside a charcuterie board. Yep, candy and cheese are a surprisingly good match—think of it as the ultimate sweet-and-savory experience.
Frequently Asked Questions
How many Butterfinger balls can be made?
You can get approximately 3–4 dozen from this recipe, depending on how big you roll the balls.
How to store Butterfinger Balls
The candy should be kept in an airtight container.
You may keep this candy in the freezer, the fridge, or even on the kitchen counter if you plan on consuming it within a day or two.
If you put the Butterfinger Balls in the fridge in an airtight container, they will stay good for approximately a month.
If you have any more questions about these irresistible Butterfinger Balls—or just need more reasons to make them—don’t hesitate to experiment, pair, and snack away!
Remember it later!
Planning to try this recipe soon? Pin it for a quick find later!
Remember it later!
Planning to try this recipe soon? Pin it for a quick find later!
Keep the Flavor Coming – Try These:
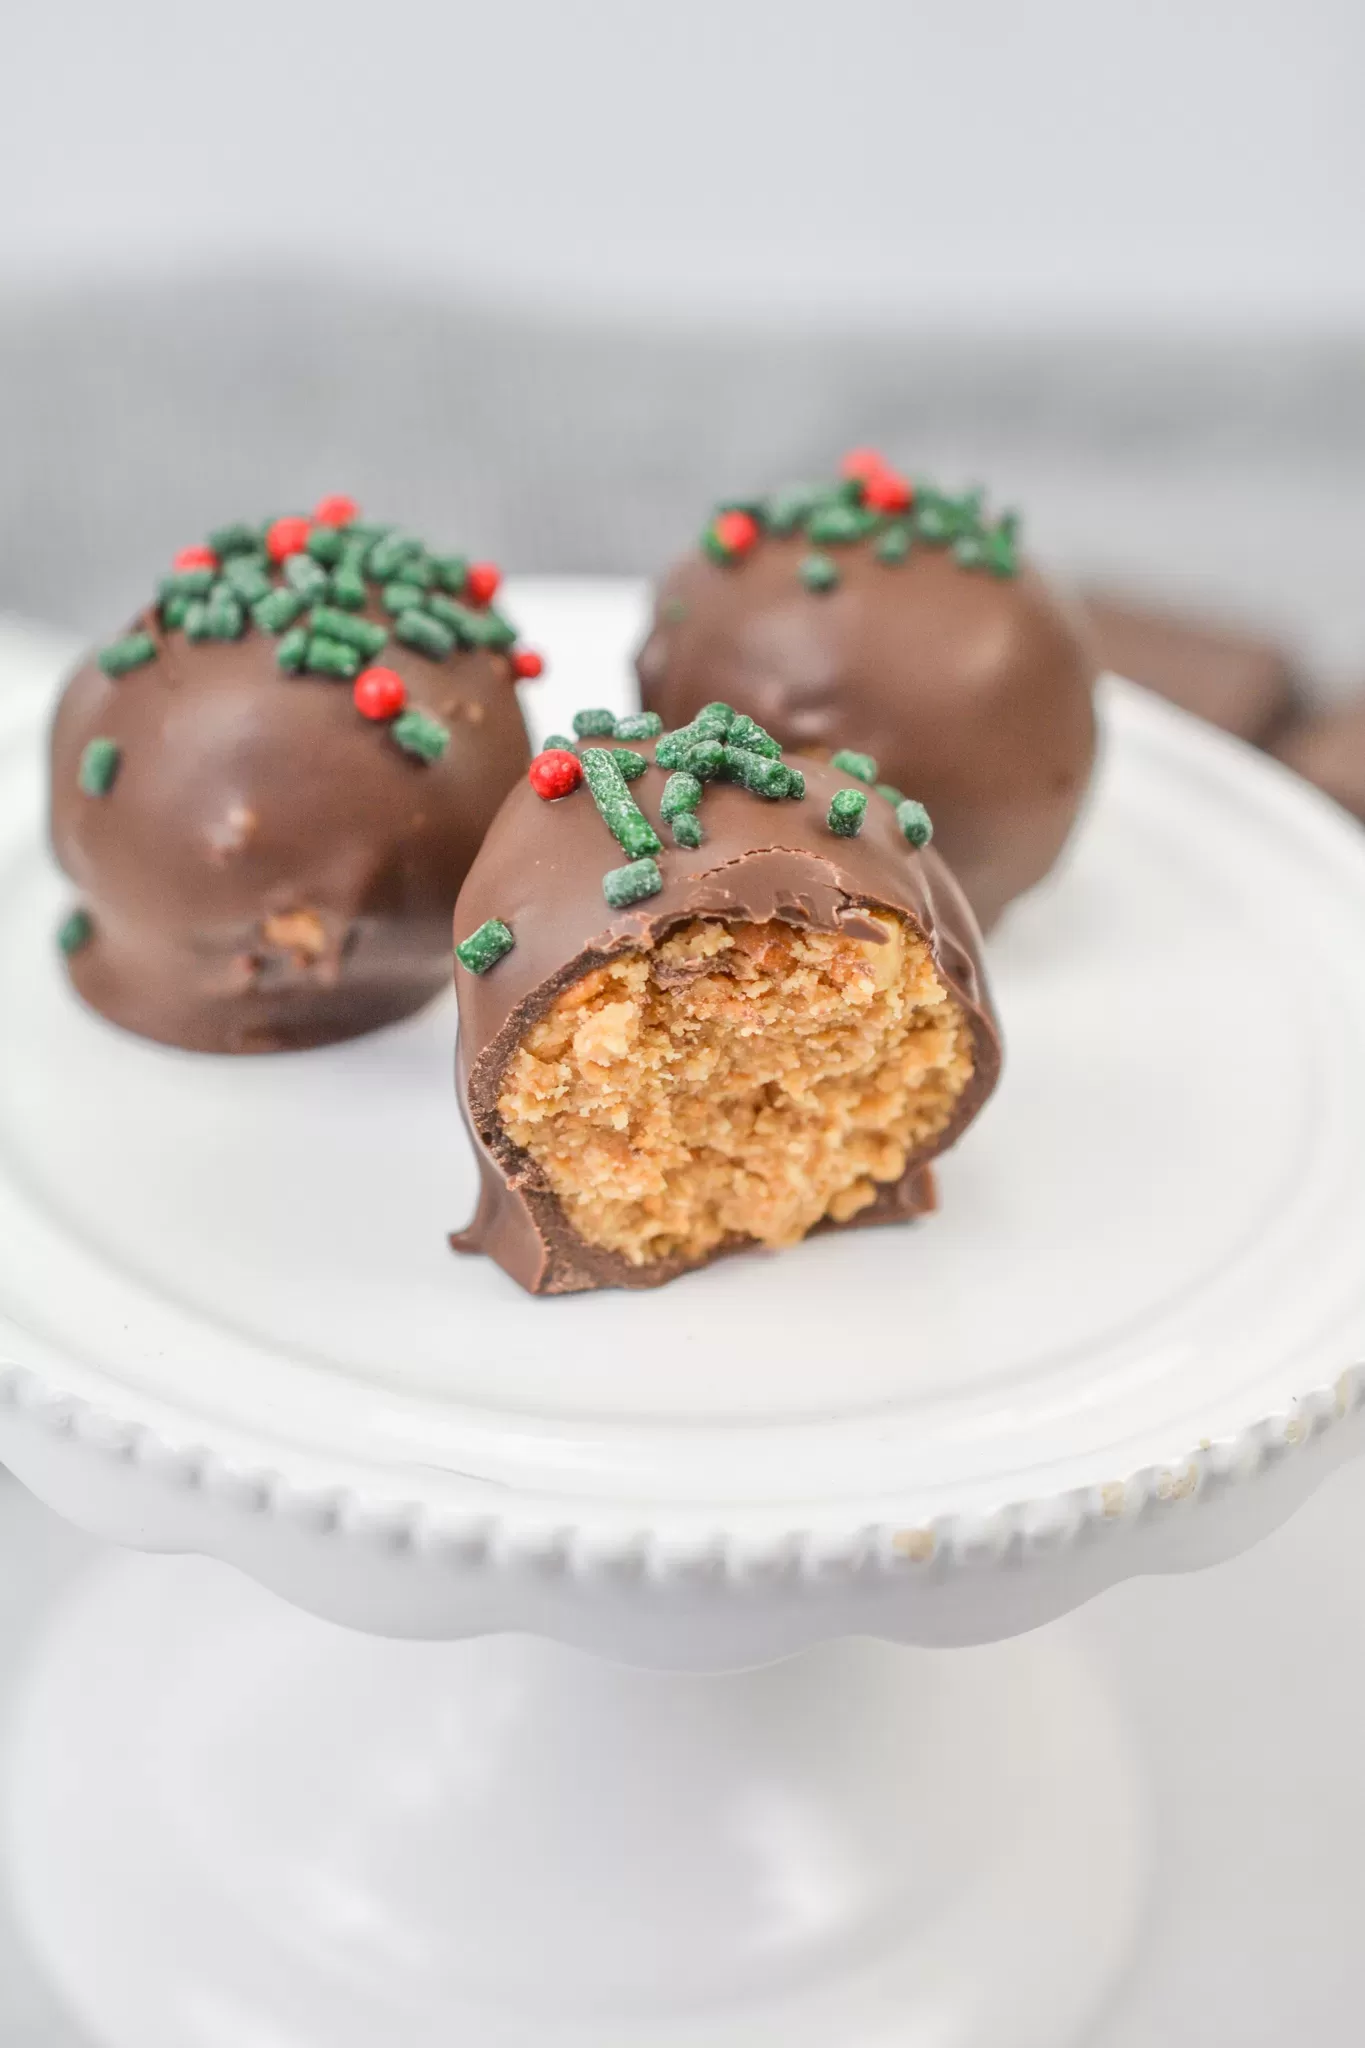
Butterfinger Balls Recipe
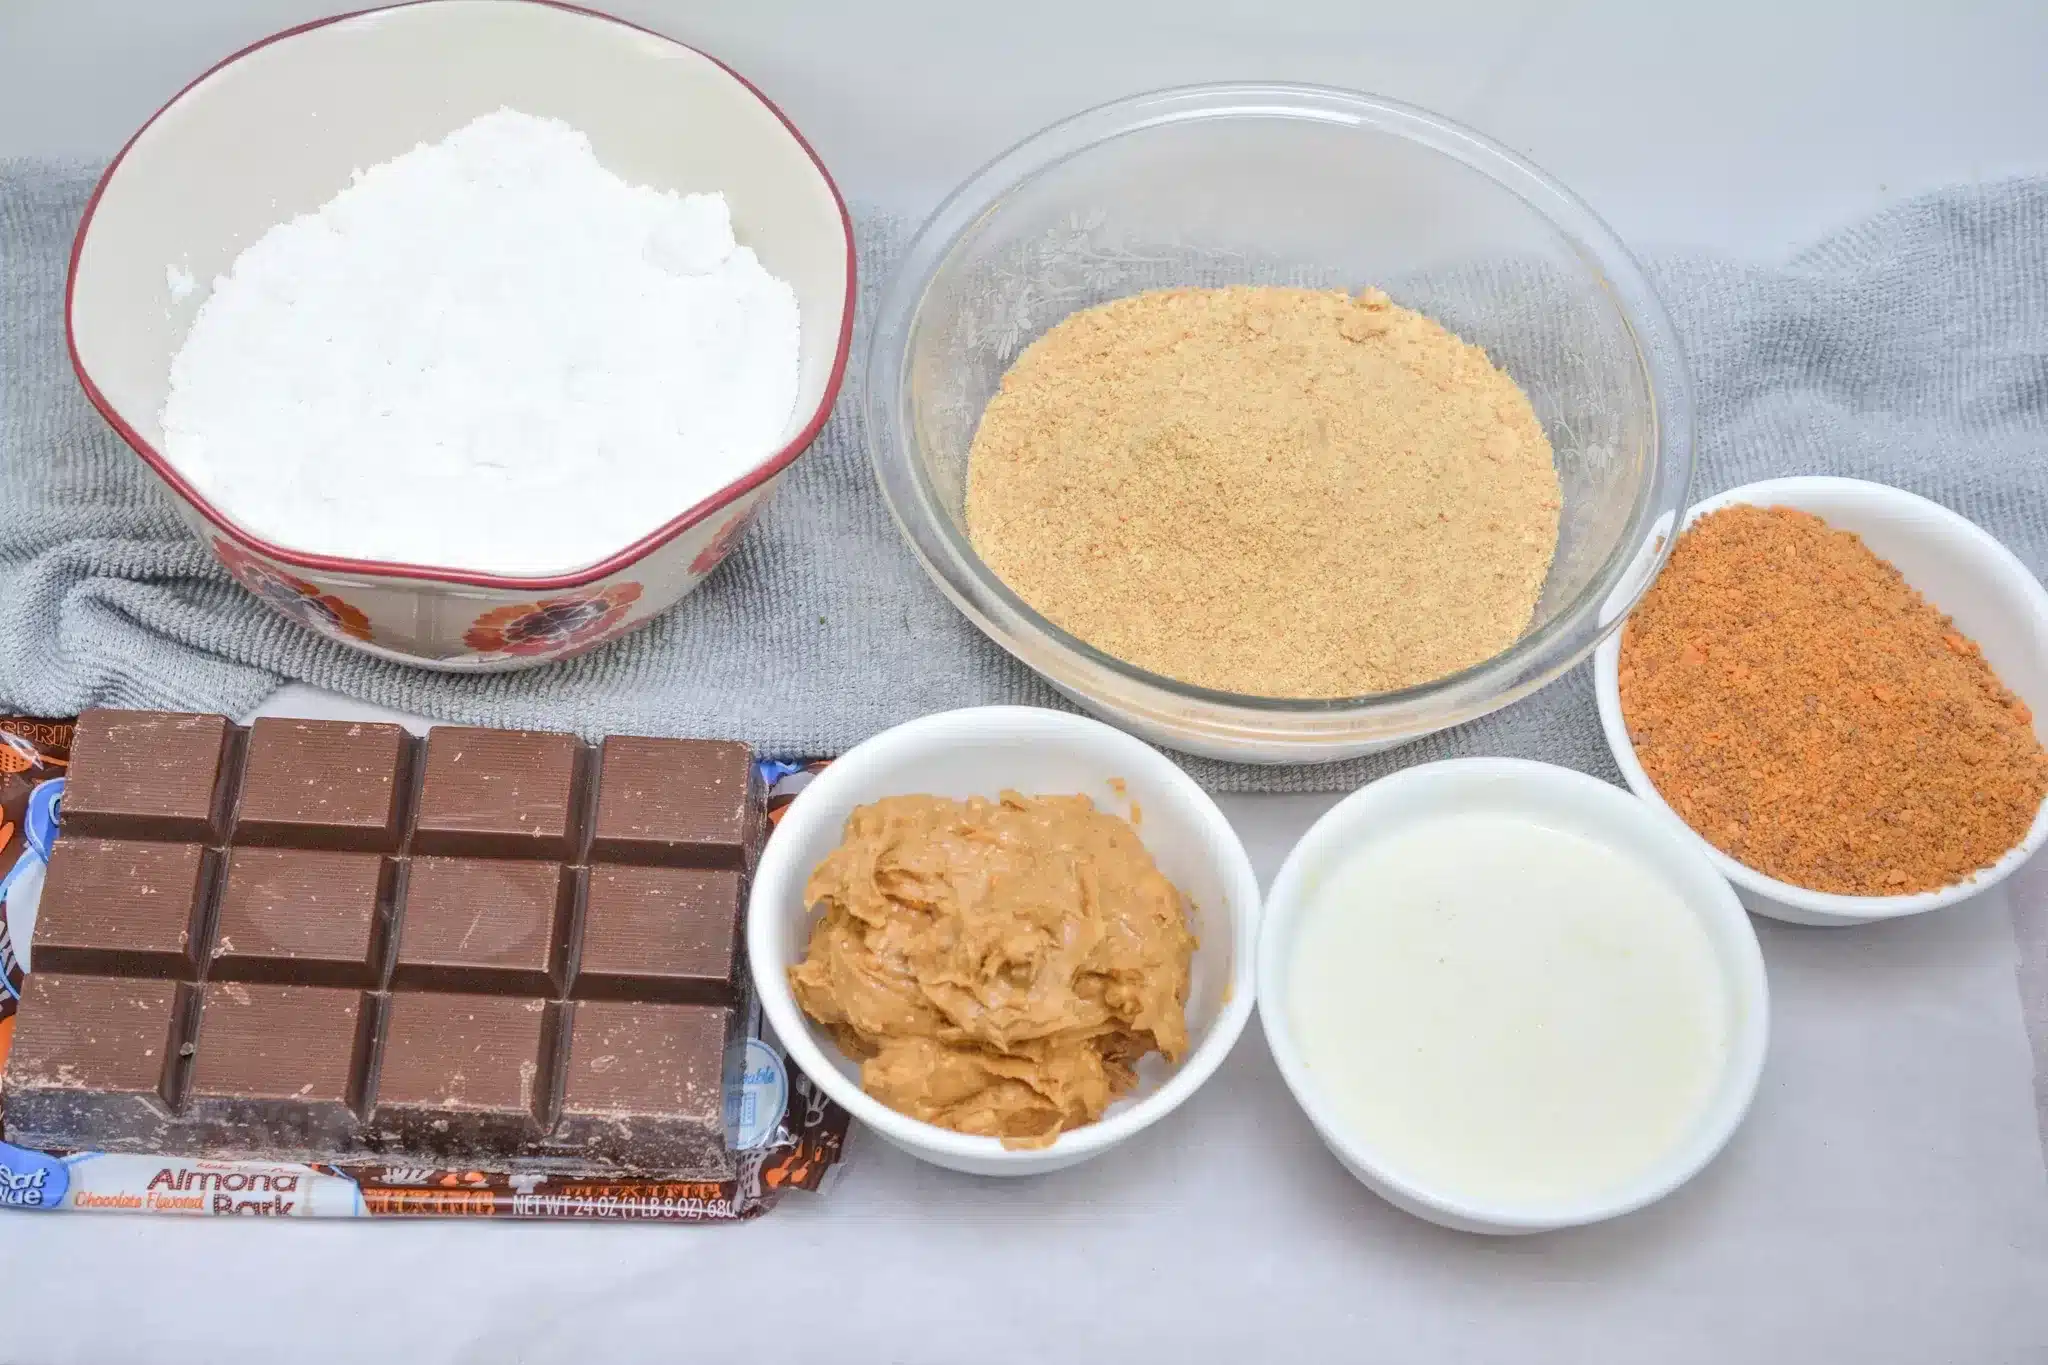
Ingredients
- 5 1.9 ounces Butterfinger bars, crushed
- 1 16 ounces box of powdered sugar
- 2½ c. graham cracker crumbs
- 1 24-ounce package of chocolate almond bark or chocolate candy coating
- 1¼ c. butter melted
- 1½ c. crunchy peanut butter
Instructions
- Combine powdered sugar, graham cracker crumbs, Butterfinger pieces, melted butter, and peanut butter in a large mixing dish.
- Refrigerate for 30 minutes after shaping into 1-inch balls.
- Melt chocolate almond bark as directed on the package.
- Remove the balls from the refrigerator and coat them in the chocolate almond bark.
- Lay the dipped balls on a sheet of parchment or wax paper and let them set.
Notes
Nutrition
CHECK OUT THESE AWESOME, EASY RECIPES:

I’m Bitty, owner of nodashofgluten.com, where I share simple, delicious recipes for all tastes, including gluten-free. Check out my “About Me” page for more info!





2 Responses
Made these Butterfinger Balls the other day, and they were a total hit! My family couldn’t stop going back for more. Thank you for sharing!
Love these butterfinger balls mmmmmm